November 16, 20152 Comments

DIY: Embossed Marble Place Cards

I’ve got to be honest with you guys–I’m a mess in the kitchen. My mother and my sister are both excellent cooks and bakers, and we usually spend Thanksgiving with my mom’s side of the family. My aunt and her daughters are also all great contributors to the Thanksgiving spread, and I’m usually left feeling a little helpless. Thankfully, my graphic design skills and eye for composition come in handy for the tablescape, and I do get to feel at least a little useful.

Every day this week, I’ll be bringing you guys some great DIY inspiration for a Thanksgiving table that doesn’t rely on the heavy orange and brown shades that normally come around the fall. I wanted this tablescape to feel fresh and modern, and also to be affordable for those of us in our twenties who don’t have a ton of disposable income to spend on decorations (yet!).

This table works great for a friendsgiving celebration, as well as for any kind of group gathering, since the colors aren’t regulated to any particular season.
placecards11

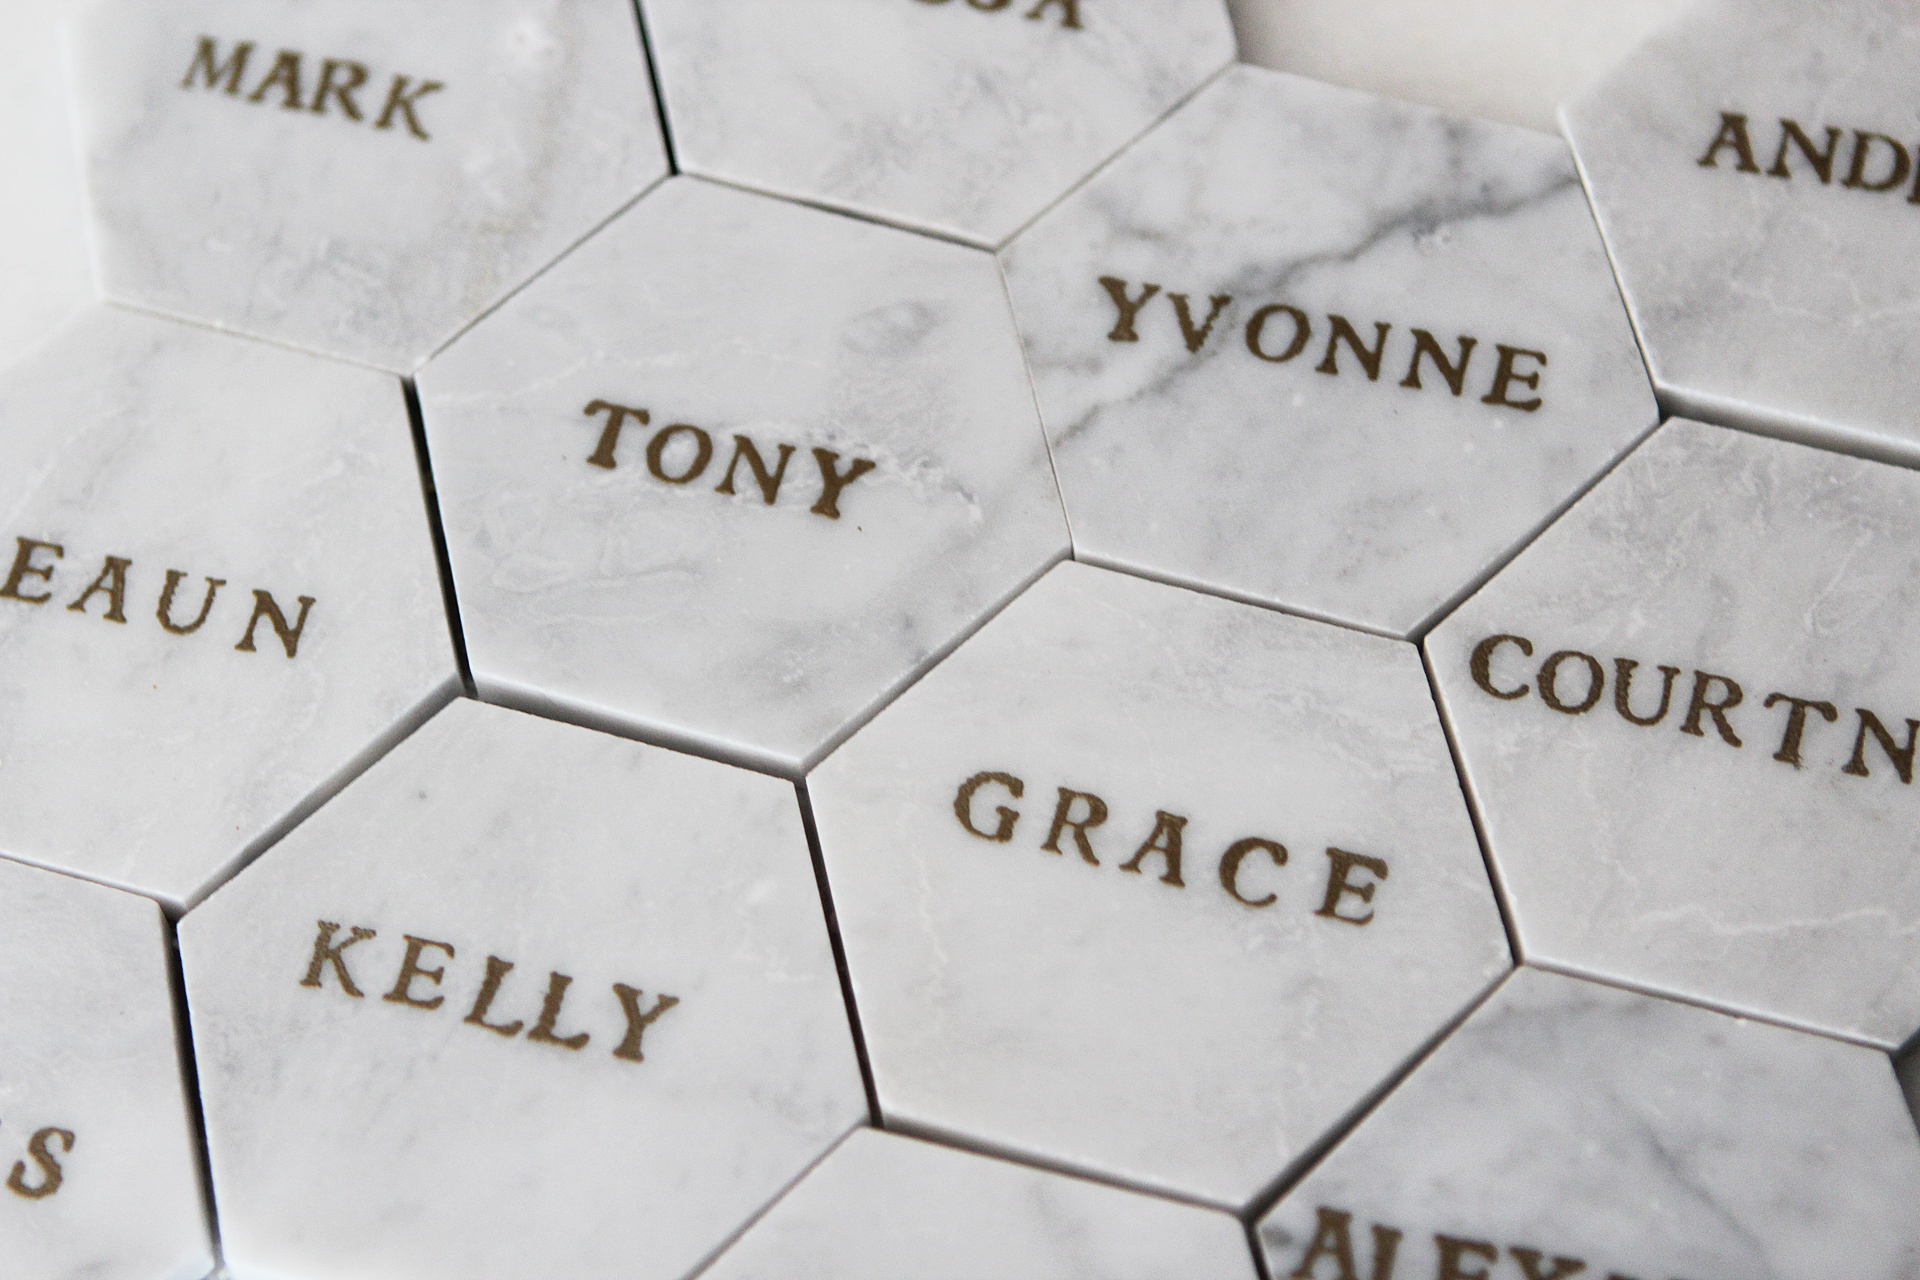
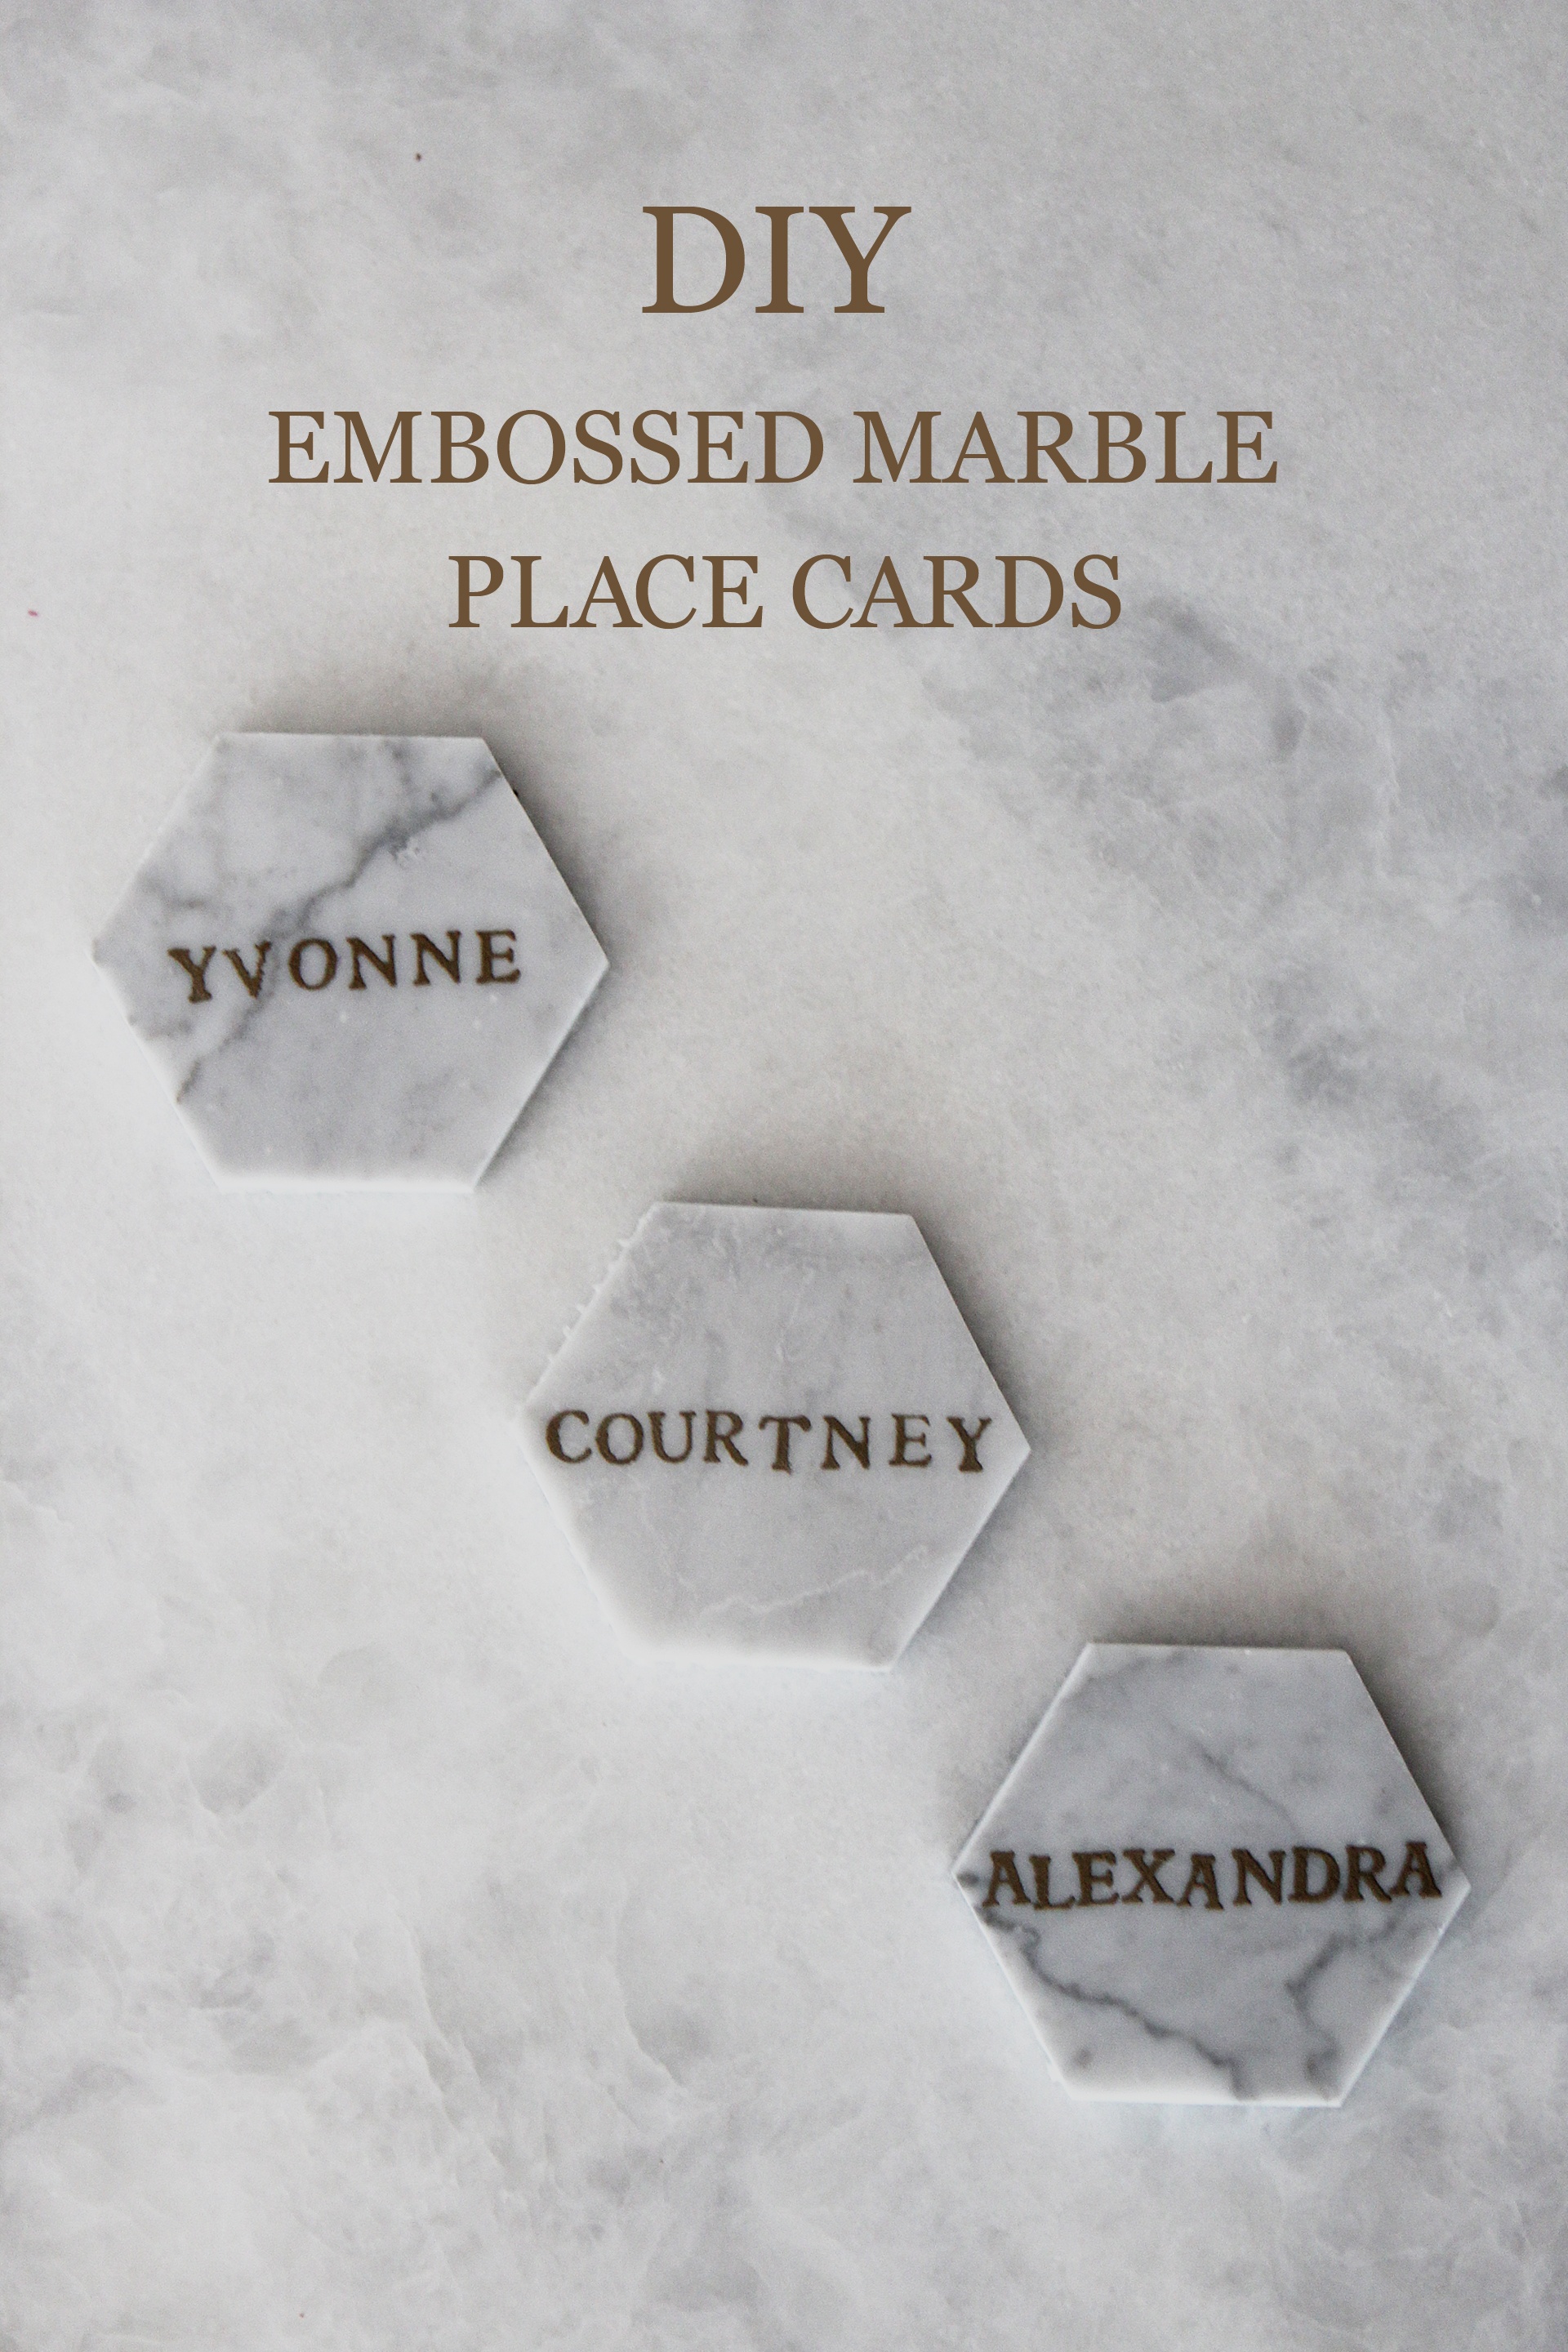
First up this week are place cards. This is my favorite part of a nicely set table, because I'm selfish and I like my own name! These place cards are so easy but still gorgeous, and guests can even take them as small favors after the meal.

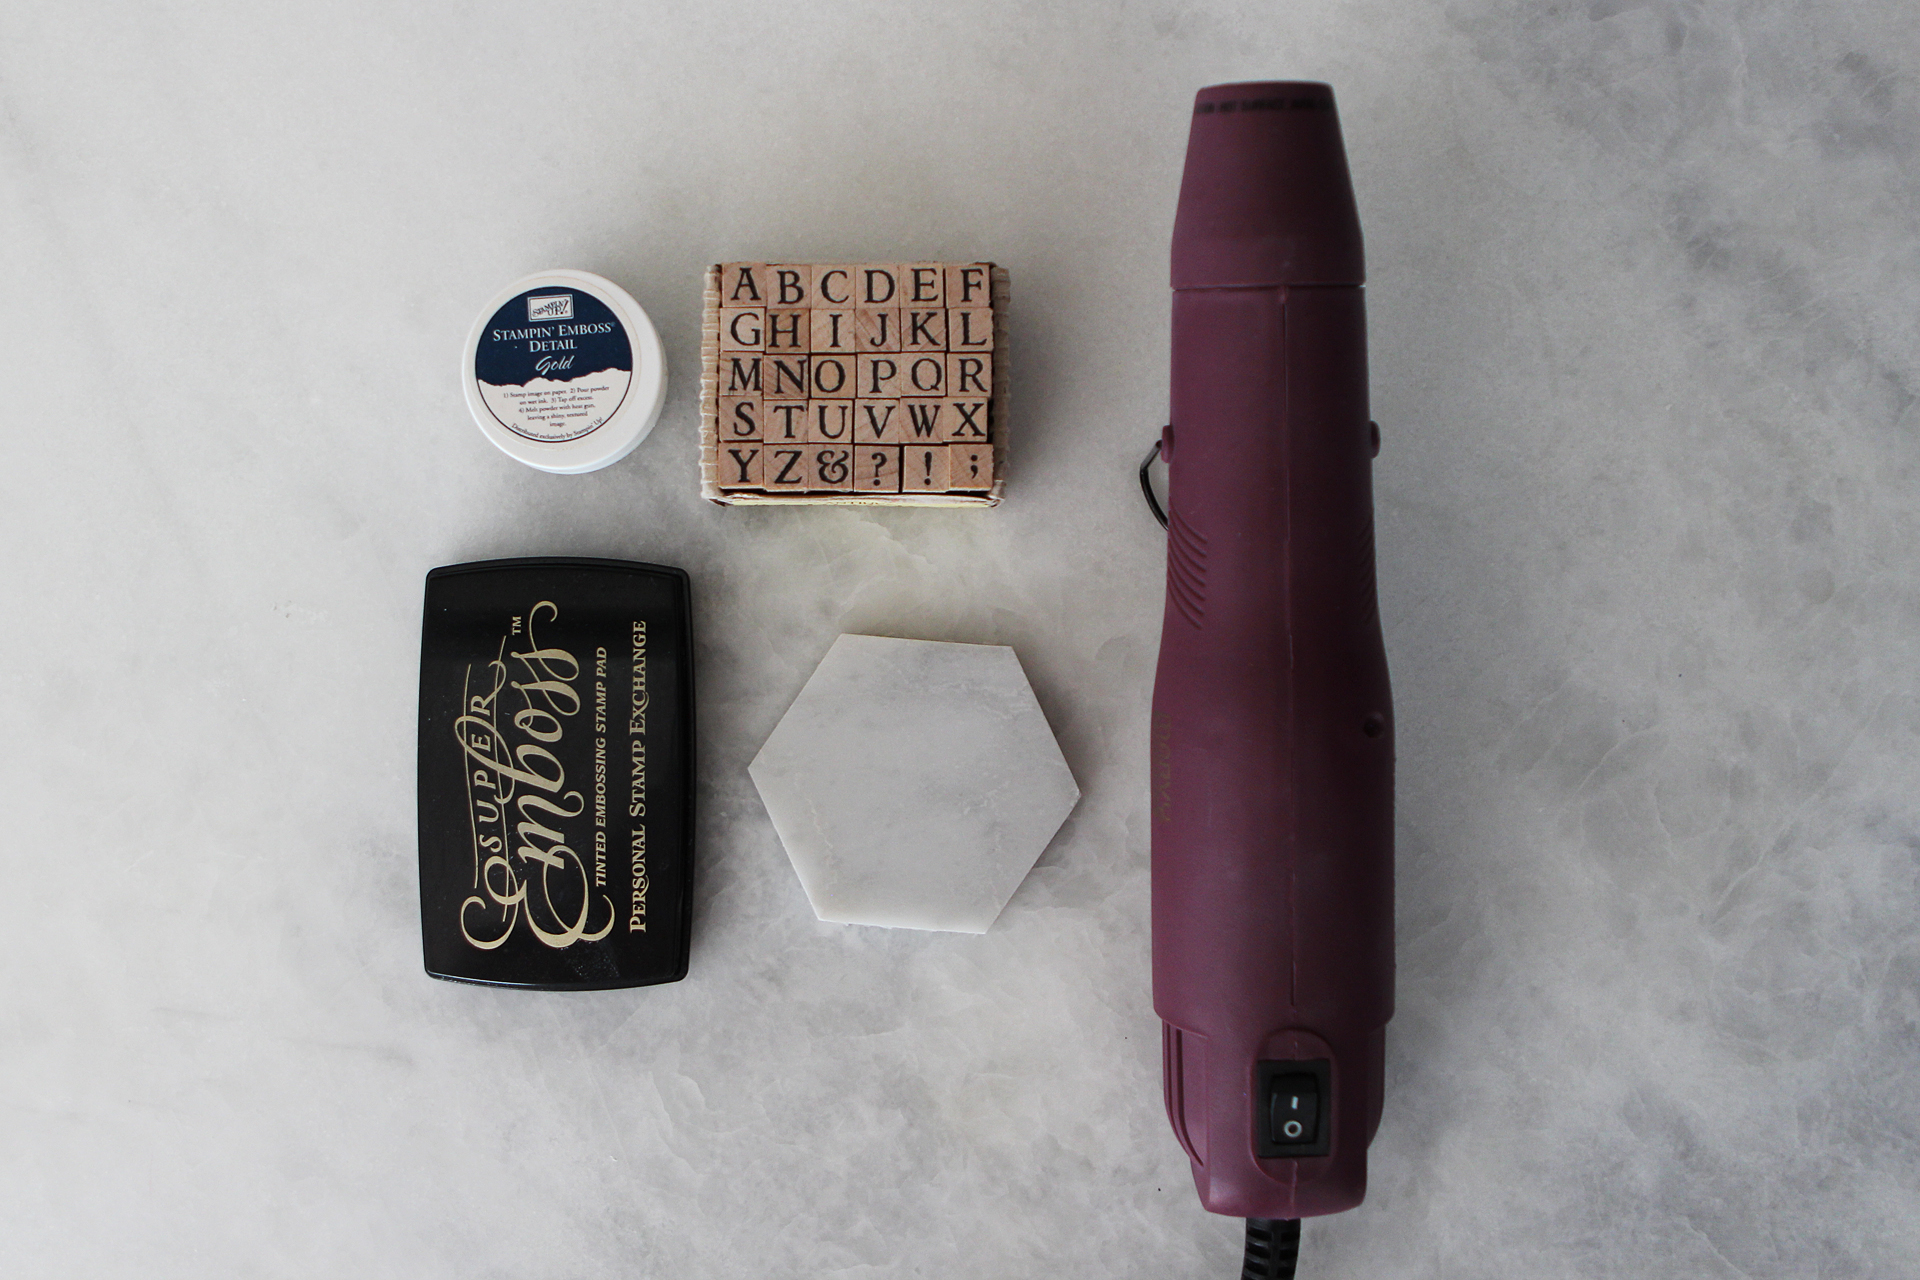
You just need 3” marble tiles and some letter stamps. I chose a smaller set of letters, because my family has too many names that start with the same letter to just use our initials, but you can totally use bigger letters for just initials too! And if you wanted to handletter the names, more power to ya! That would be gorgeous.
placecards1

Supplies:

To Make:

  • Pull the tiles off the netting.
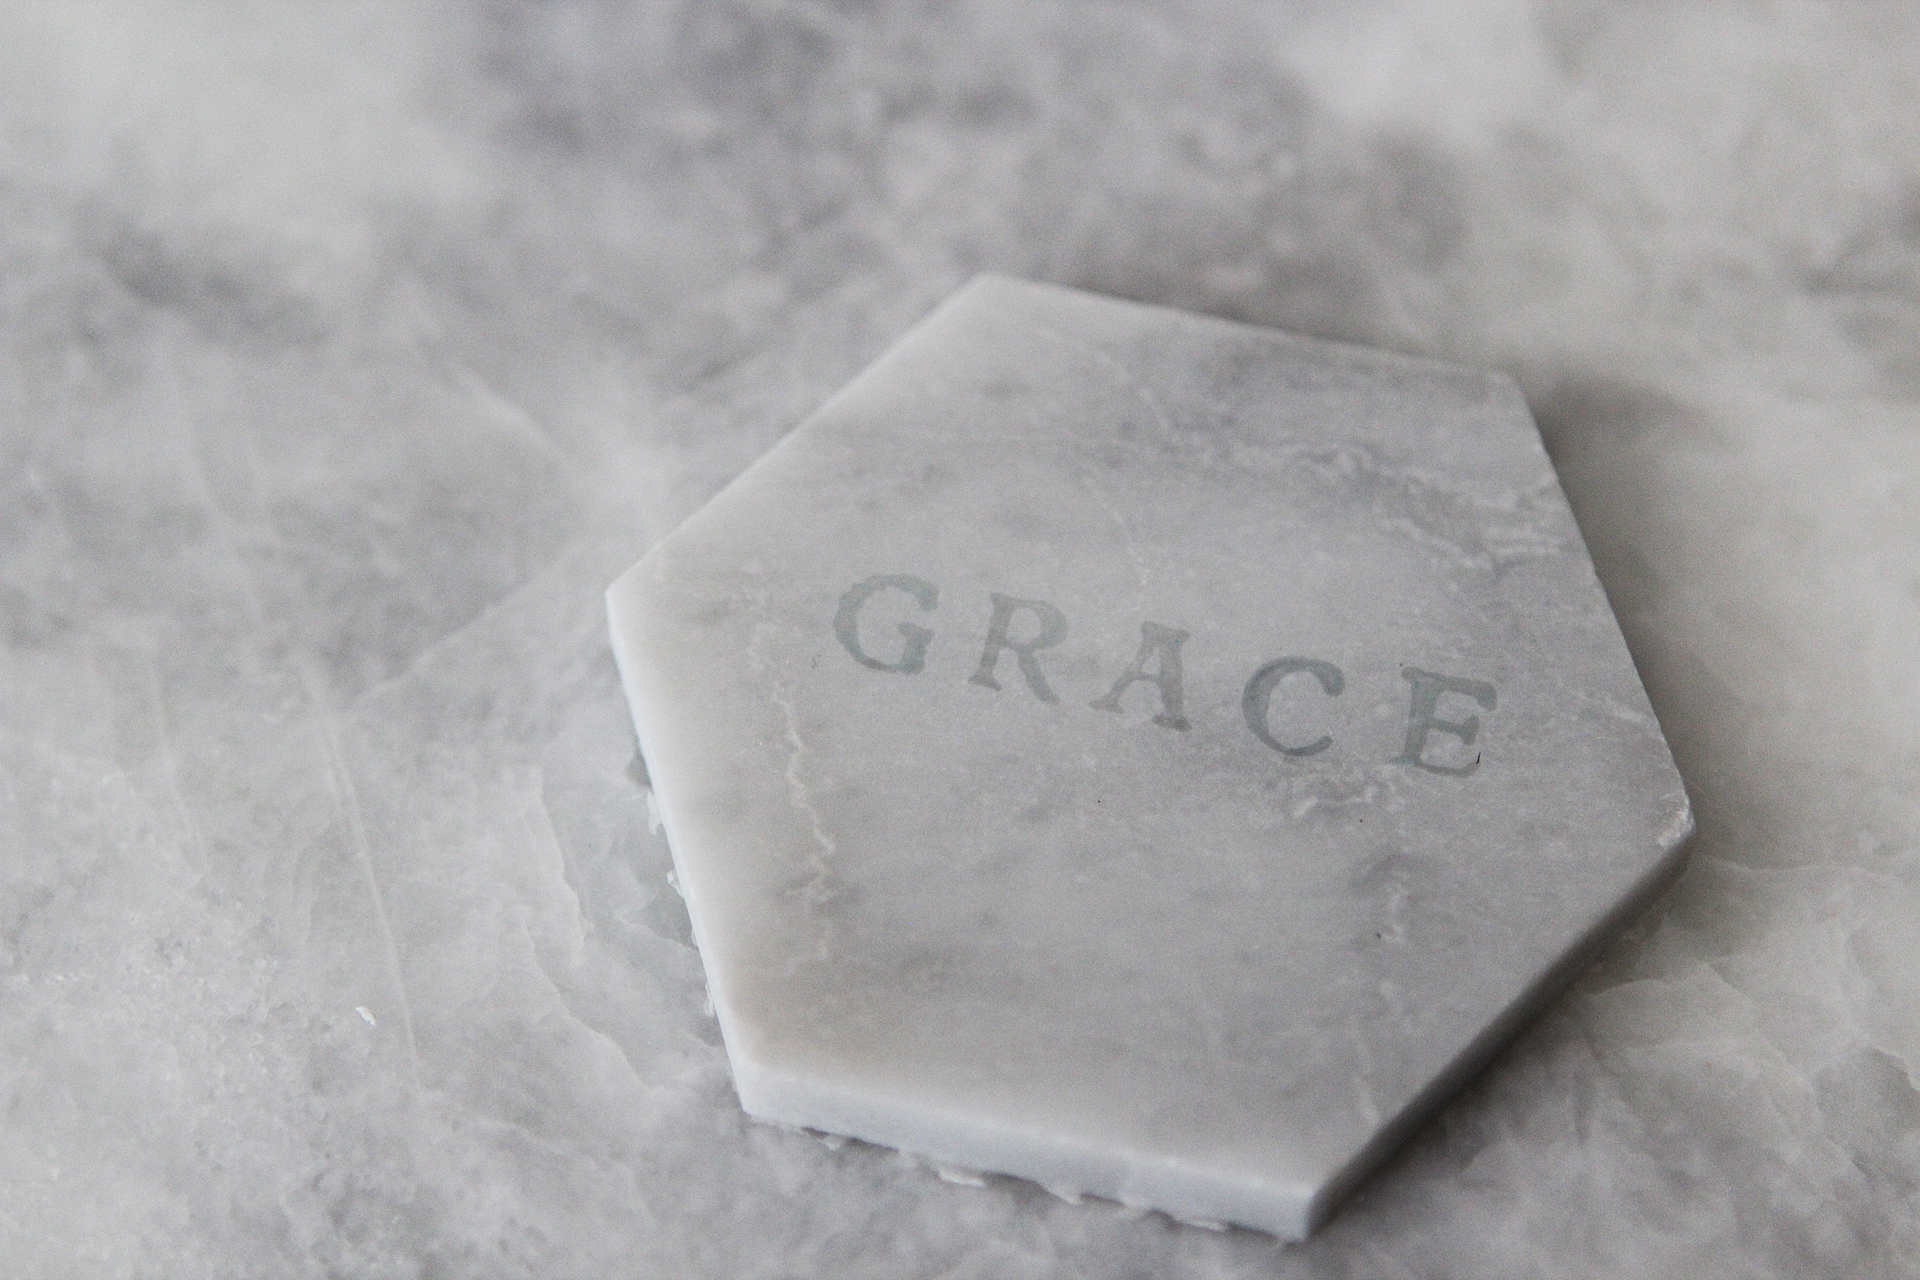
  • Line up the letters and stamp the name using your embossing ink pad across the center of each tile. It helps to start with the middle letter and space the others based on that, rather than starting at one end.
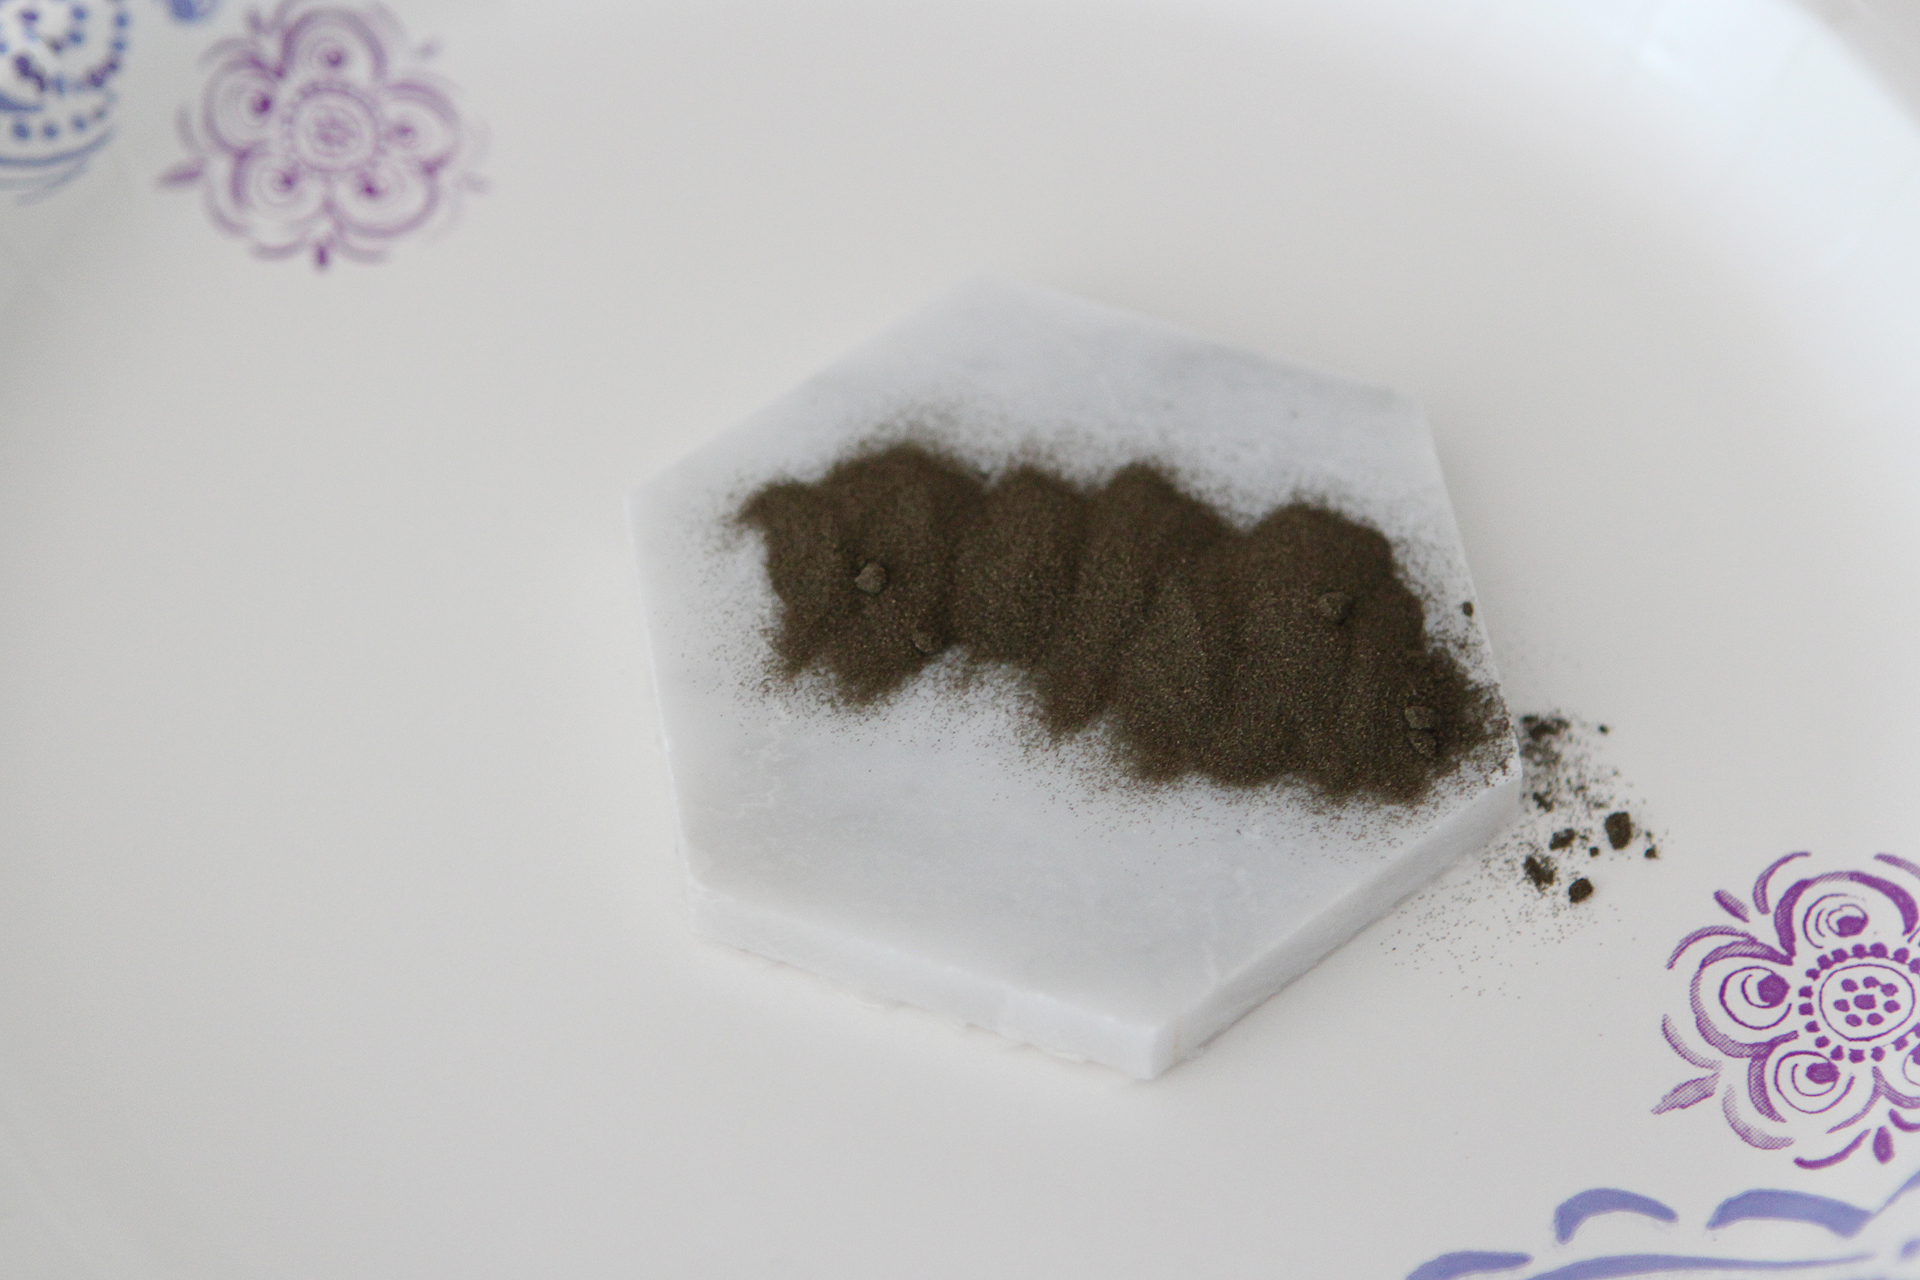
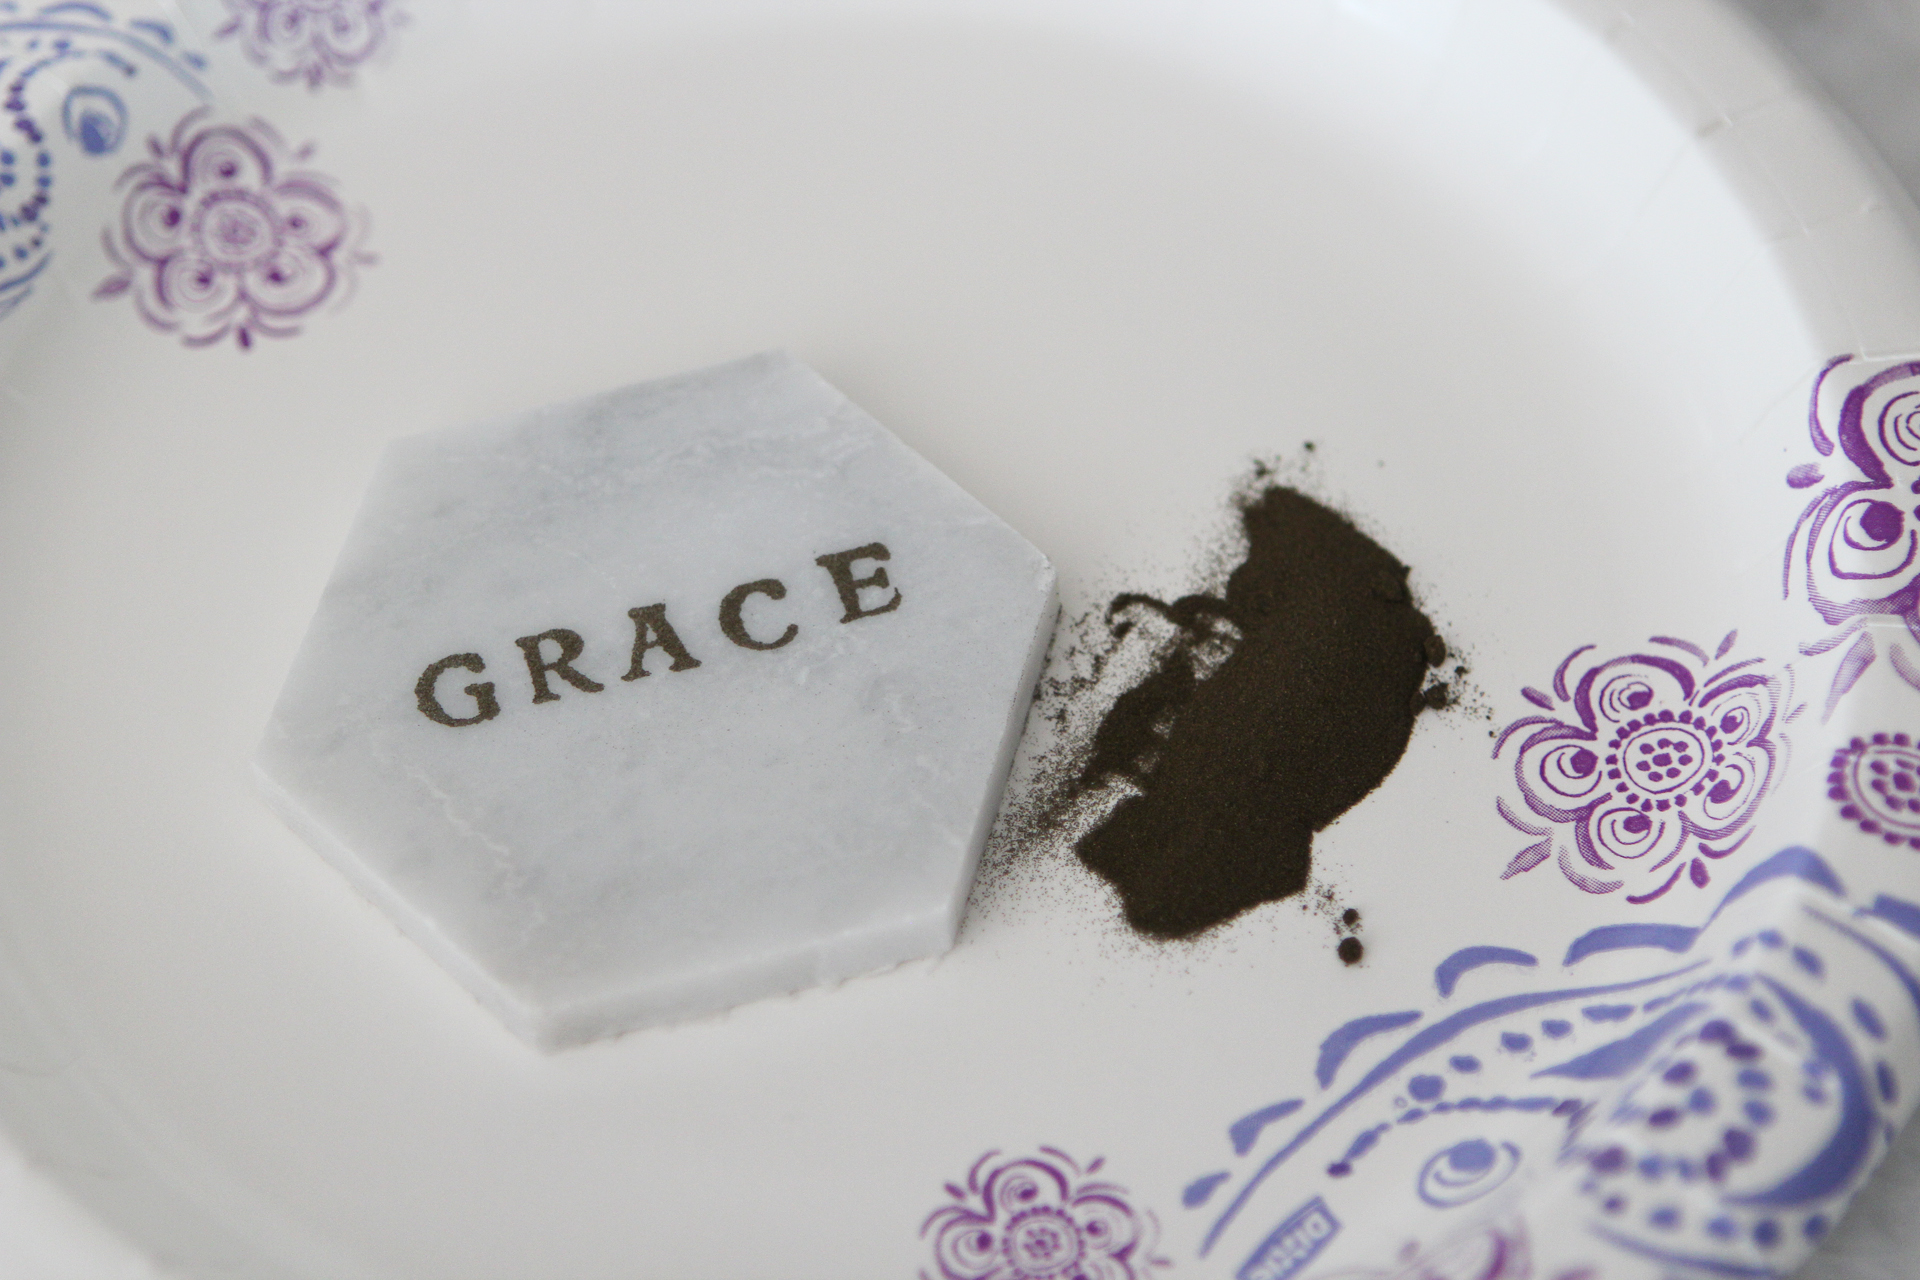
  • Dust embossing powder over the ink and tap off the extra.
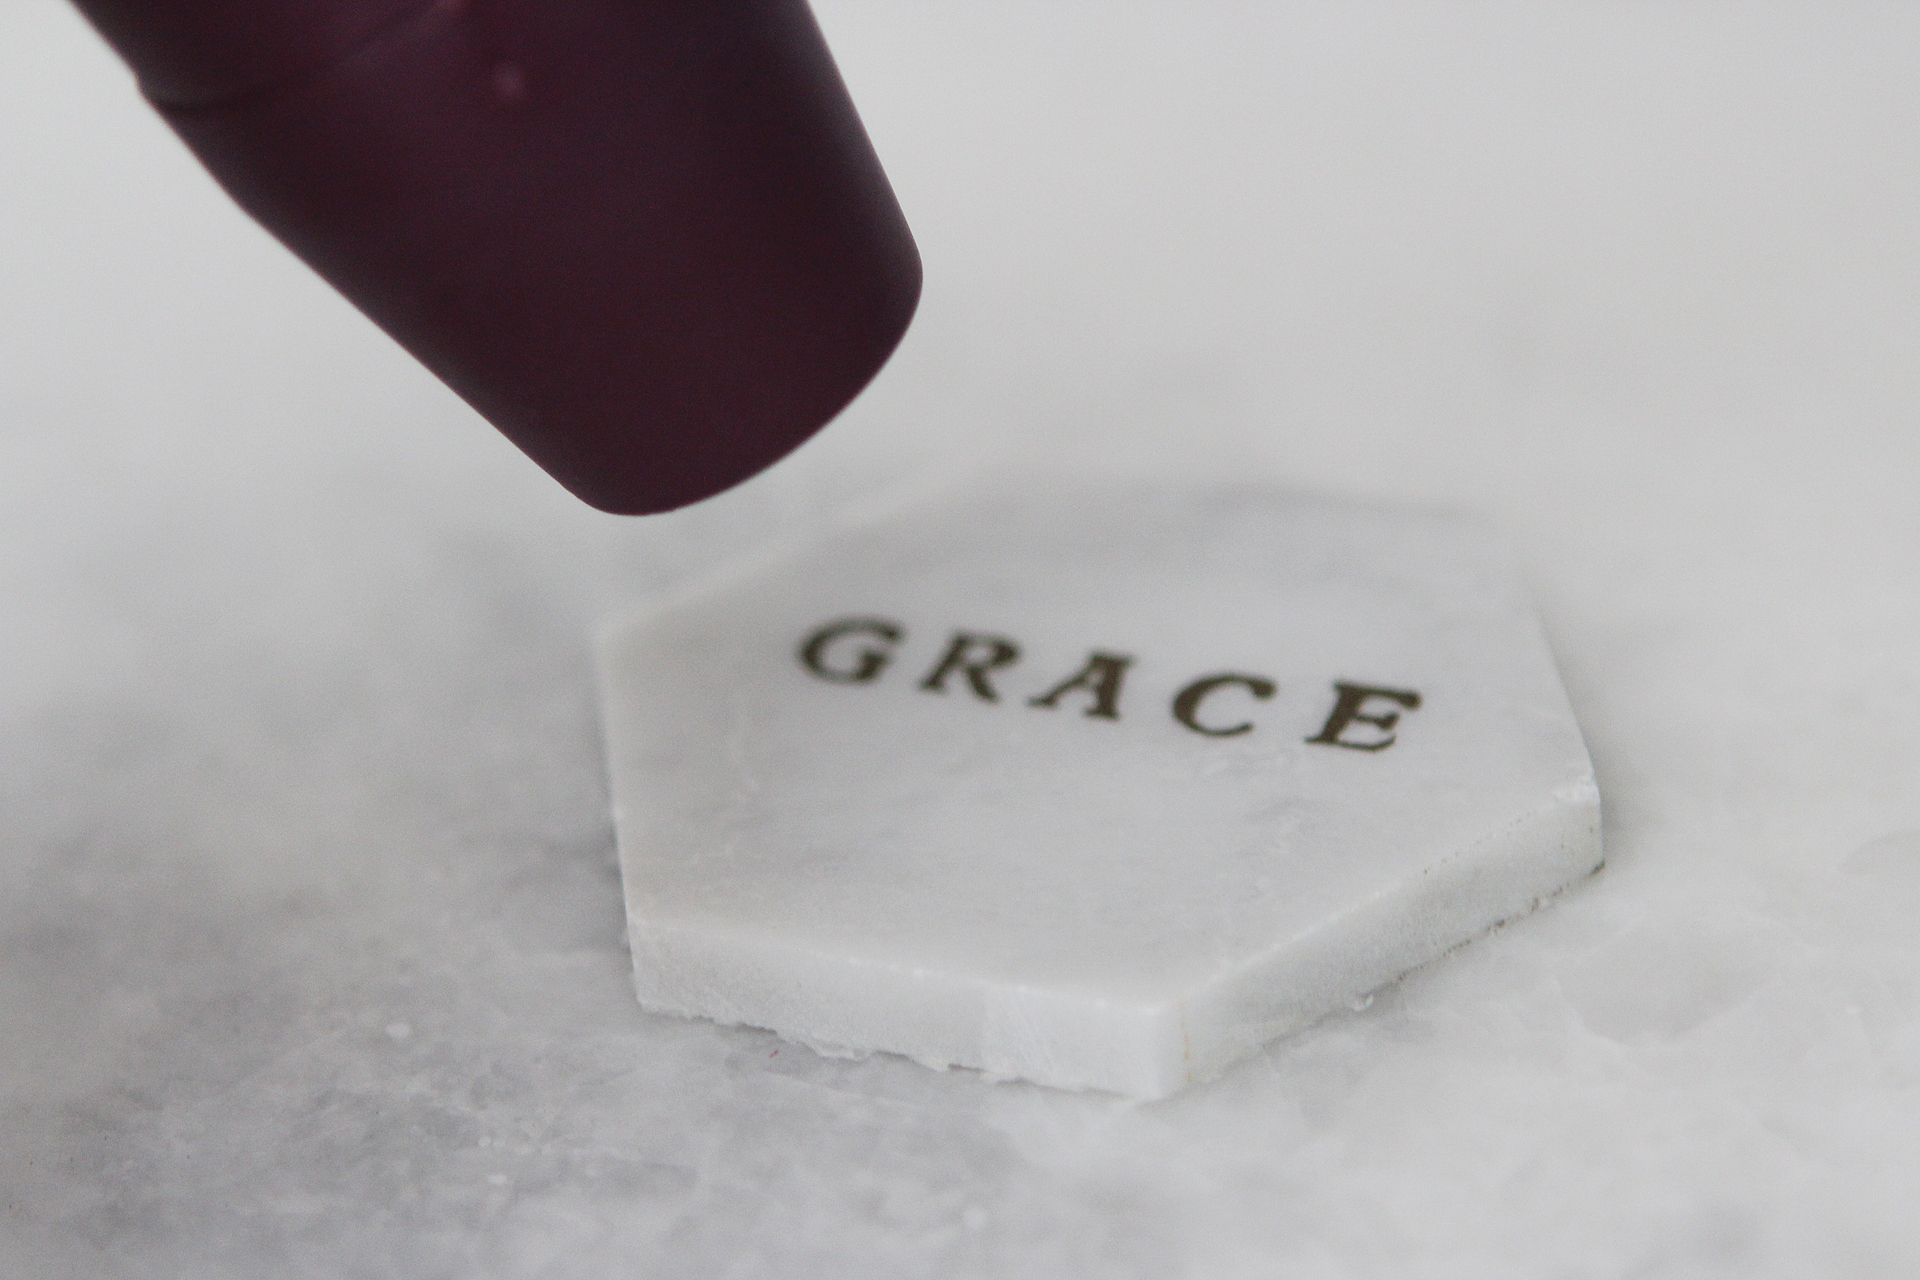
  • Turn the heat gun on the letters until they become golden and shiny!
placecards2

placecards3

It helps to do this part on a paper plate so you can easily pour the excess embossing powder back into the container.
placecards4

placecards5

Careful with the heat gun–it heats up the stone too, so make sure to plan for a little cooling time before you have to pick up the place cards and move them around.
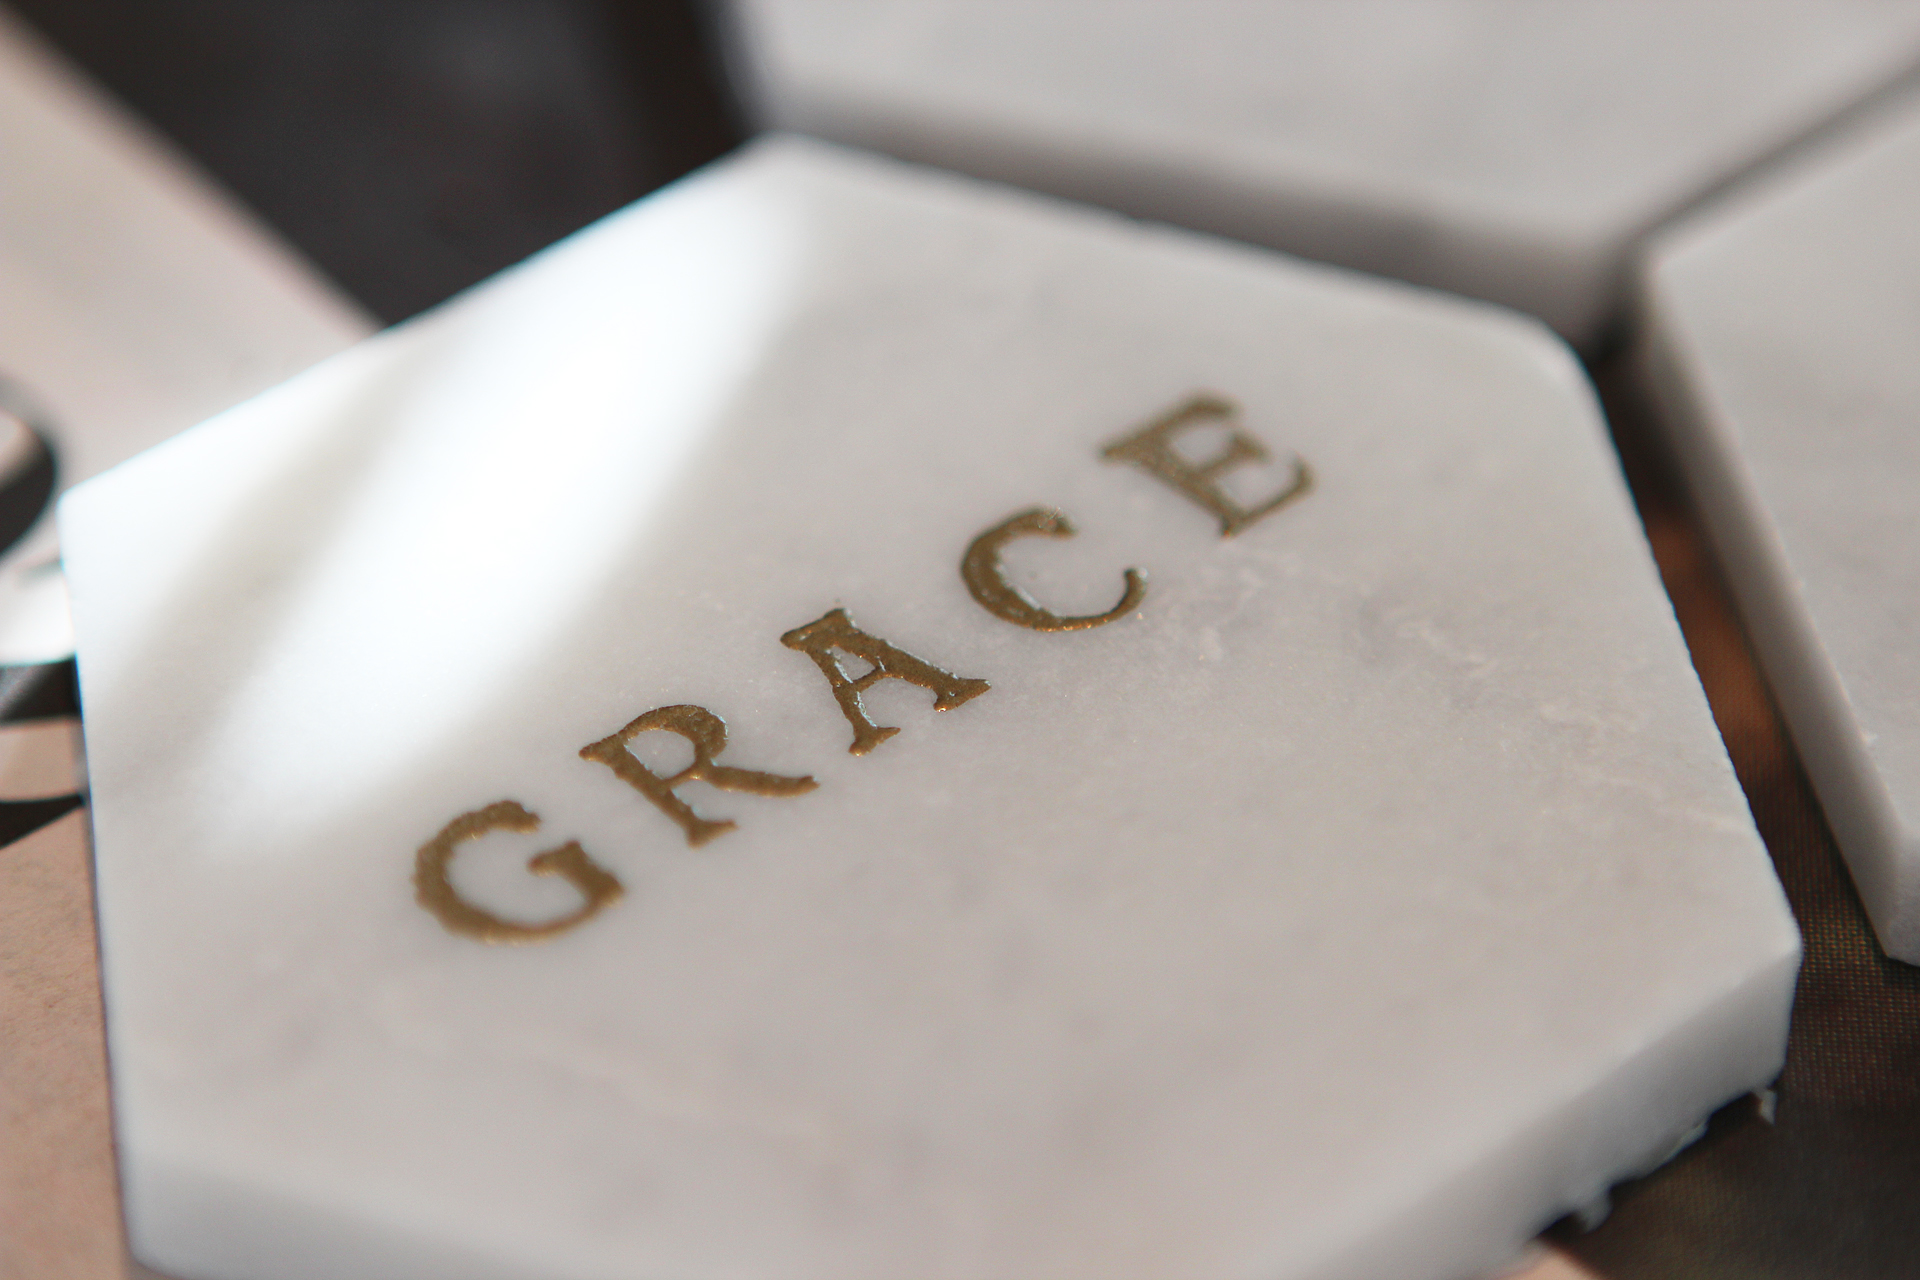
placecards6

And that’s it; I told you guys it was easy! They look so great, and nobody would ever guess you didn’t put in a ton of time or effort.
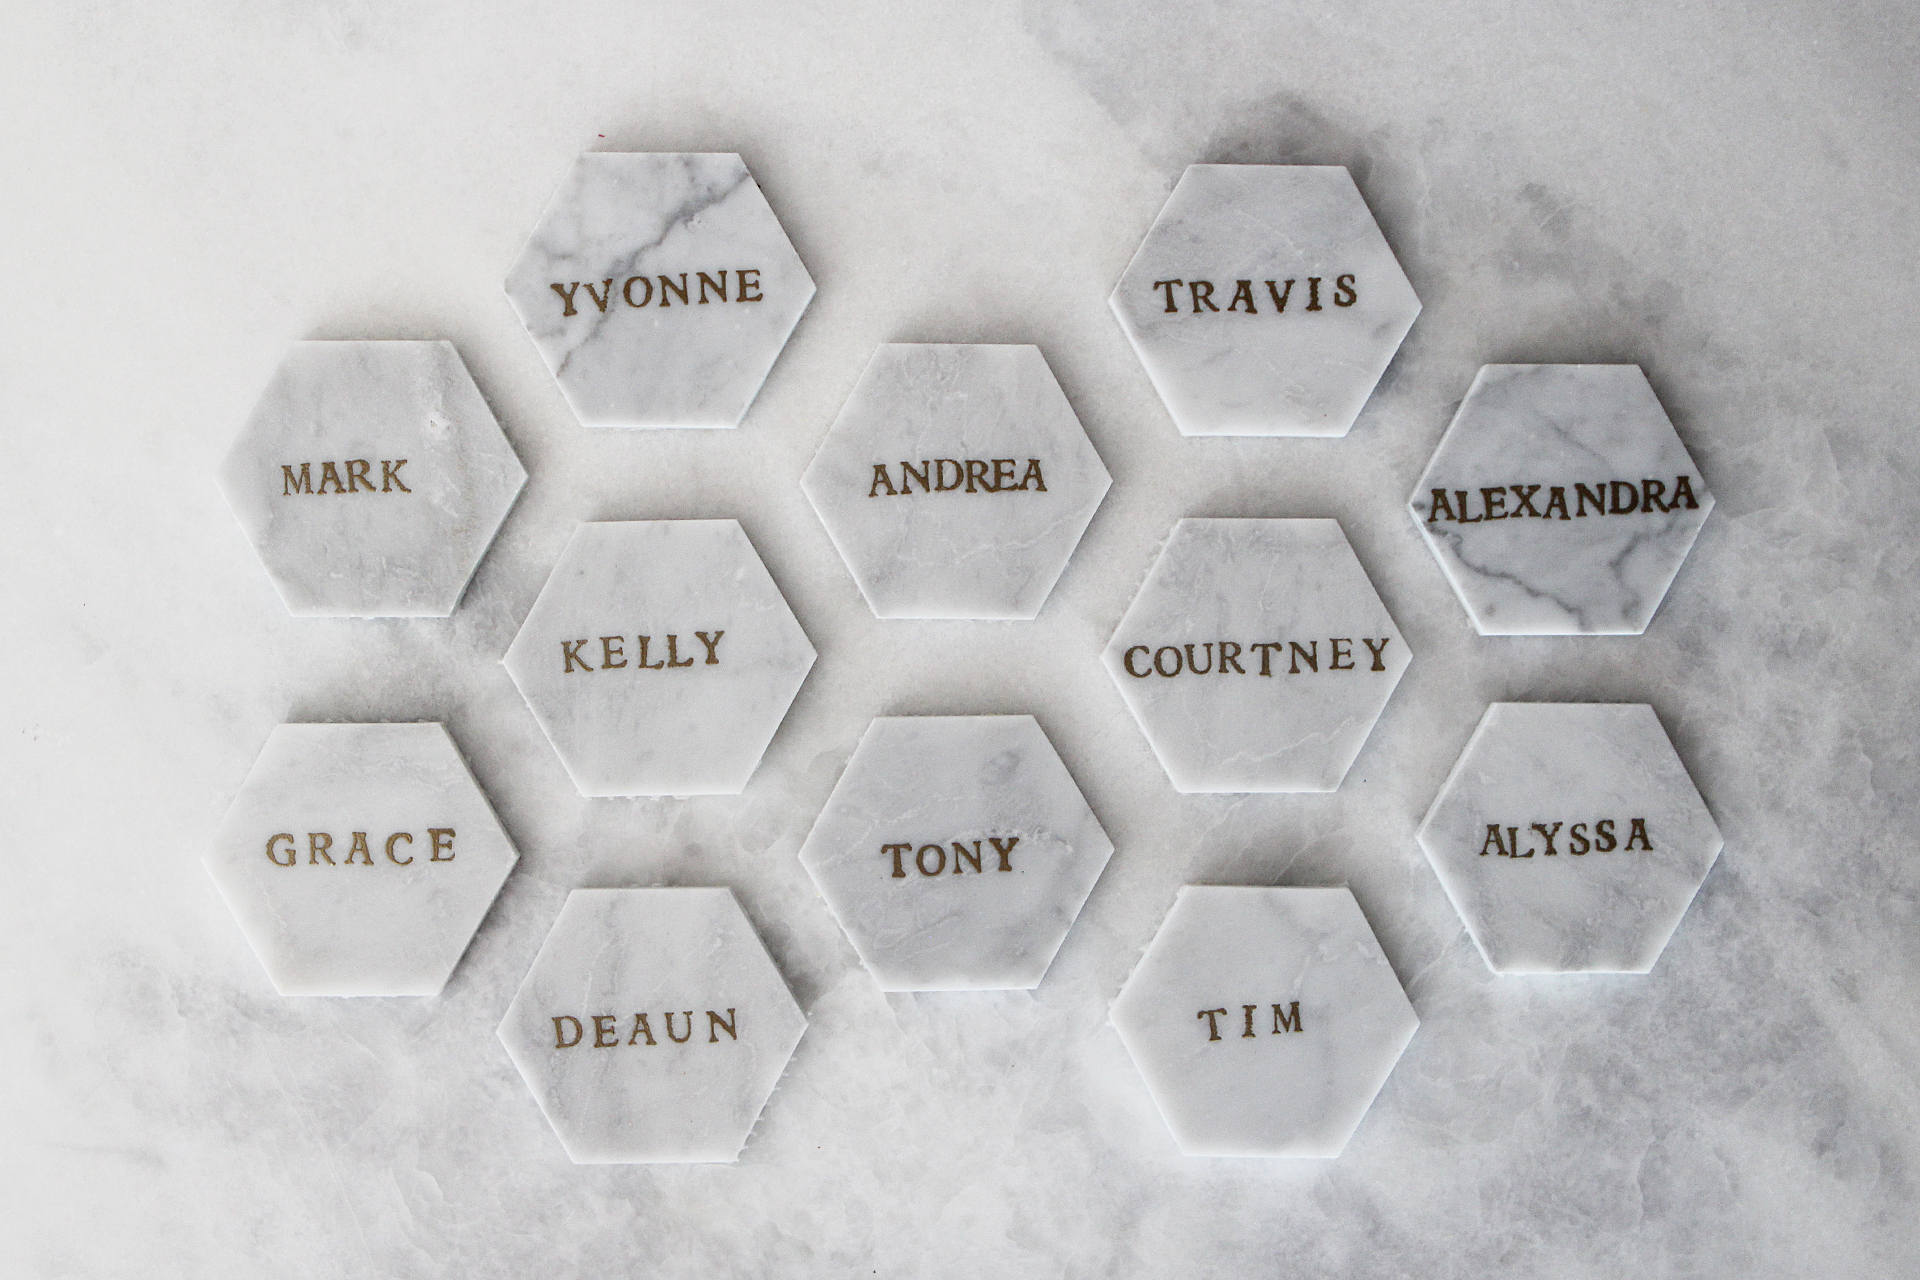
placecards7

November 12, 2015No Comments

Thanksgiving Printable

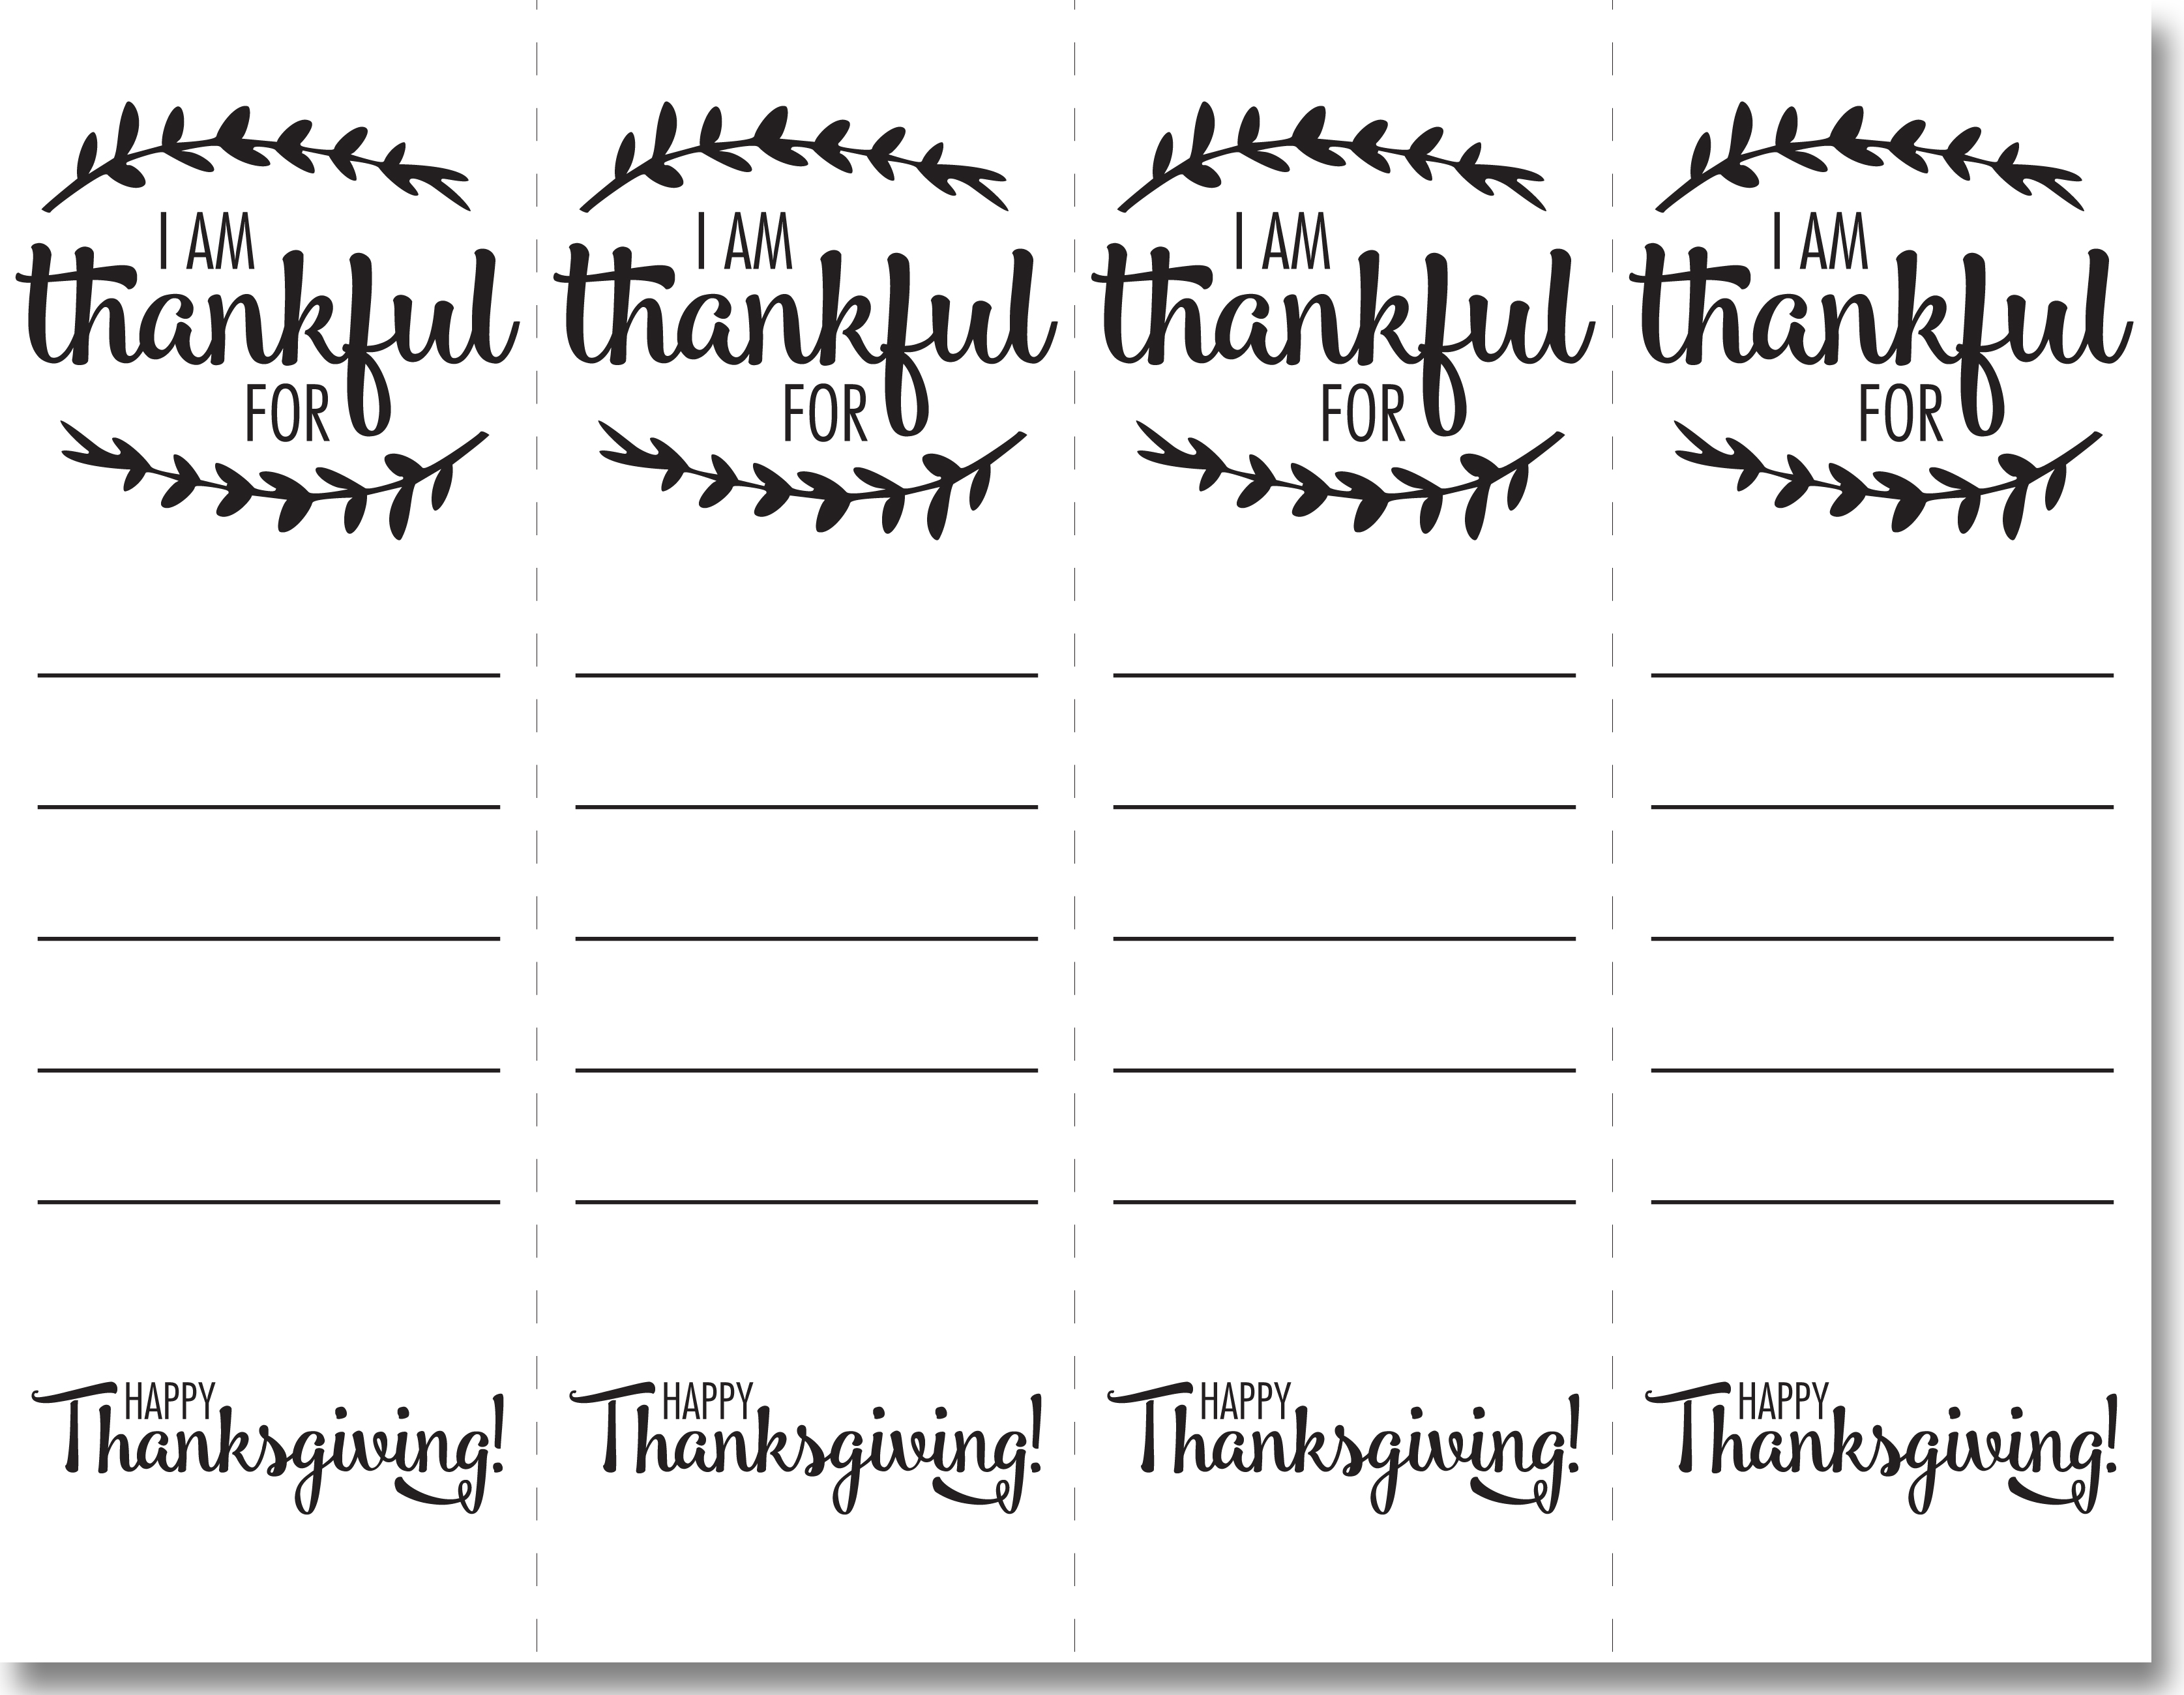
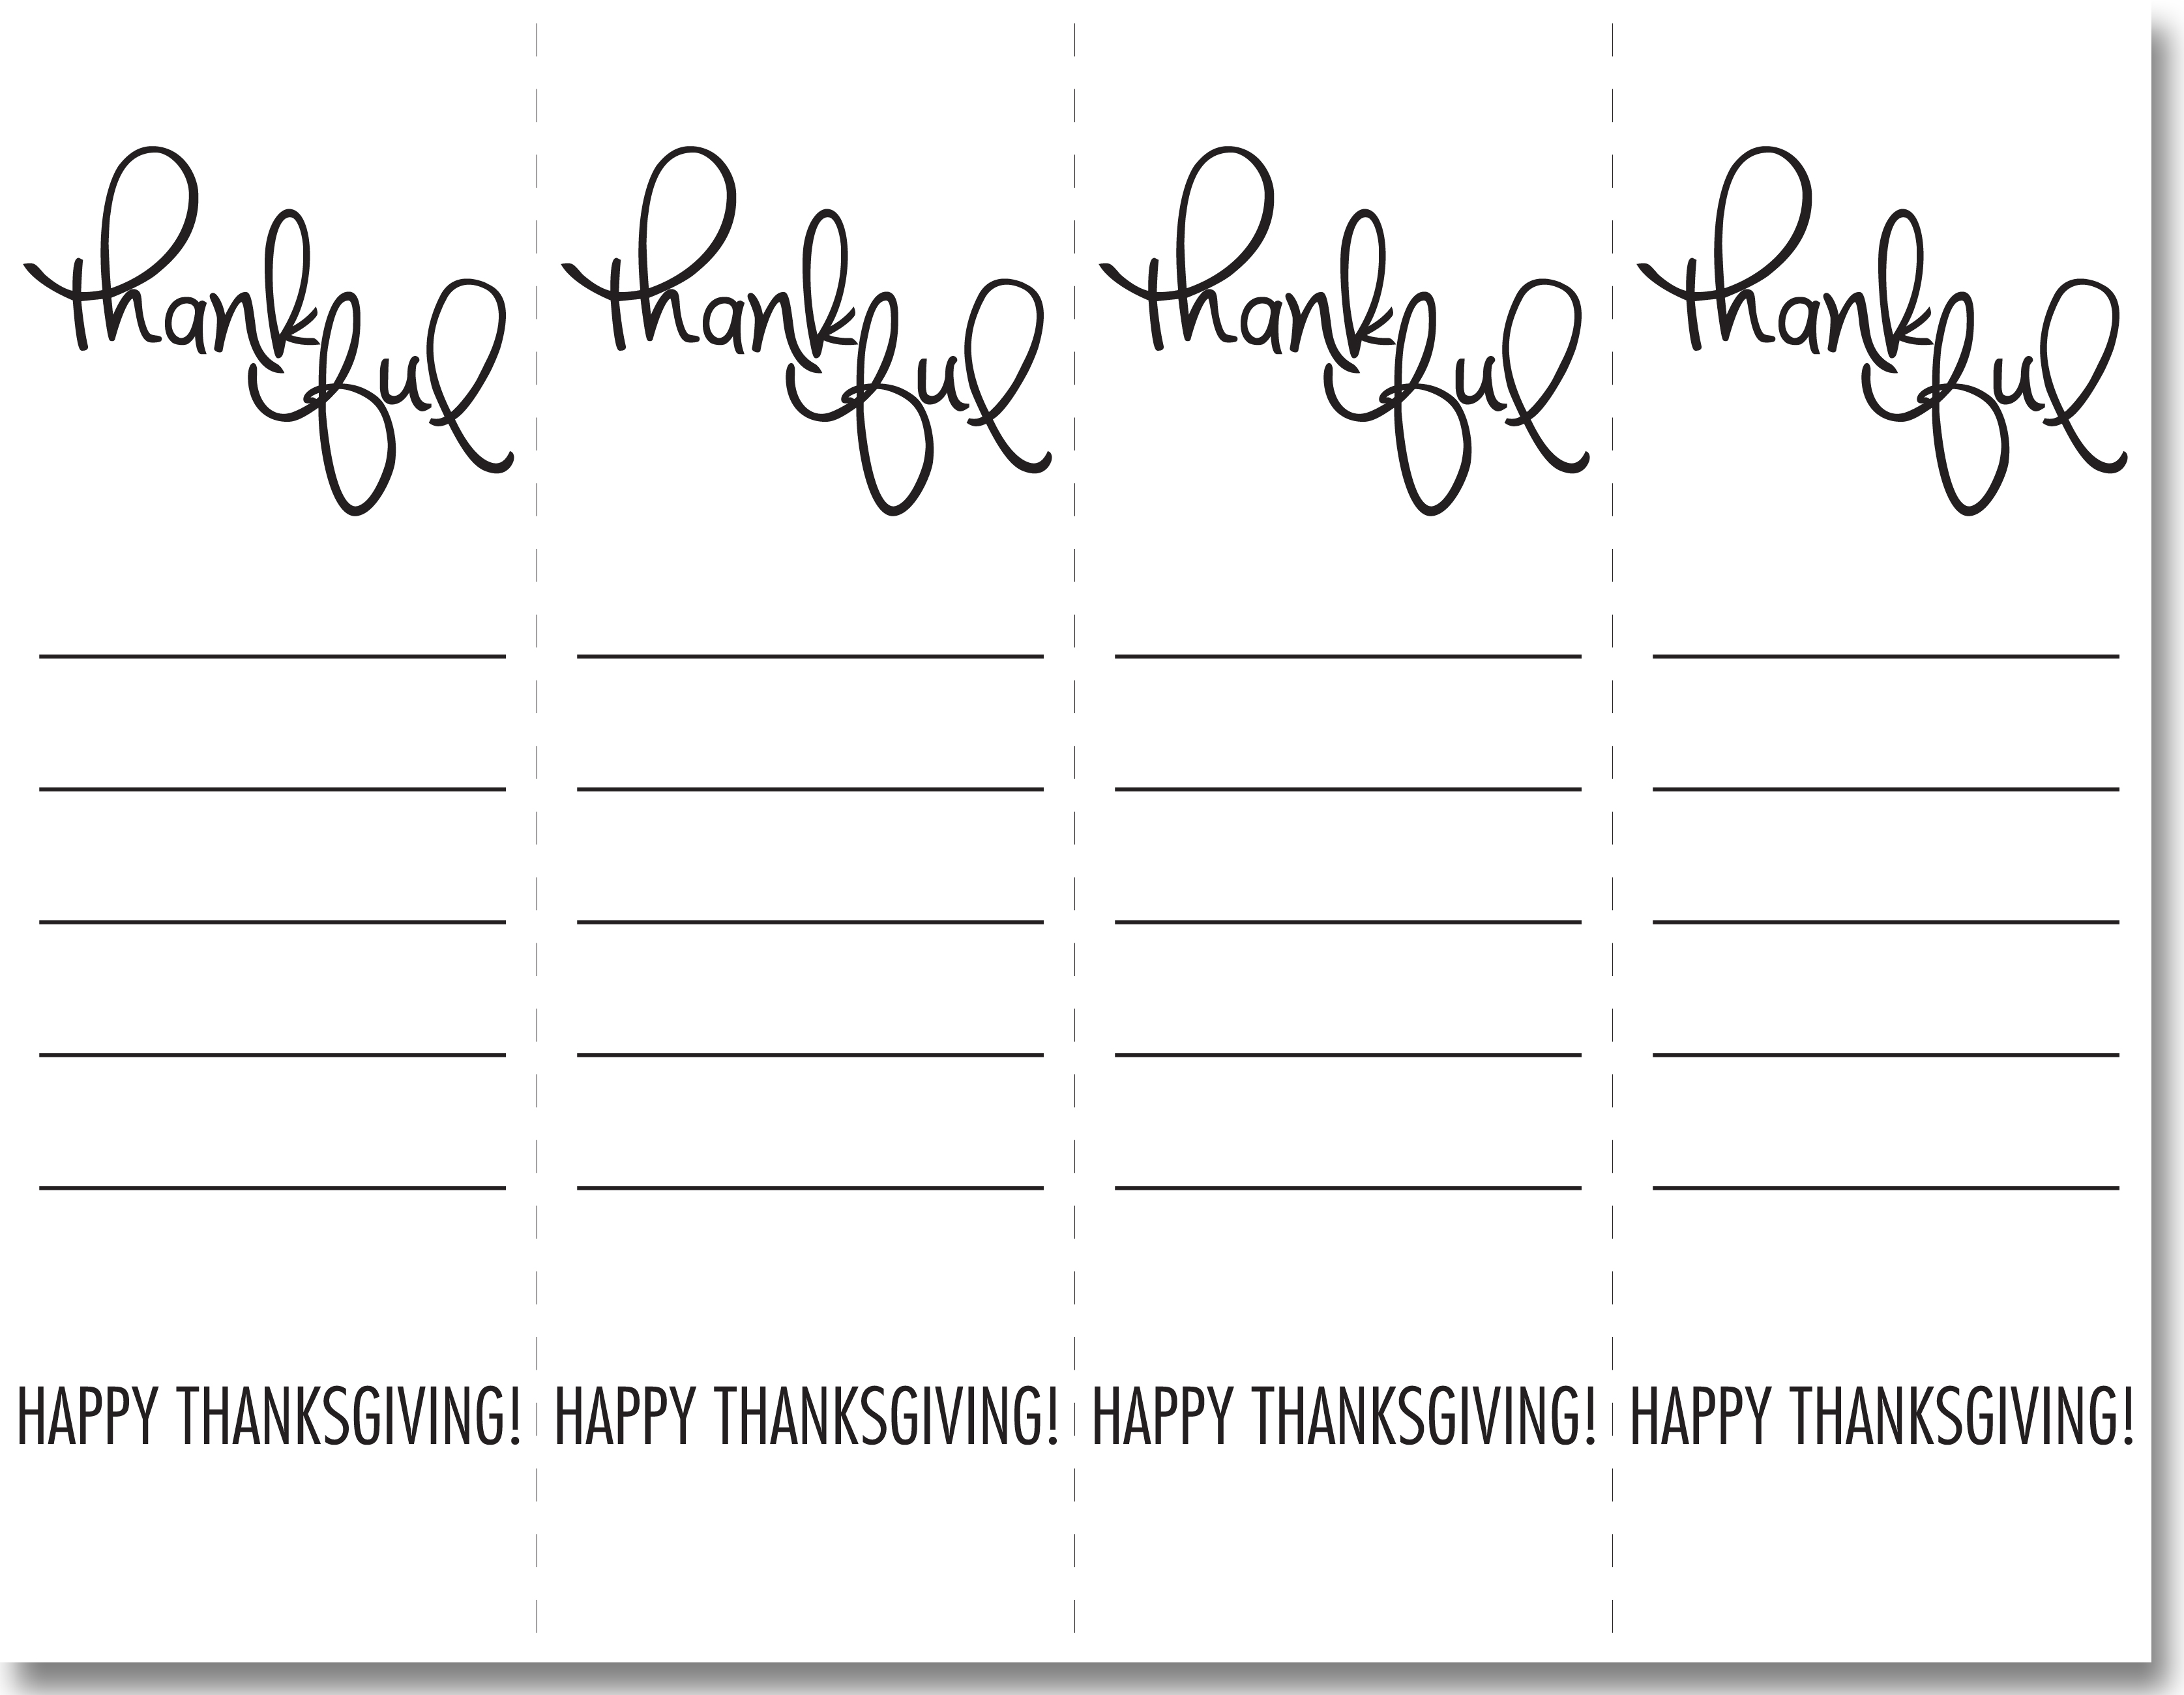
Thanksgiving is just two weeks away! I've been hard at work planning our tablescape for this year, so get ready for a full week of DIYs coming at ya starting Monday. Thanksgiving is really the last true obstacle in the way before we can fully go Christmas crazy—and let's be honest, I was already on the Christmas train before Halloween rolled around.

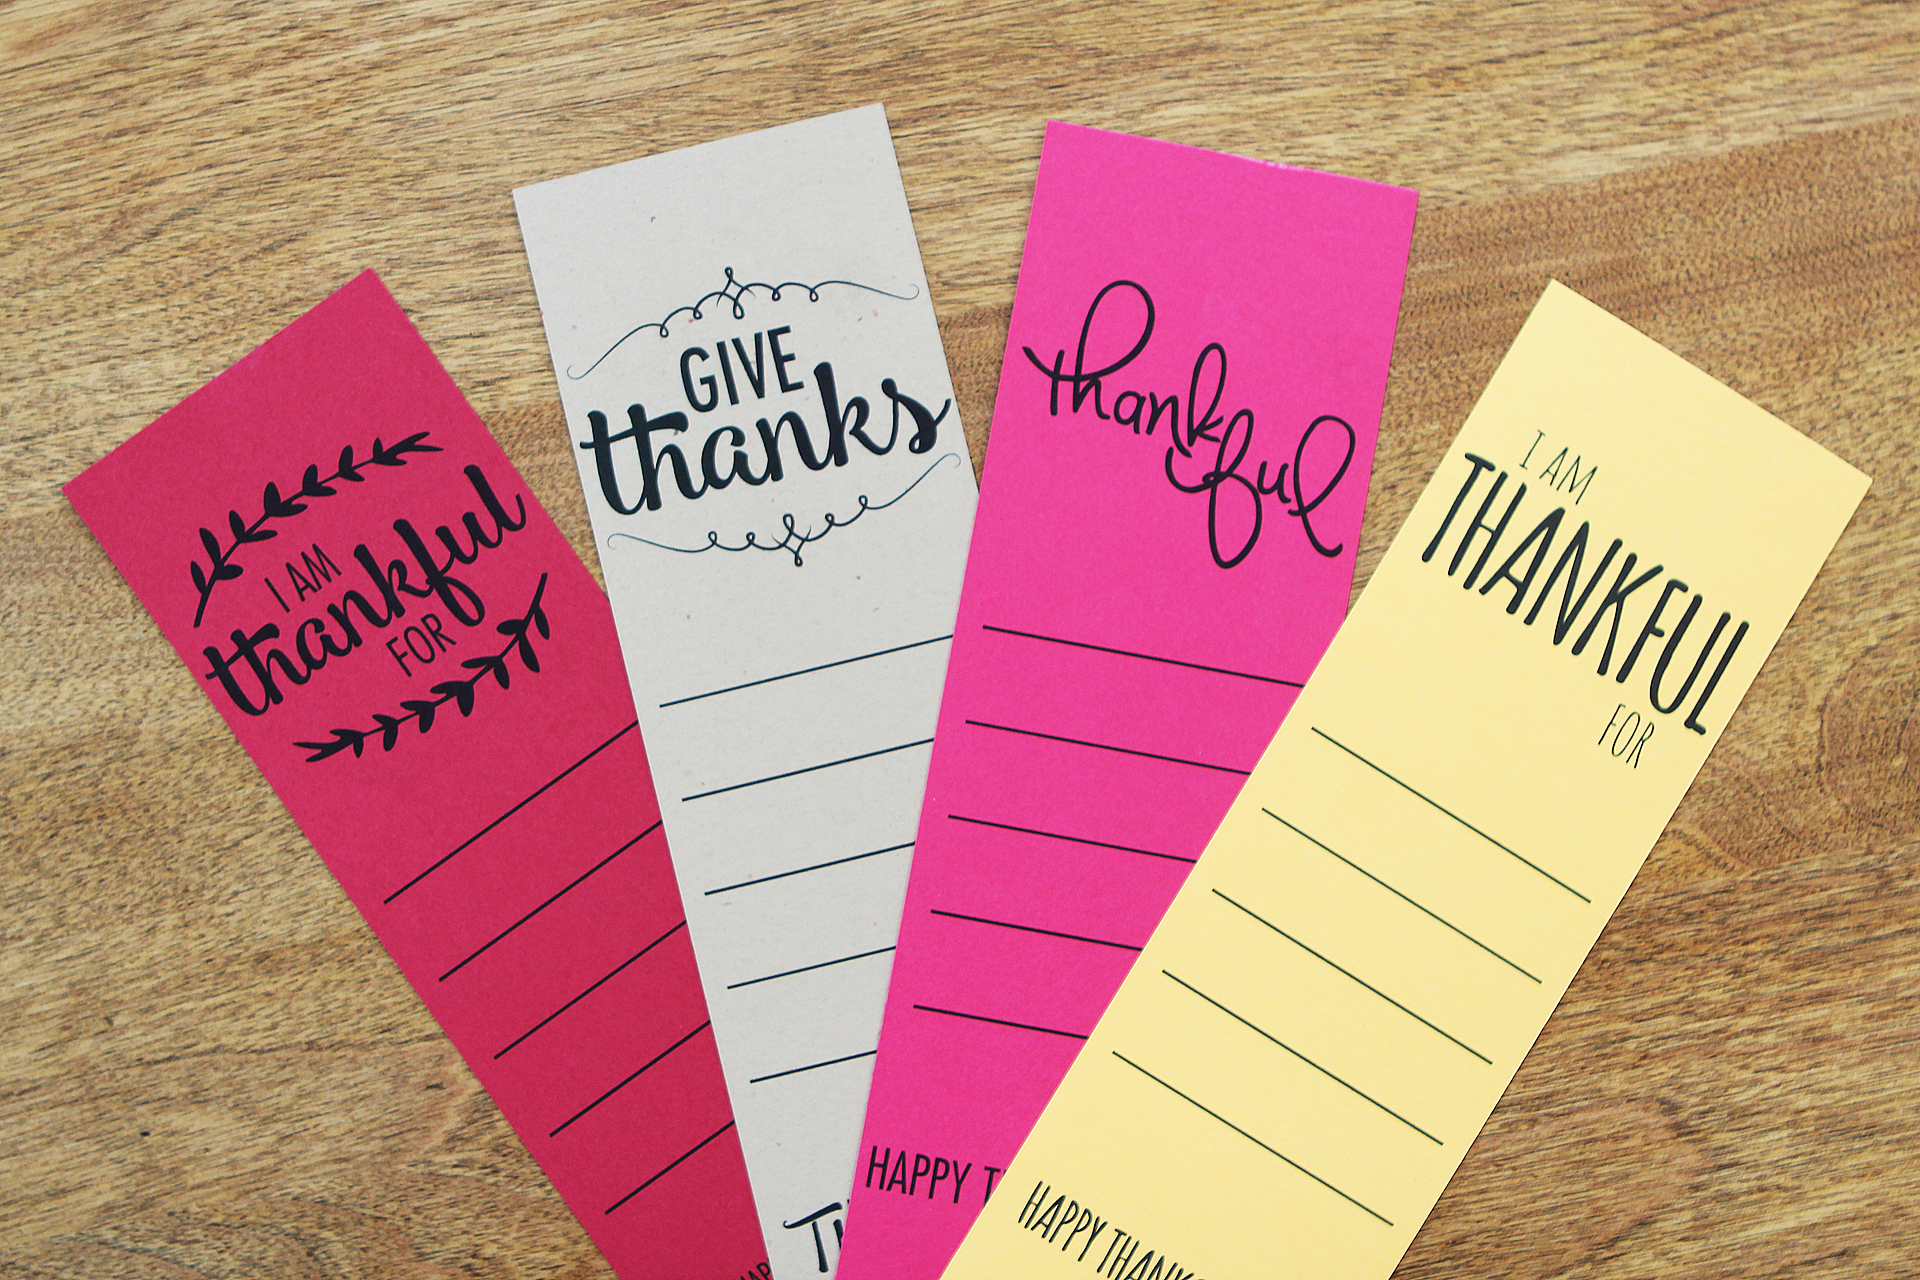
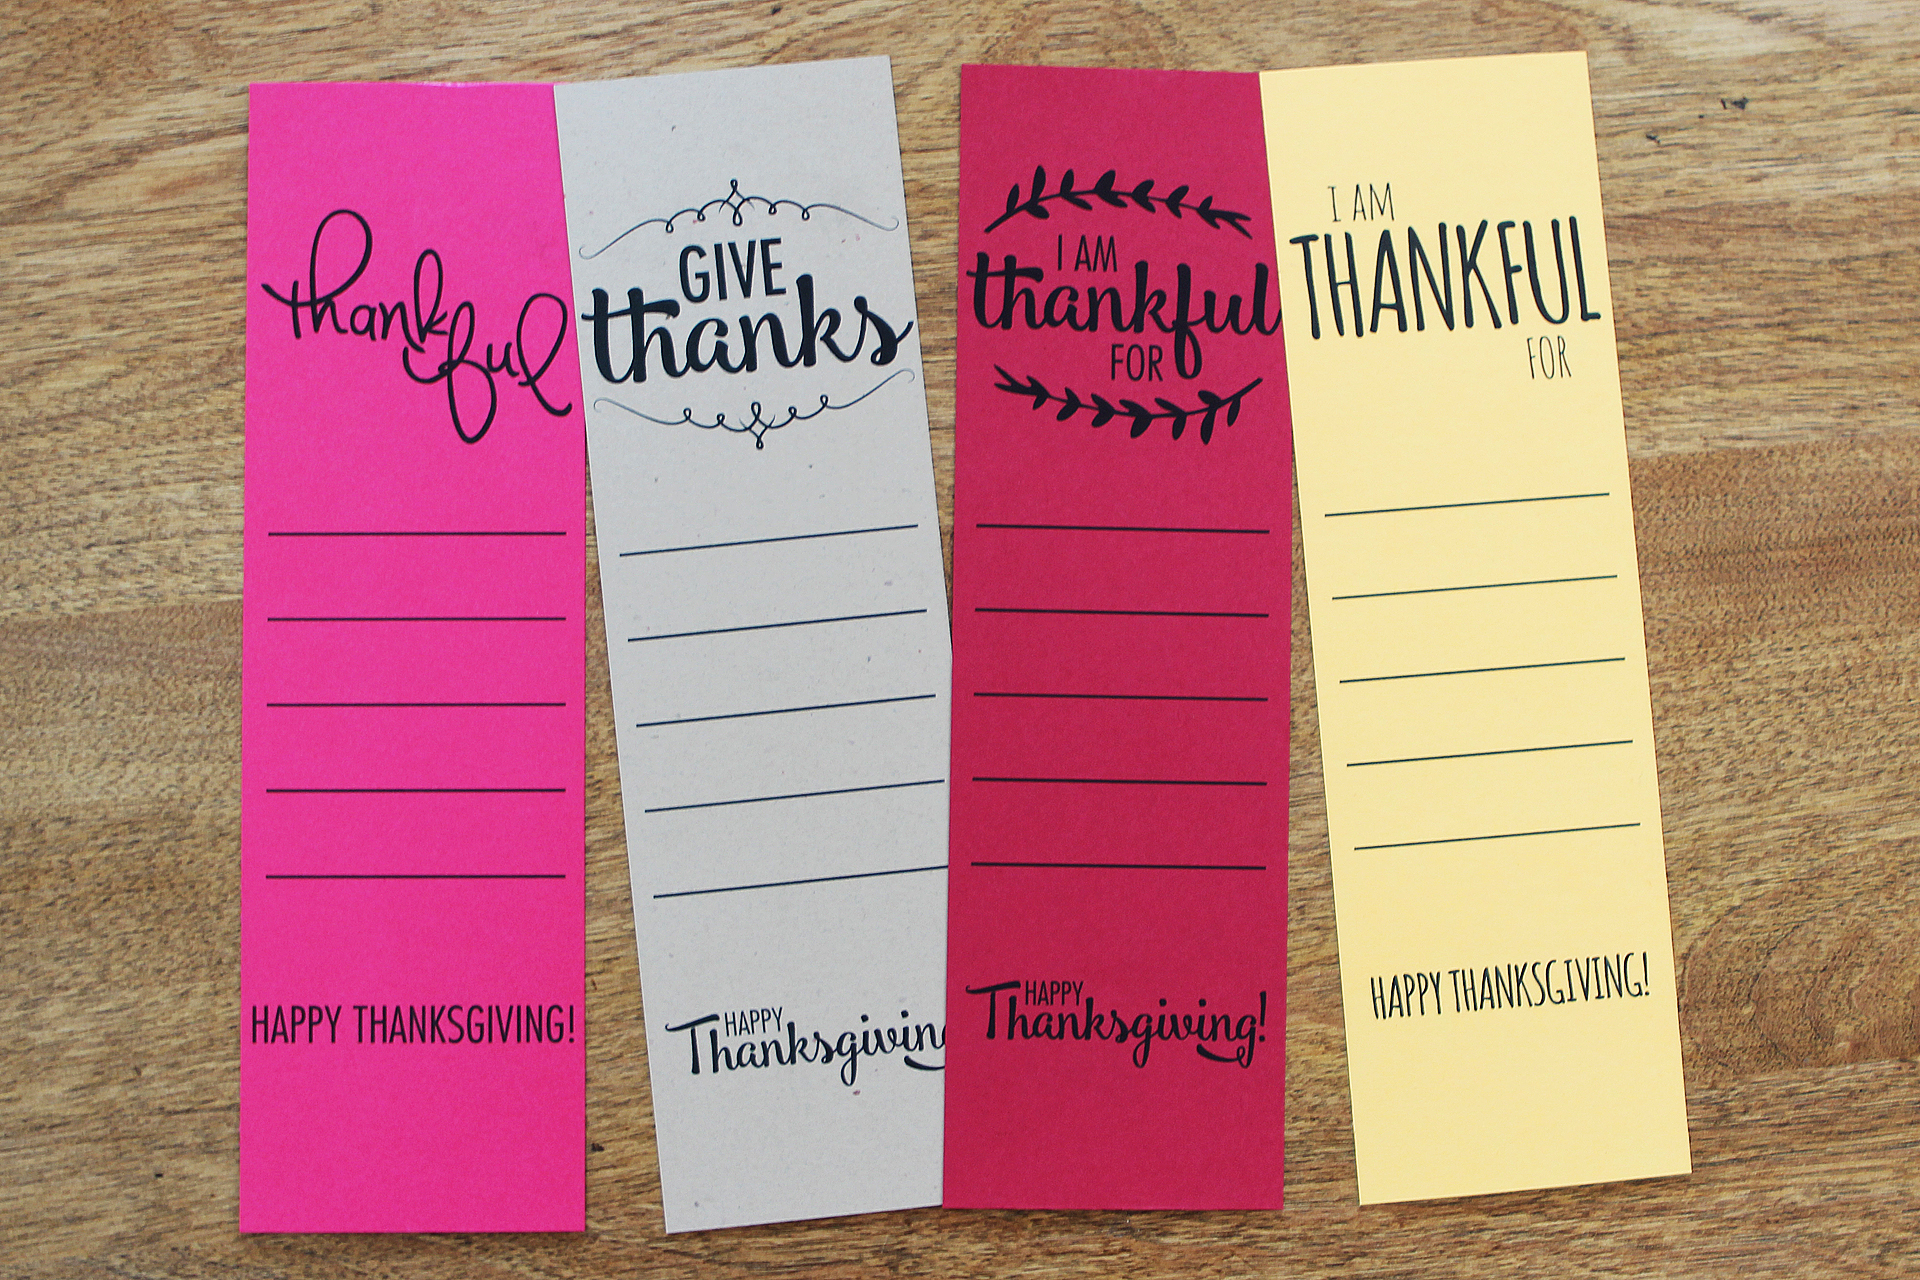
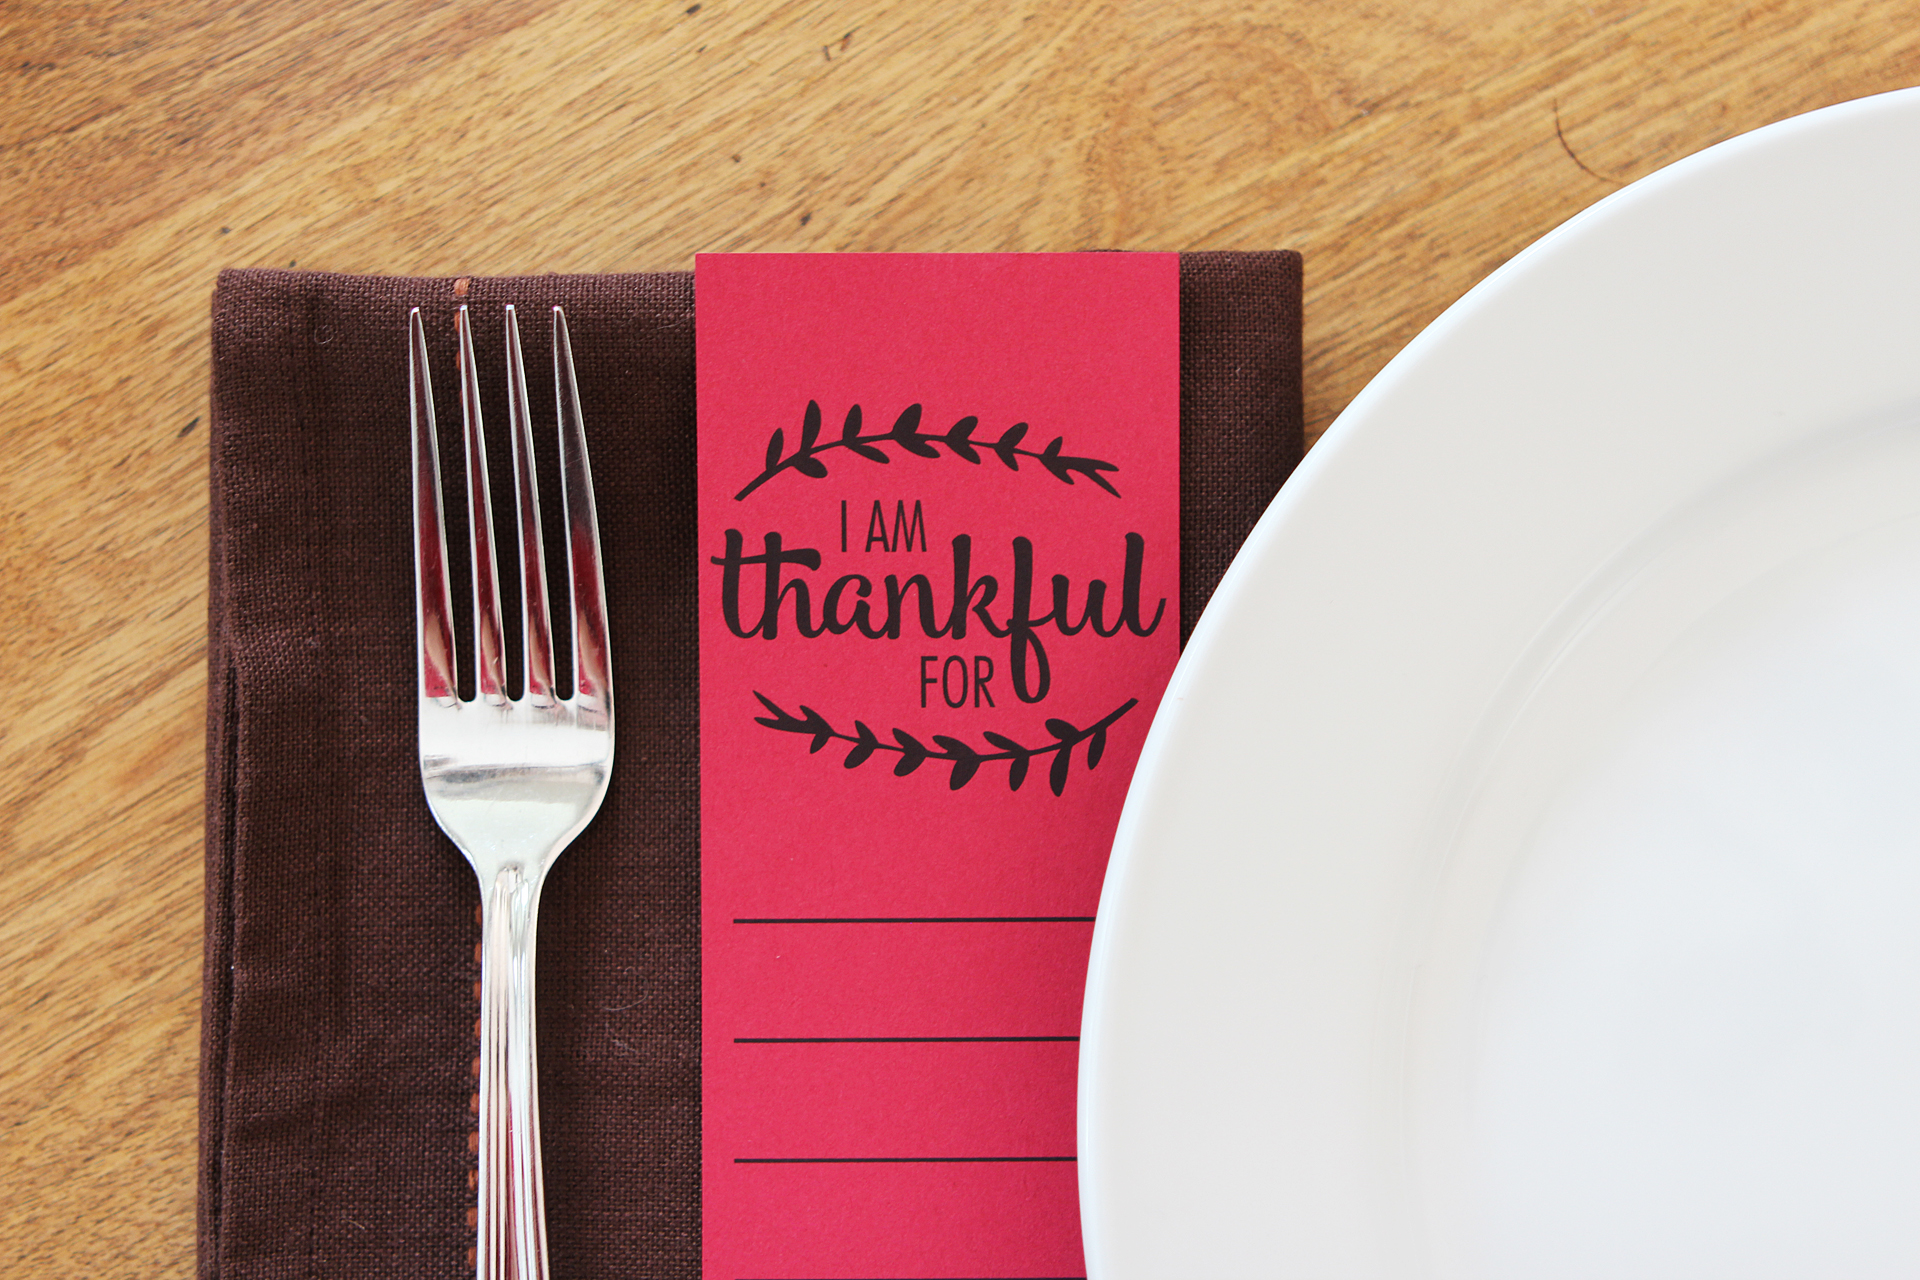
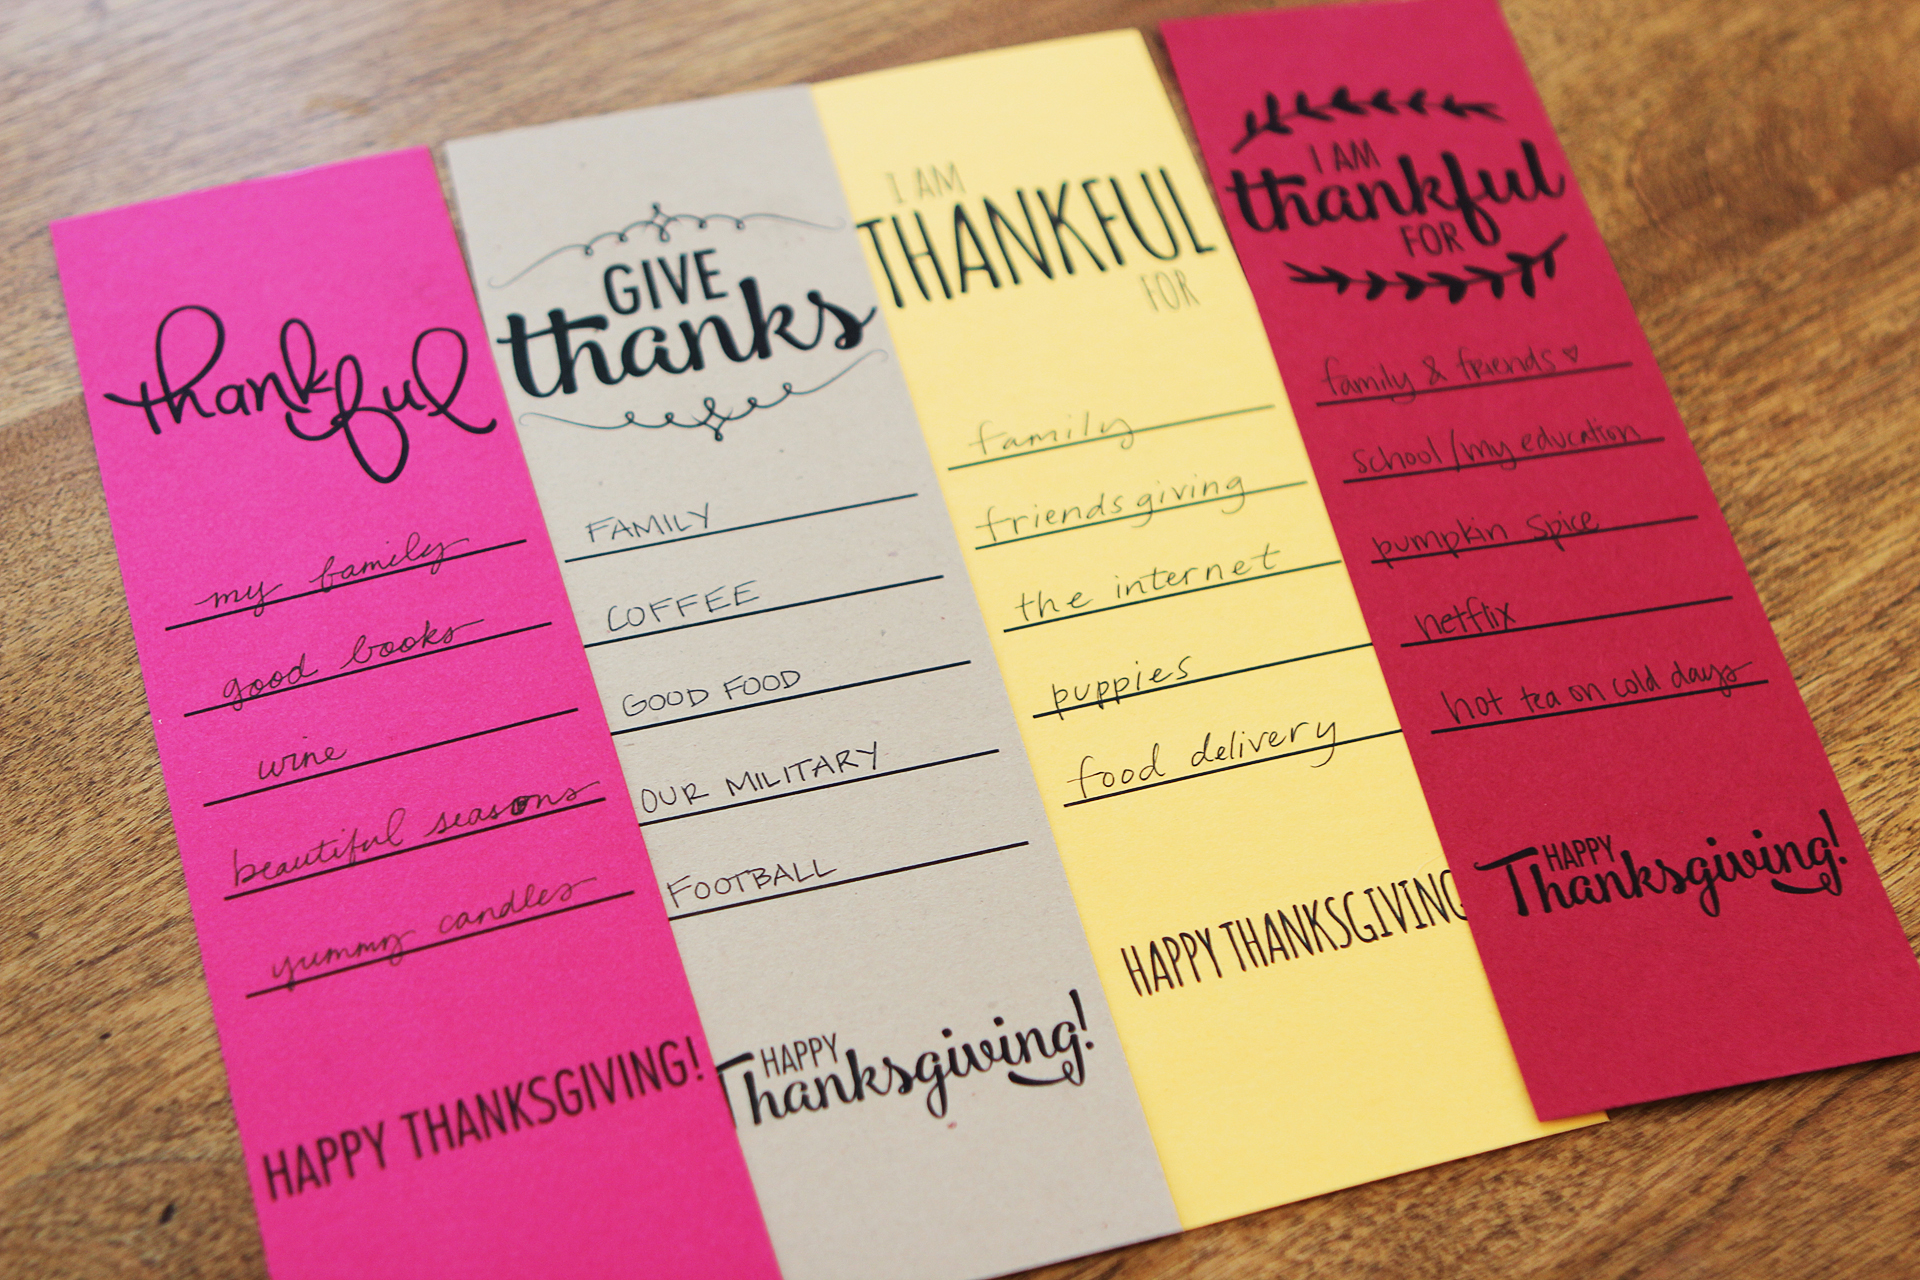
This printable is sort of a tradition in our family. Every year, we spend some time during the Thanksgiving dinner writing down the things we’re most thankful for, and then we go around the table and share what we wrote.

thankful3

I encourage you to use these cards with your family and friends this year. It's always so great to share what we’re grateful for with the people we love.

thankful4

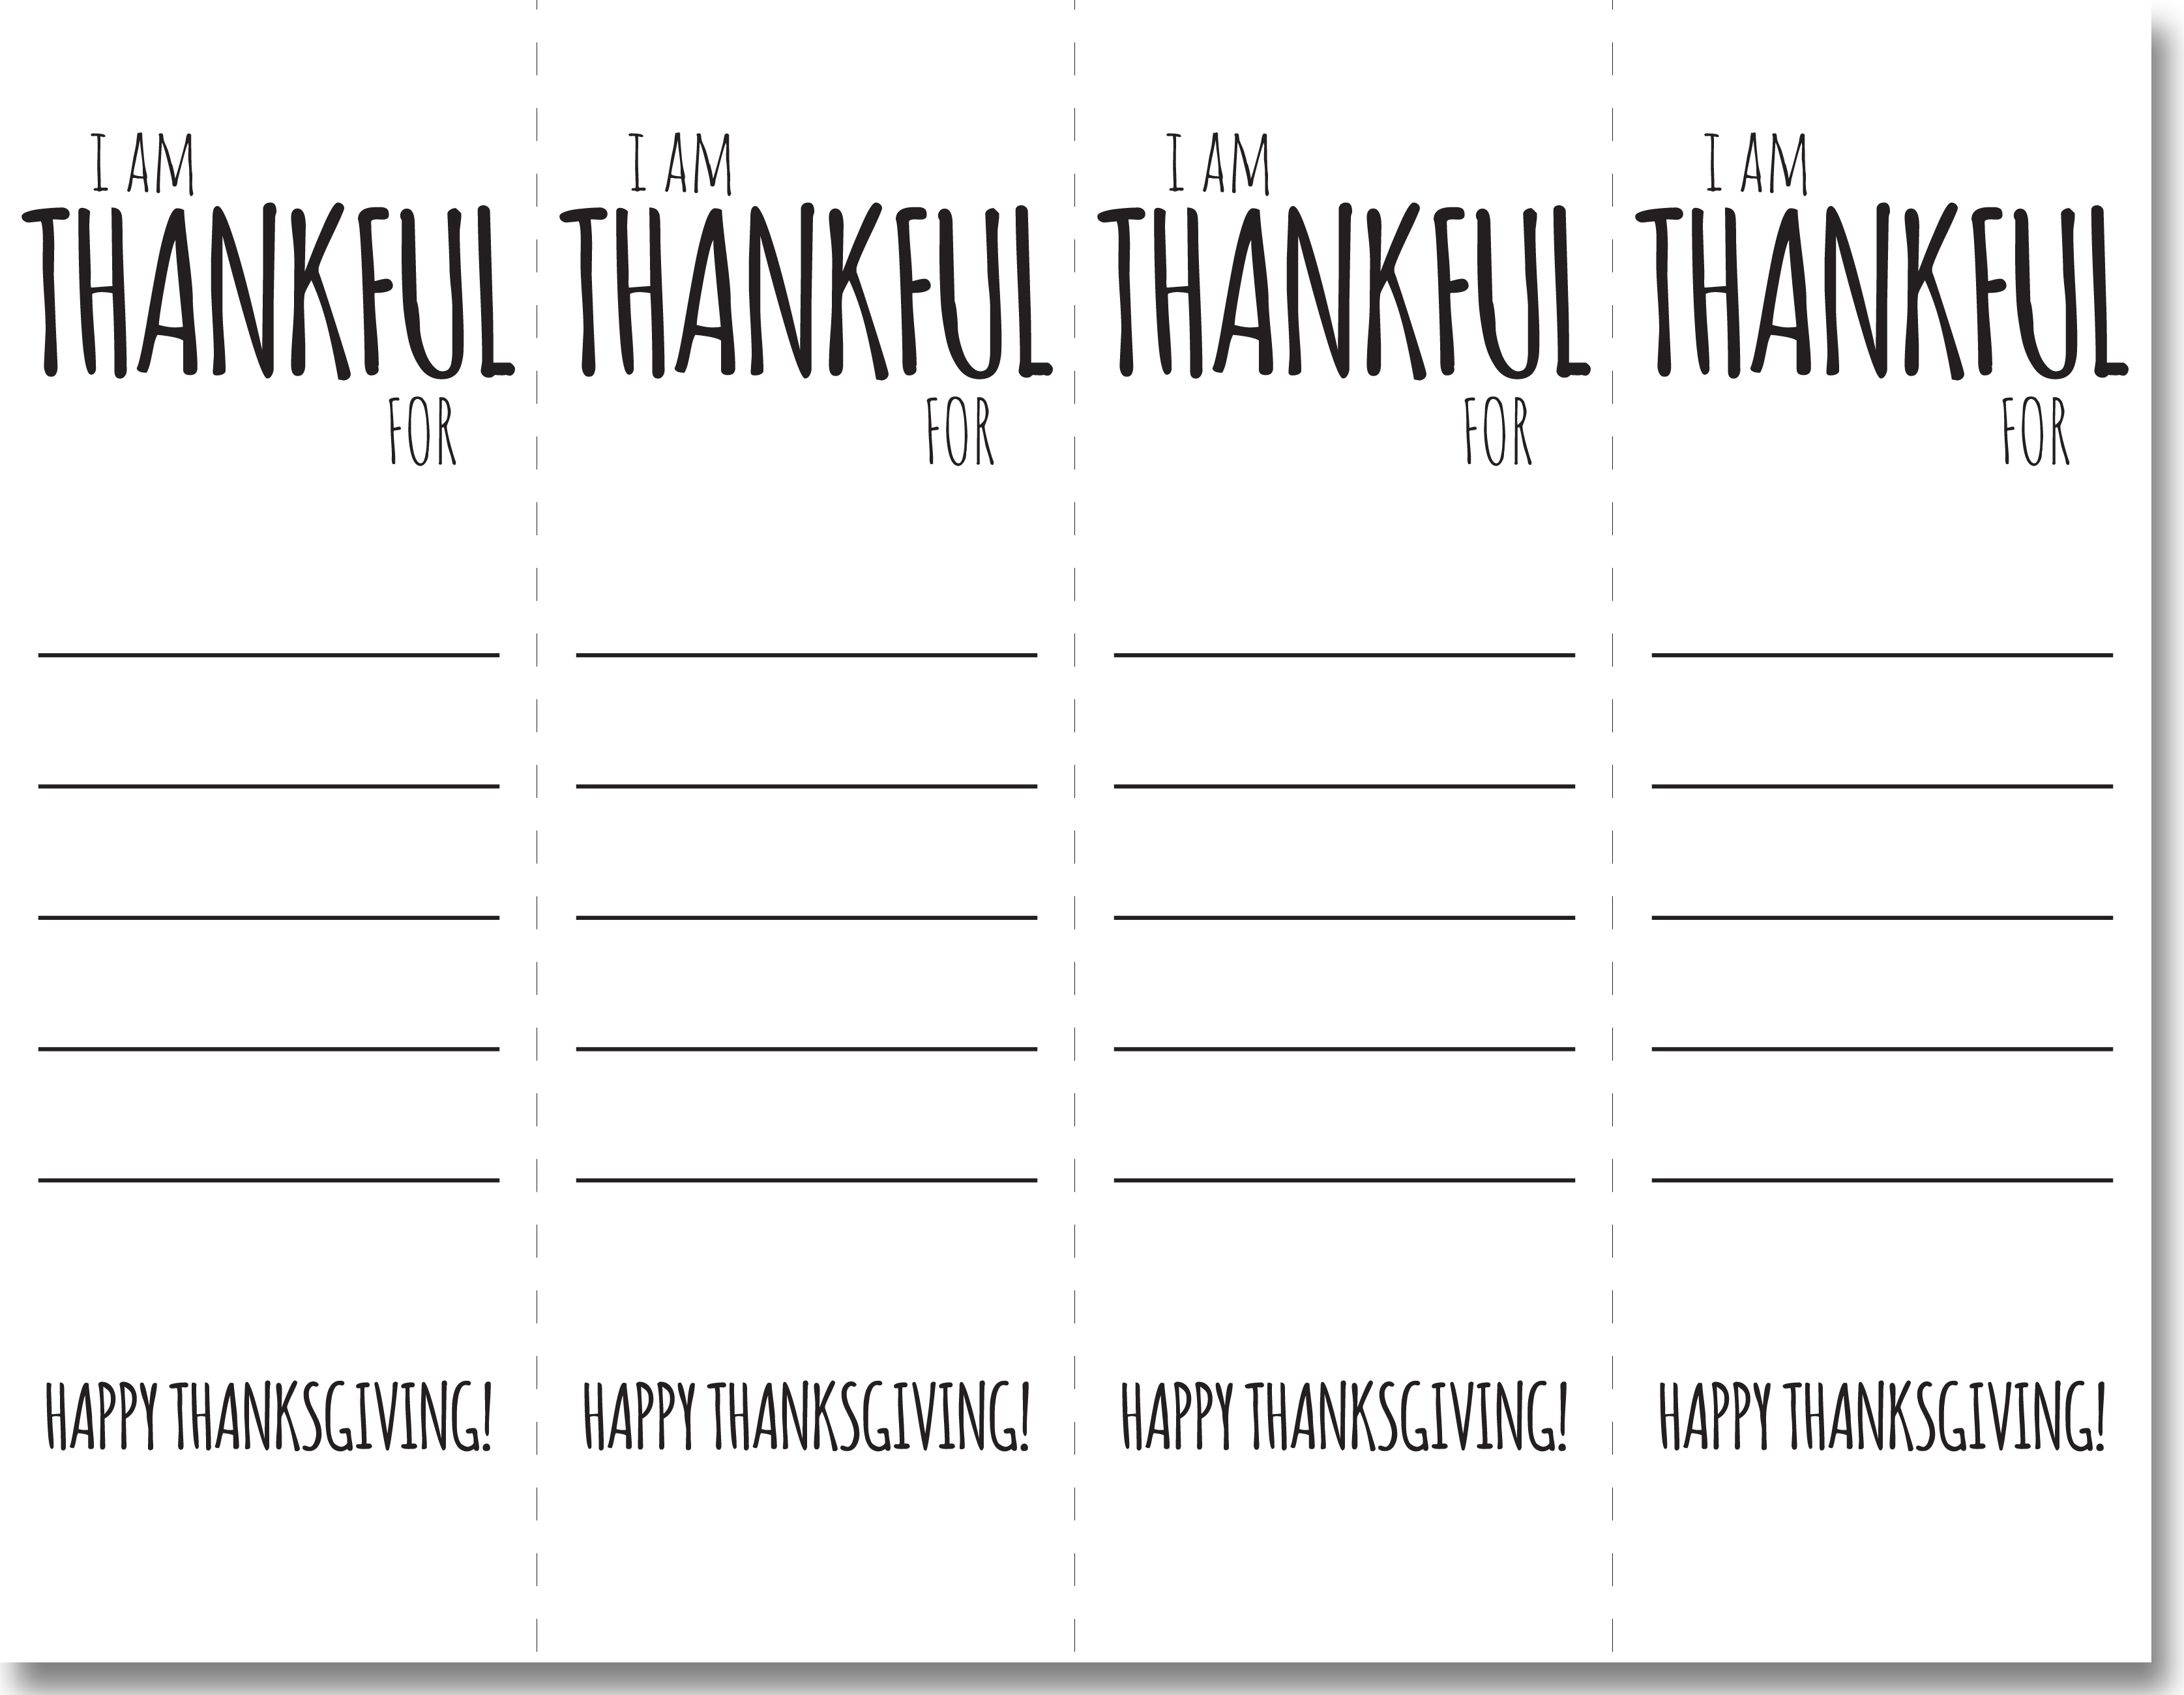
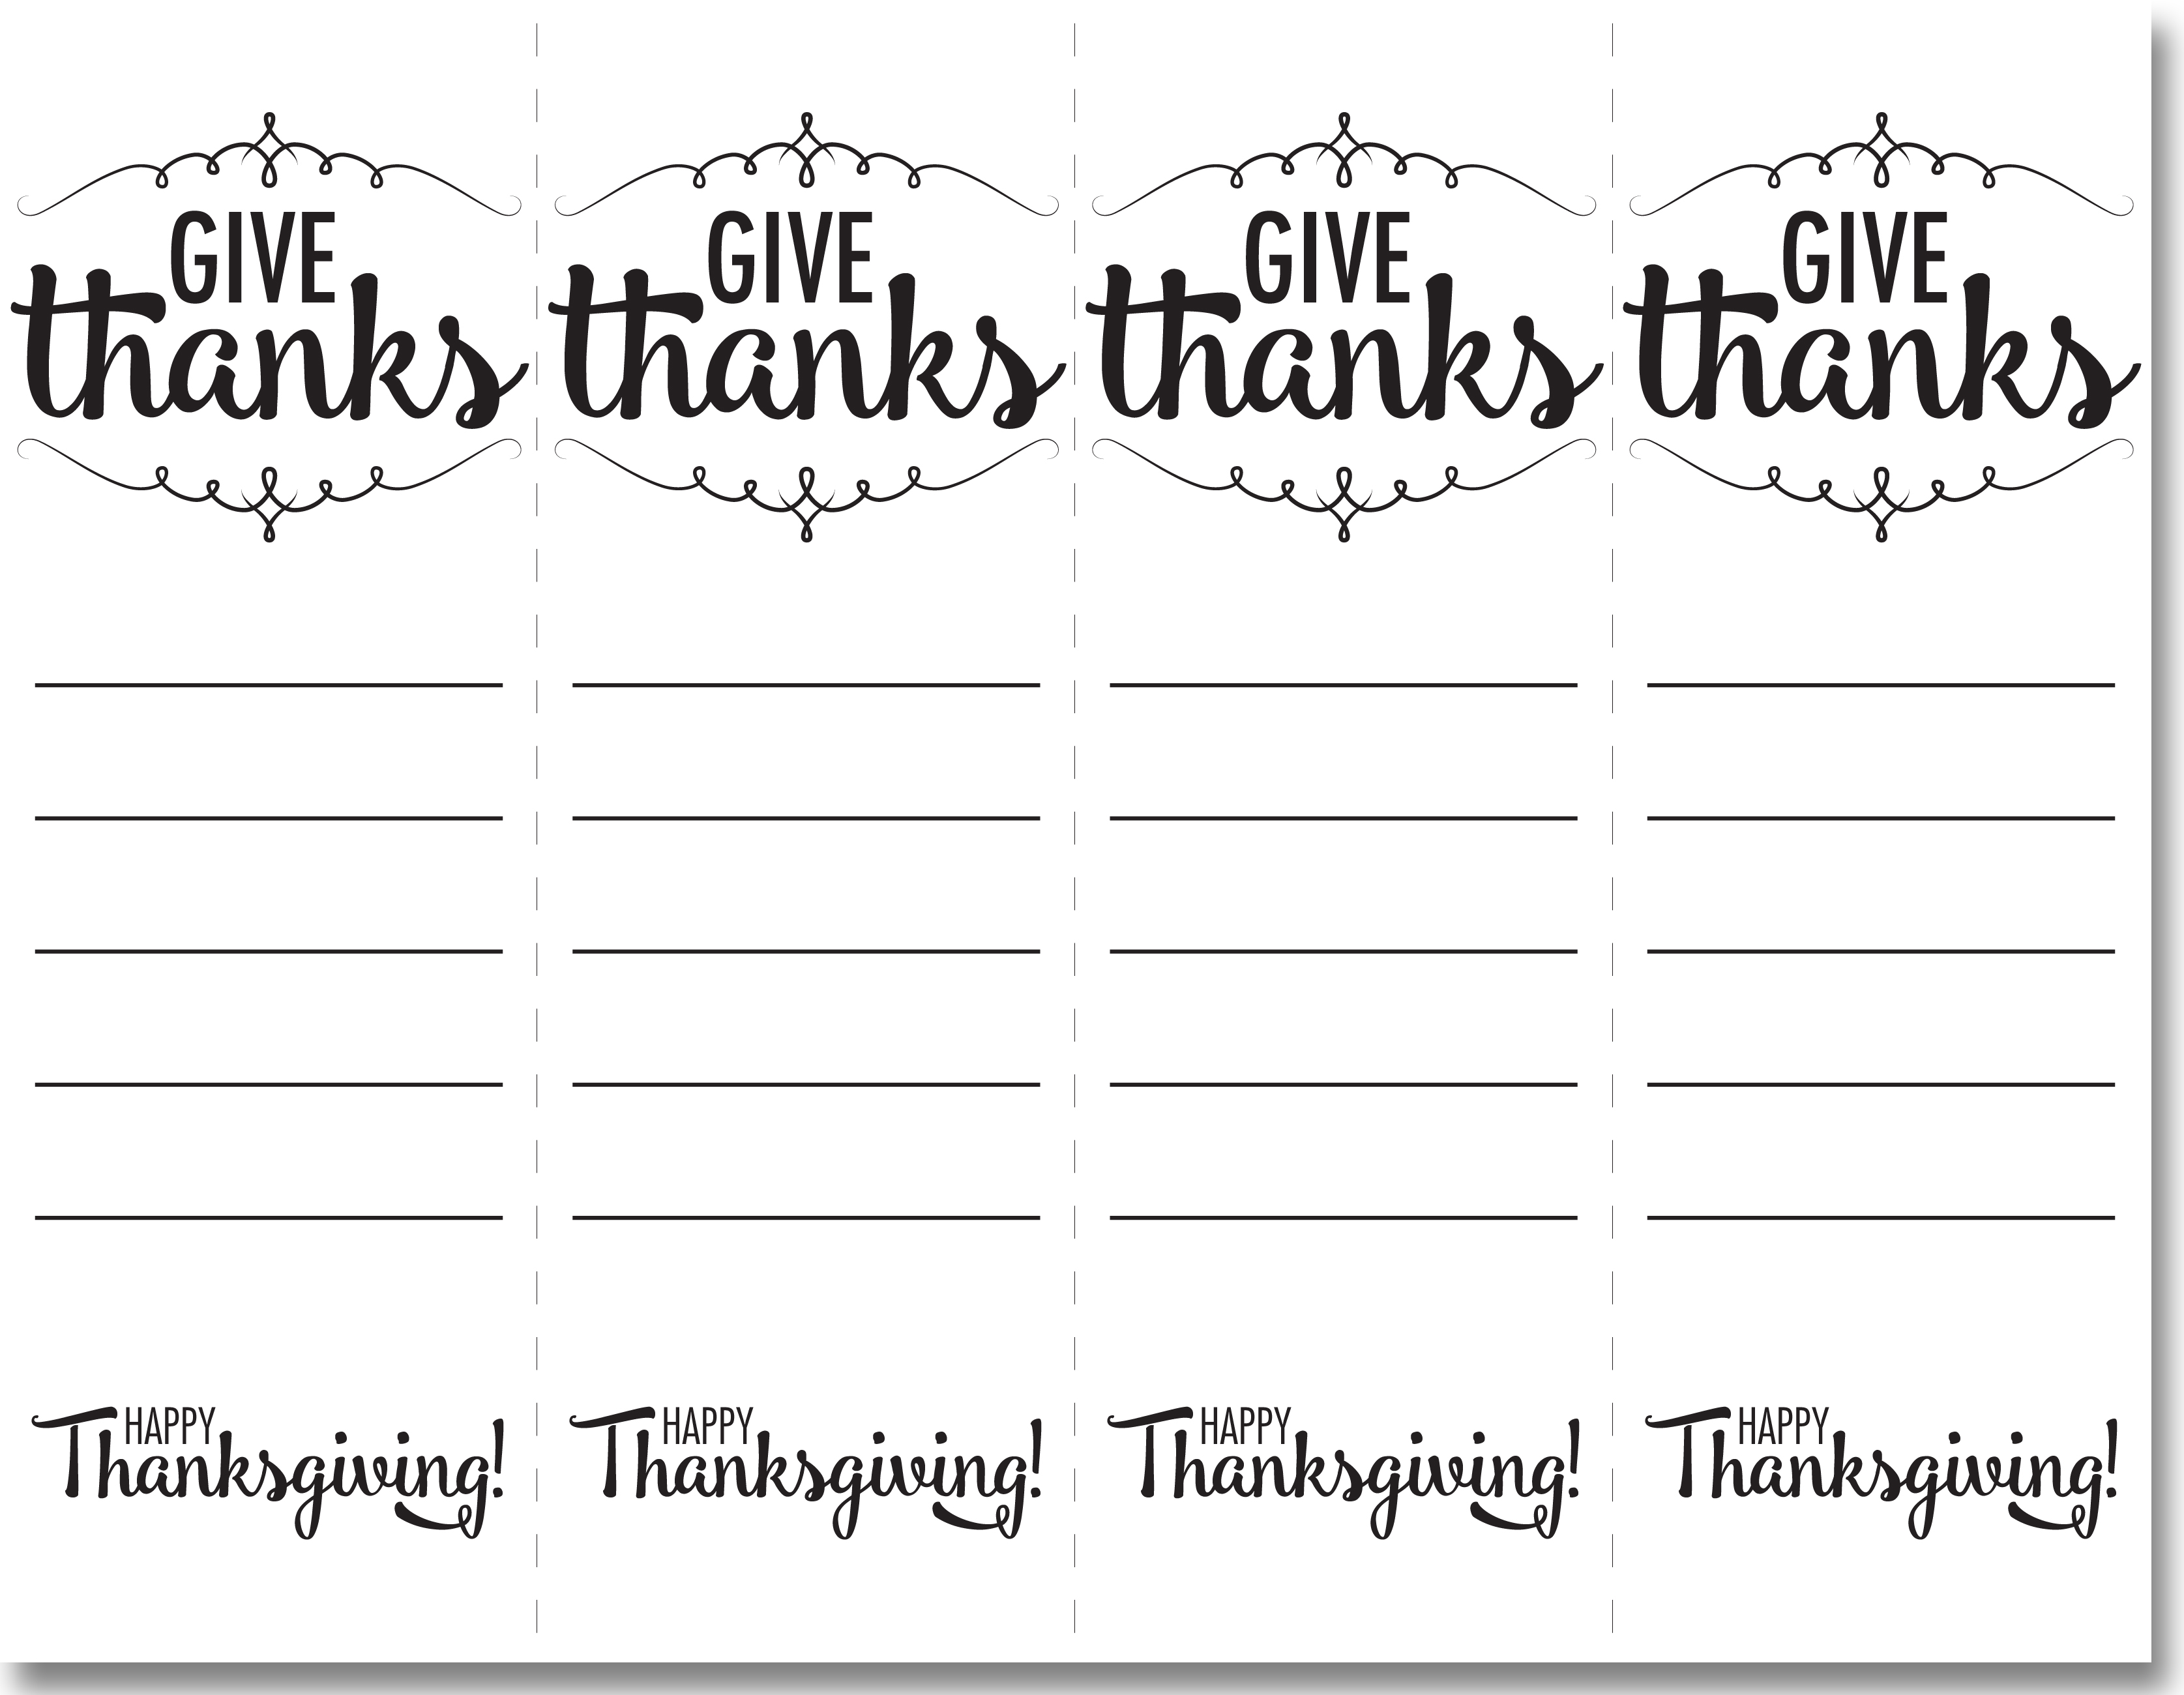
There's four different PDFs, just click below to open and print! You can use all of the same kind or mix it up amongst your guests. I recommend printing them on colored paper to match your table; it really adds to the overall theme.

thankfulprintable1
thankfulprintable2

October 26, 2015No Comments

Creepy Cocktails

I have a confession to make: I don't really like Halloween. I know, I know–a blogger who doesn't like Halloween?!? I struggled through my college years pretending to care/dressing up for parties, but it never truly seemed worth it. I love a good costume, and I love dressing up, but I've never truly loved Halloween after I became too old to trick or treat.

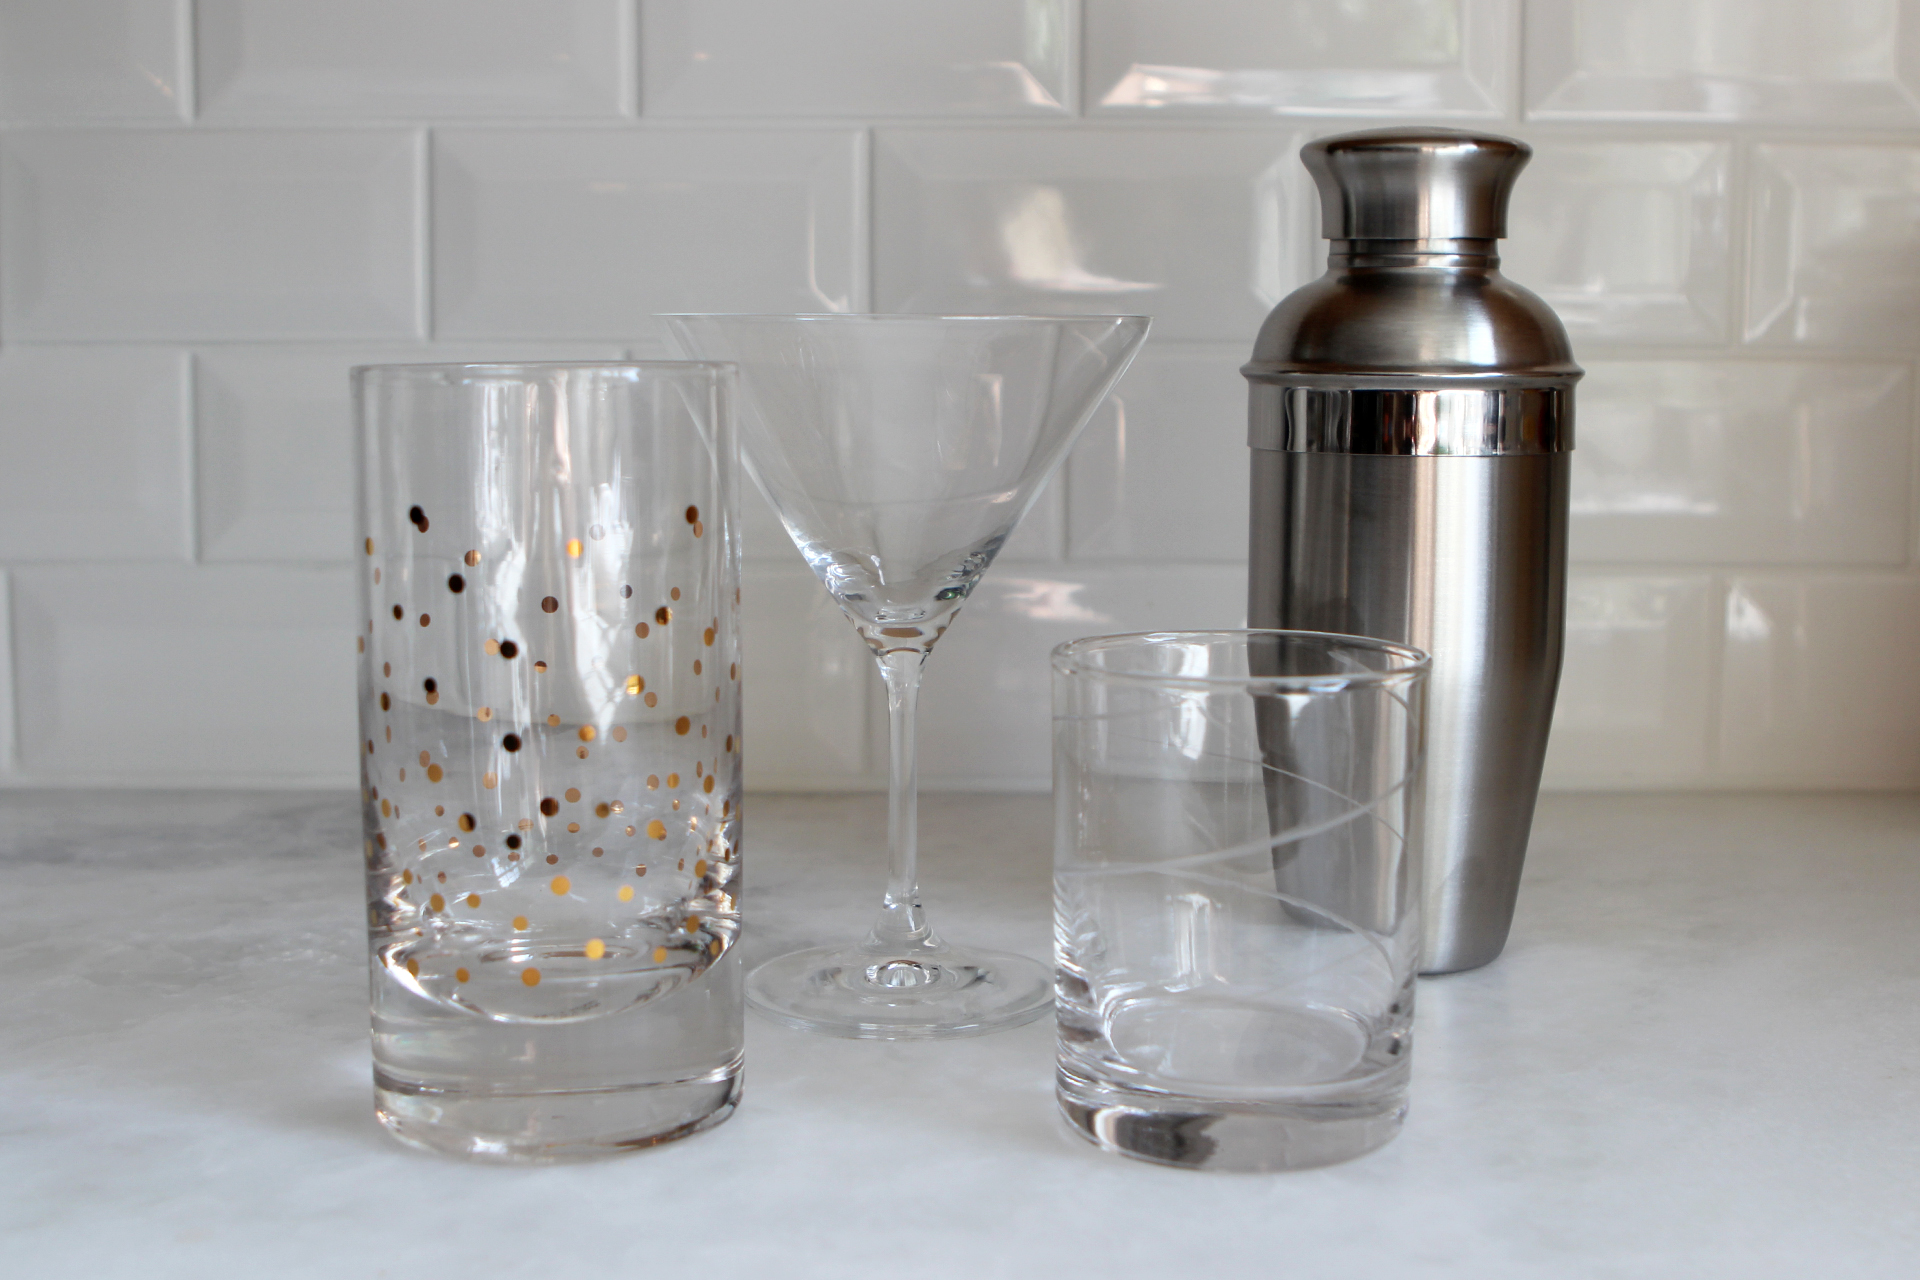
If you're like me and are spending the night at home handing out candy, these drinks are for you! And if you're the complete opposite of me and are hosting an extravagant themed party, these drinks are also for you!

Note: All three of these drinks call for black vodka. If you can't find any, it's easy to make. Just add equal parts red, green, and blue food coloring drops until you've reached the desired darkness.

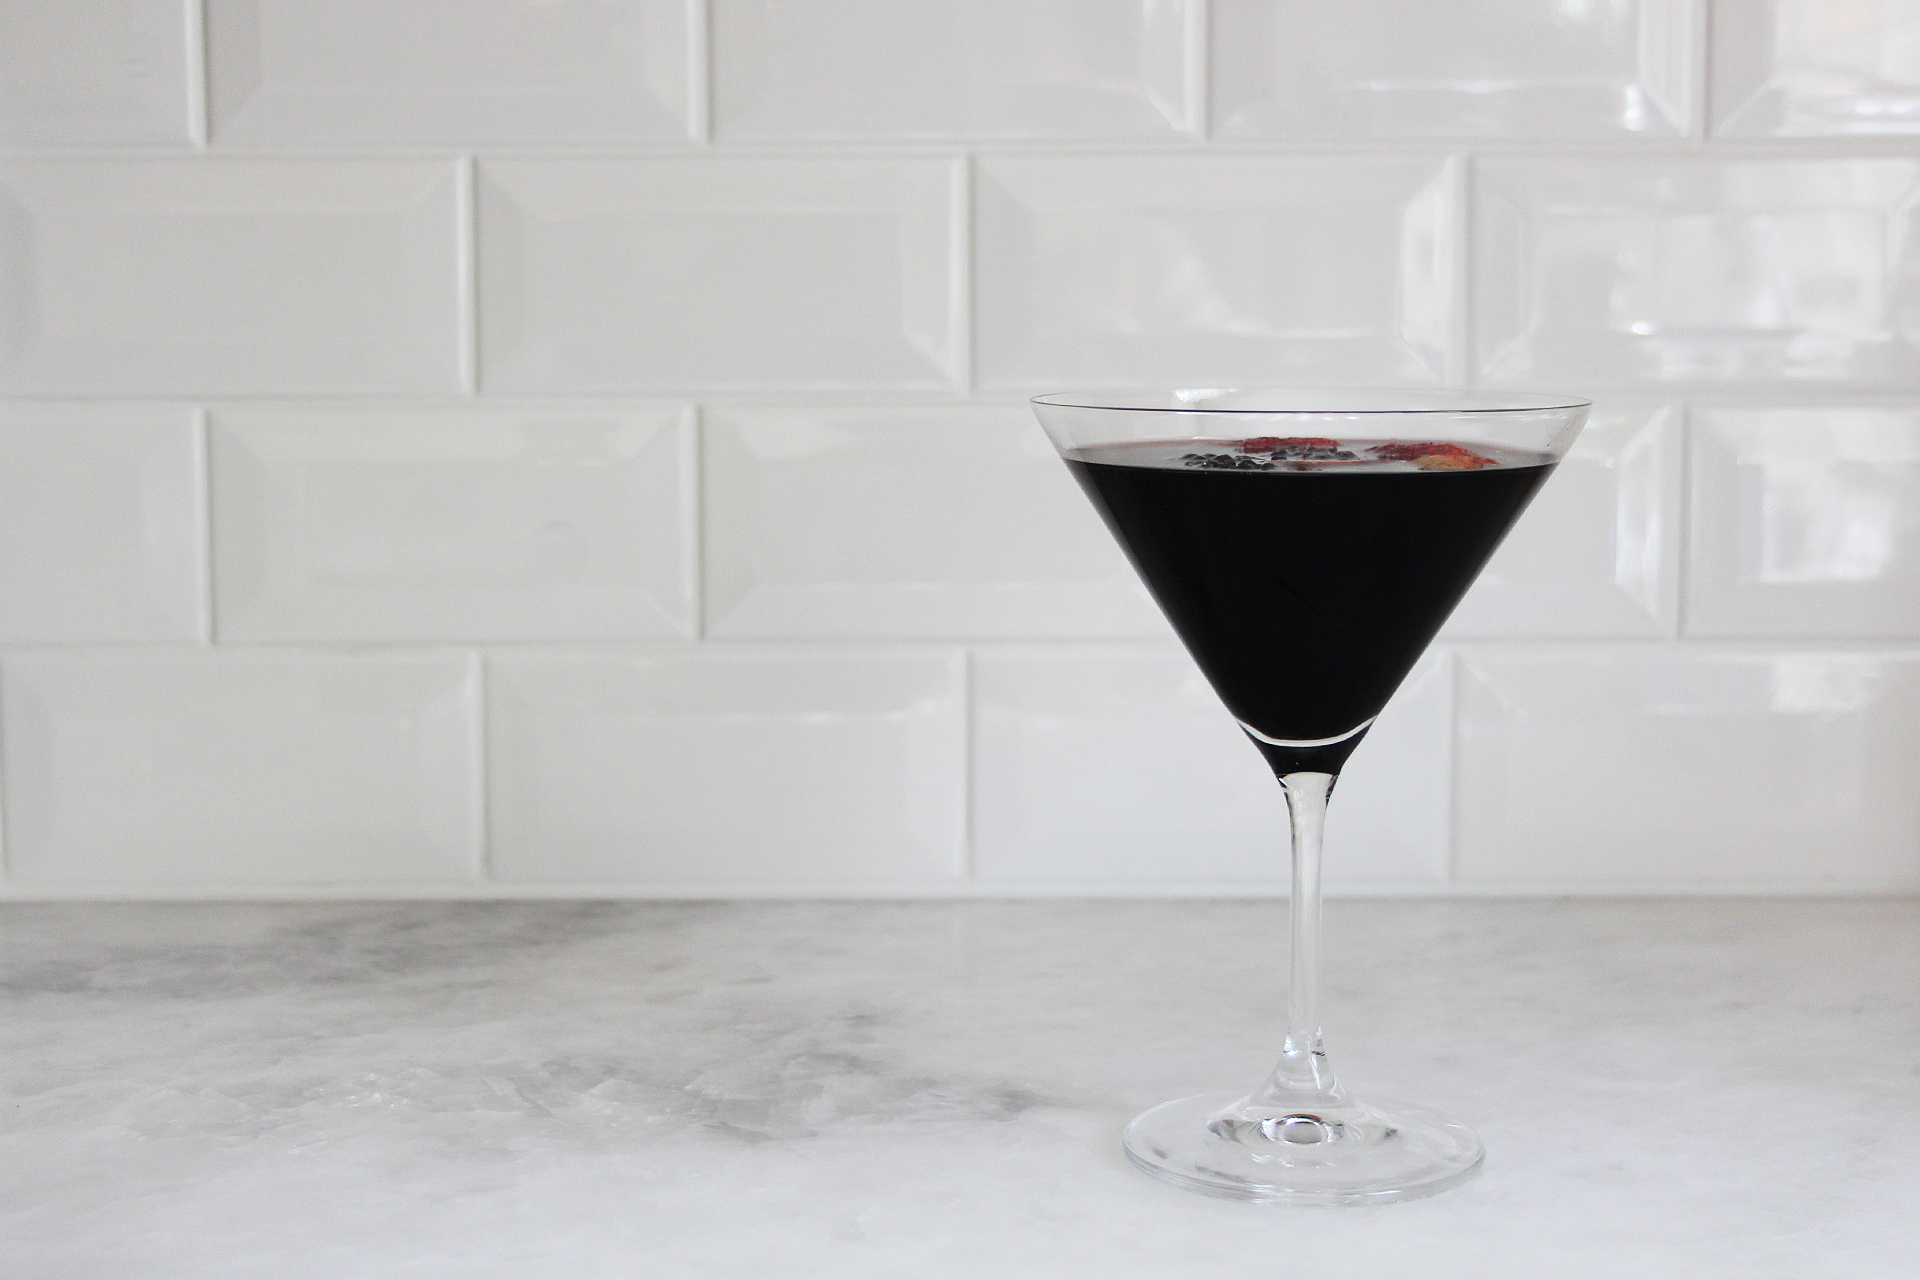
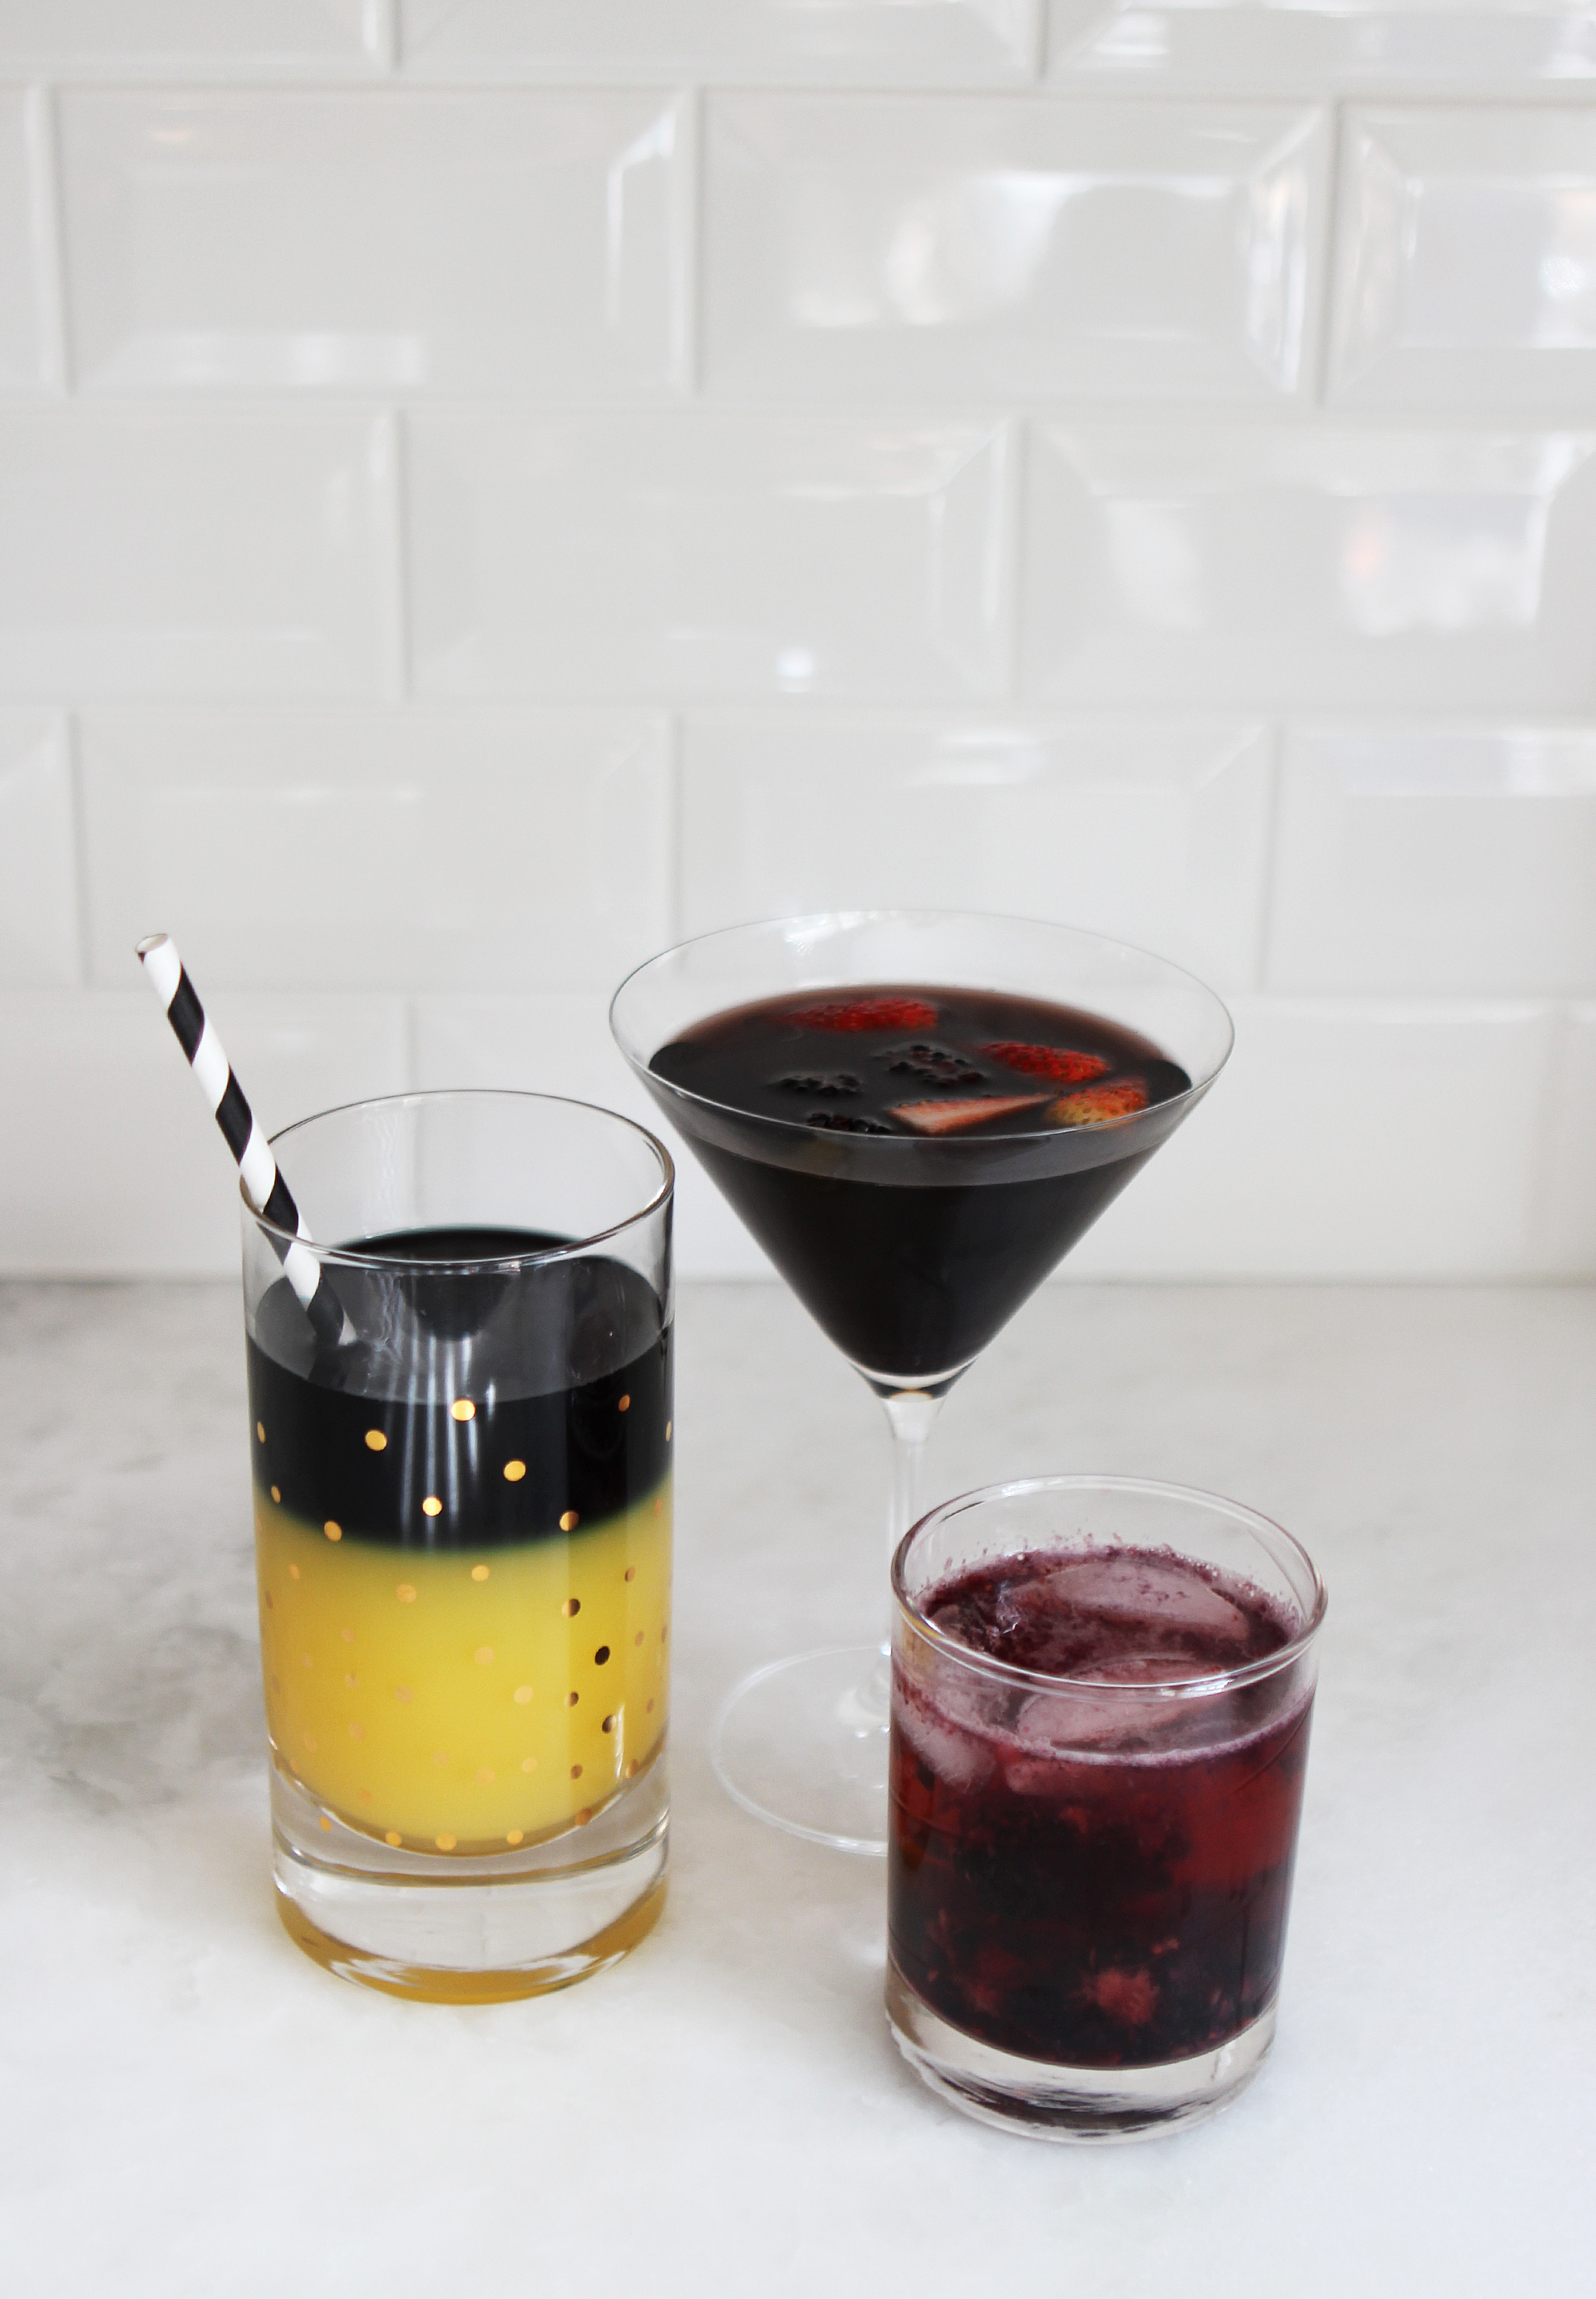
SCARY CHERRY MARTINI

  • 1 oz black vodka
  • 2 oz cherry juice

Pour vodka and cherry juice into a shaker filled with ice; shake vigorously. Strain into a martini glass. Garnish with berries of your choice, and serve immediately.

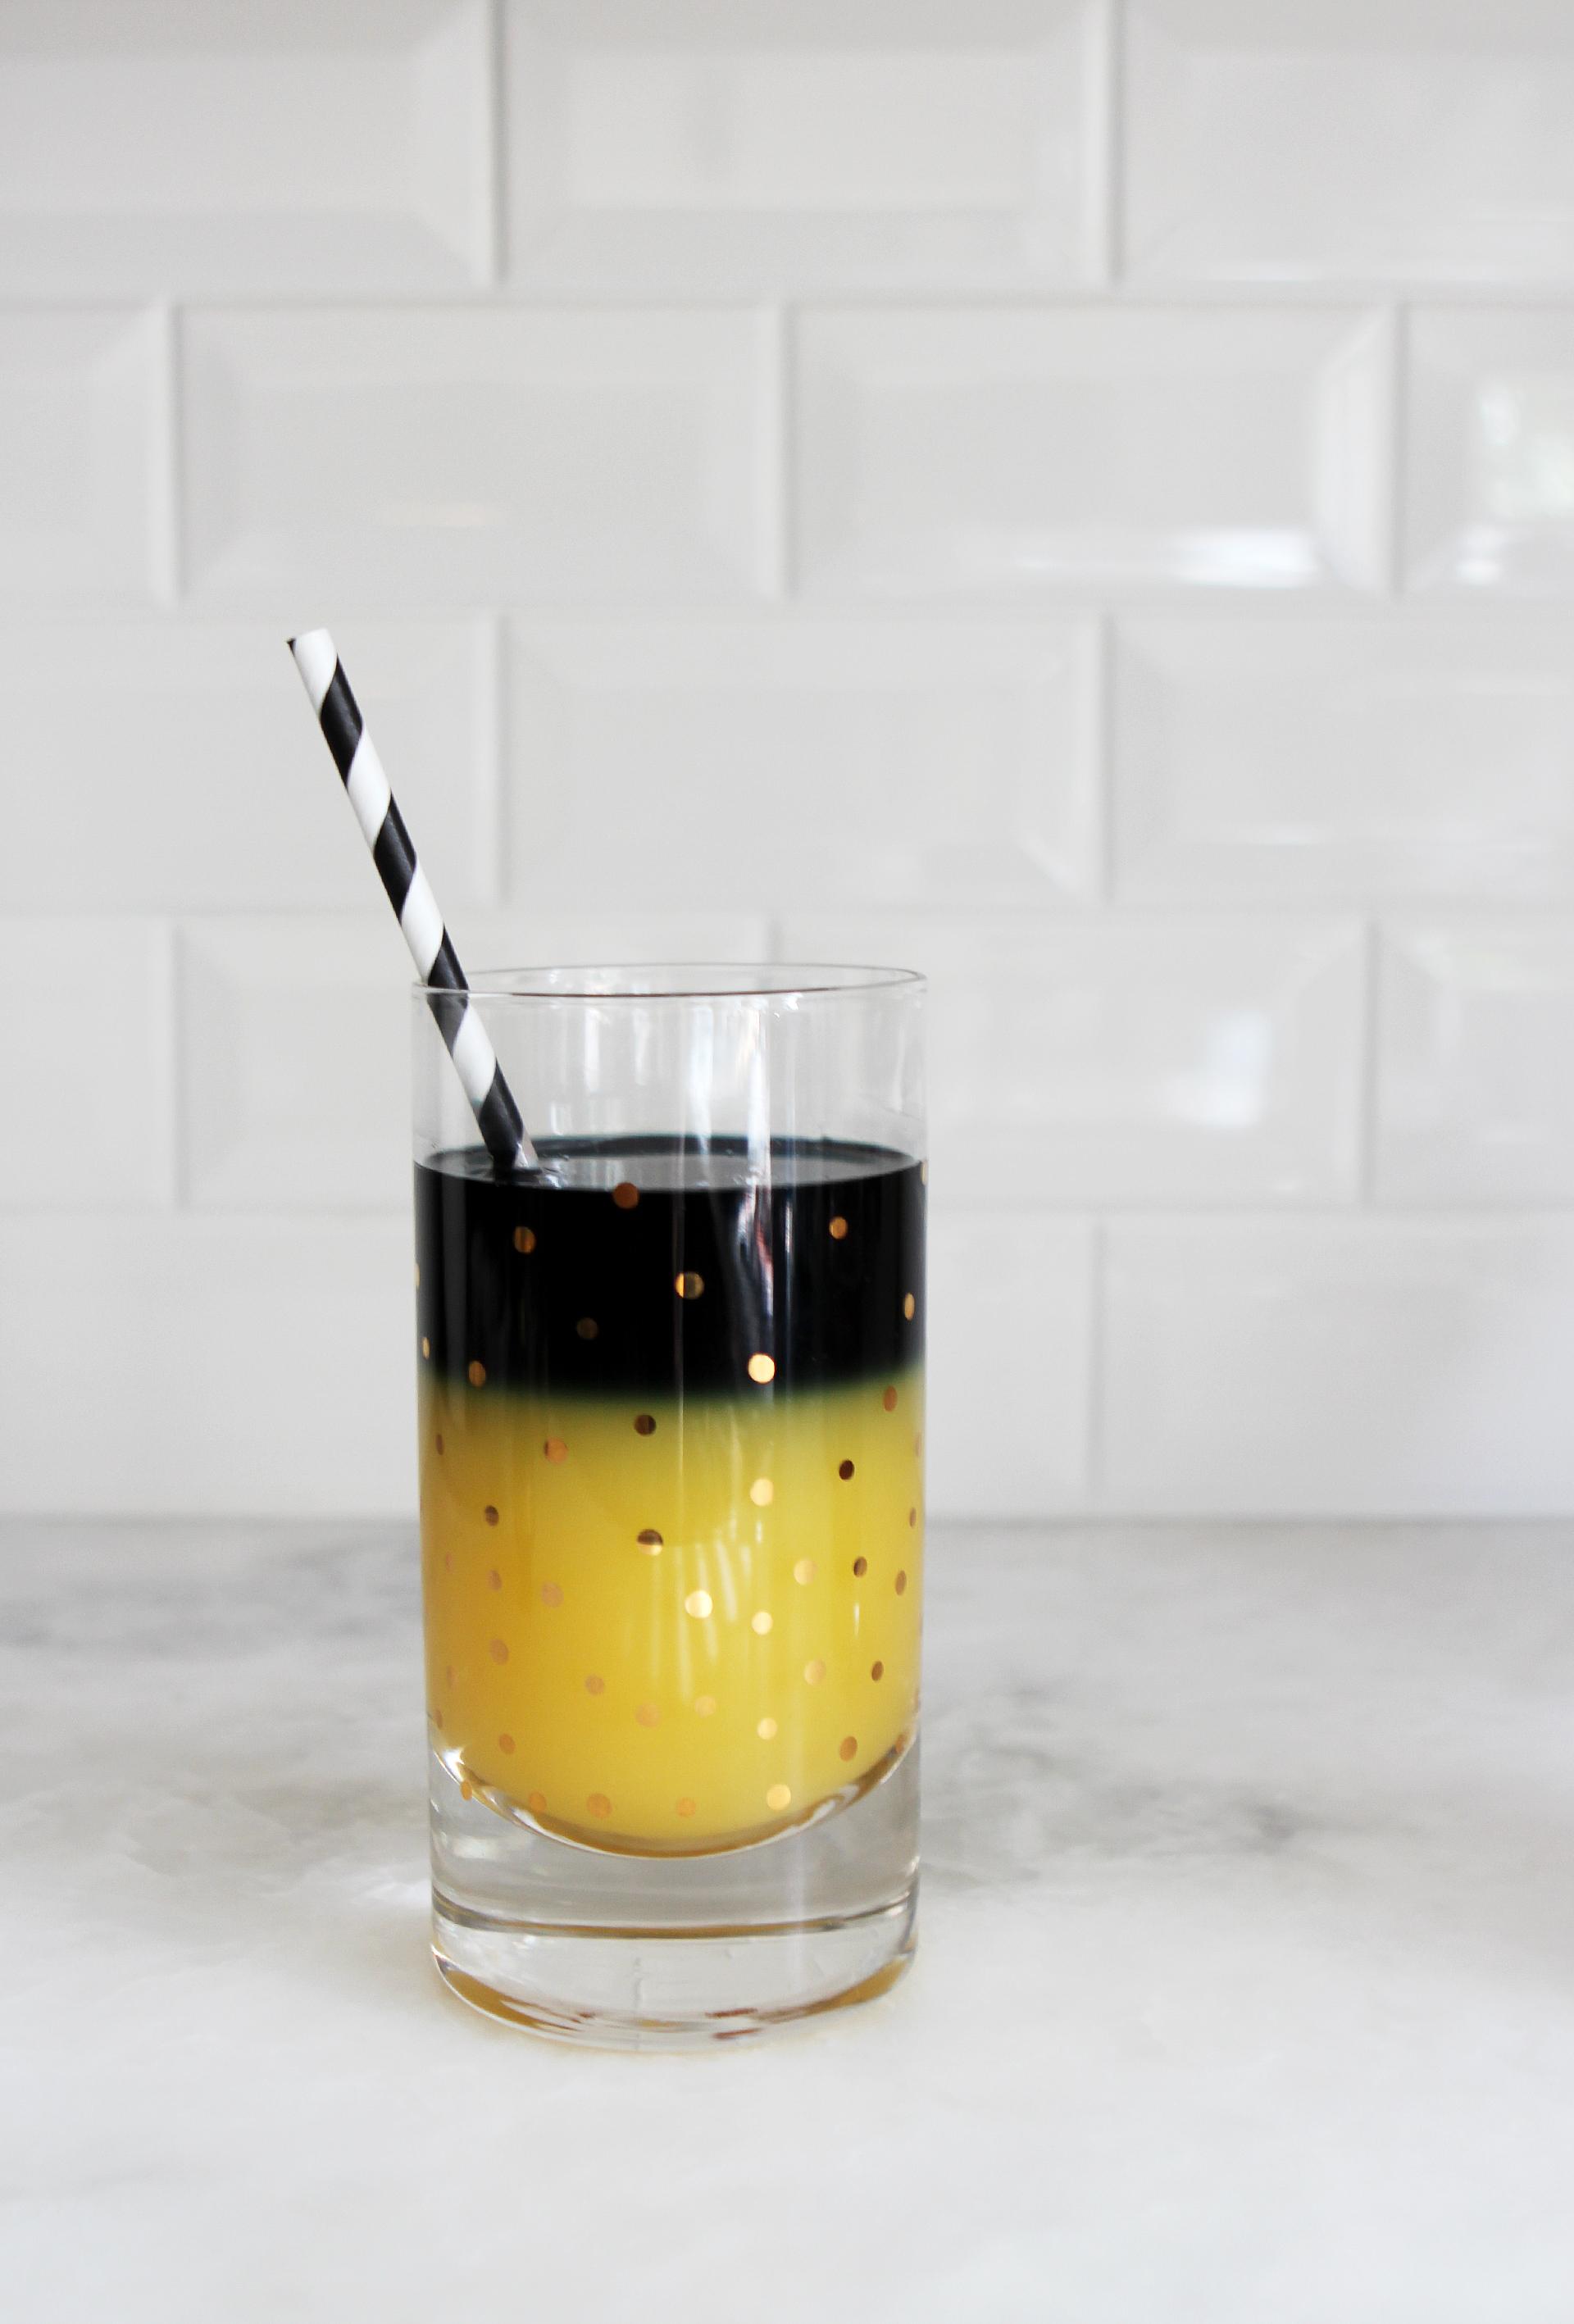
SPOOKY SCREWDRIVER

  • 2 oz black vodka
  • orange juice

Pour orange juice into a glass filled with ice. Pour black vodka slowly over the back of a cocktail spoon into the glass so it sits on top of the juice. Add a straw and serve.

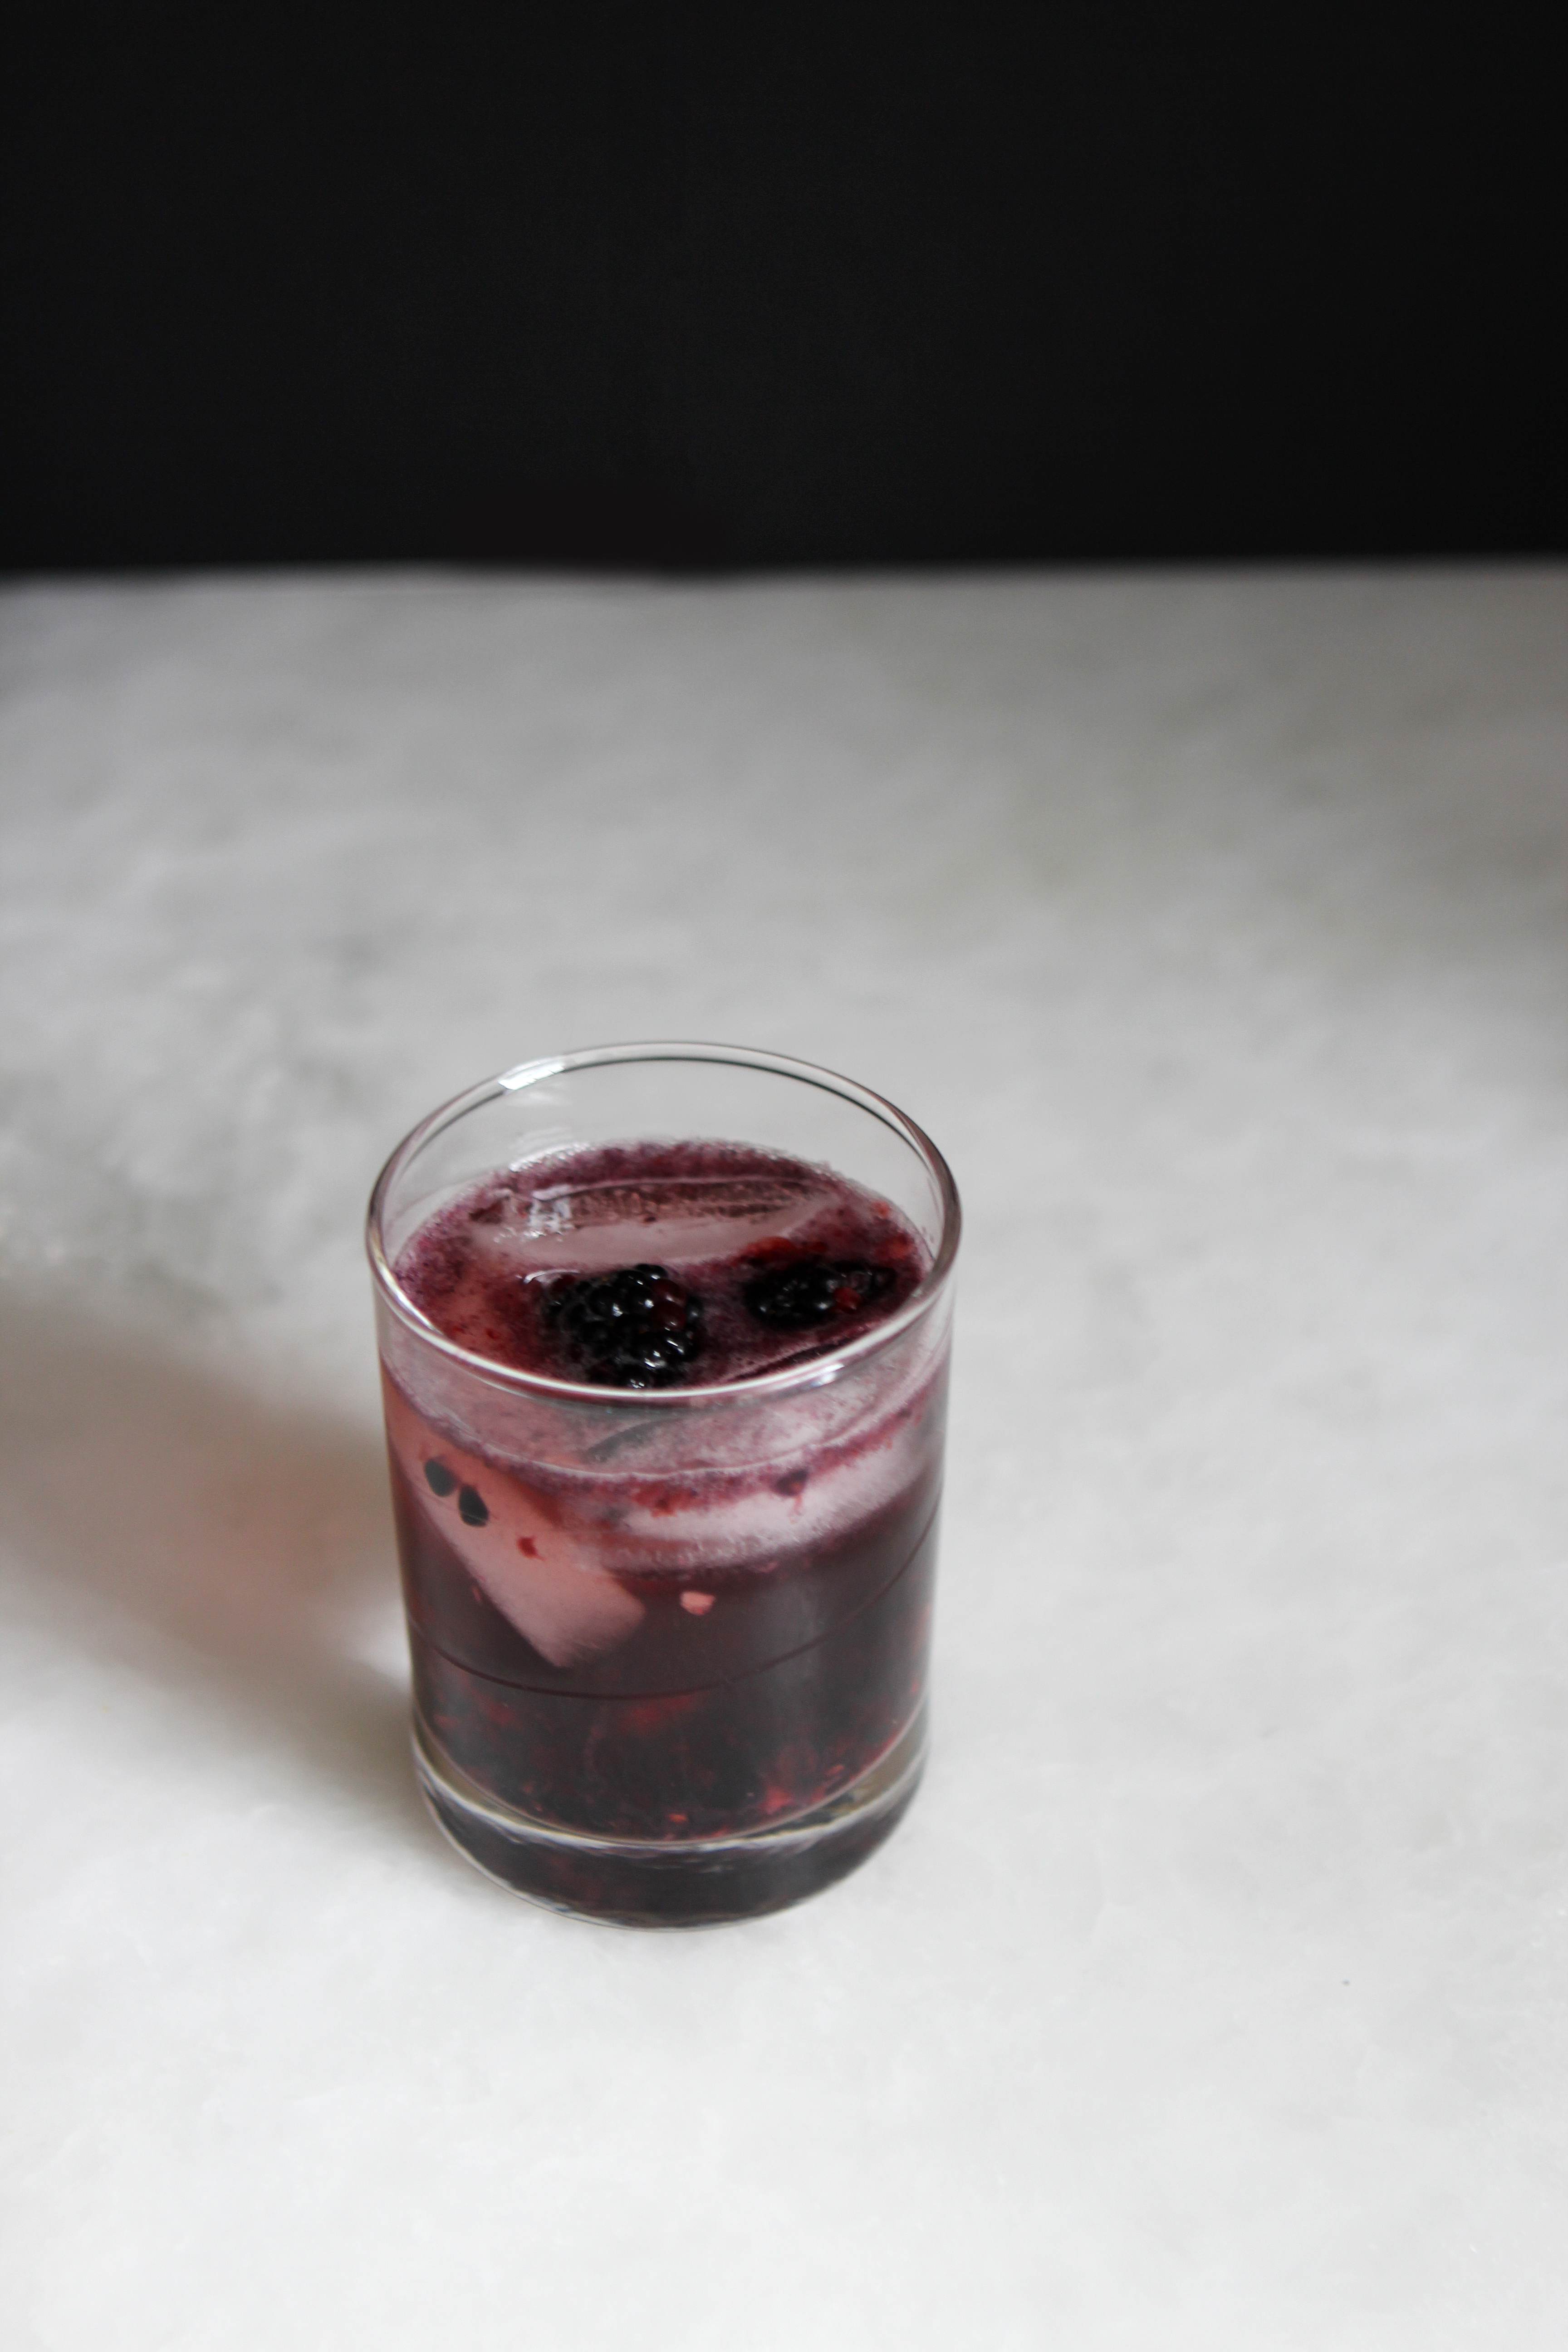
BLACK LAGOON COCKTAIL

  • blackberries
  • 1 oz black vodka
  • 1 oz cranberry juice
  • 1 oz chambord
  • club soda

Muddle blackberries in the bottom of a shaker filled with ice. Add vodka, chambord, and cranberry juice and shake vigorously. Pour into glass and top with club soda. Garnish with additional blackberries and serve.

Whether you're obsessed with Halloween or not, you can definitely enjoy these drinks in the spirit of the holiday. Happy haunting!

AA_footerlogo

© 2024 Alexandra Adams