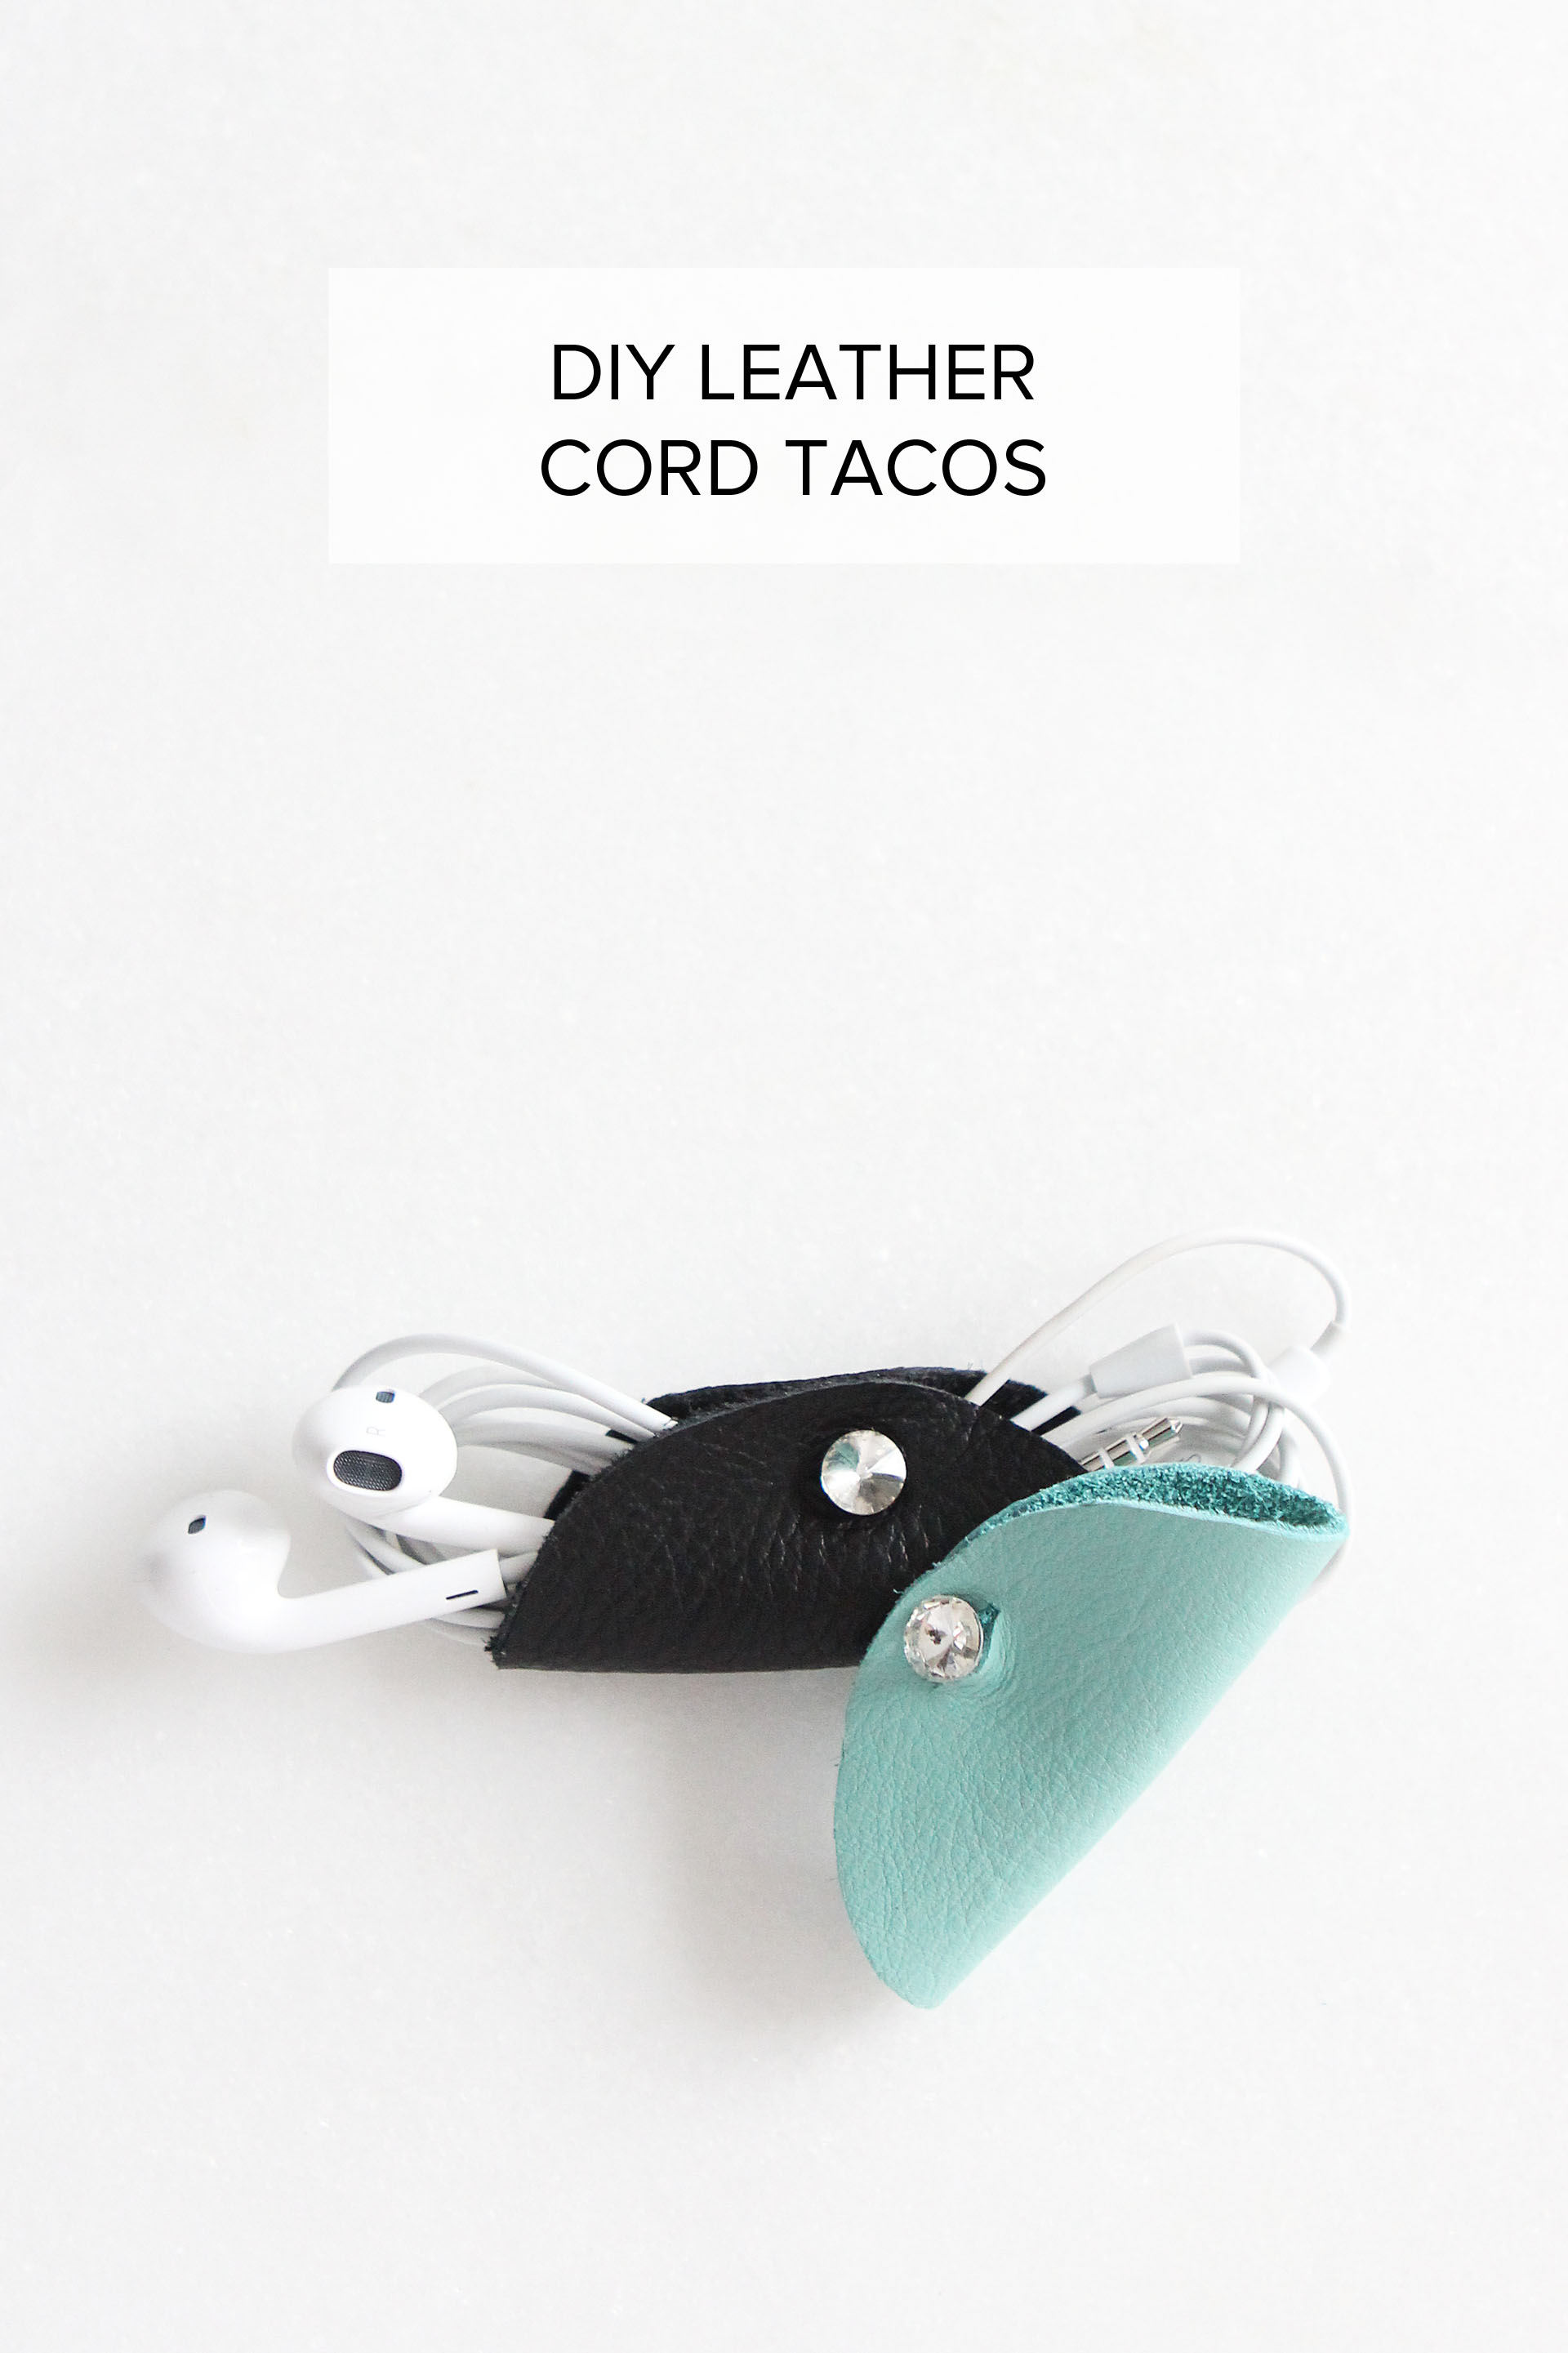
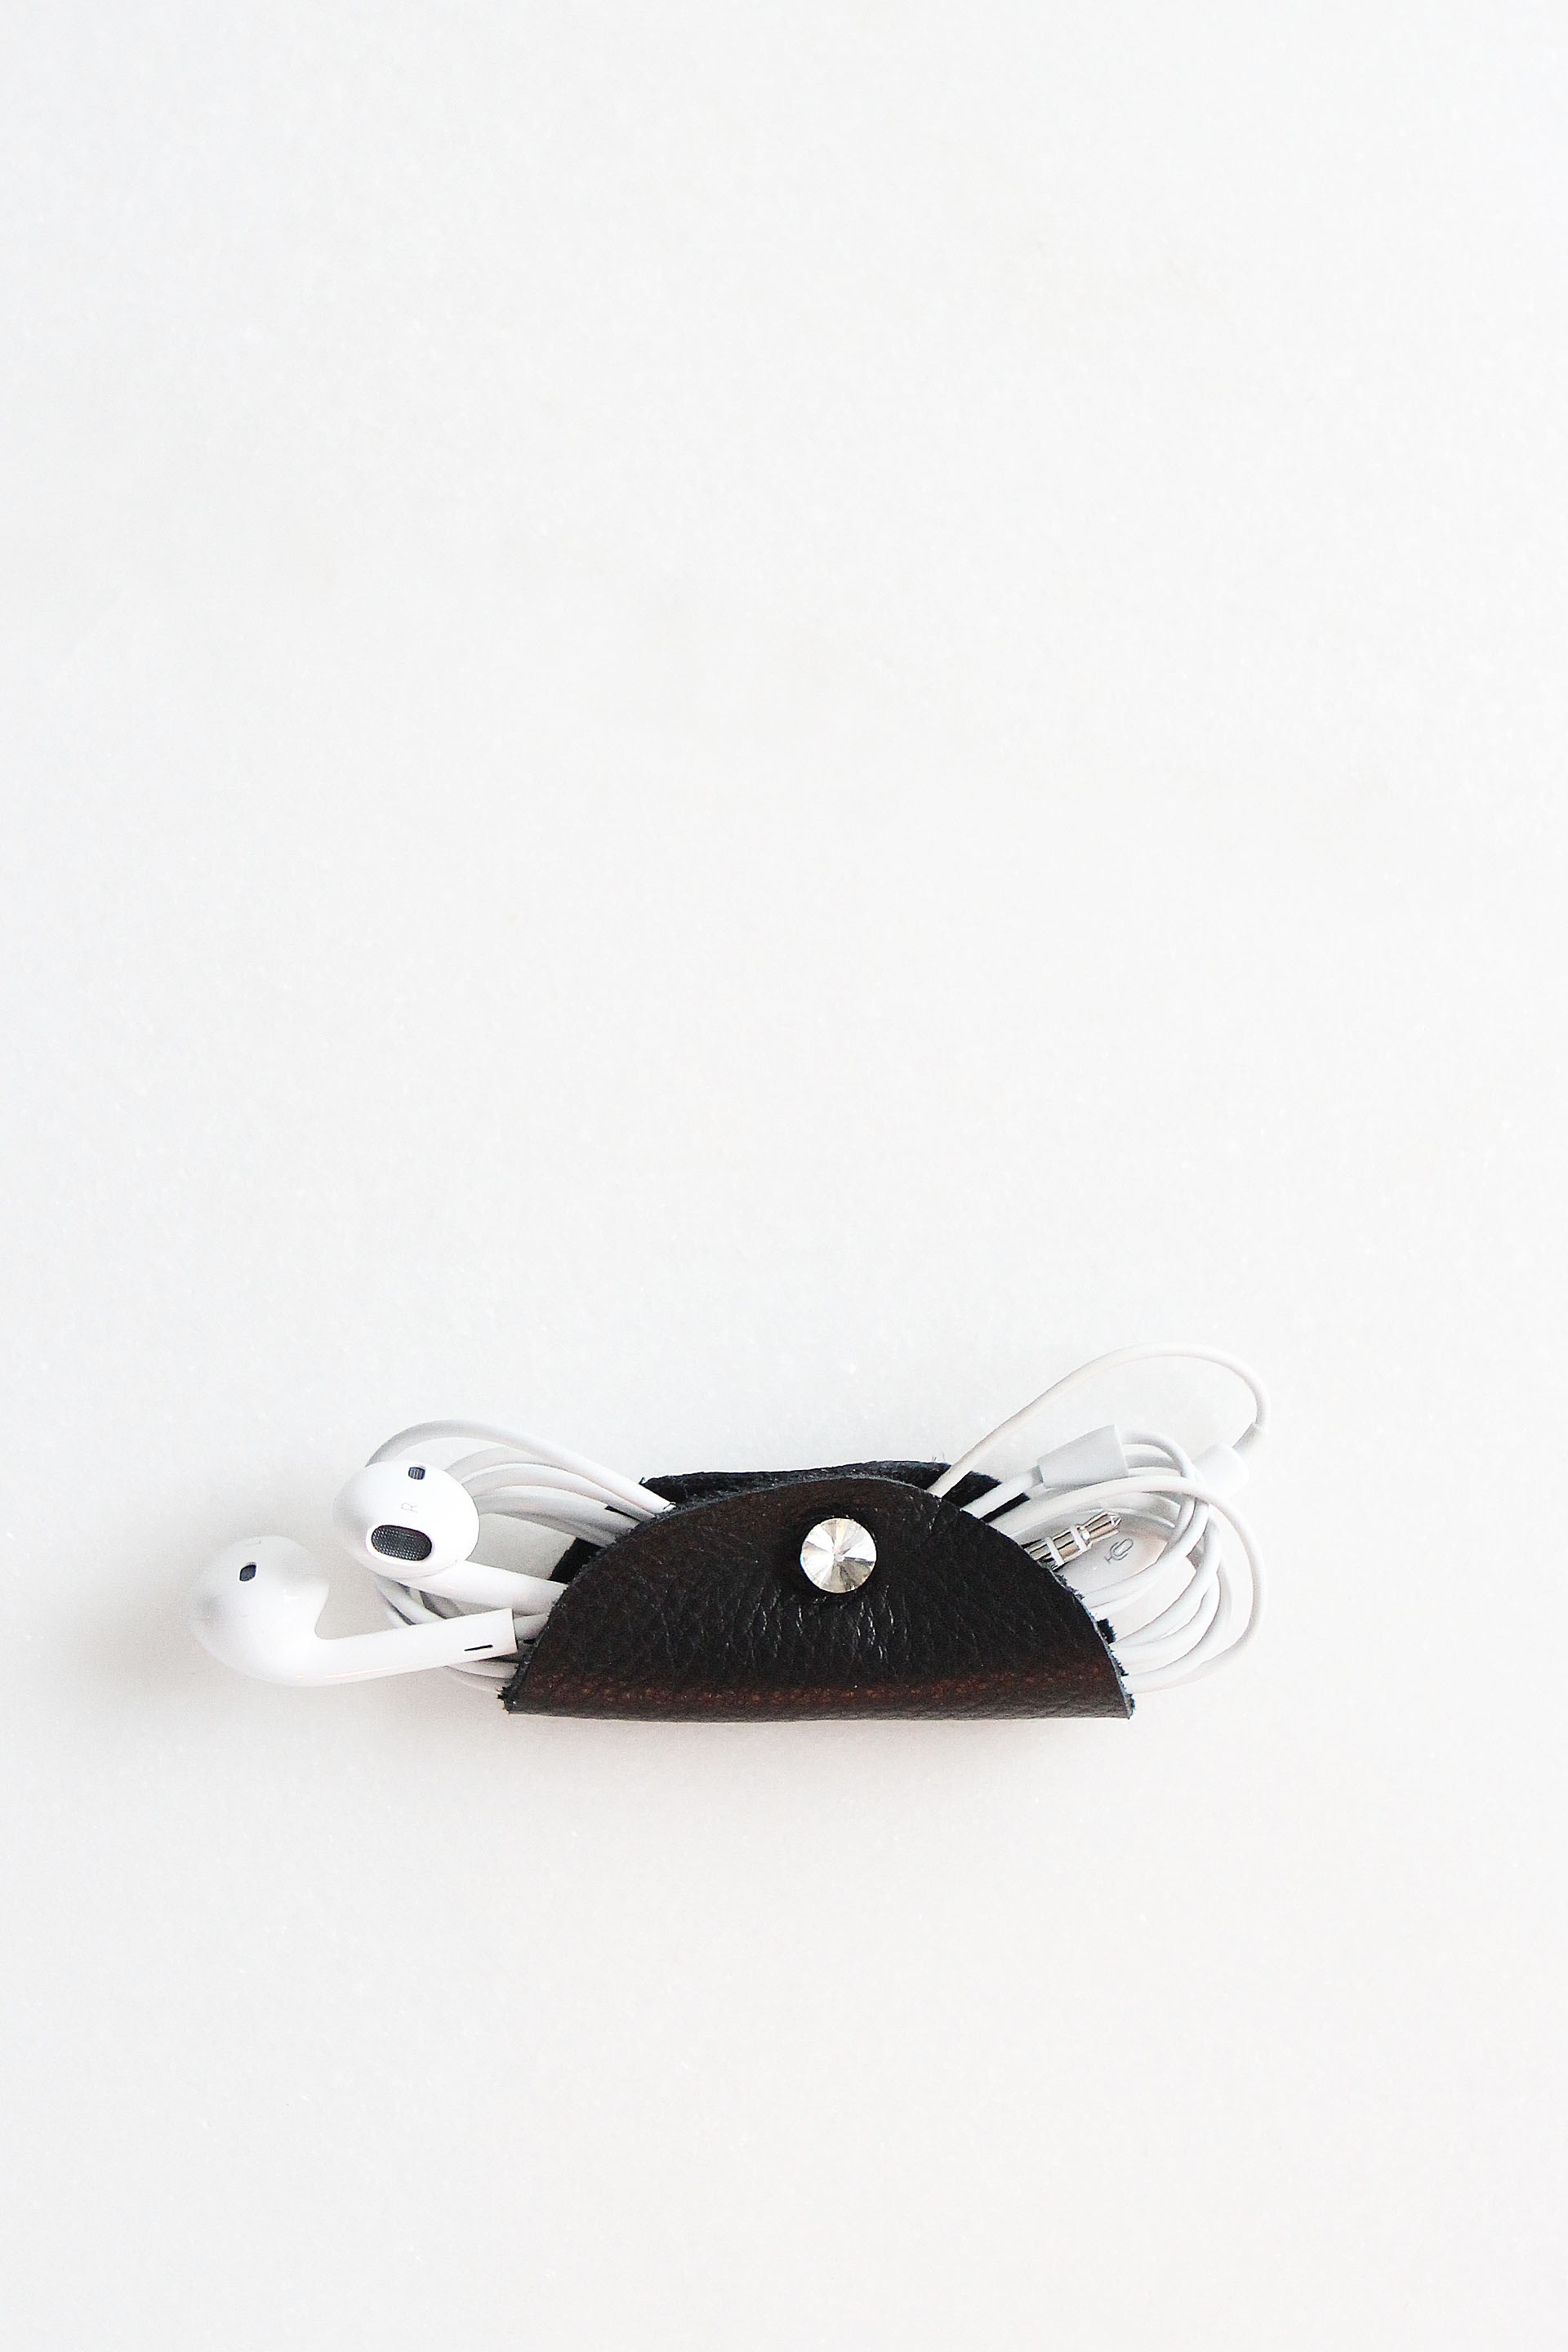
[tatsu_section padding= "90px 0% 90px 0%"][tatsu_row layout= "1/1"][tatsu_column layout= "1/1"][tatsu_text max_width= "" wrap_alignment= "center" animation_type= "none"]I know I'm not the only one who gets their headphones tied in knots. I've tried all kinds of tricks to keep my cords untangled from one another, but it seems like no matter how hard I try, they all fall apart sooner or later. Keeping them separated seems to be the key–and these leather cord tacos are the way to do it! You can easily adjust the size of the taco to fit all of your cords from headphones to laptop chargers, so you can stay organized across the board.
You will need:
- Leather/faux leather panel
- X-acto knife
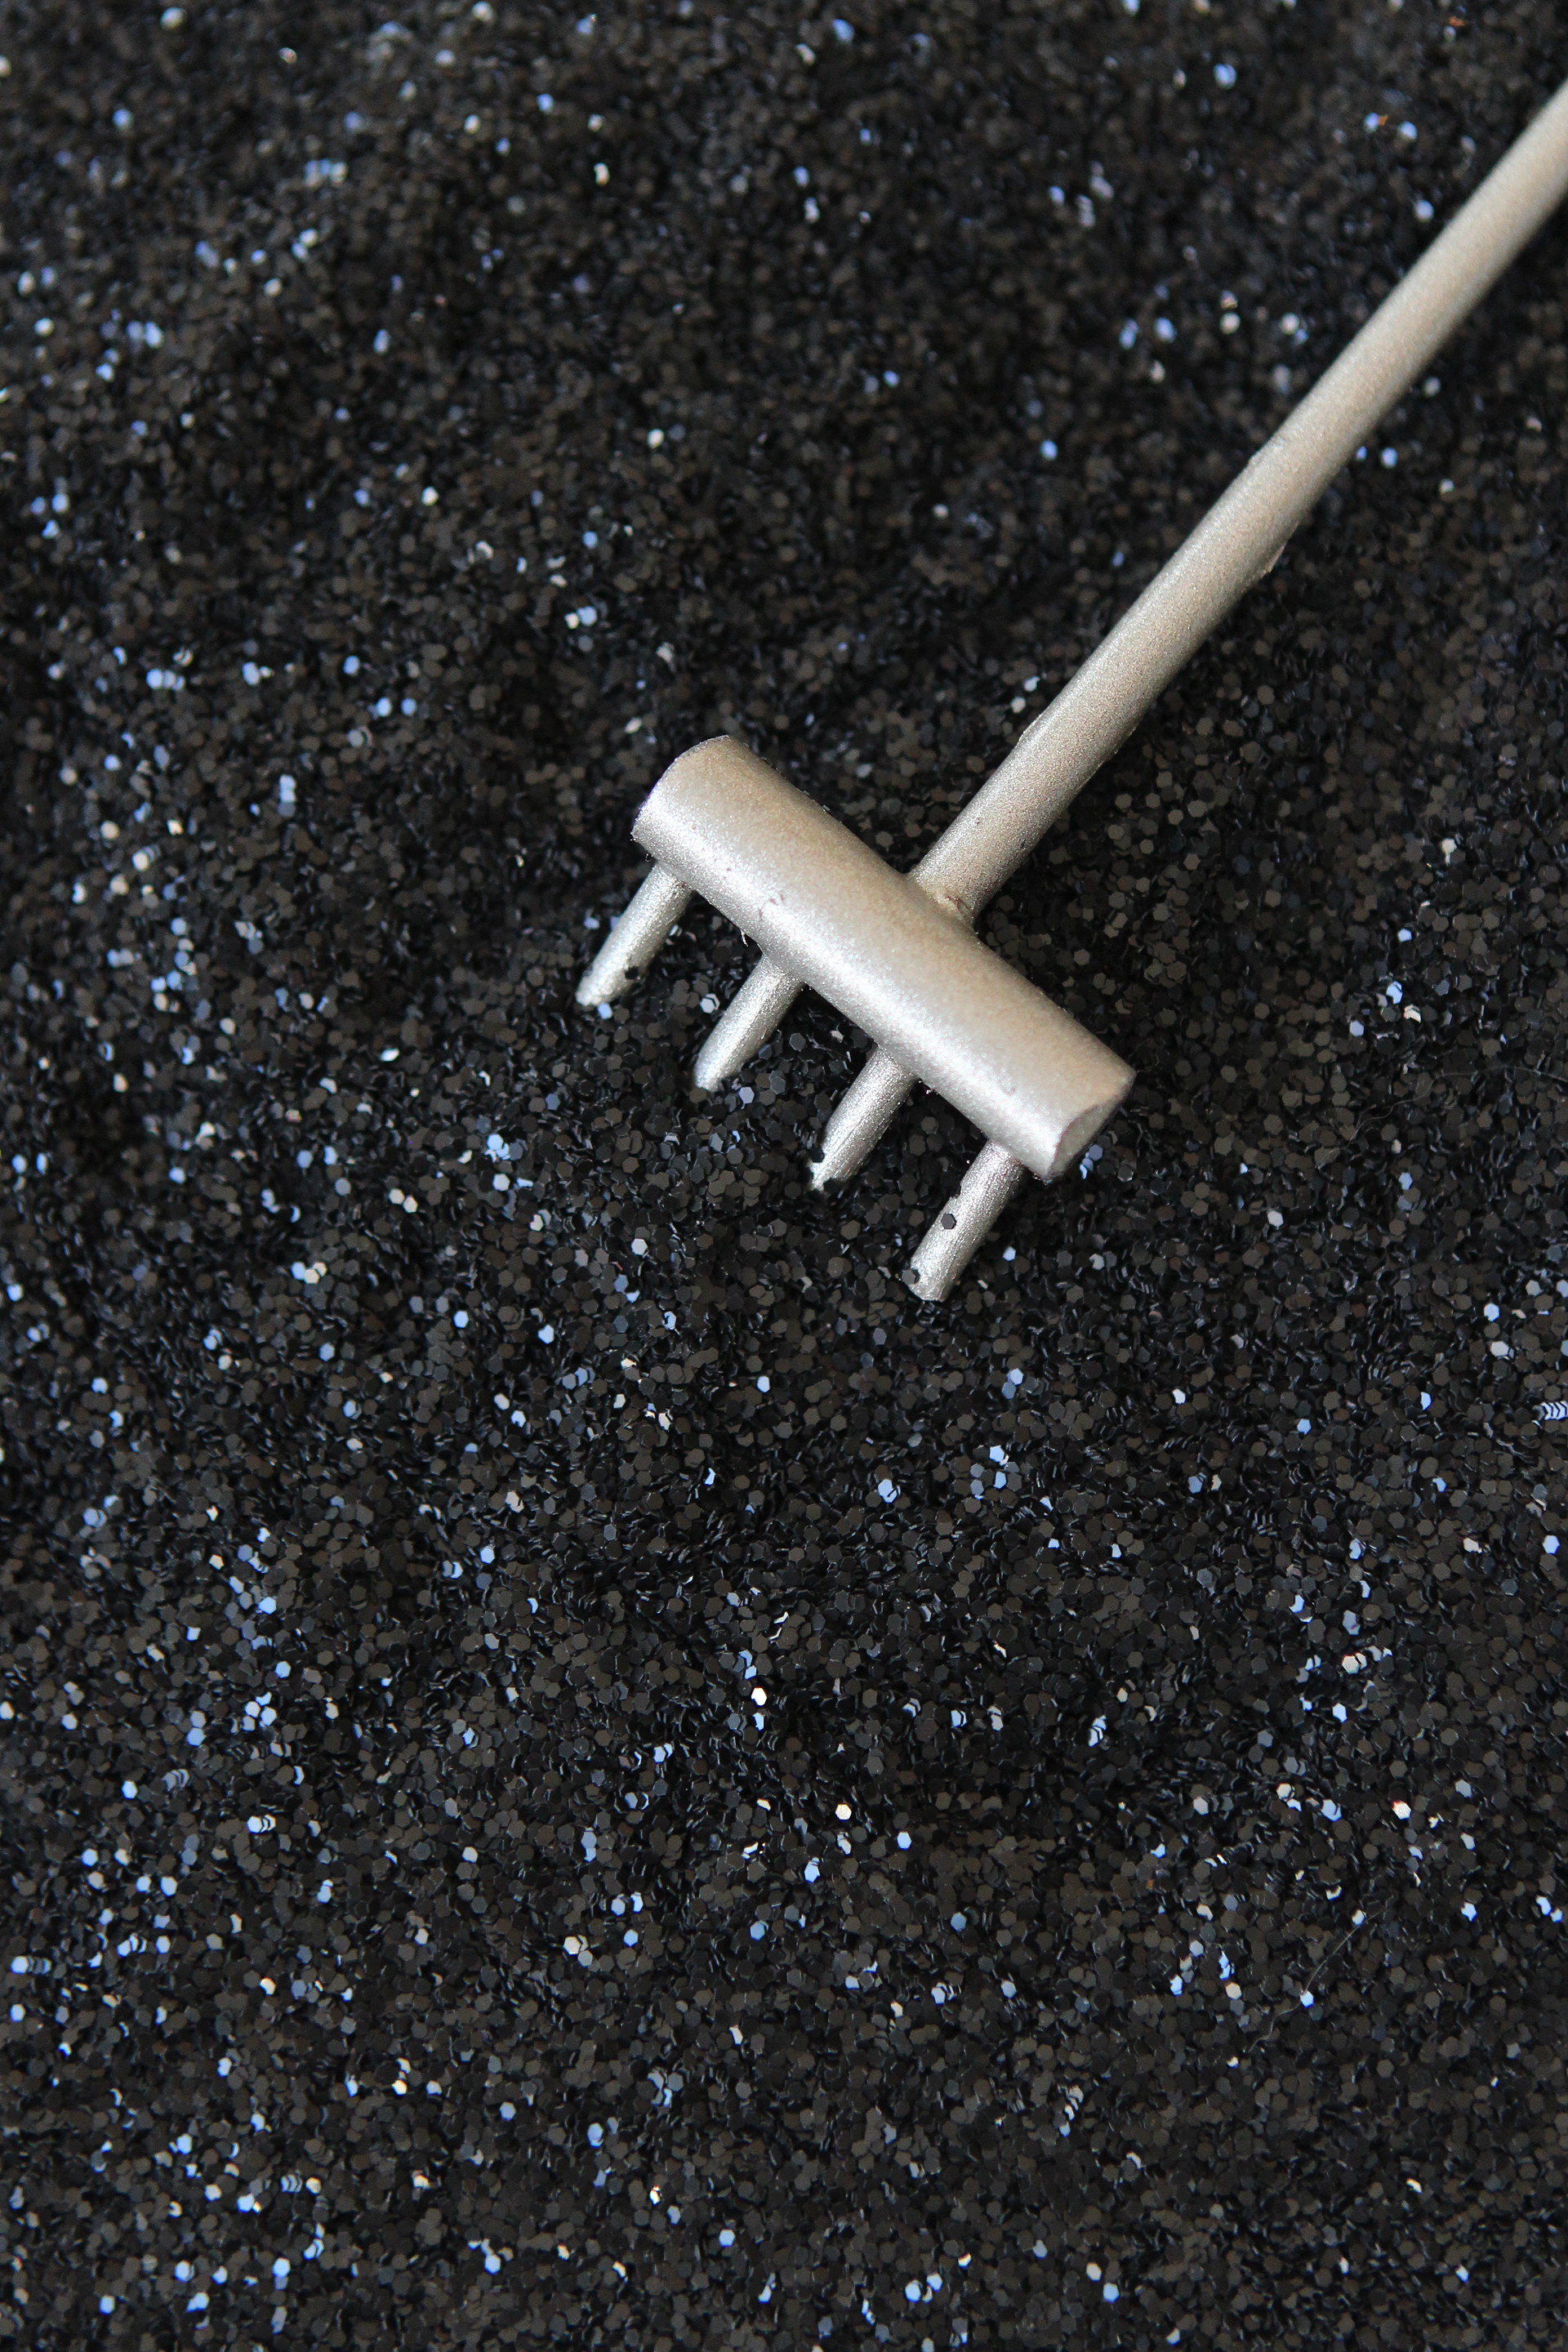
- Small button
- Leather needle and thread
To Make:
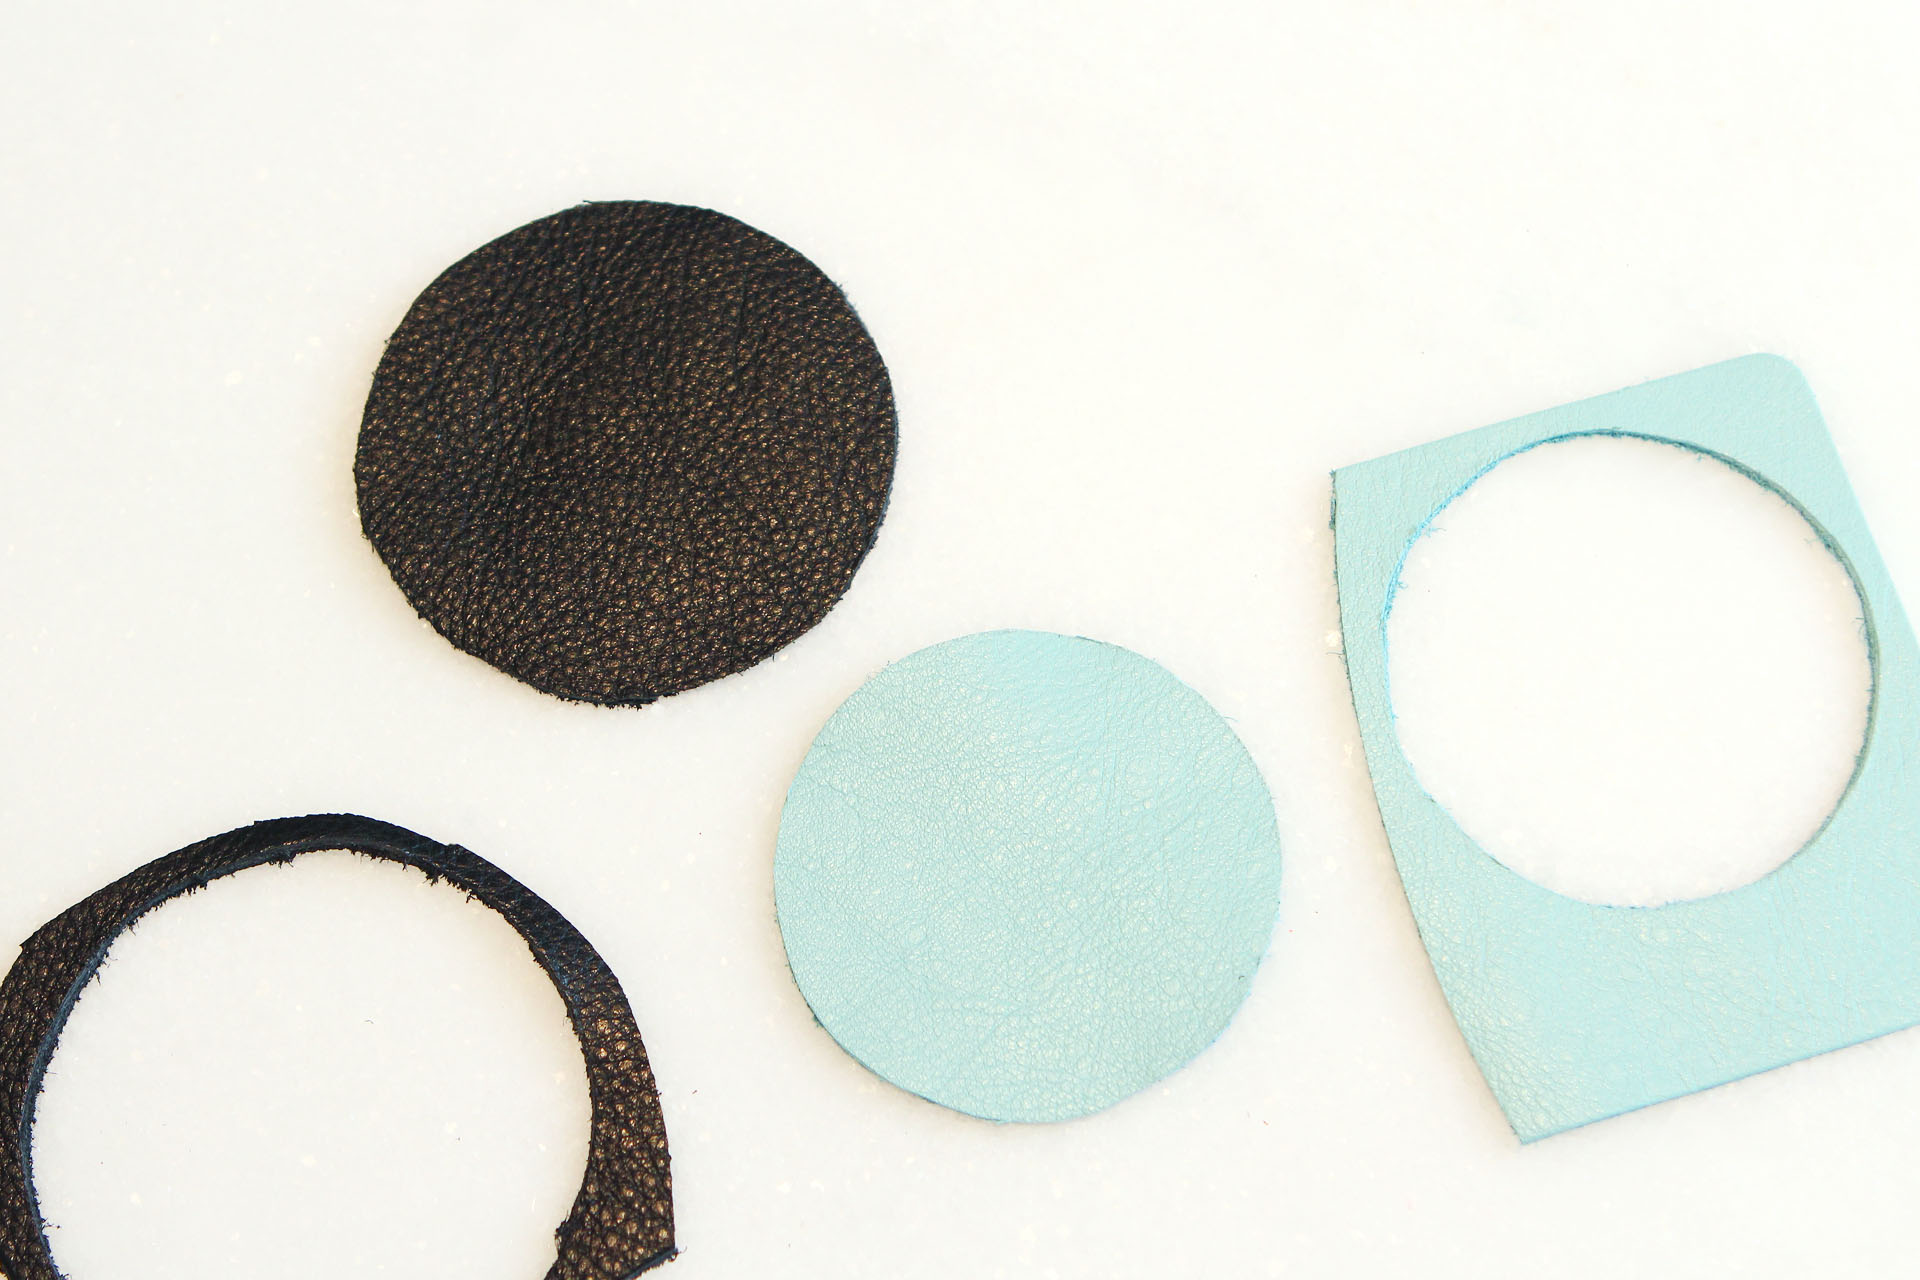
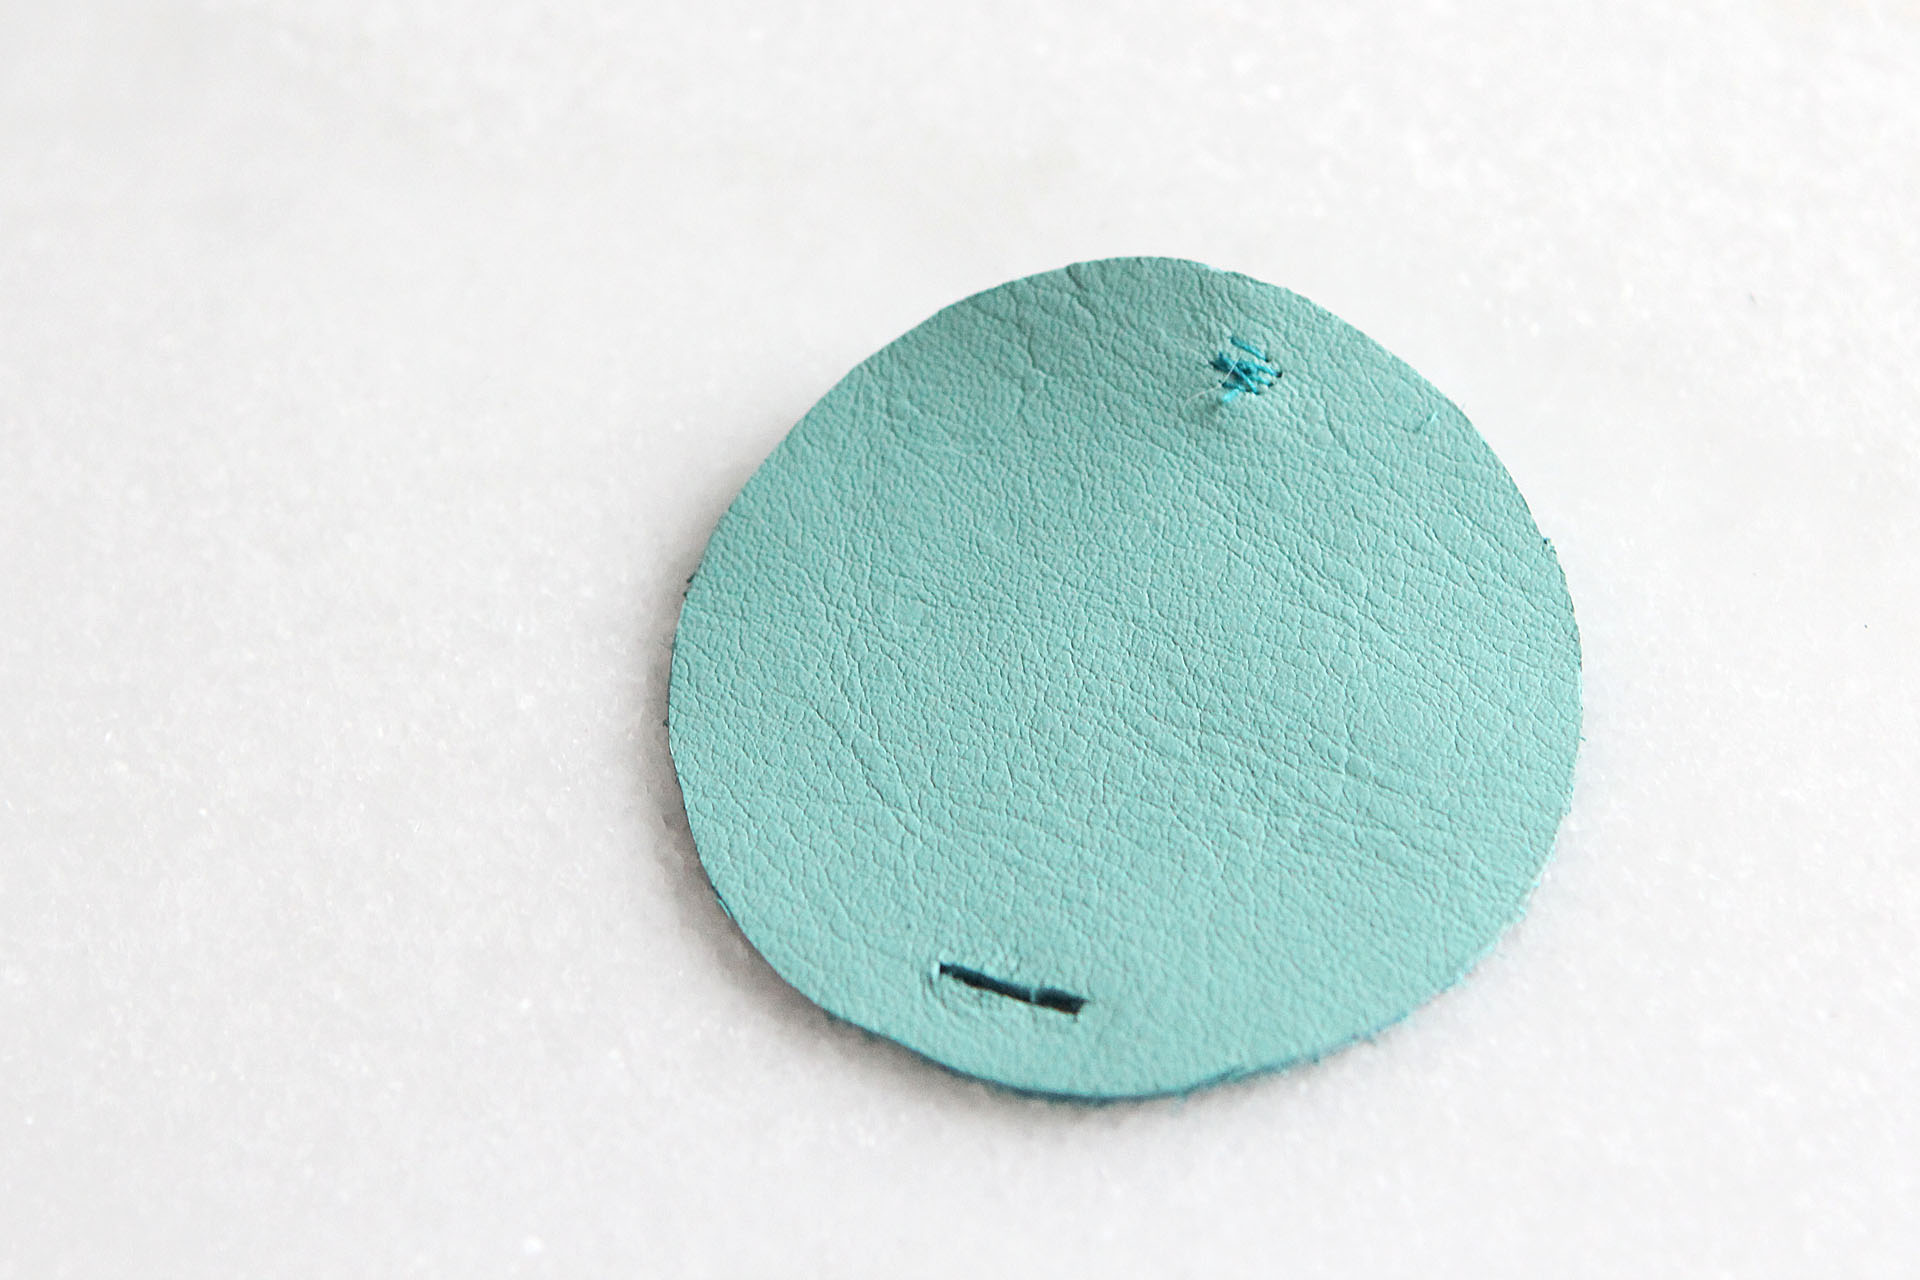
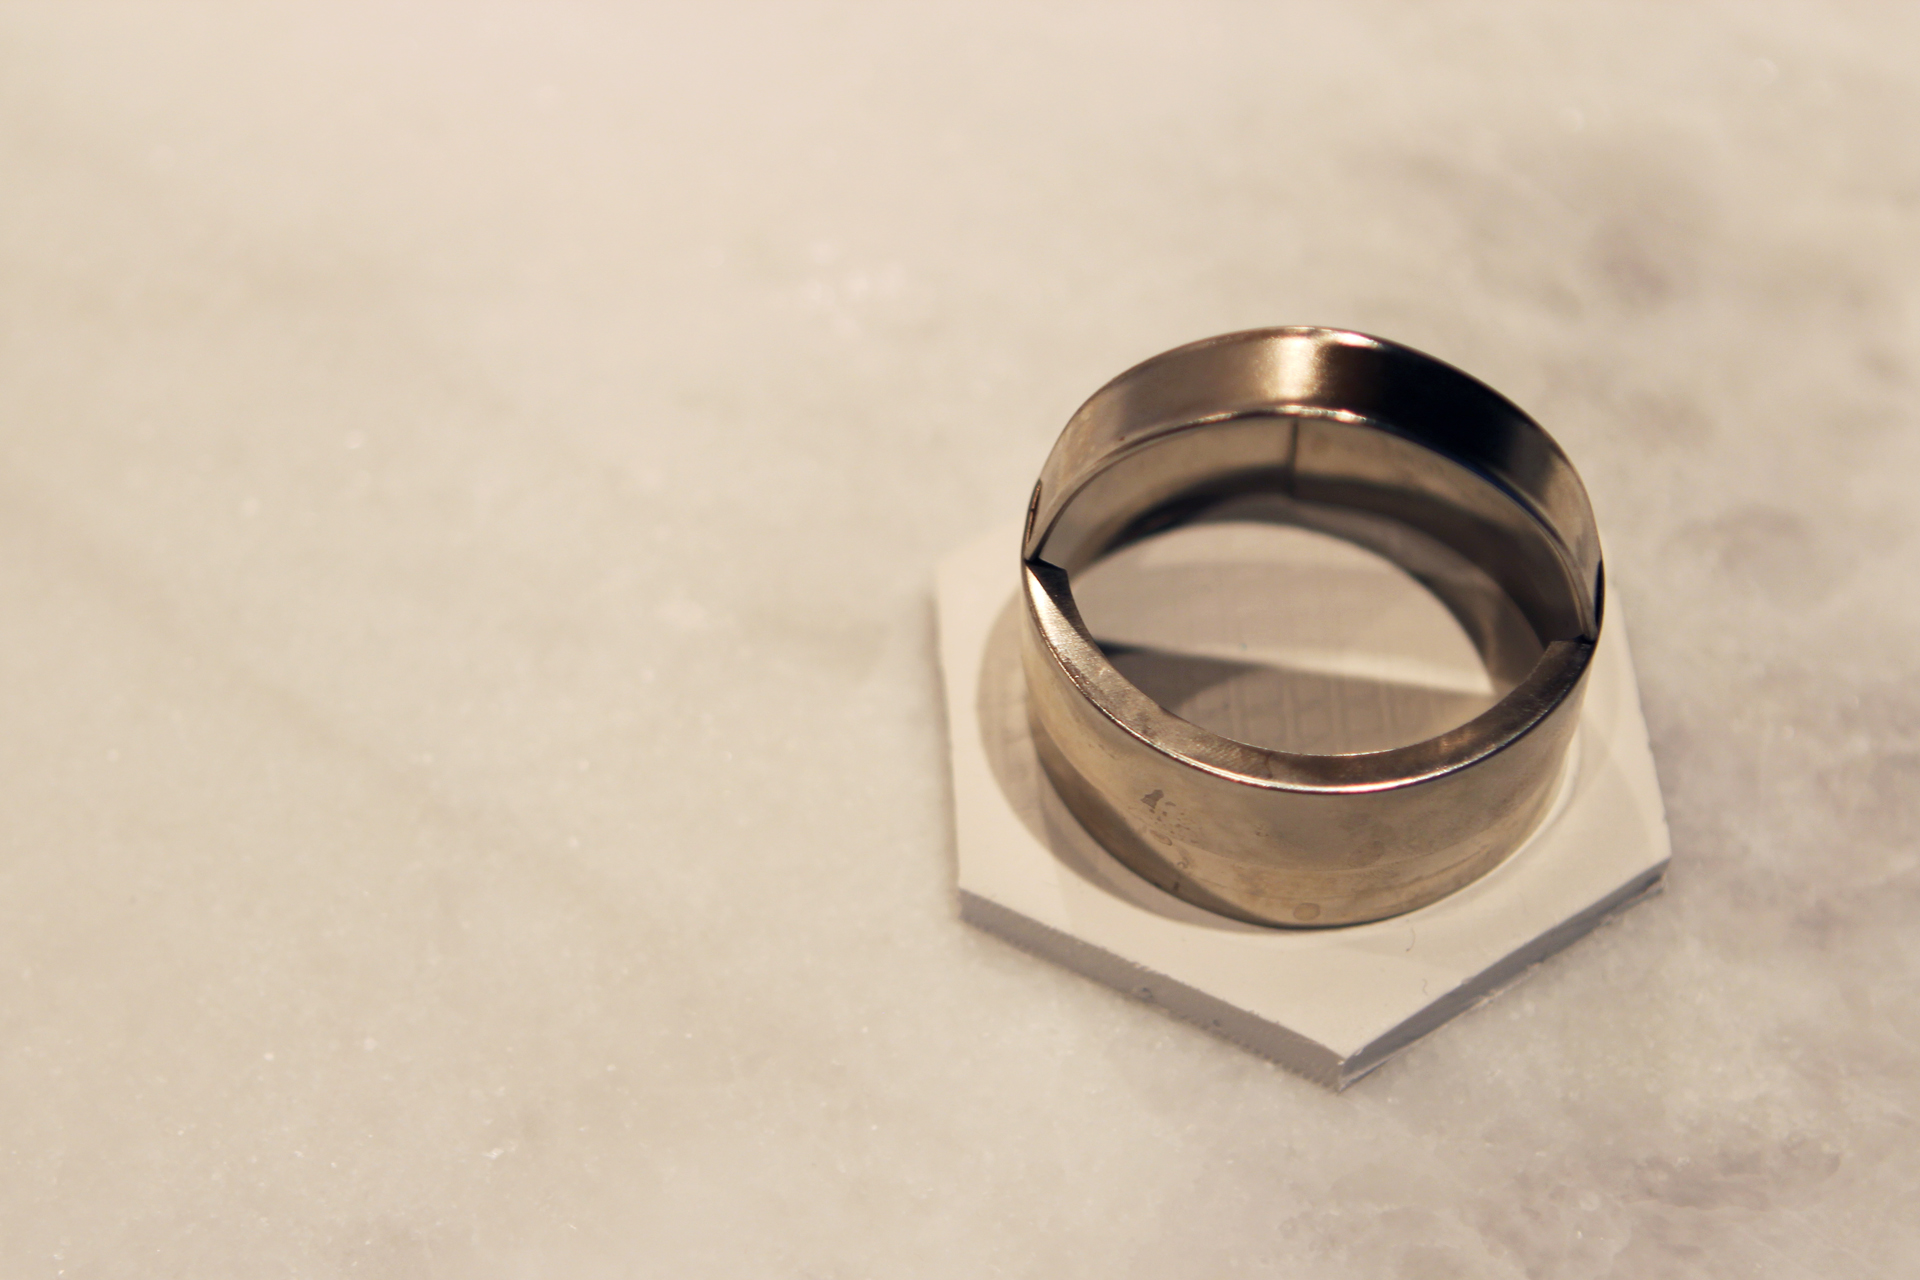
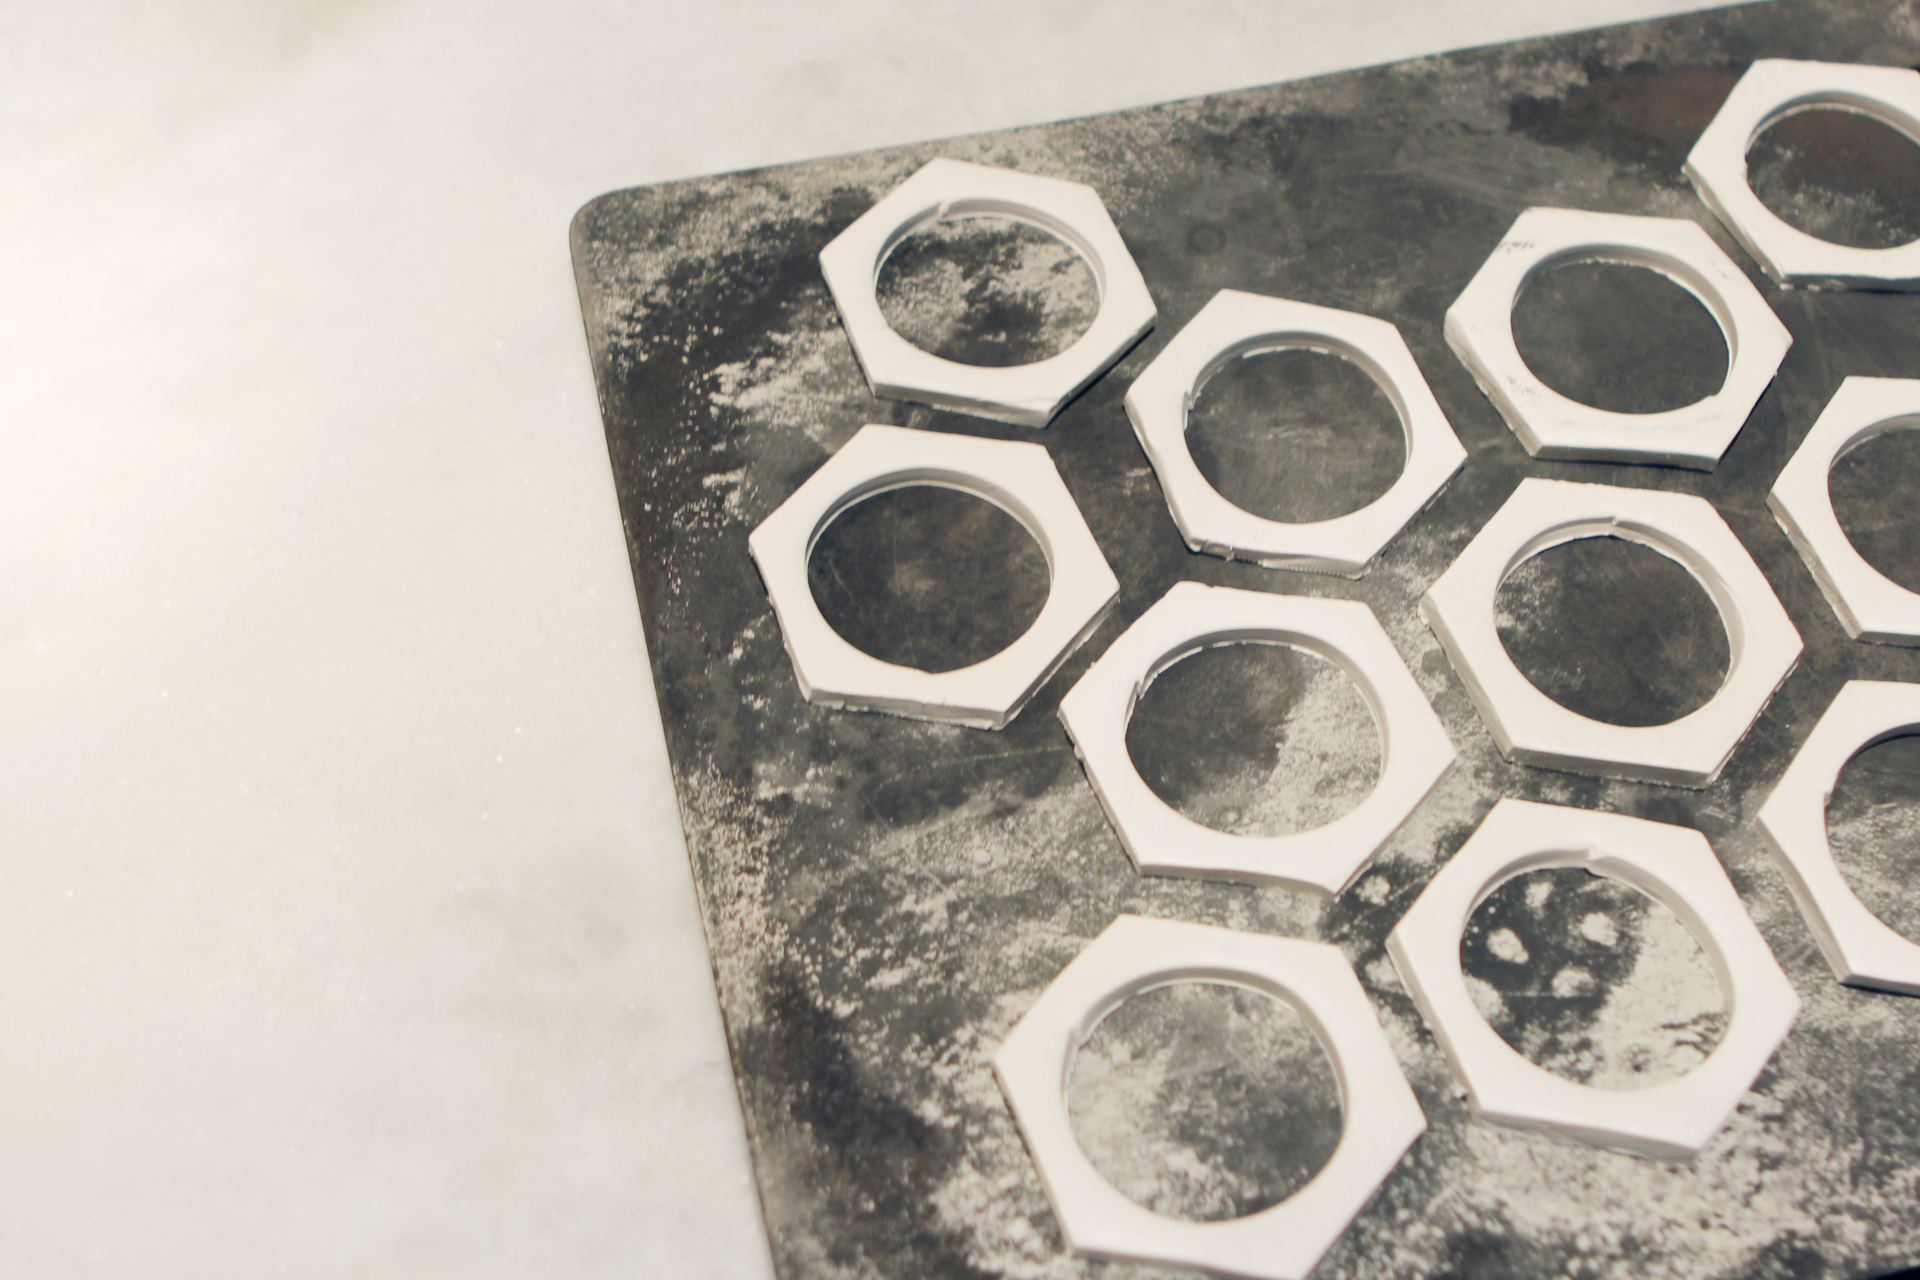
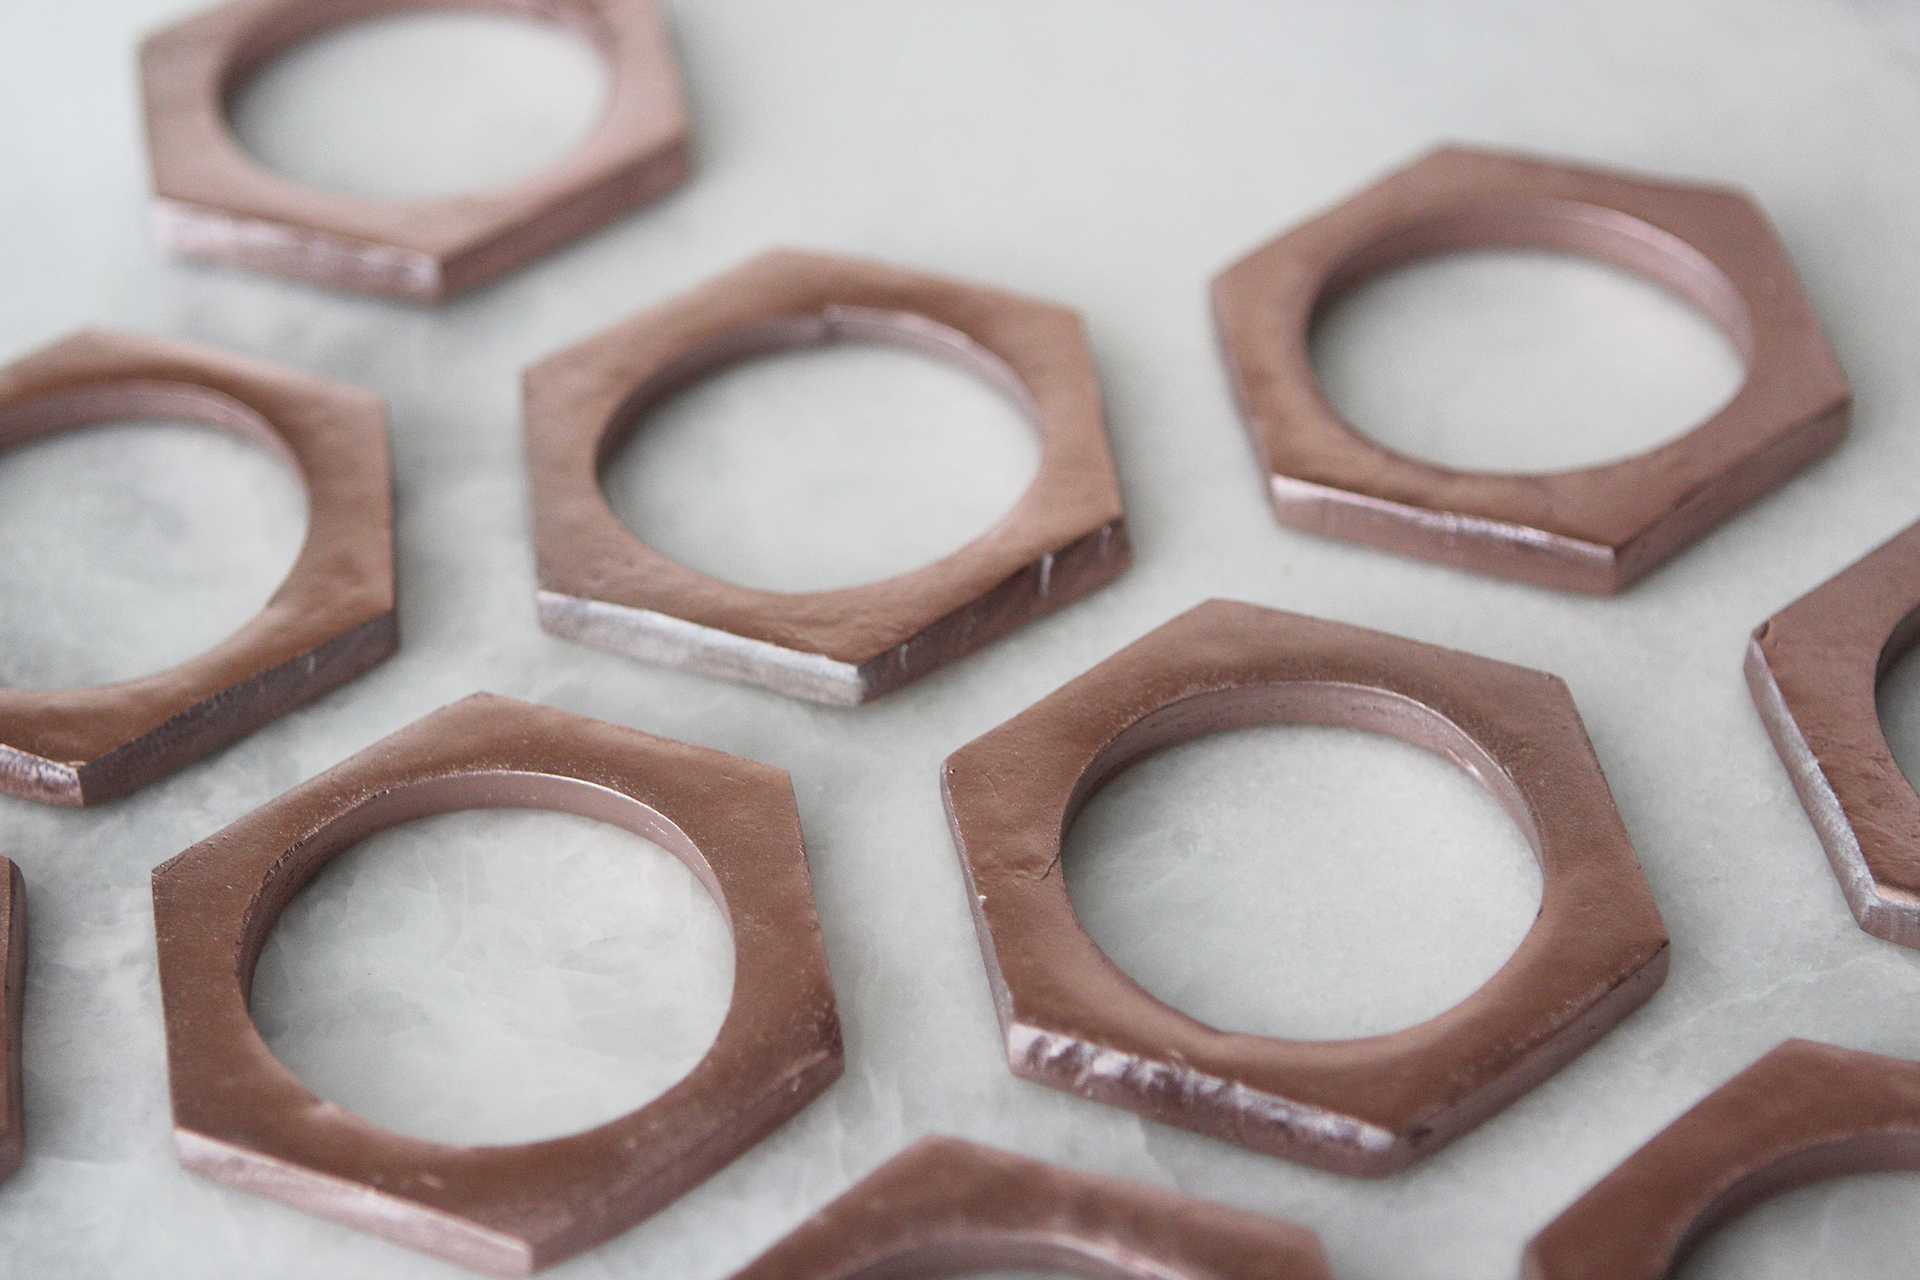
- Trace a small circle (like the bottom of a mug) onto the leather panel. This size is great for headphones; feel free to adjust the size to fit your cord's needs!
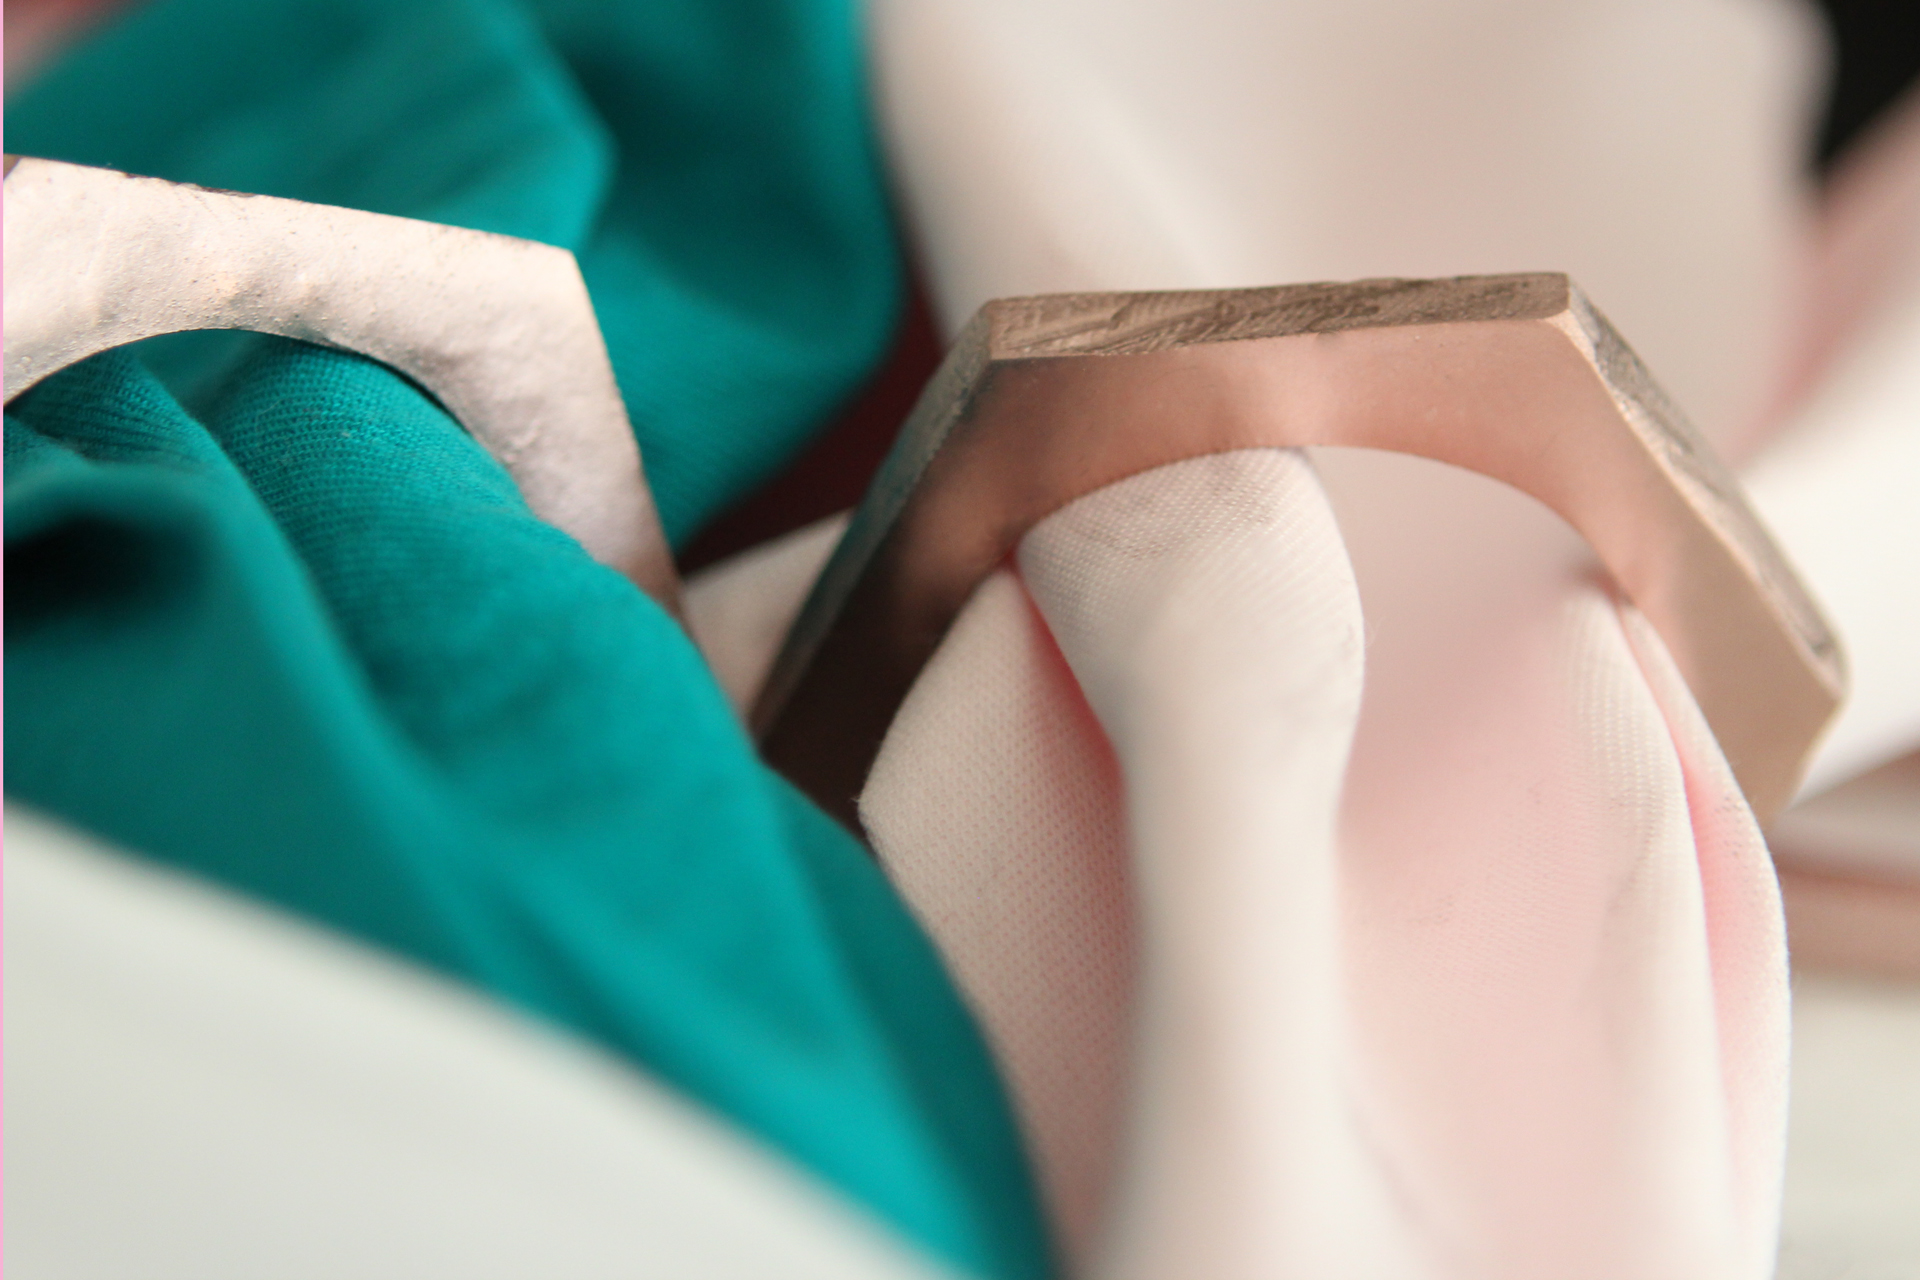
- Cut the leather circle out with an X-acto knife. Use multiple shallow strokes until it's cut all the way through, rather than trying to cut through the full thickness at once.
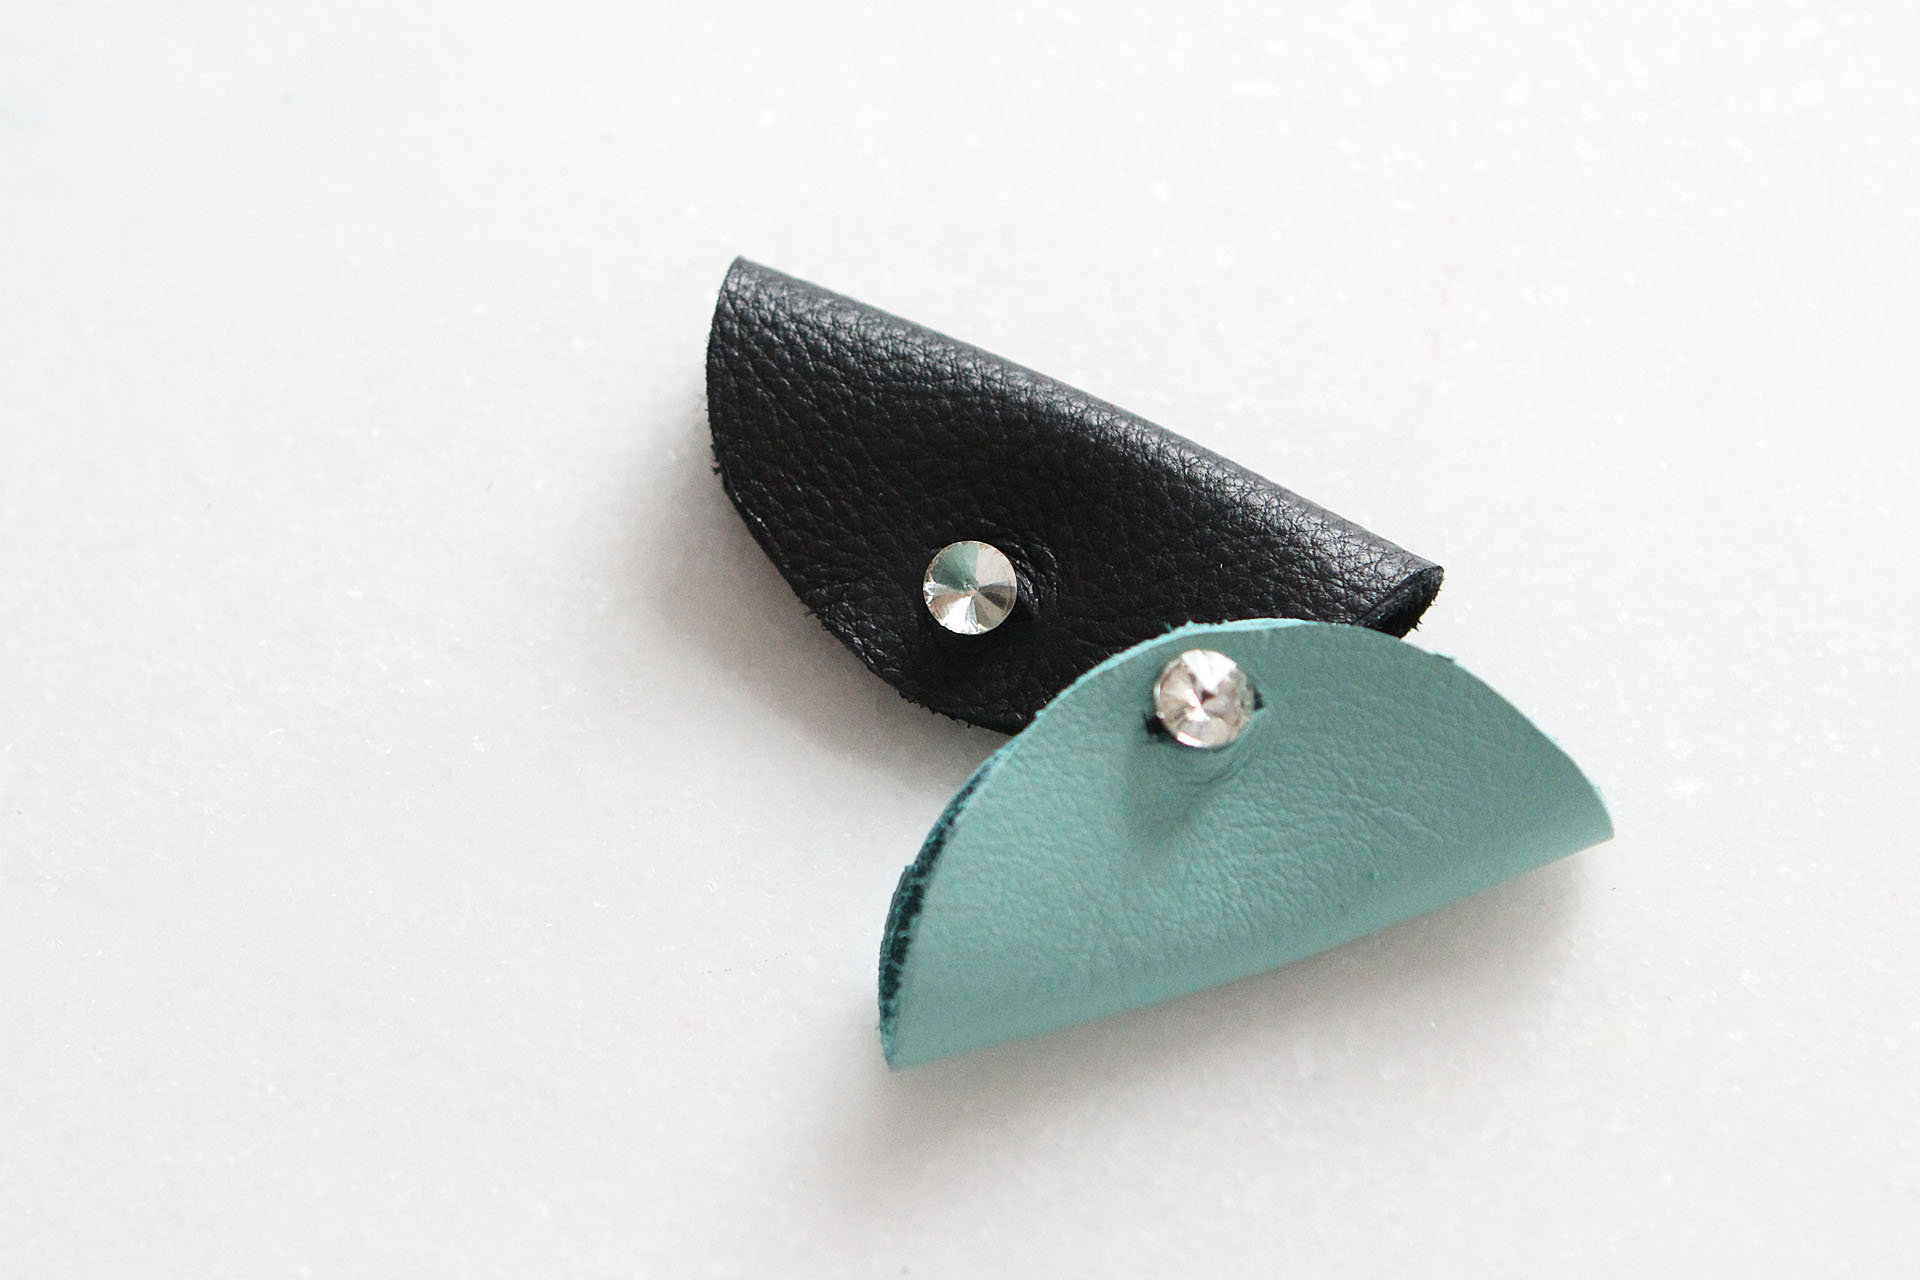
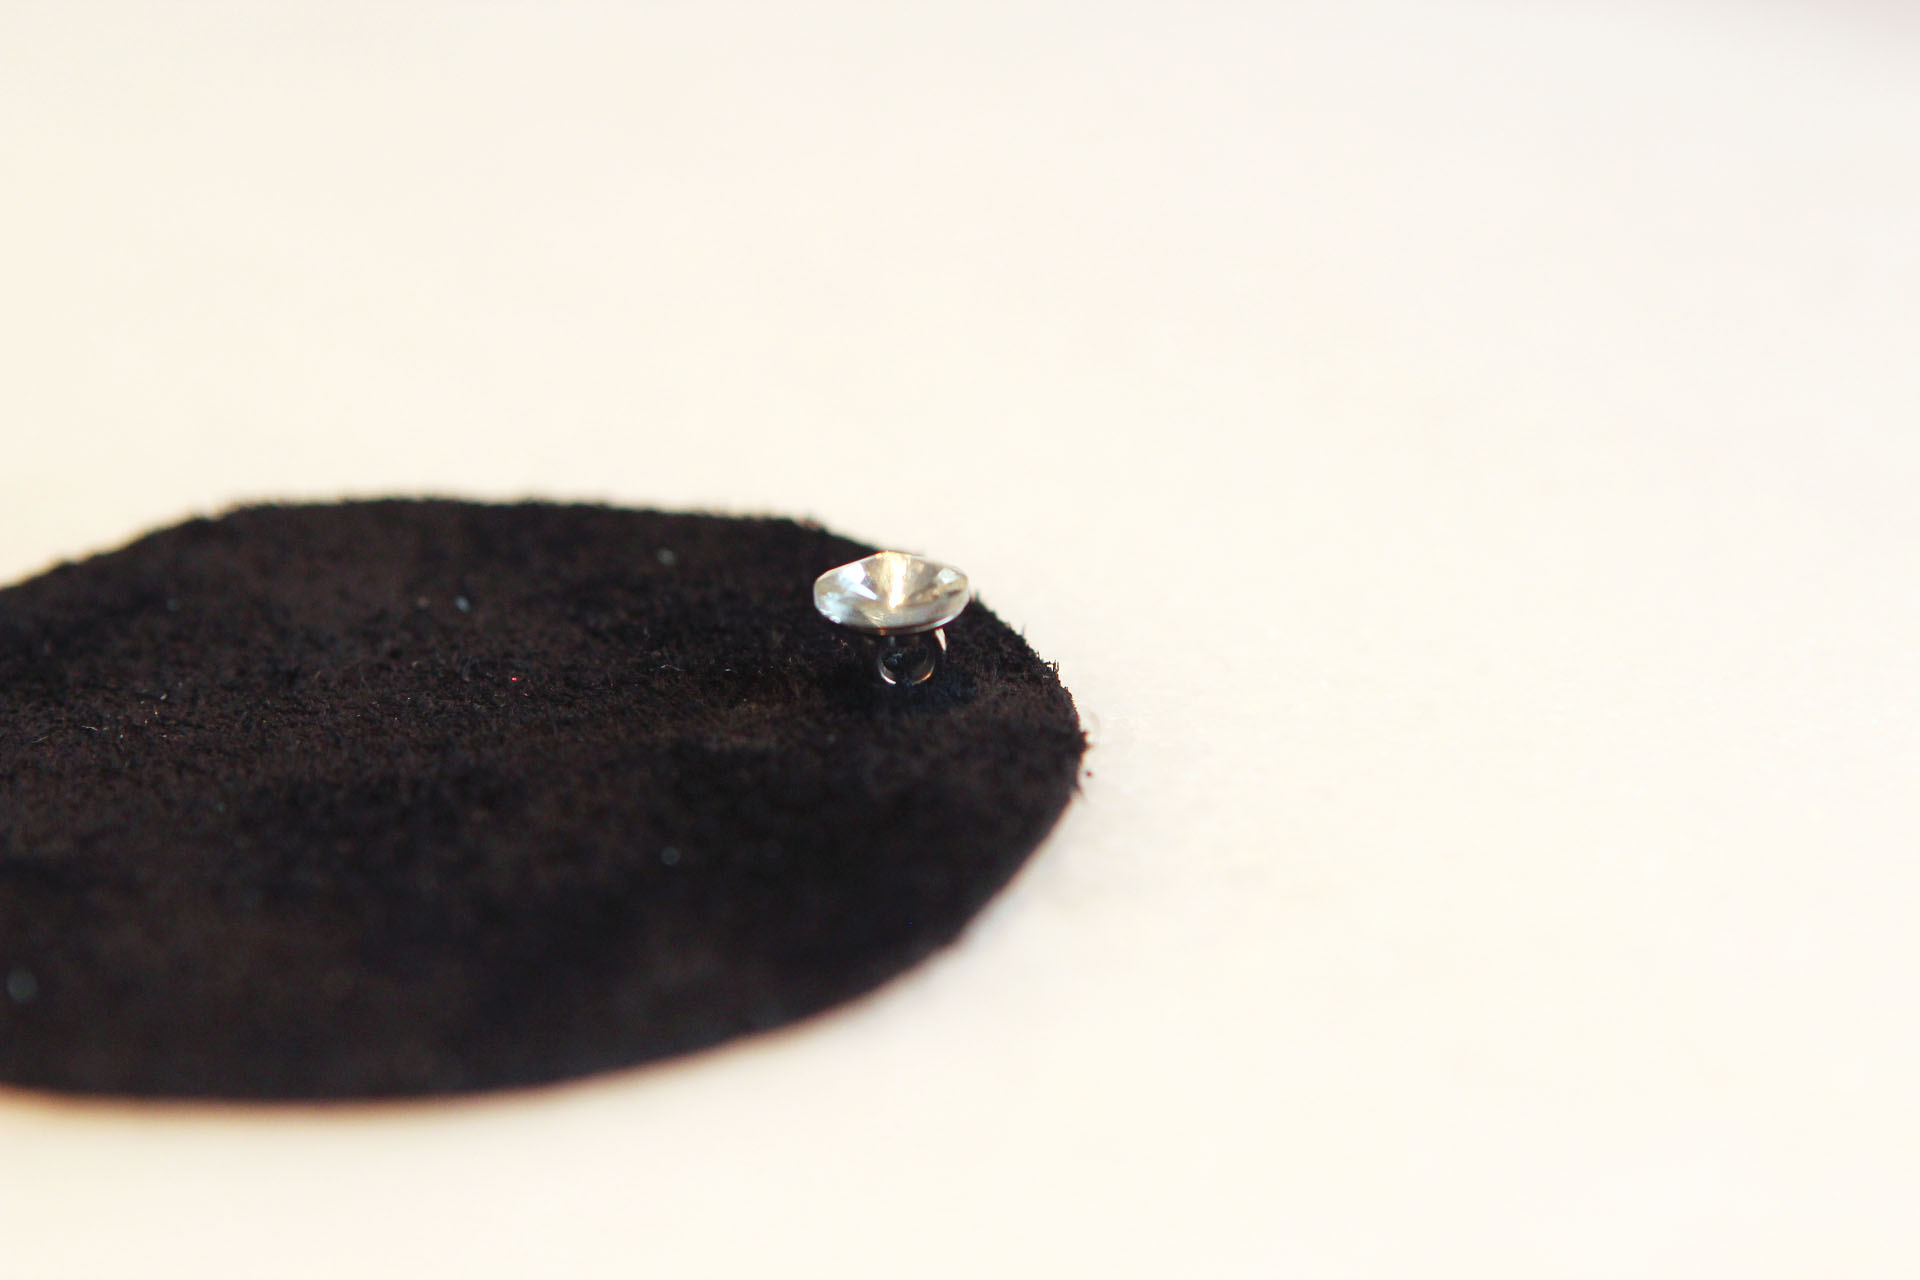
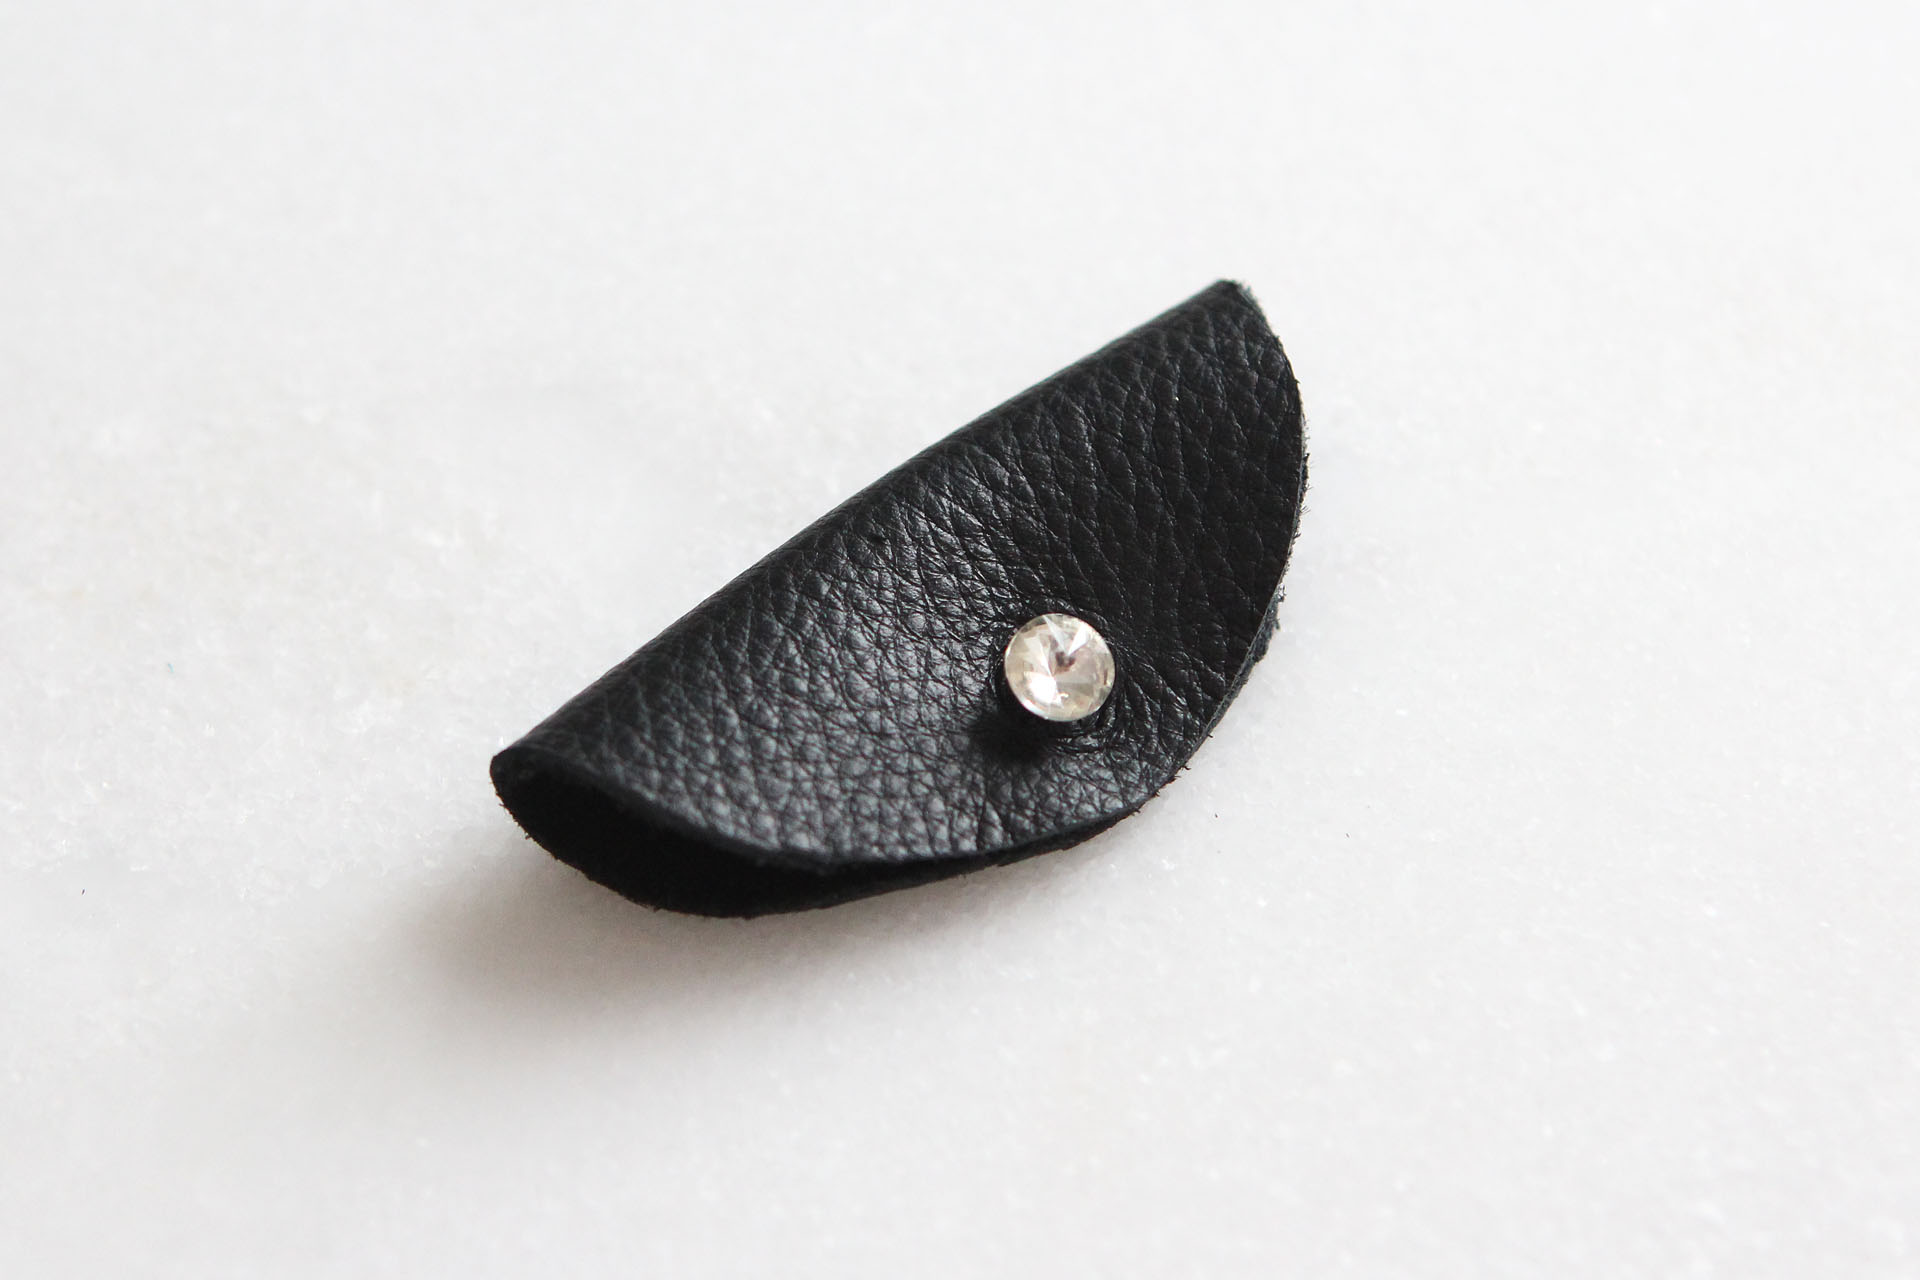
- Sew a small button on one side of the circle. Make sure the front of the button is on the inside, so it'll be oriented correctly when folded in half.
- Cut a slit on the opposite side of the circle, just big enough for the button to fit through.
- Fold the circle in half and button it. Done!

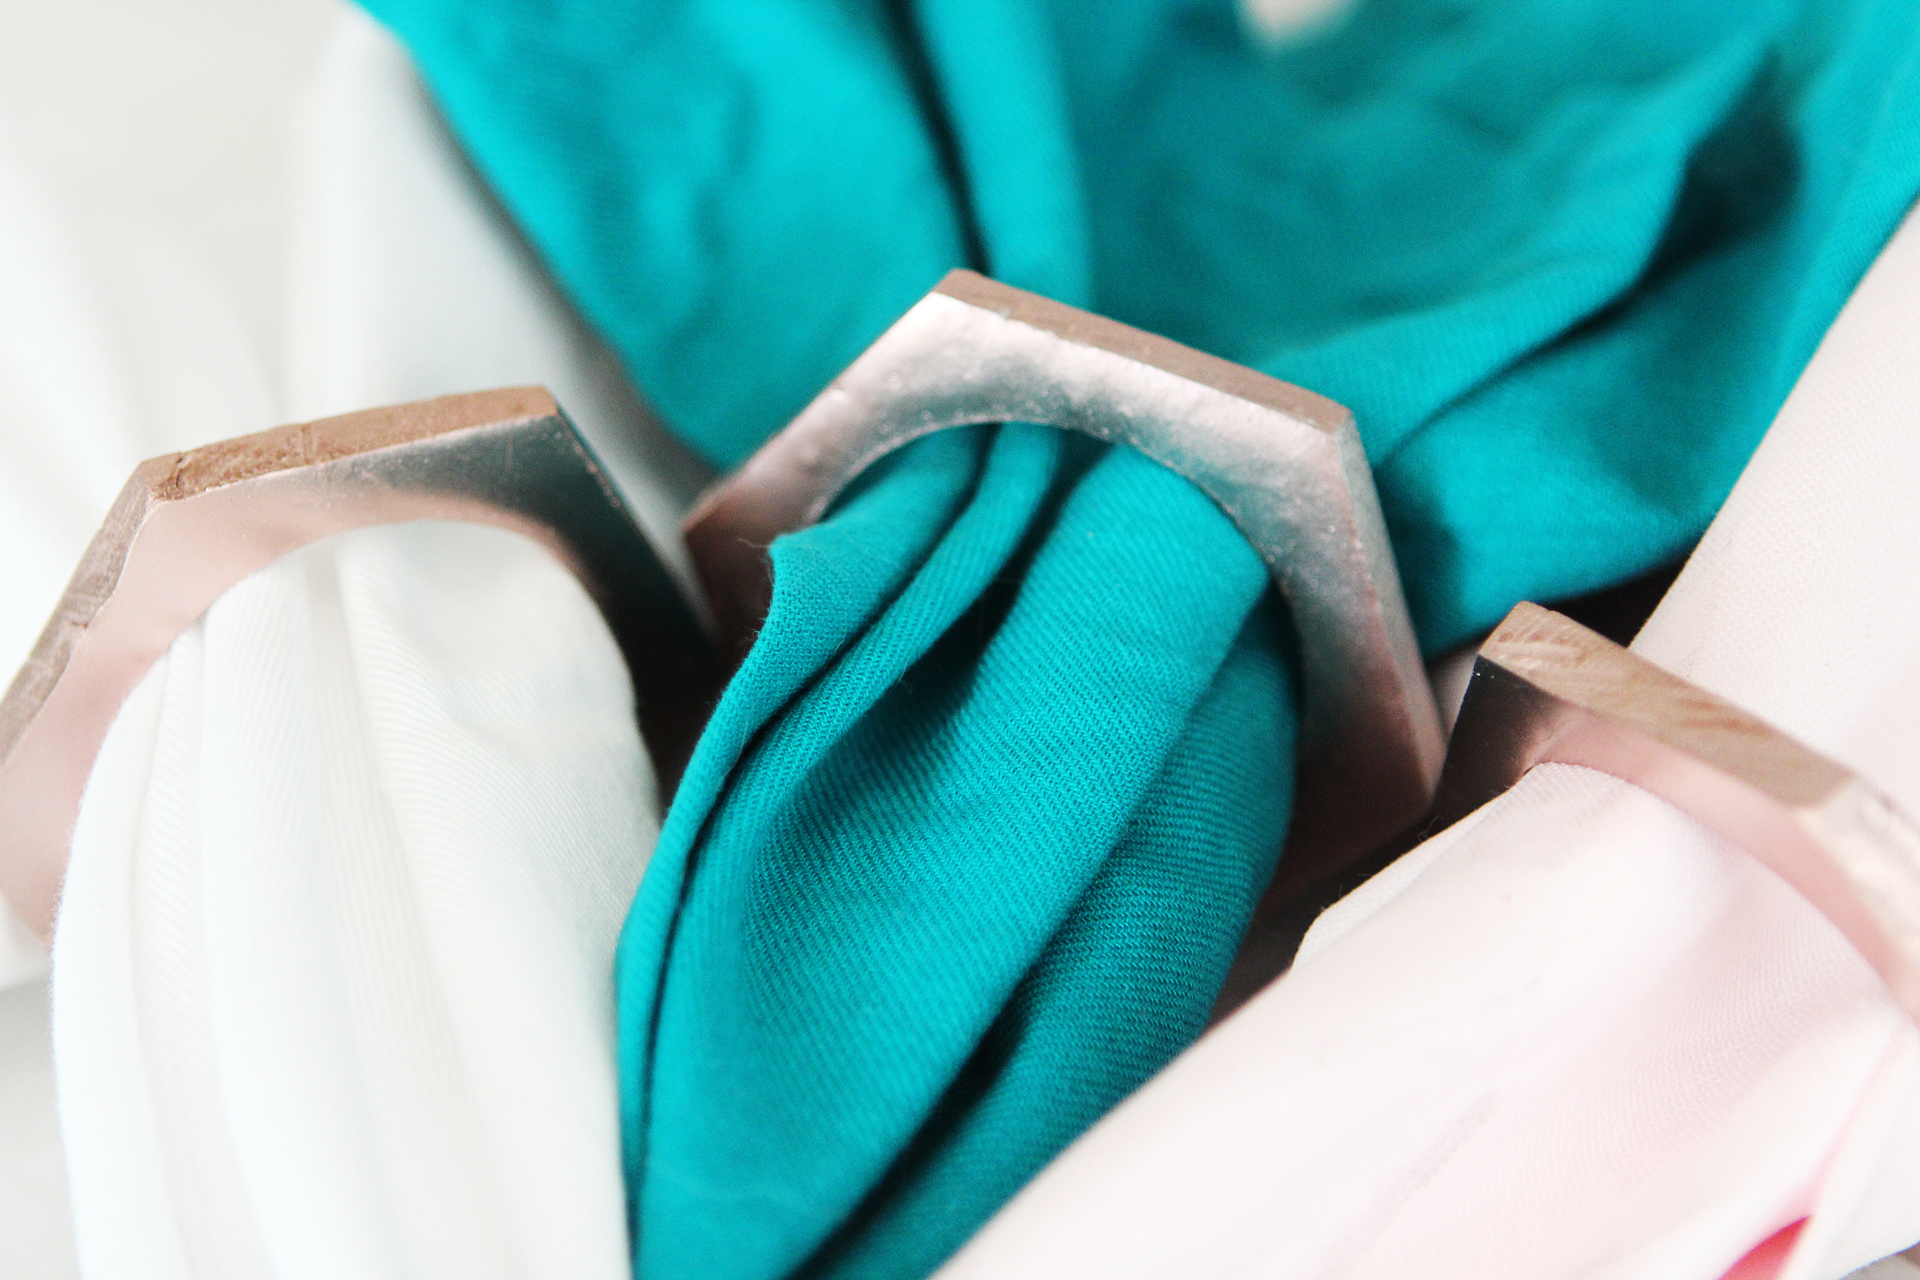
These are so easy to make, and they come in so handy when I'm tossing cords and chargers in my purse or if I'm traveling, so I don't end up with a knotted mess when I get to my destination. I also love the sparkle of the little button! Do you have any tricks you like to use to keep your cords in order?
 [/tatsu_text][/tatsu_column][/tatsu_row][/tatsu_section]
 [/tatsu_text][/tatsu_column][/tatsu_row][/tatsu_section]

 [/tatsu_text][/tatsu_column][/tatsu_row][/tatsu_section]
 [/tatsu_text][/tatsu_column][/tatsu_row][/tatsu_section]

 [/tatsu_text][/tatsu_column][/tatsu_row][/tatsu_section]