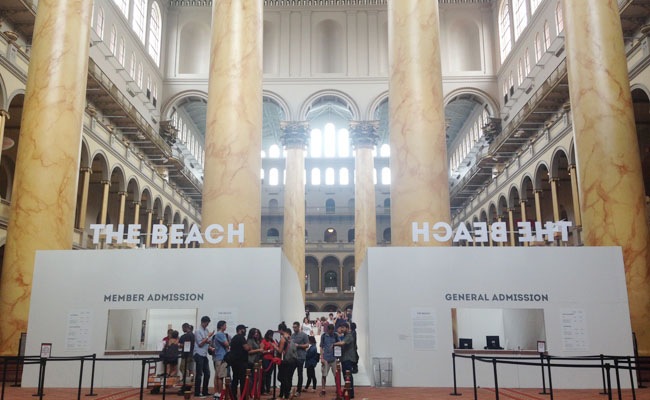
[tatsu_section padding= "90px 0% 90px 0%"][tatsu_row layout= "1/1"][tatsu_column layout= "1/1"][tatsu_text max_width= "" wrap_alignment= "center" animation_type= "none"]Yesterday I got to visit The Beach, an installation in the National Building Museum in Washington, DC. Designed by Snarkitecture, a studio known for its monochromatic experiments with the blending of art and architecture, The Beach is an interactive and playful installation filled with nearly a million translucent plastic balls.[/tatsu_text][/tatsu_column][/tatsu_row][tatsu_row layout= "1/2+1/2"][tatsu_column layout= "1/2"][tatsu_text max_width= "" wrap_alignment= "center" animation_type= "none"]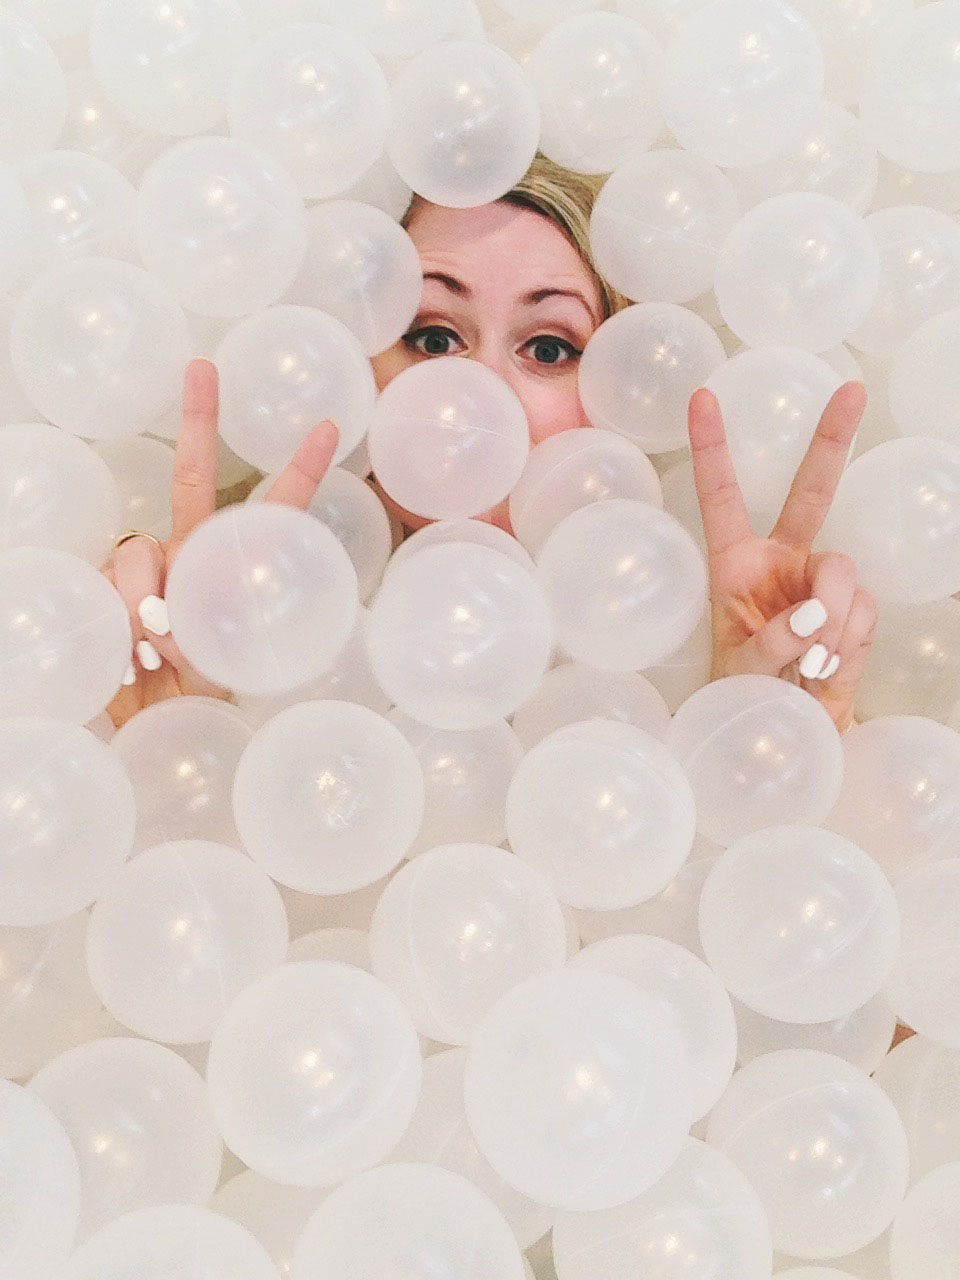 [/tatsu_text][/tatsu_column][tatsu_column layout= "1/2"][tatsu_text max_width= "" wrap_alignment= "center" animation_type= "none"]
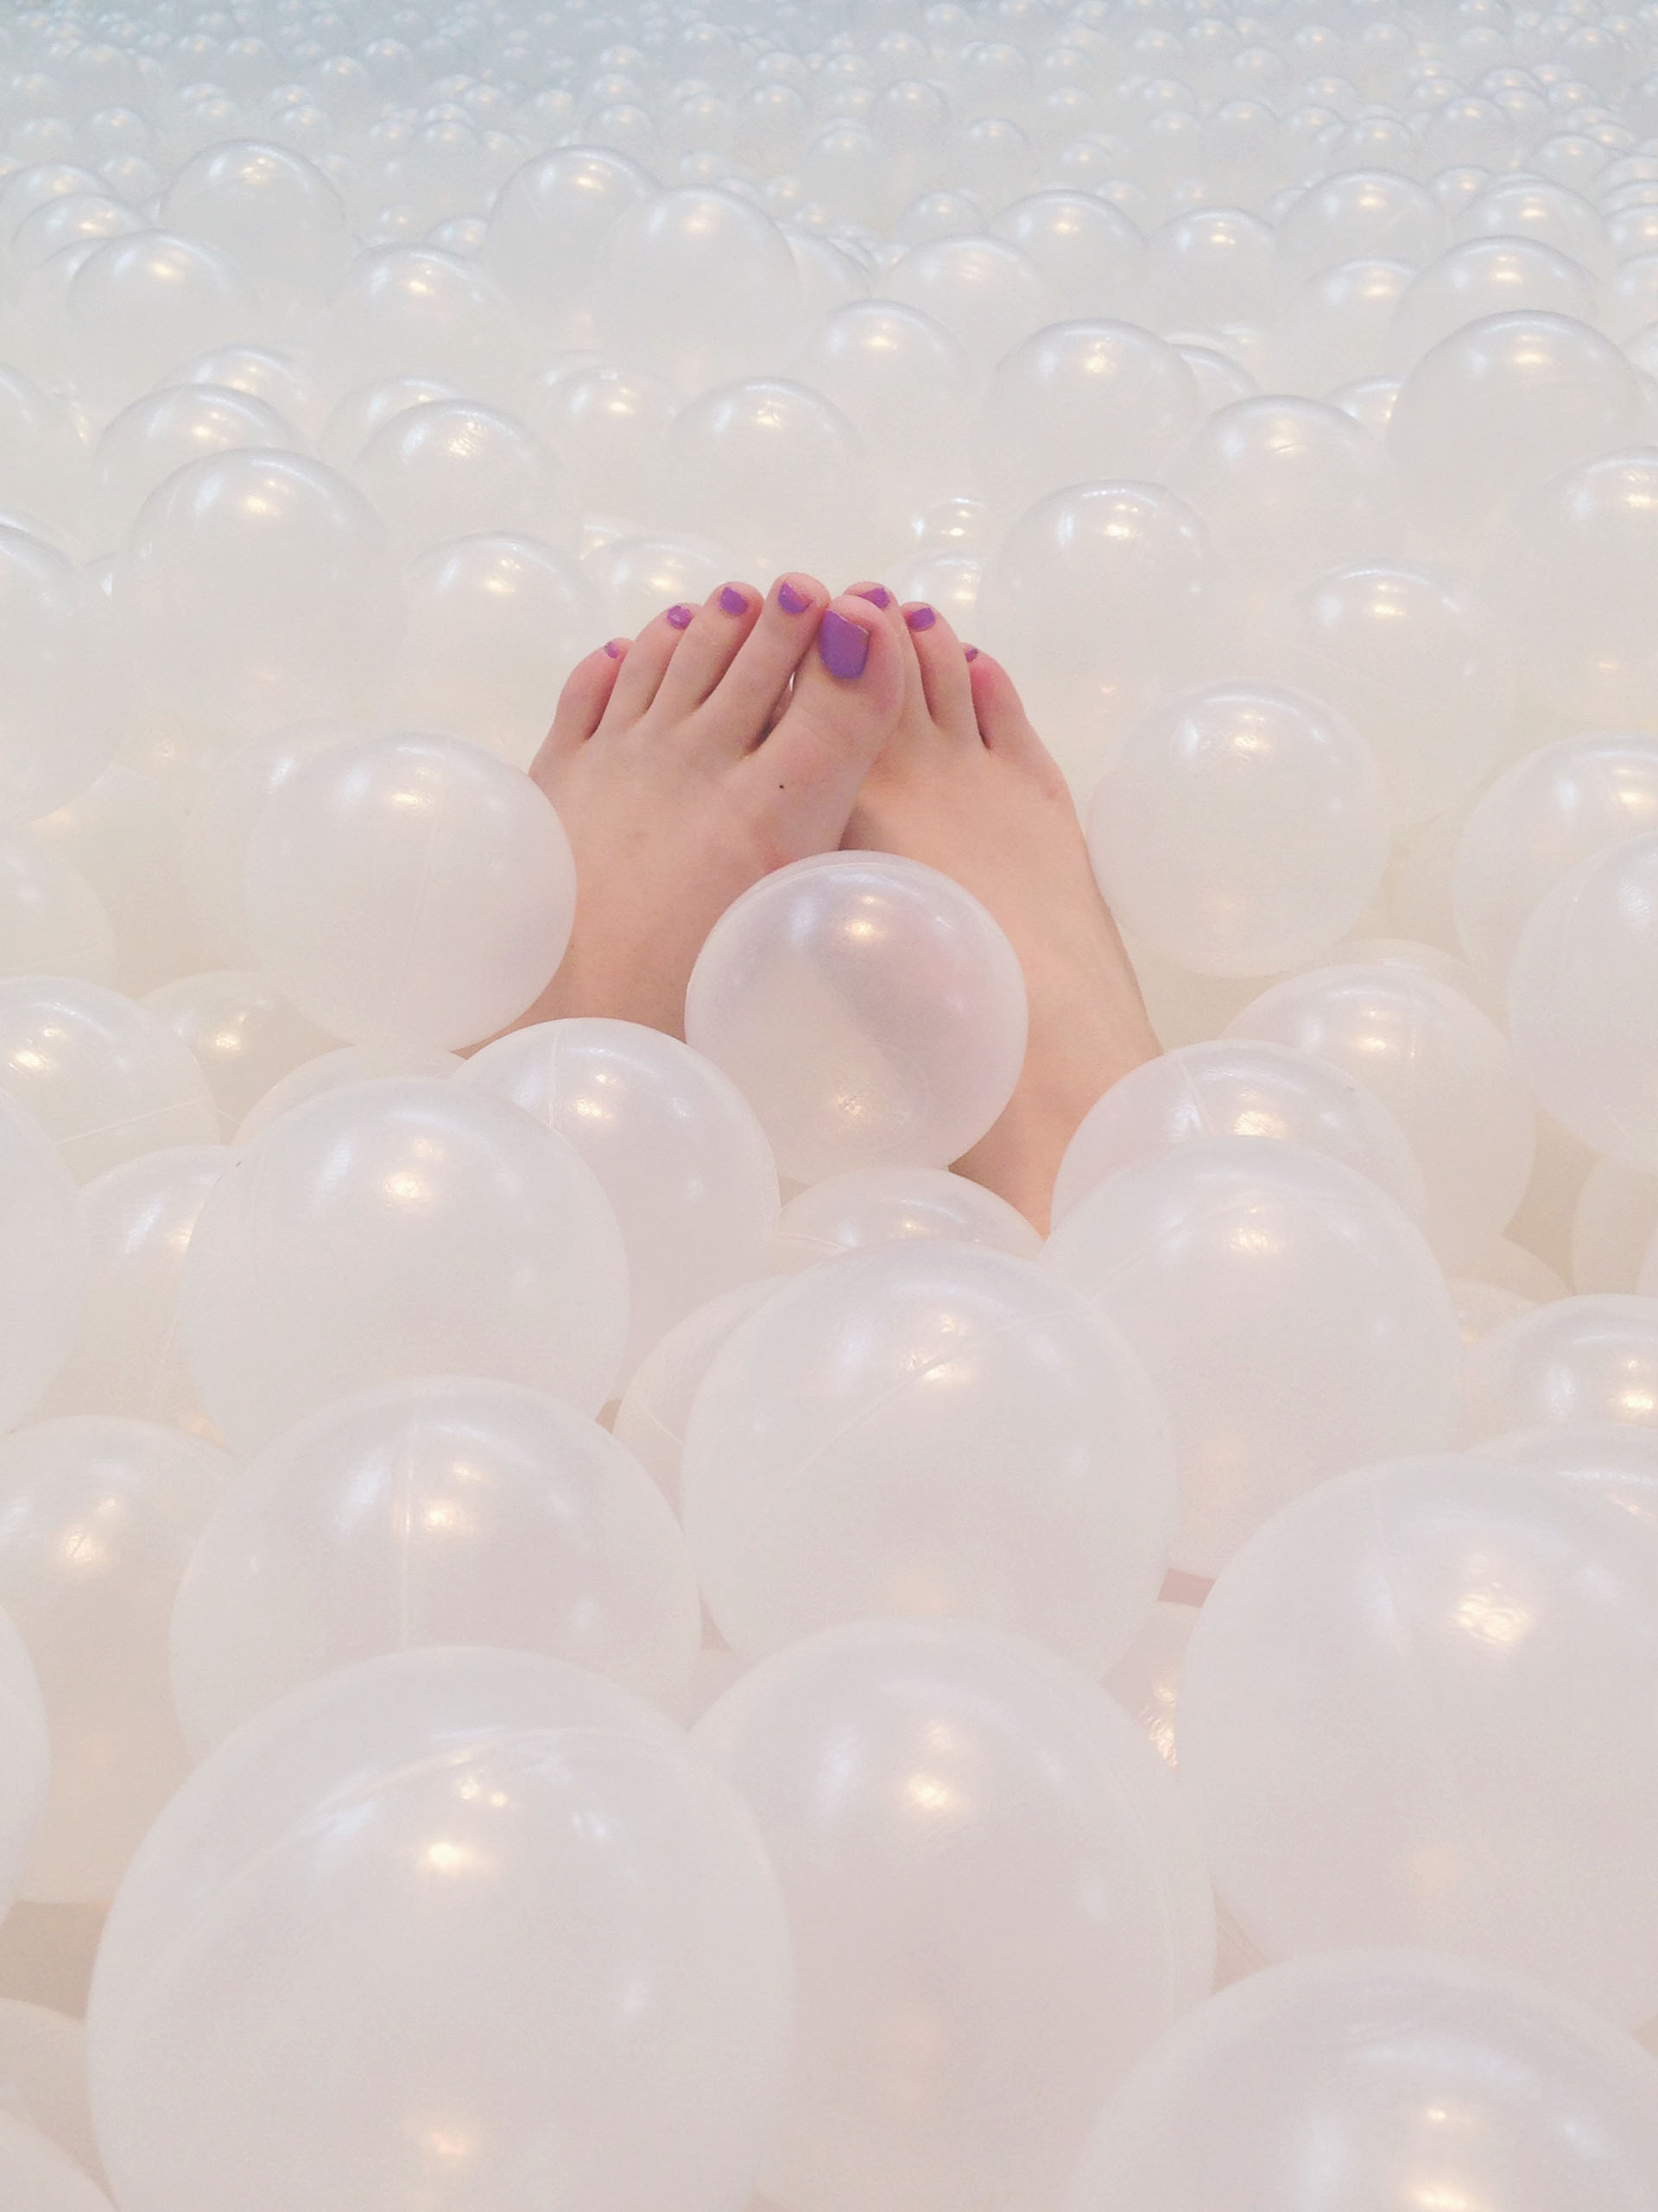 [/tatsu_text][/tatsu_column][/tatsu_row][tatsu_row layout= "1/1"][tatsu_column layout= "1/1"][tatsu_text max_width= "" wrap_alignment= "center" animation_type= "none"]When we arrived at the exhibit on this Thursday afternoon, the line stretched to the sign claiming we had 30 minutes to wait, although the attendant at the ticket booth told us it would only be about 20. In actuality, we were probably only in line for about 10-15 minutes before we got to go inside.
The Beach is set up like–you guessed it–a beach, complete with beach chairs and umbrellas, and a snack bar stocked by Union Kitchen. Instead of water, obviously, the ocean is made up of the plastic balls, which gets deeper the further out you go. At the furthest point the balls are around 3-3.5 feet deep![/tatsu_text][/tatsu_column][/tatsu_row][tatsu_row layout= "1/2+1/2"][tatsu_column layout= "1/2"][tatsu_text max_width= "" wrap_alignment= "center" animation_type= "none"]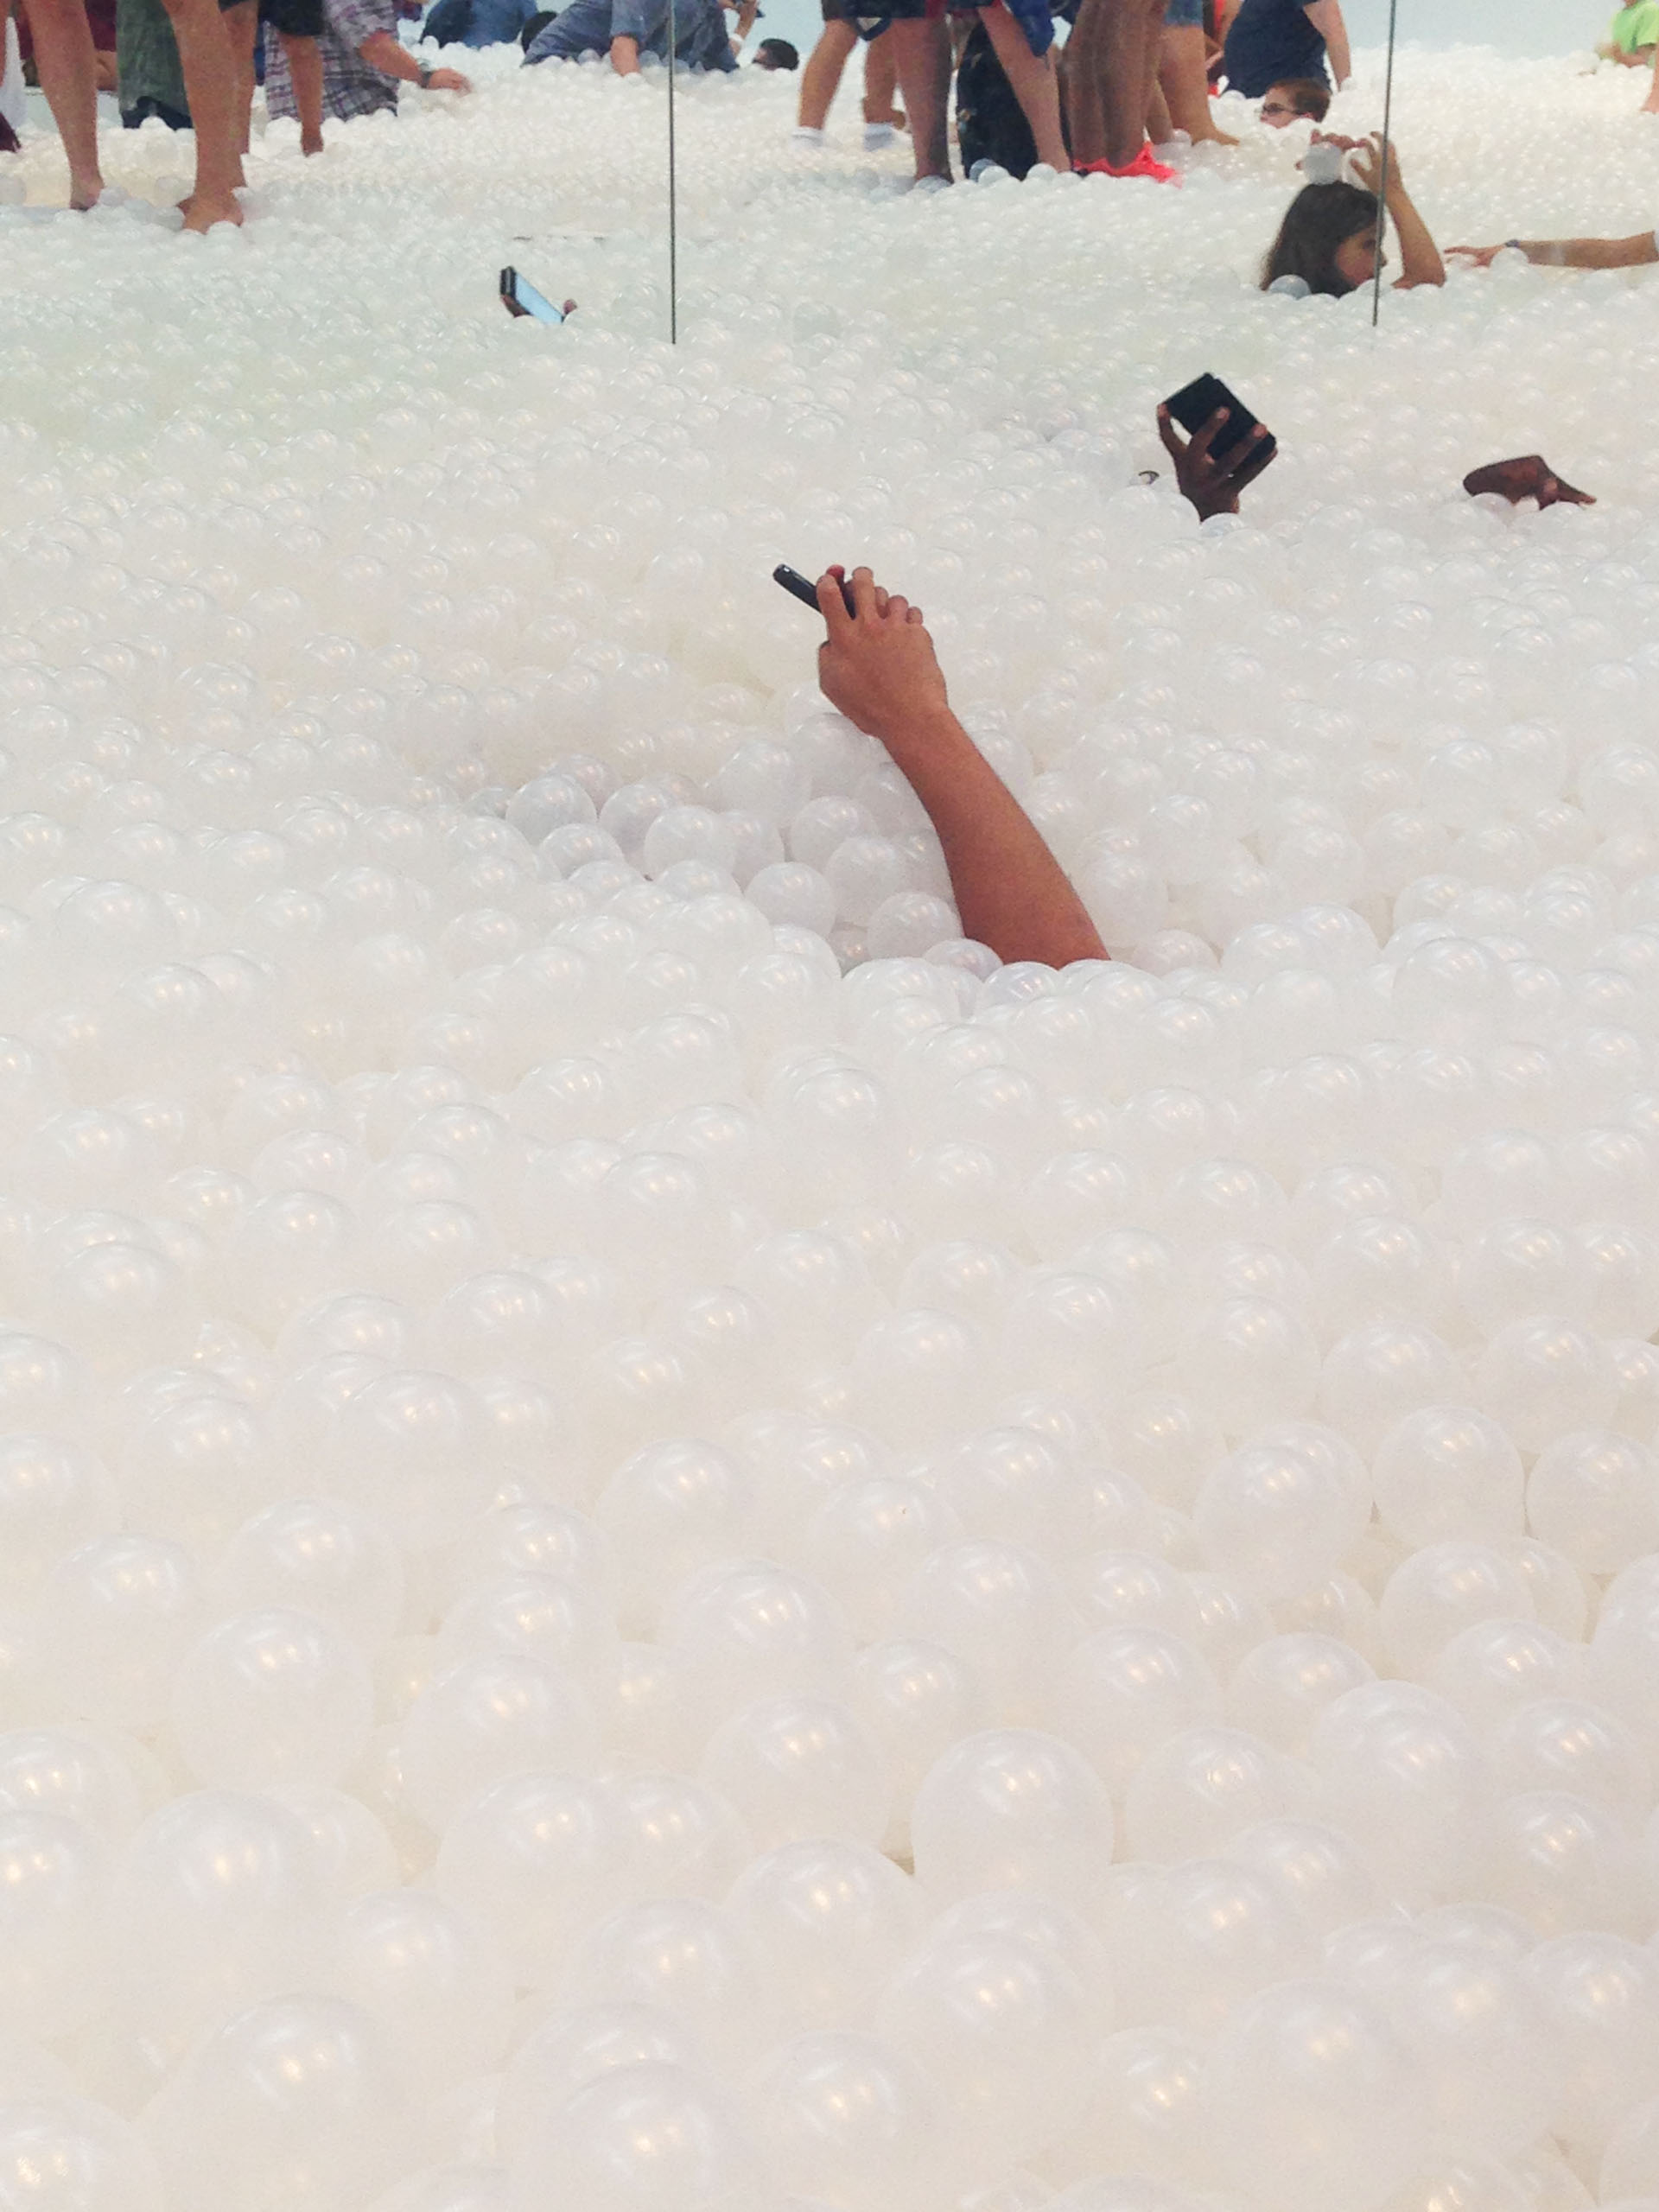 [/tatsu_text][/tatsu_column][tatsu_column layout= "1/2"][tatsu_text max_width= "" wrap_alignment= "center" animation_type= "none"]
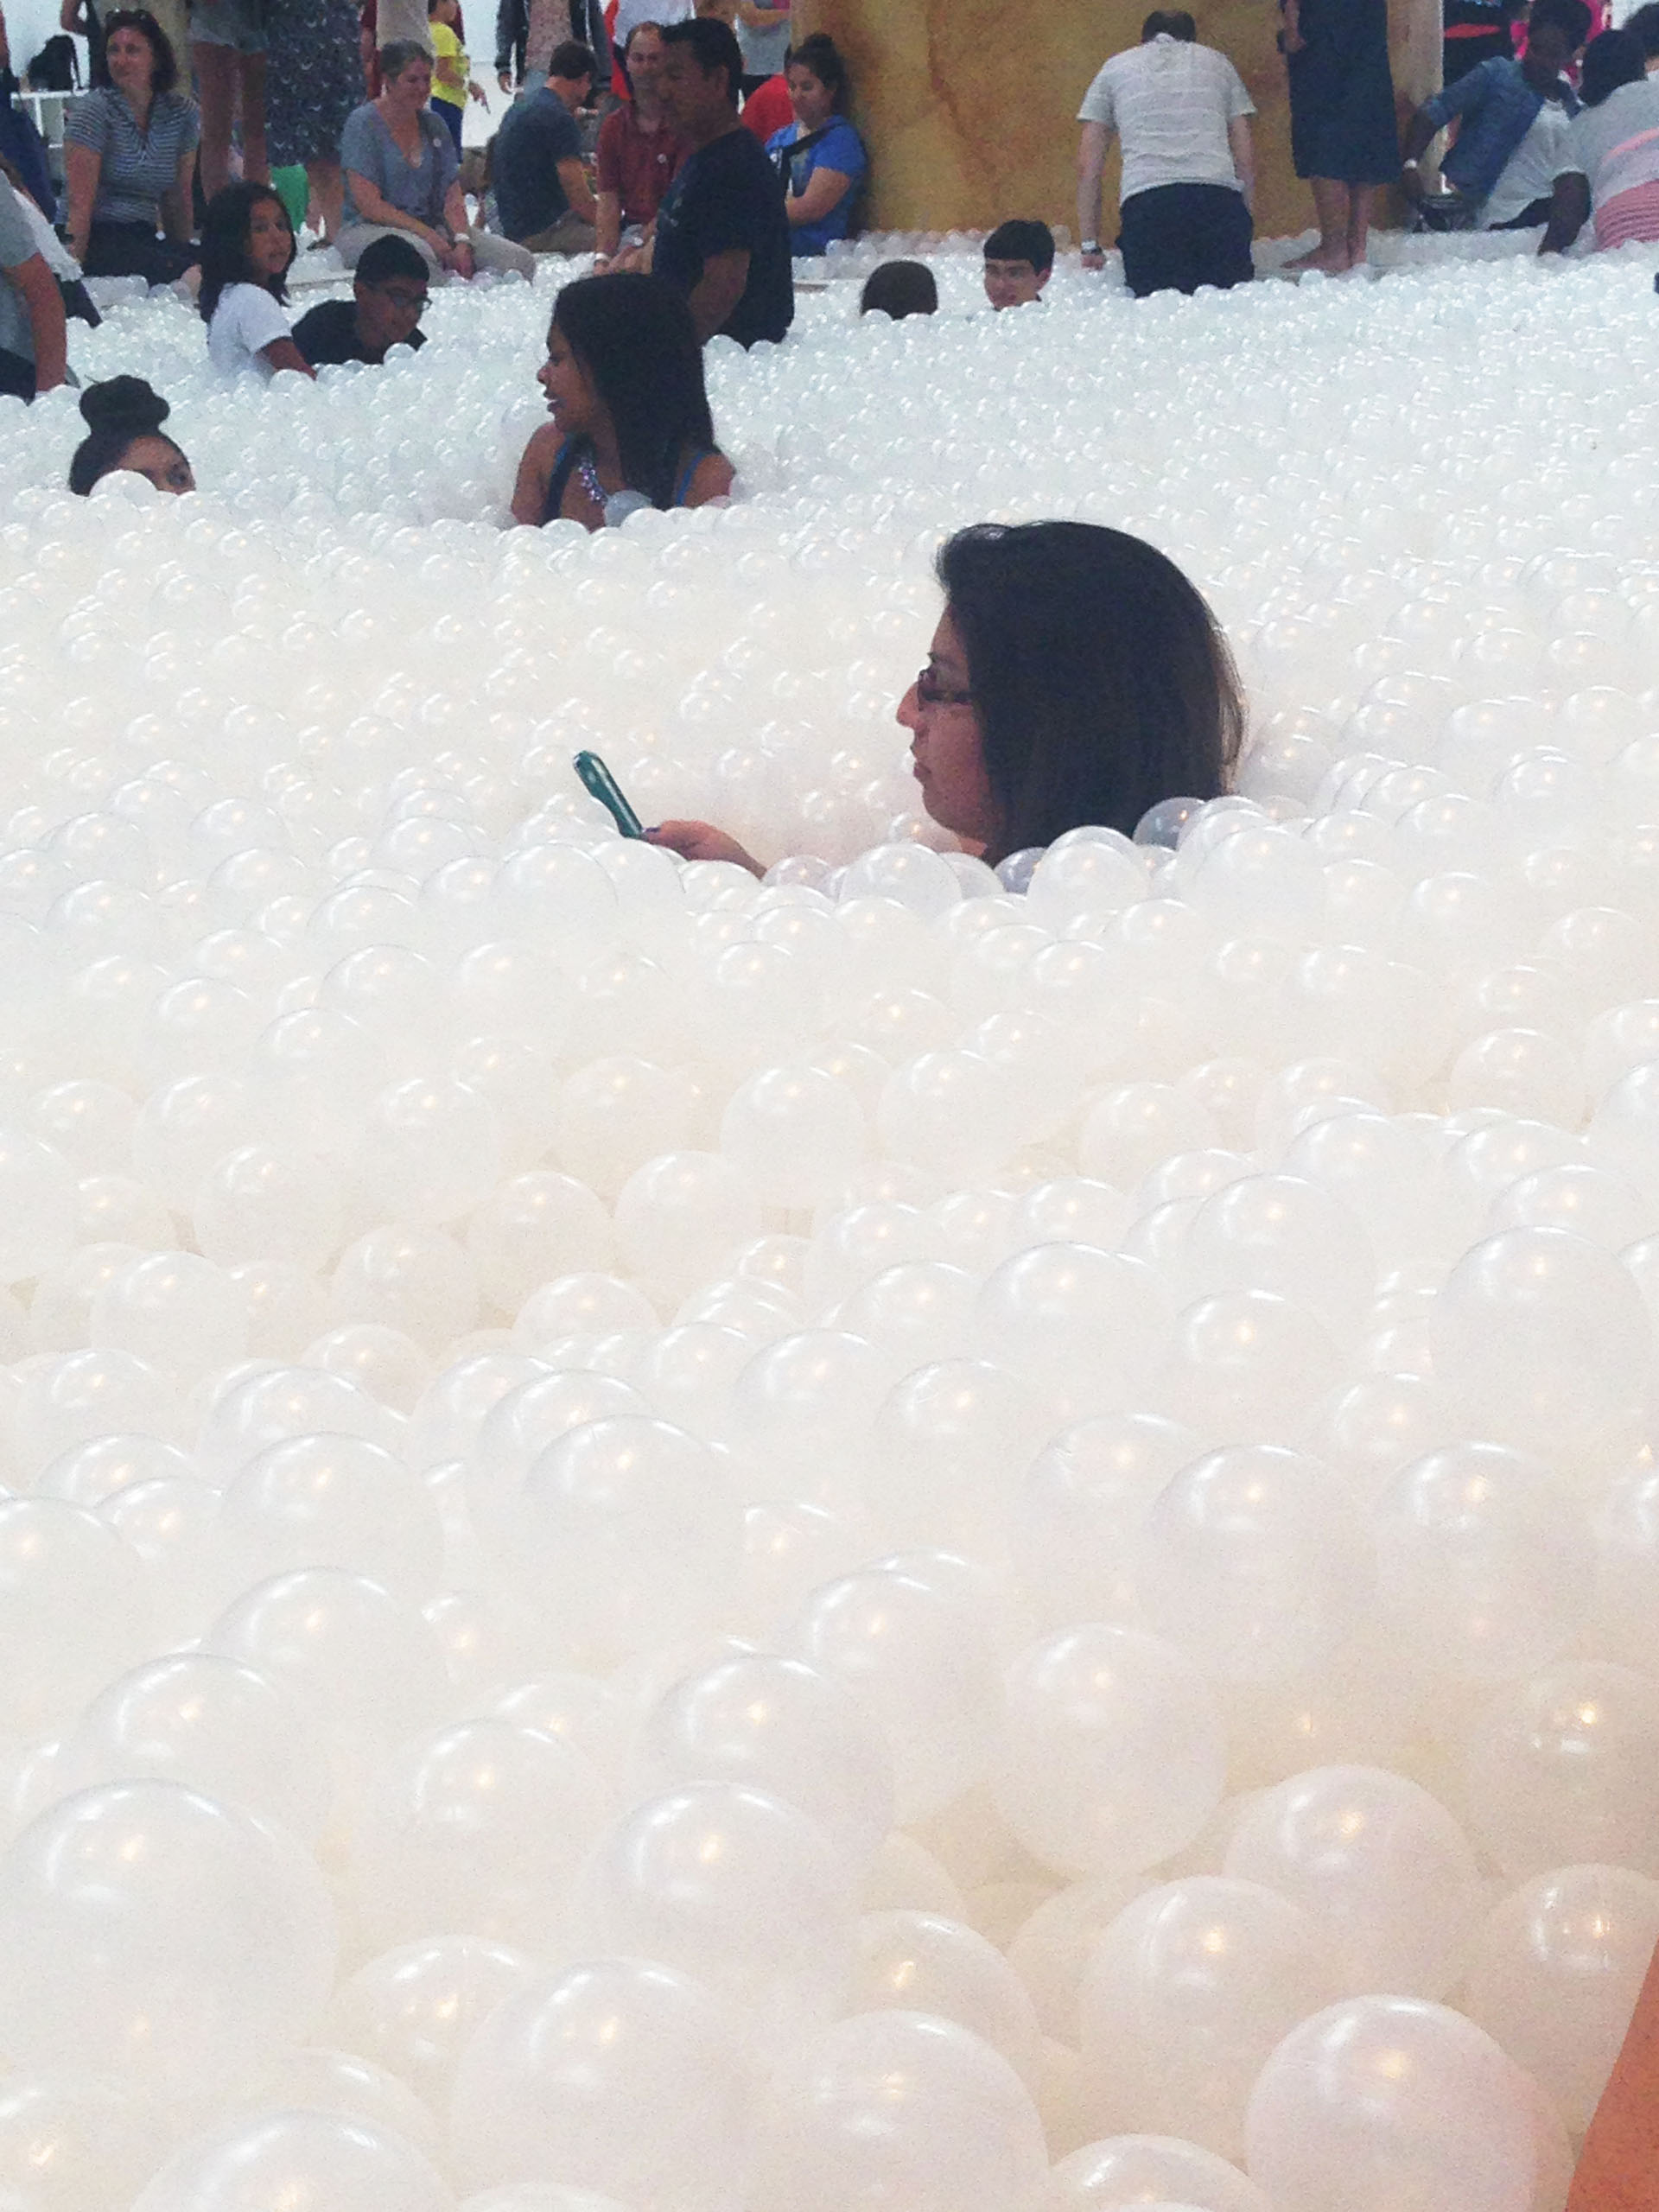 [/tatsu_text][/tatsu_column][/tatsu_row][tatsu_row layout= "1/1"][tatsu_column layout= "1/1"][tatsu_text max_width= "" wrap_alignment= "center" animation_type= "none"]The installation is completely monochromatic (like much of Snarkitecture's work), with a mirrored wall at the very back, reflecting the sea and creating the illusion of even more expansiveness. You can walk along the pier, which runs through the center of the exhibit, and jump (or dive!) off a circular platform in the deepest end.
I was surprised by how fun it was to play in and how supported I felt while sitting up, as well as by how difficult it was to move around! It was definitely more of a workout than I thought it would be. It's also great for people-watching, as anyone and everyone of all ages was having a blast and taking pictures.[/tatsu_text][/tatsu_column][/tatsu_row][tatsu_row layout= "1/2+1/2"][tatsu_column layout= "1/2"][tatsu_text max_width= "" wrap_alignment= "center" animation_type= "none"] [/tatsu_text][/tatsu_column][tatsu_column layout= "1/2"][tatsu_text max_width= "" wrap_alignment= "center" animation_type= "none"]
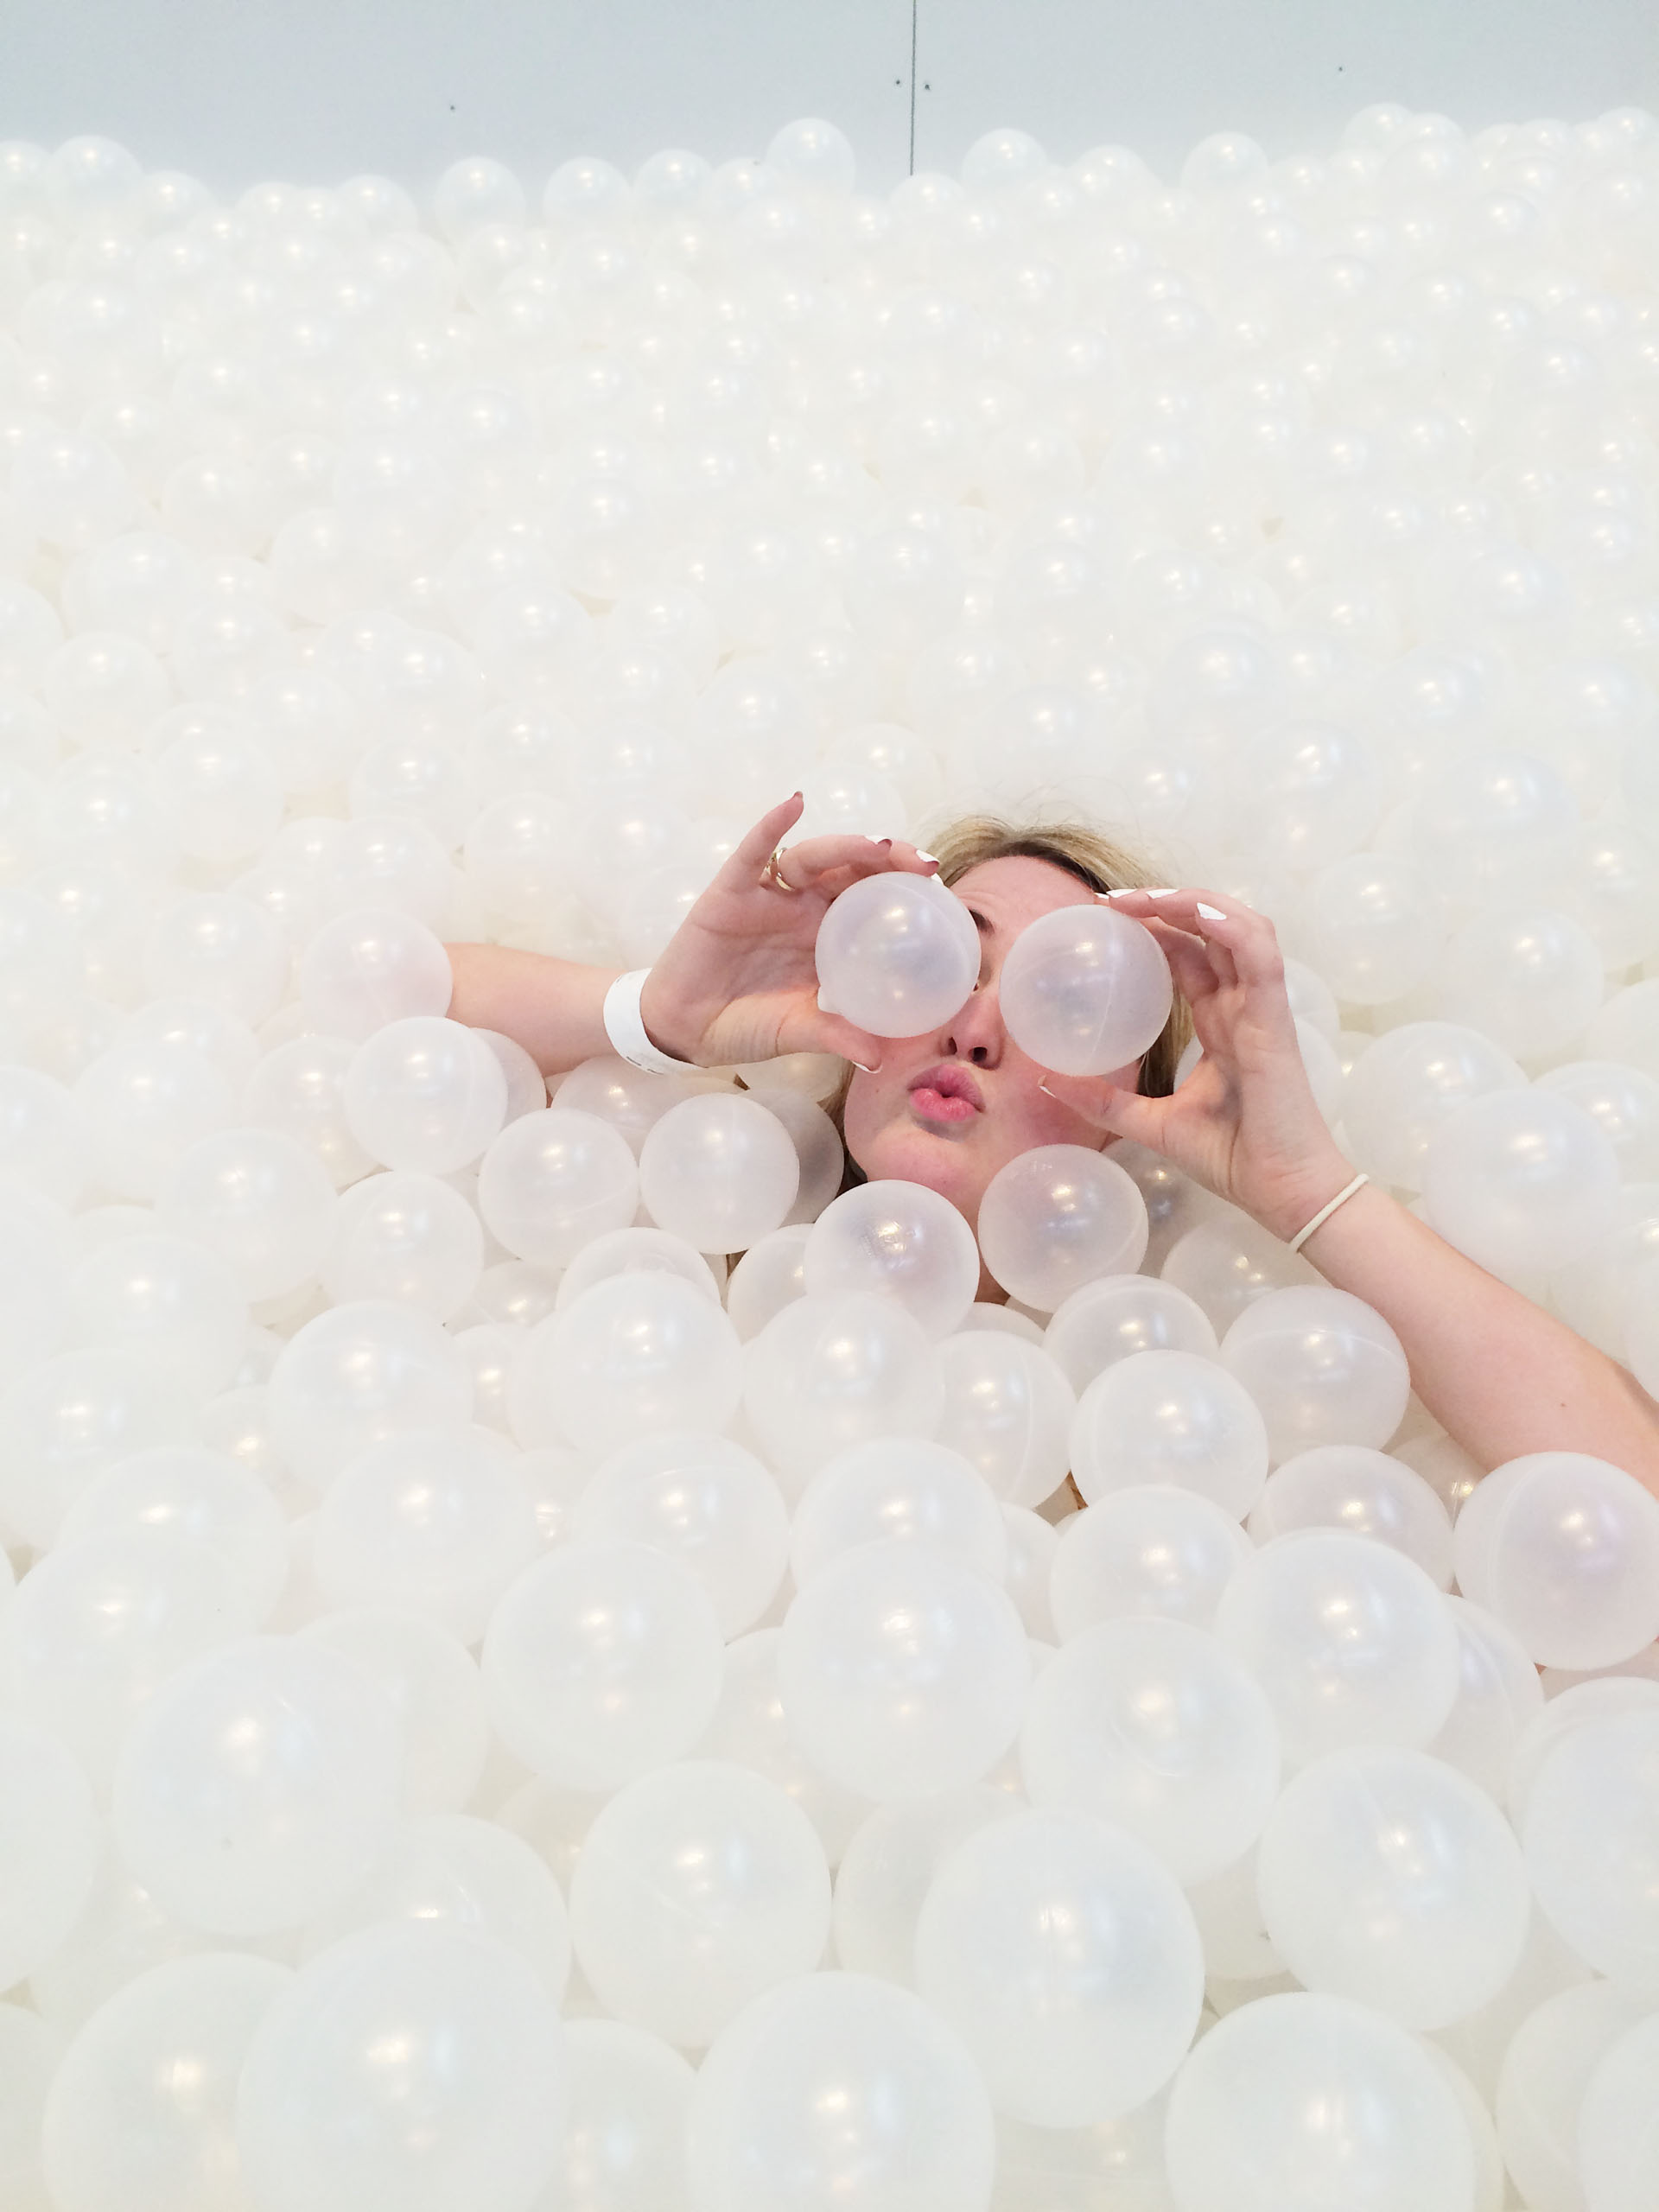 [/tatsu_text][/tatsu_column][/tatsu_row][tatsu_row layout= "1/1"][tatsu_column layout= "1/1"][tatsu_text max_width= "" wrap_alignment= "center" animation_type= "none"]If you're near DC and you get the chance, definitely stop by to check it out! The exhibition runs through September 7.[/tatsu_text][tatsu_text max_width= "" wrap_alignment= "center" animation_type= "none"]
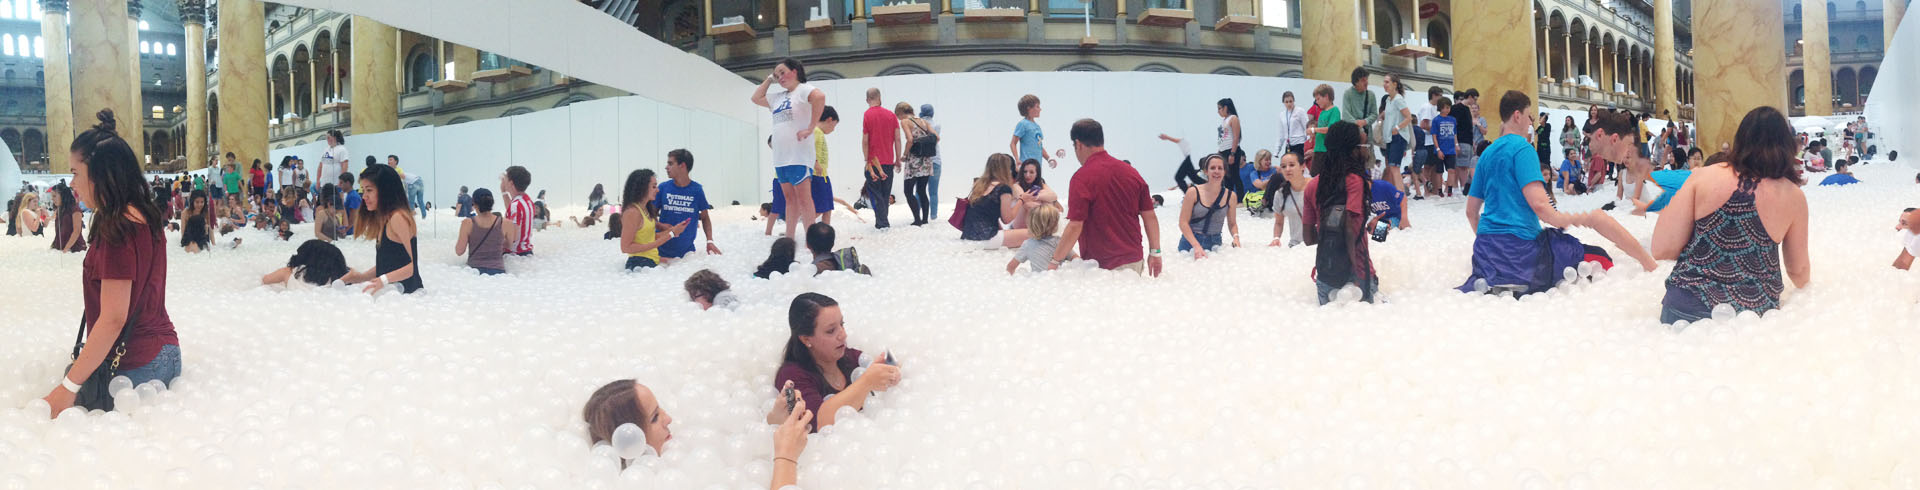 [/tatsu_text][/tatsu_column][/tatsu_row][/tatsu_section]
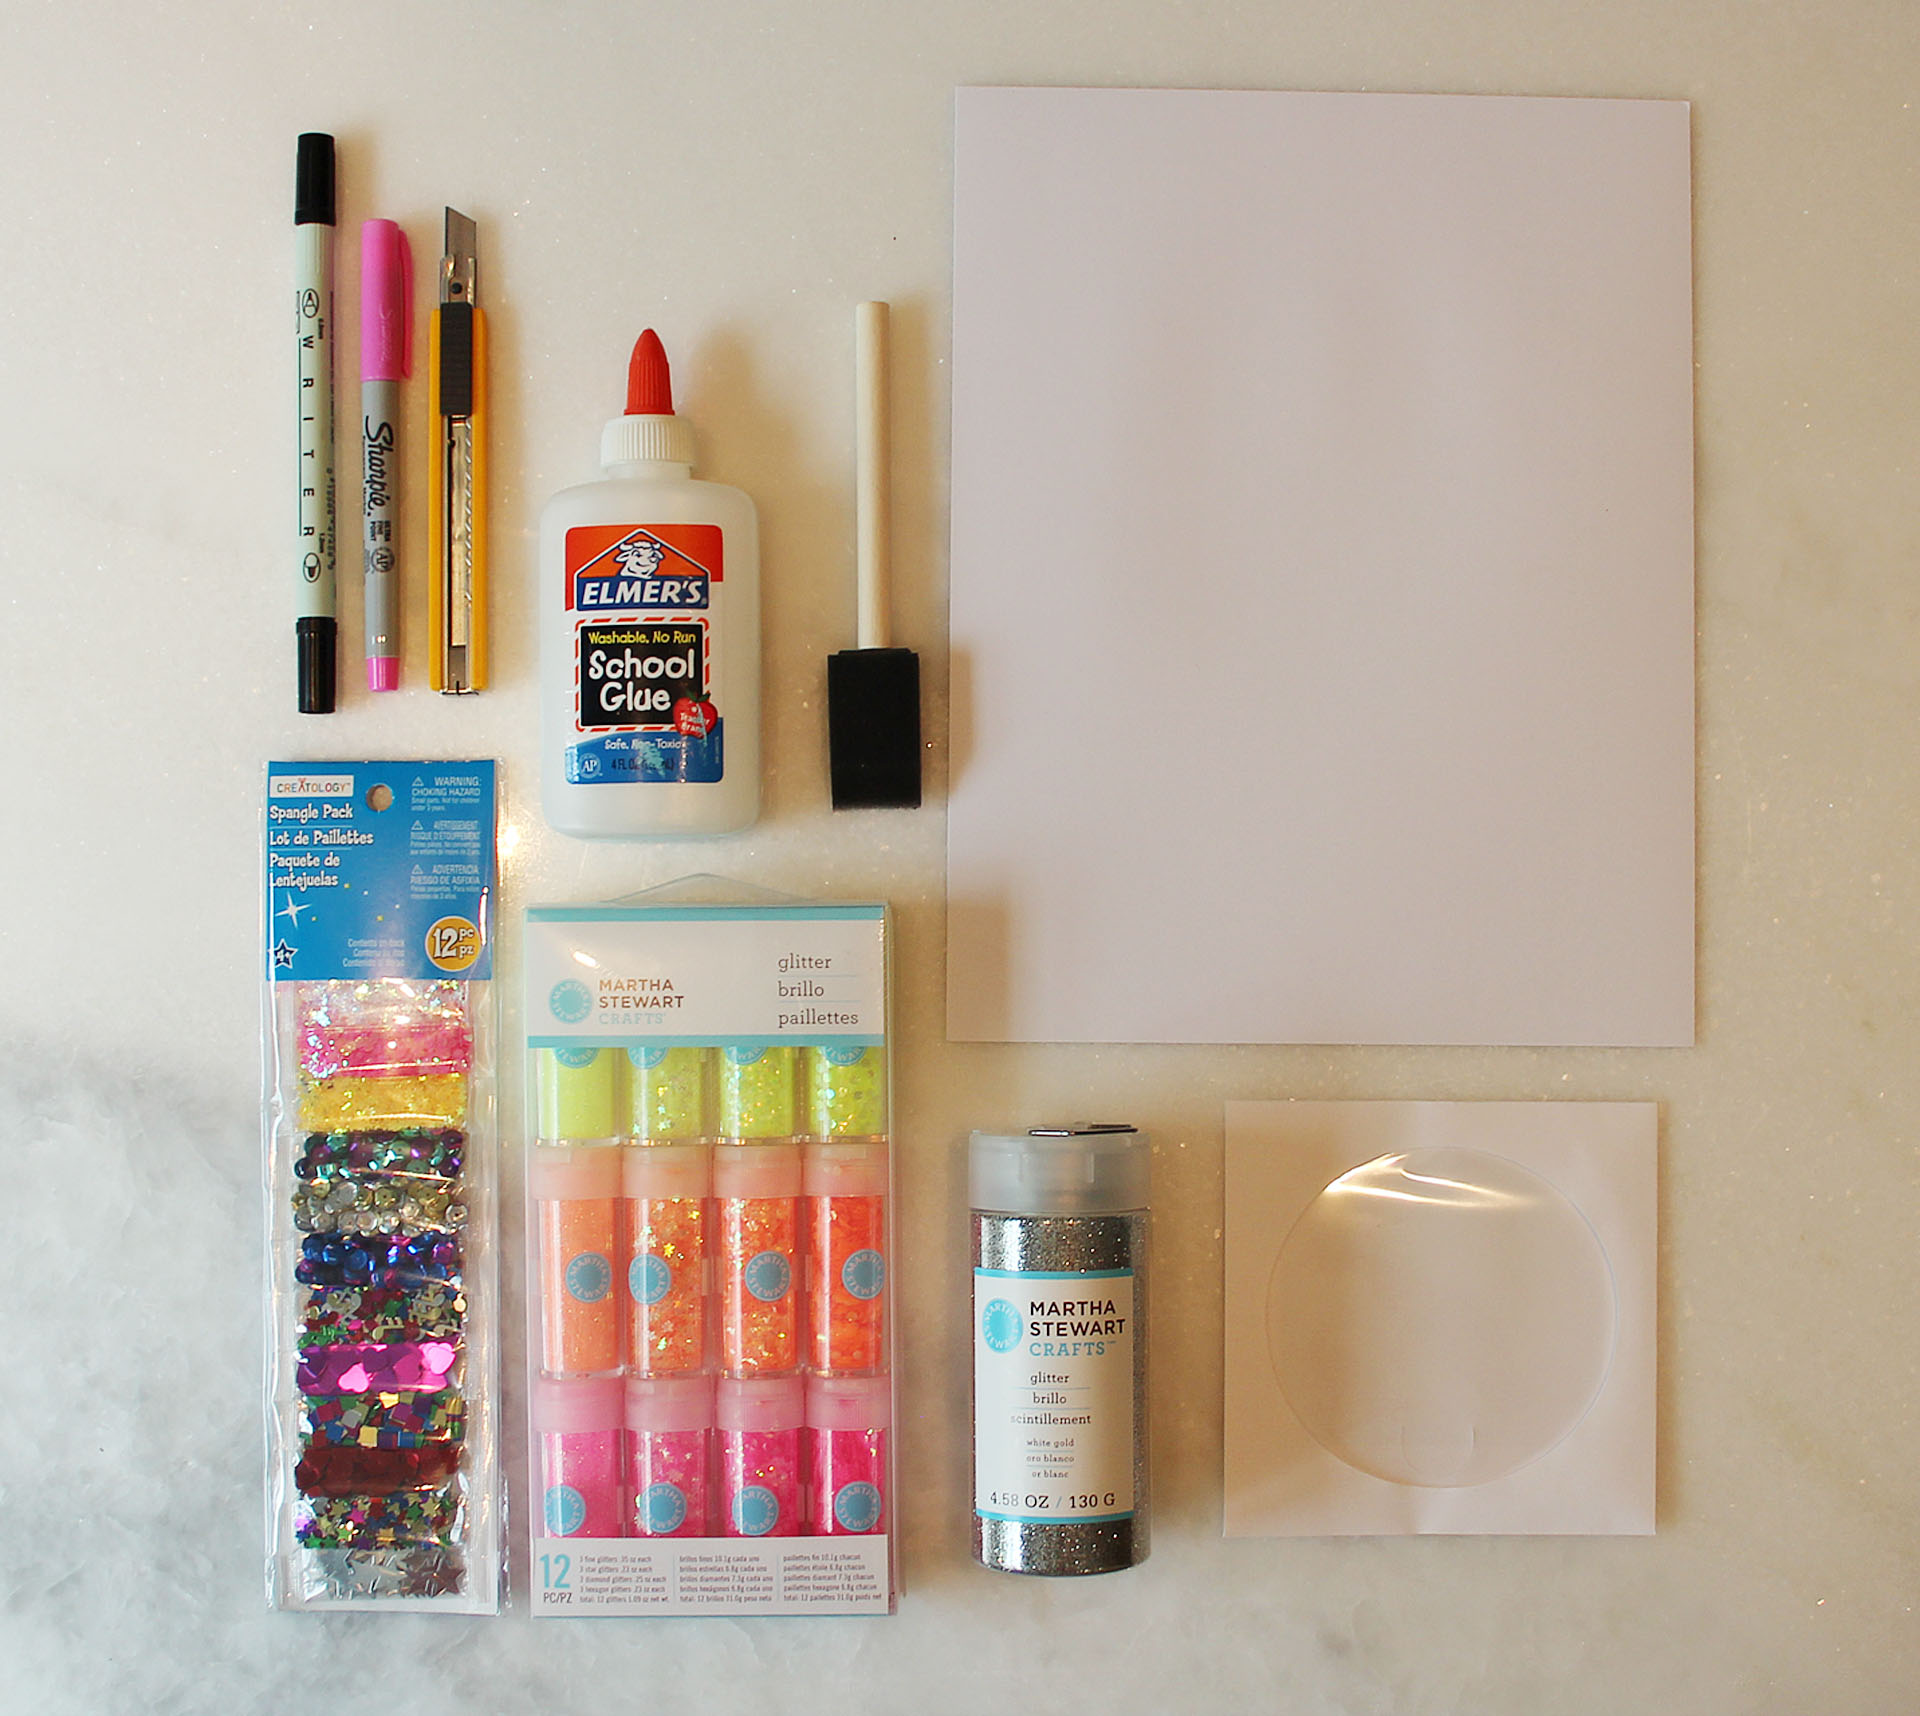 [/tatsu_text][tatsu_text max_width= "" wrap_alignment= "center" animation_type= "none"]You will need:
 [/tatsu_text][tatsu_text max_width= "" wrap_alignment= "center" animation_type= "none"]
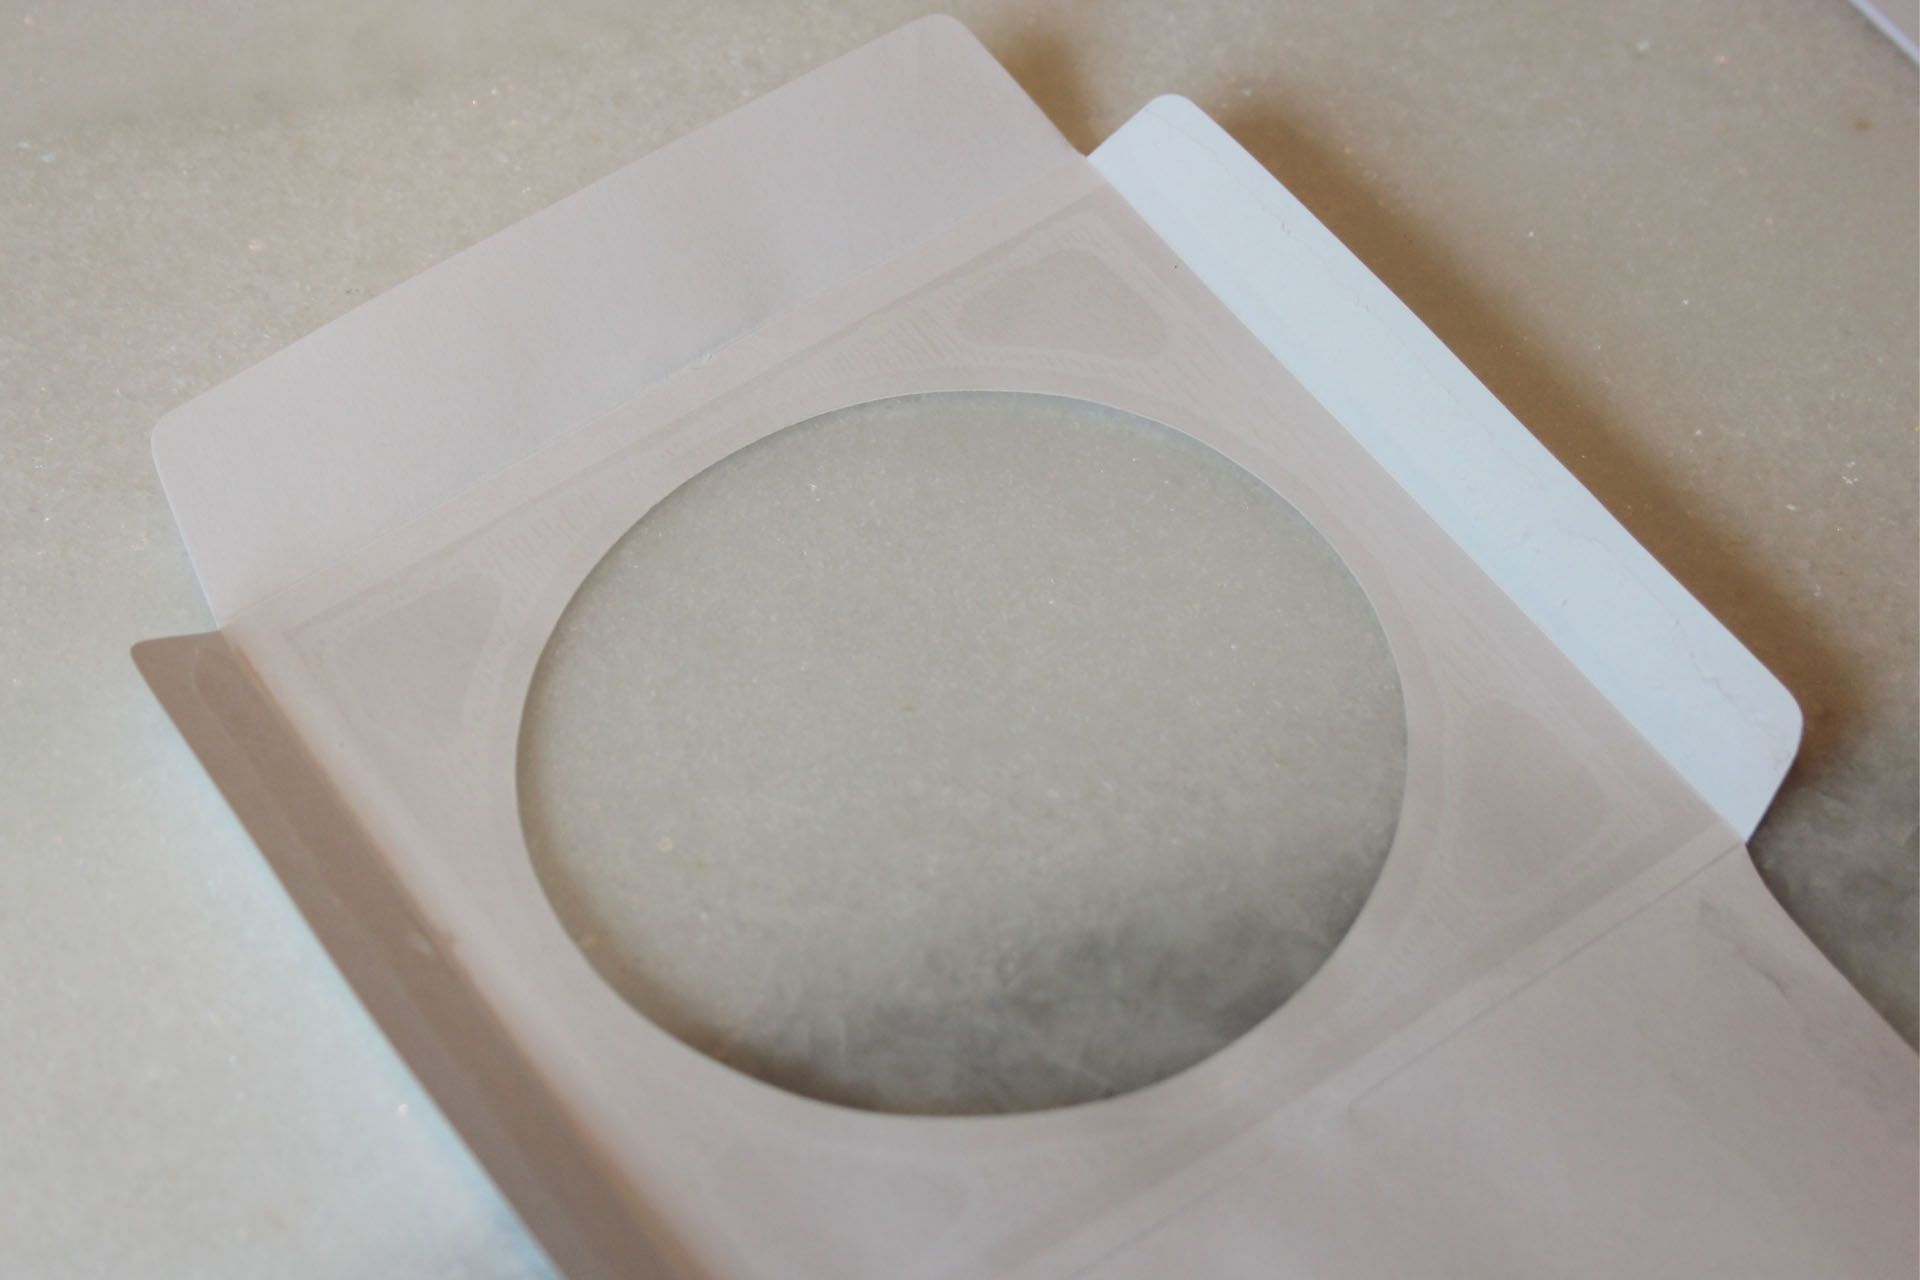 [/tatsu_text][tatsu_text max_width= "" wrap_alignment= "center" animation_type= "none"]First, trim your paper to the size of your CD envelopes, typically around 5".
 [/tatsu_text][tatsu_text max_width= "" wrap_alignment= "center" animation_type= "none"]Take another one of your CD envelopes (these usually come in packs of 100 or so, so you should be fine on extras) and lay it over your card, tracing the circle with a pencil or the unclicked edge of a pen, something that won't get ink on your paper, making a slight indentation.
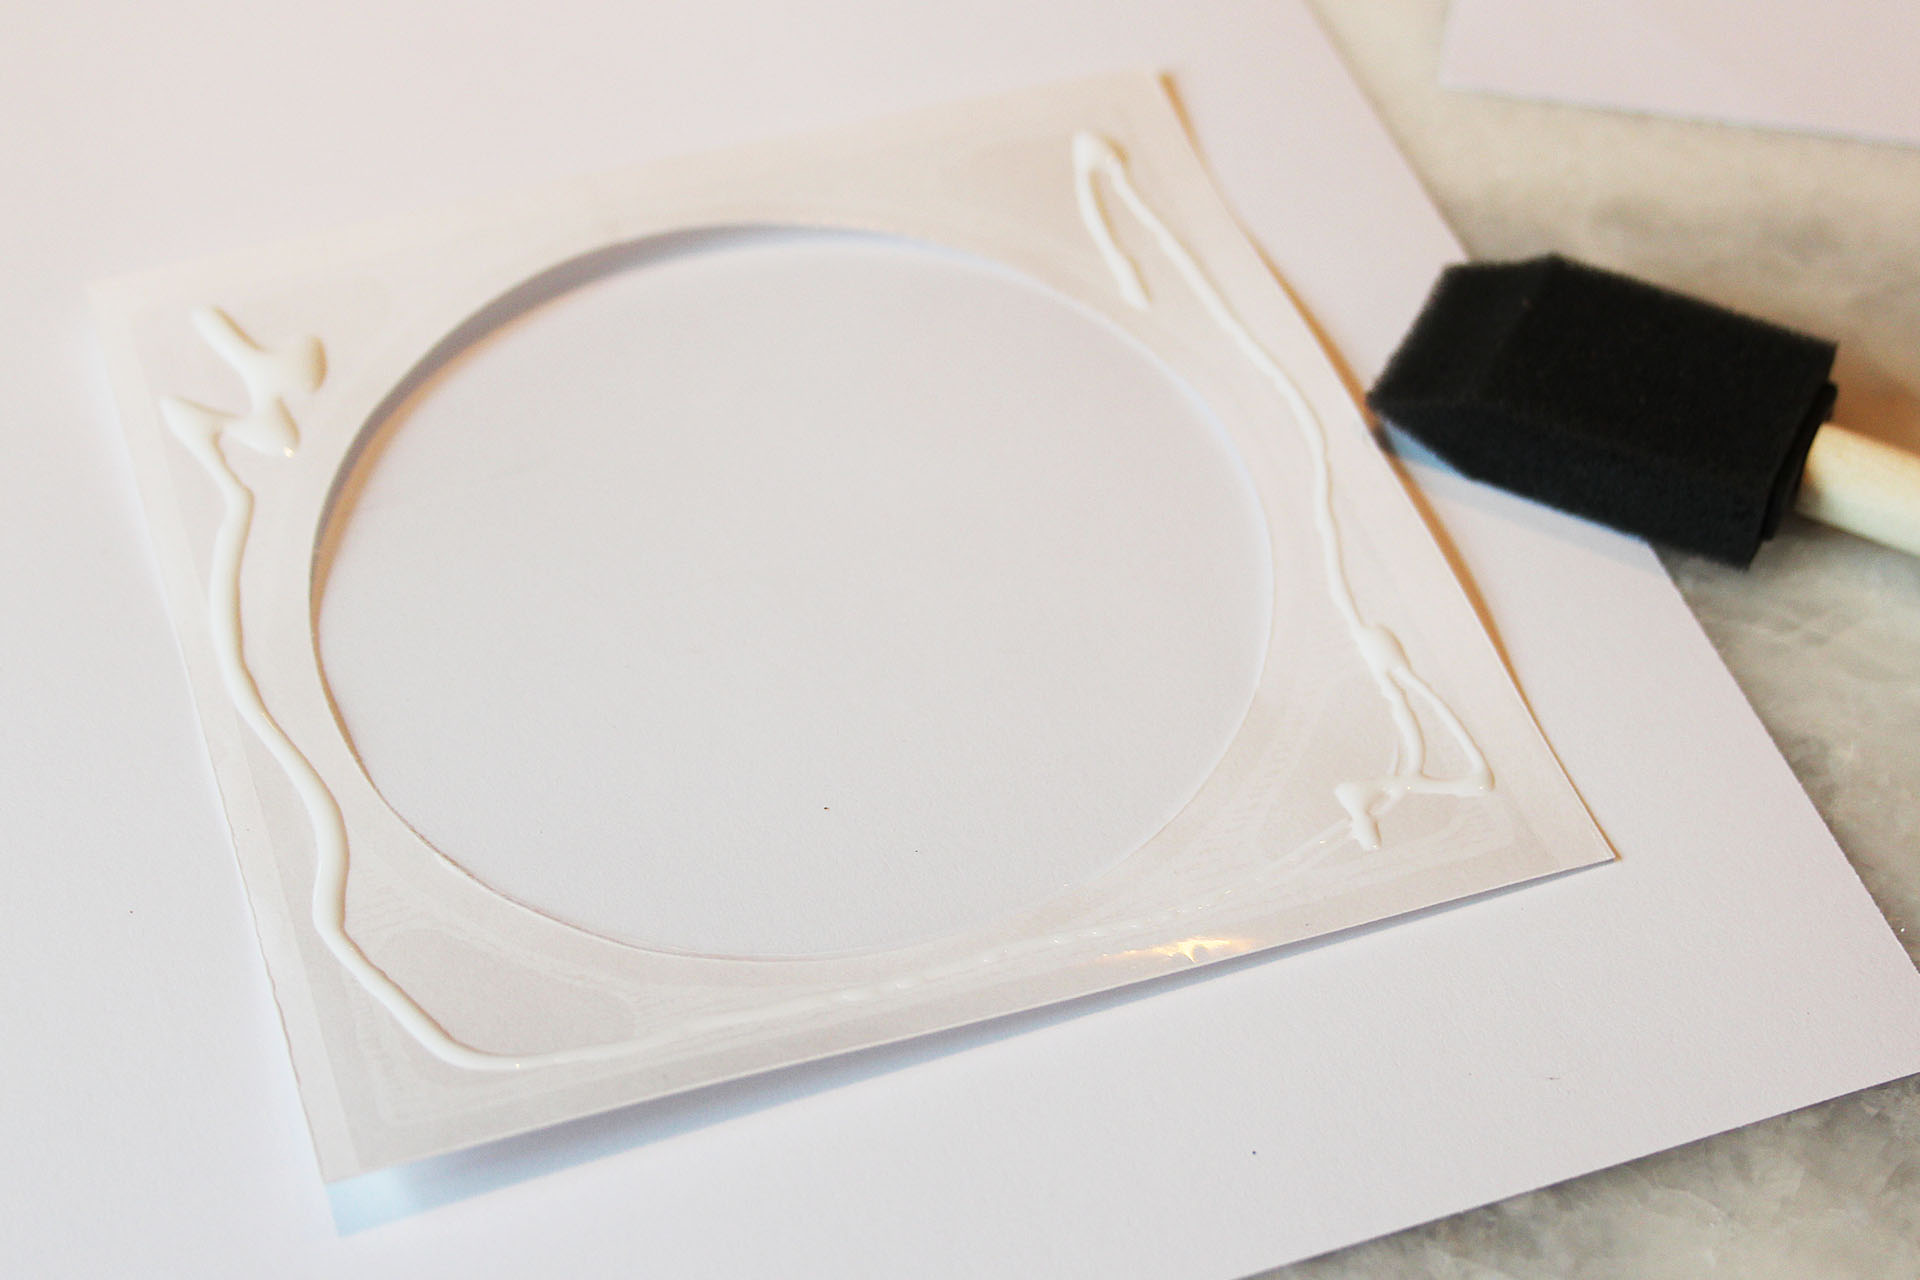 [/tatsu_text][tatsu_text max_width= "" wrap_alignment= "center" animation_type= "none"]
 [/tatsu_text][tatsu_text max_width= "" wrap_alignment= "center" animation_type= "none"]Put a small amount of glue on three of the sides and use your brush to spread it between the circle's edge and the edge of the square. Press it gently on the front of your card. Don't press too hard or you'll squish the glue out into the middle of the circle!
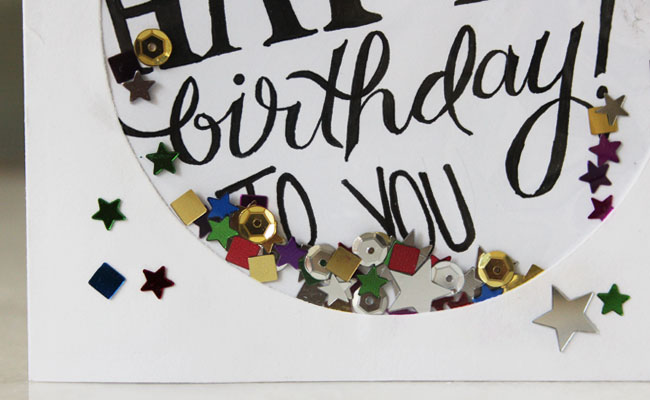
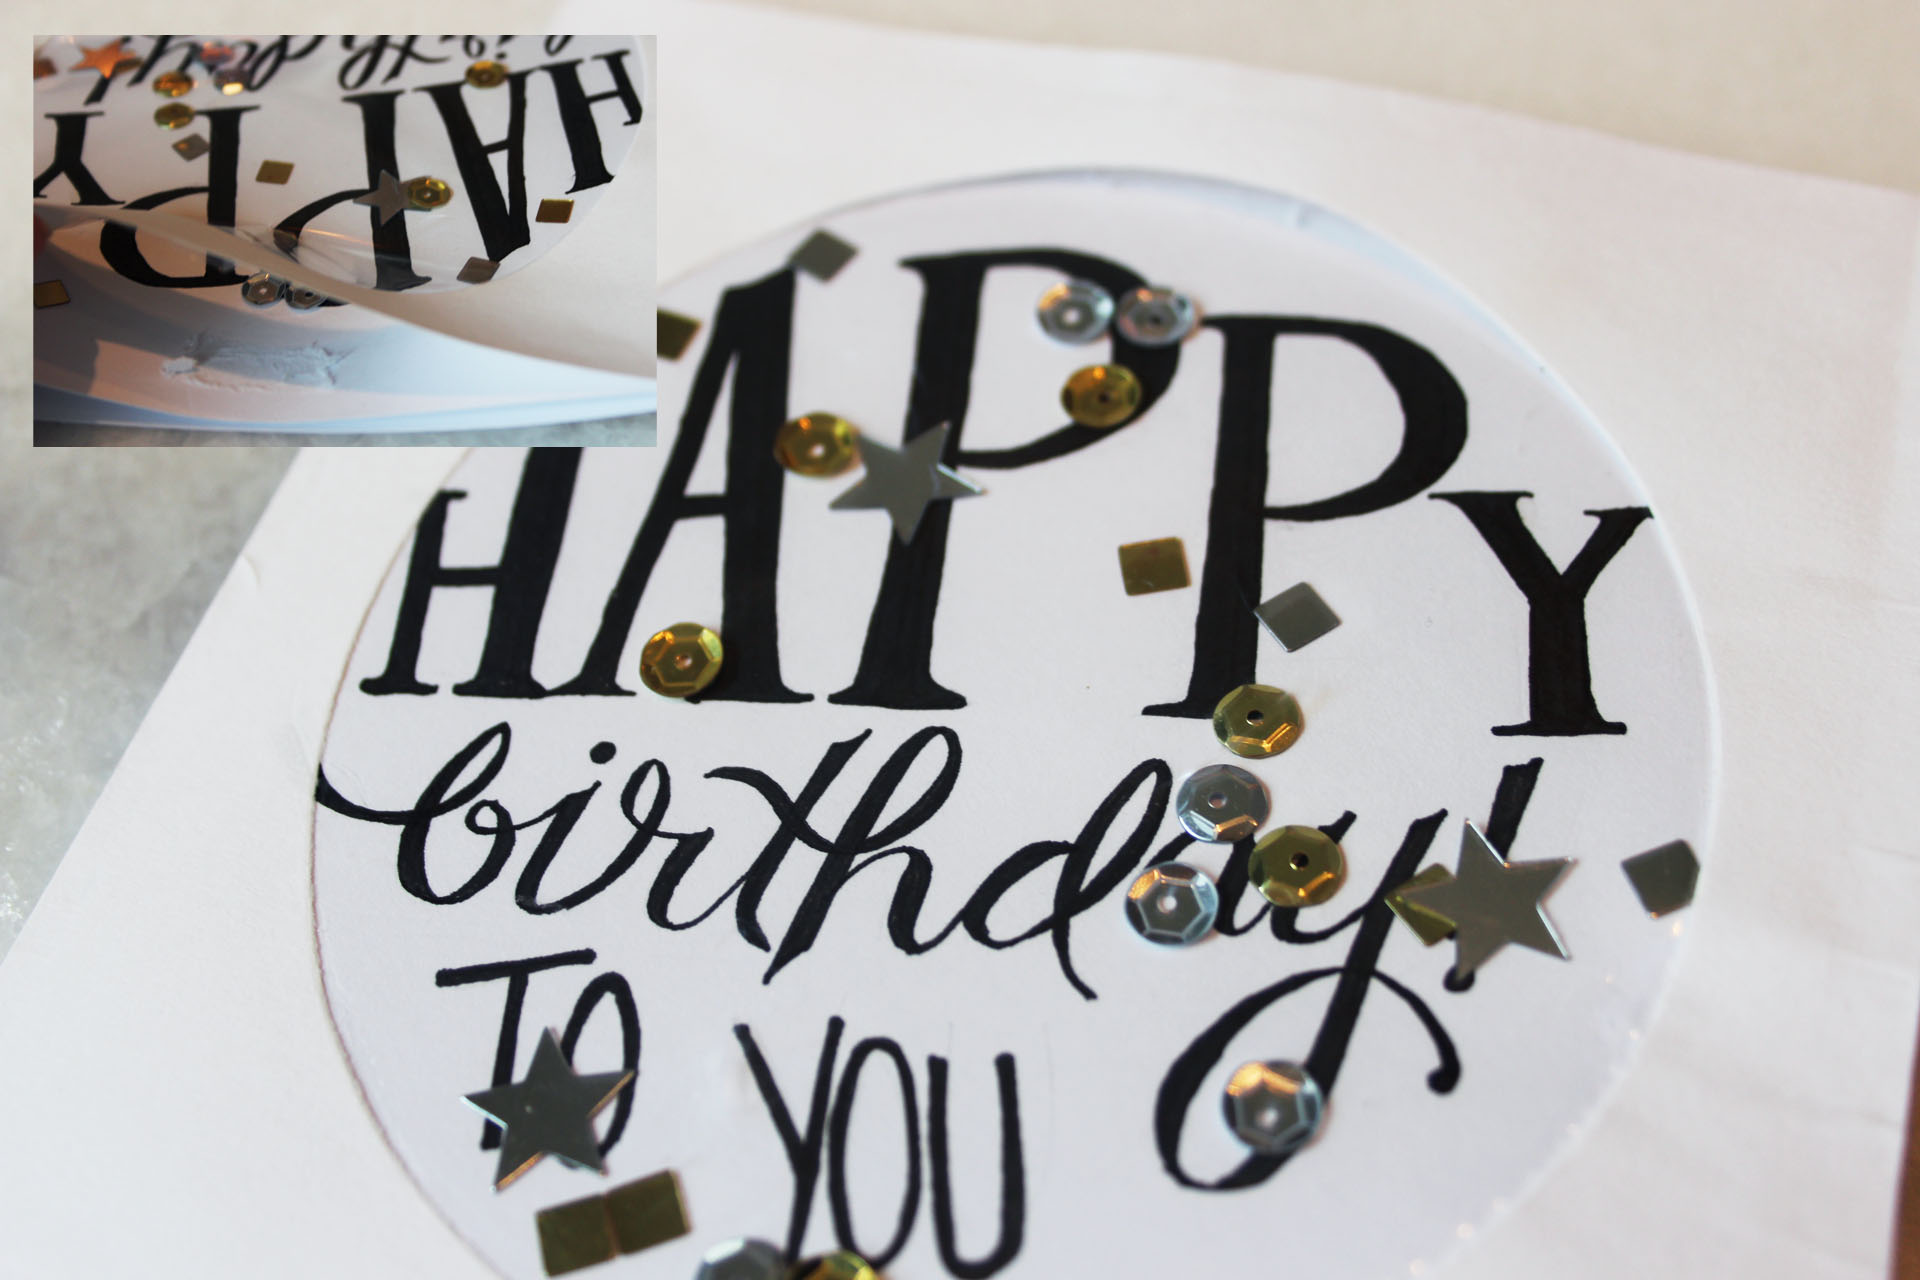 [/tatsu_text][tatsu_text max_width= "" wrap_alignment= "center" animation_type= "none"]Using the side left unglued, add in your confetti/sequins/glitter. I found that tissue paper confetti didn't work very well, because the static just made it stick to the cellophane. Sequins and other plastic confetti pieces work best, and glitter can add some nice dimension if you add it in.[/tatsu_text][tatsu_text max_width= "" wrap_alignment= "center" animation_type= "none"]
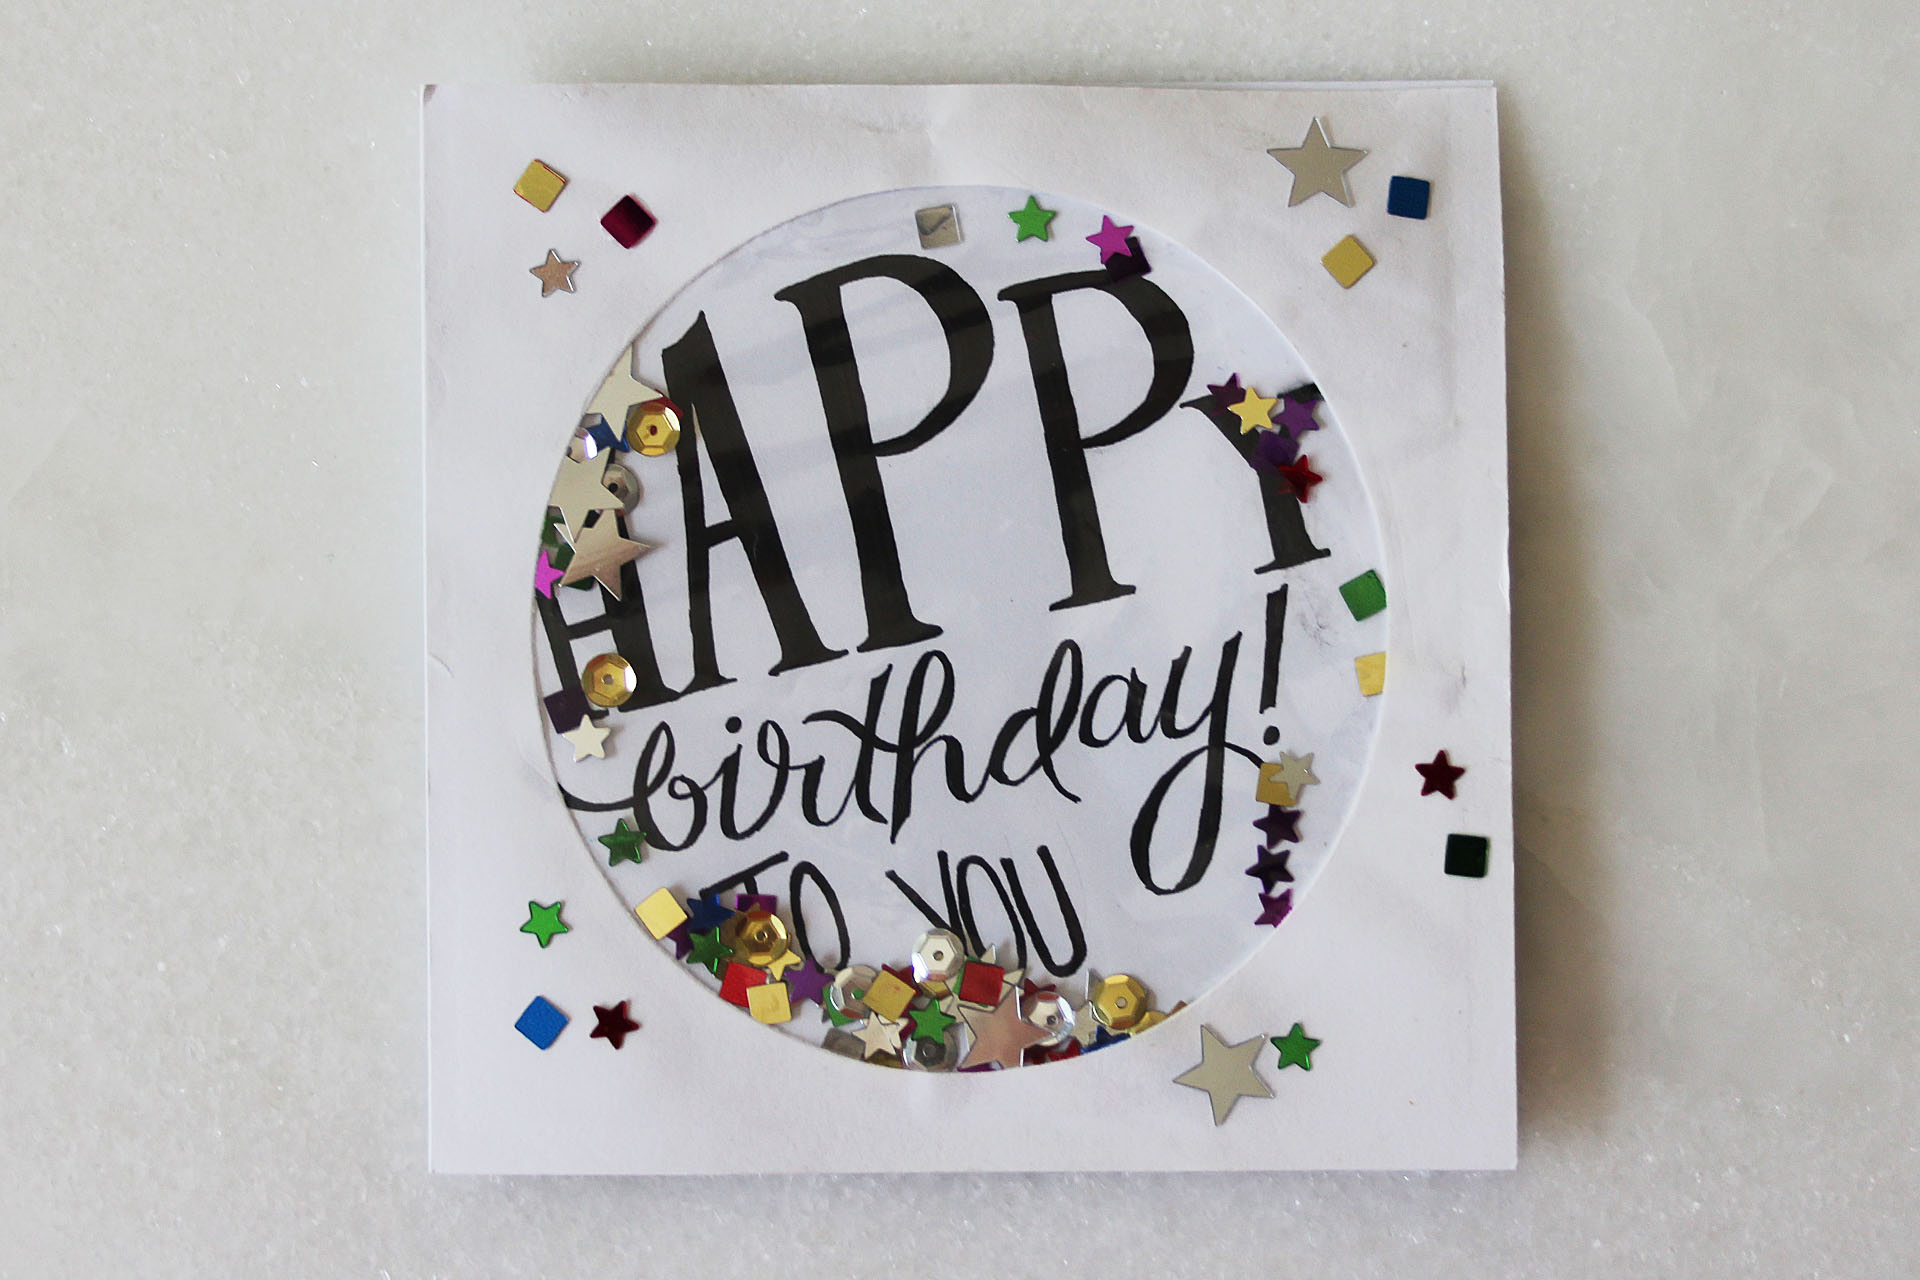 [/tatsu_text][tatsu_text max_width= "" wrap_alignment= "center" animation_type= "none"]Once you've added the pieces to the inside, squeeze in a little more glue along the top edge and seal it closed, again letting it dry. You can add some extra pieces of confetti to the outside edges, or decorate it further. Then have fun shaking the card to see all the confetti move![/tatsu_text][tatsu_text max_width= "" wrap_alignment= "center" animation_type= "none"]
 [/tatsu_text][/tatsu_column][/tatsu_row][/tatsu_section]
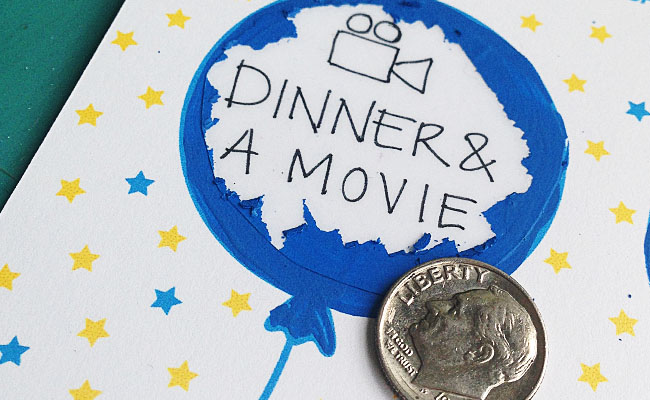
 [/tatsu_text][tatsu_text max_width= "" wrap_alignment= "center" animation_type= "none"]For our second DIY card this week, we're making personalized scratch off cards. These are perfect for anyone who you might not know what to get as a gift, but still want to give something personal. You'll be surprised how easy it is and how often you'll find a way to use it. The scratch off technique is useful for projects outside of birthday cards as well—you can make coupons or promotional materials for your business, a scratch-off map to mark places you've visited, gender reveal postcards, a lottery game for showers or other parties, and the list goes on![/tatsu_text][tatsu_text max_width= "" wrap_alignment= "center" animation_type= "none"]
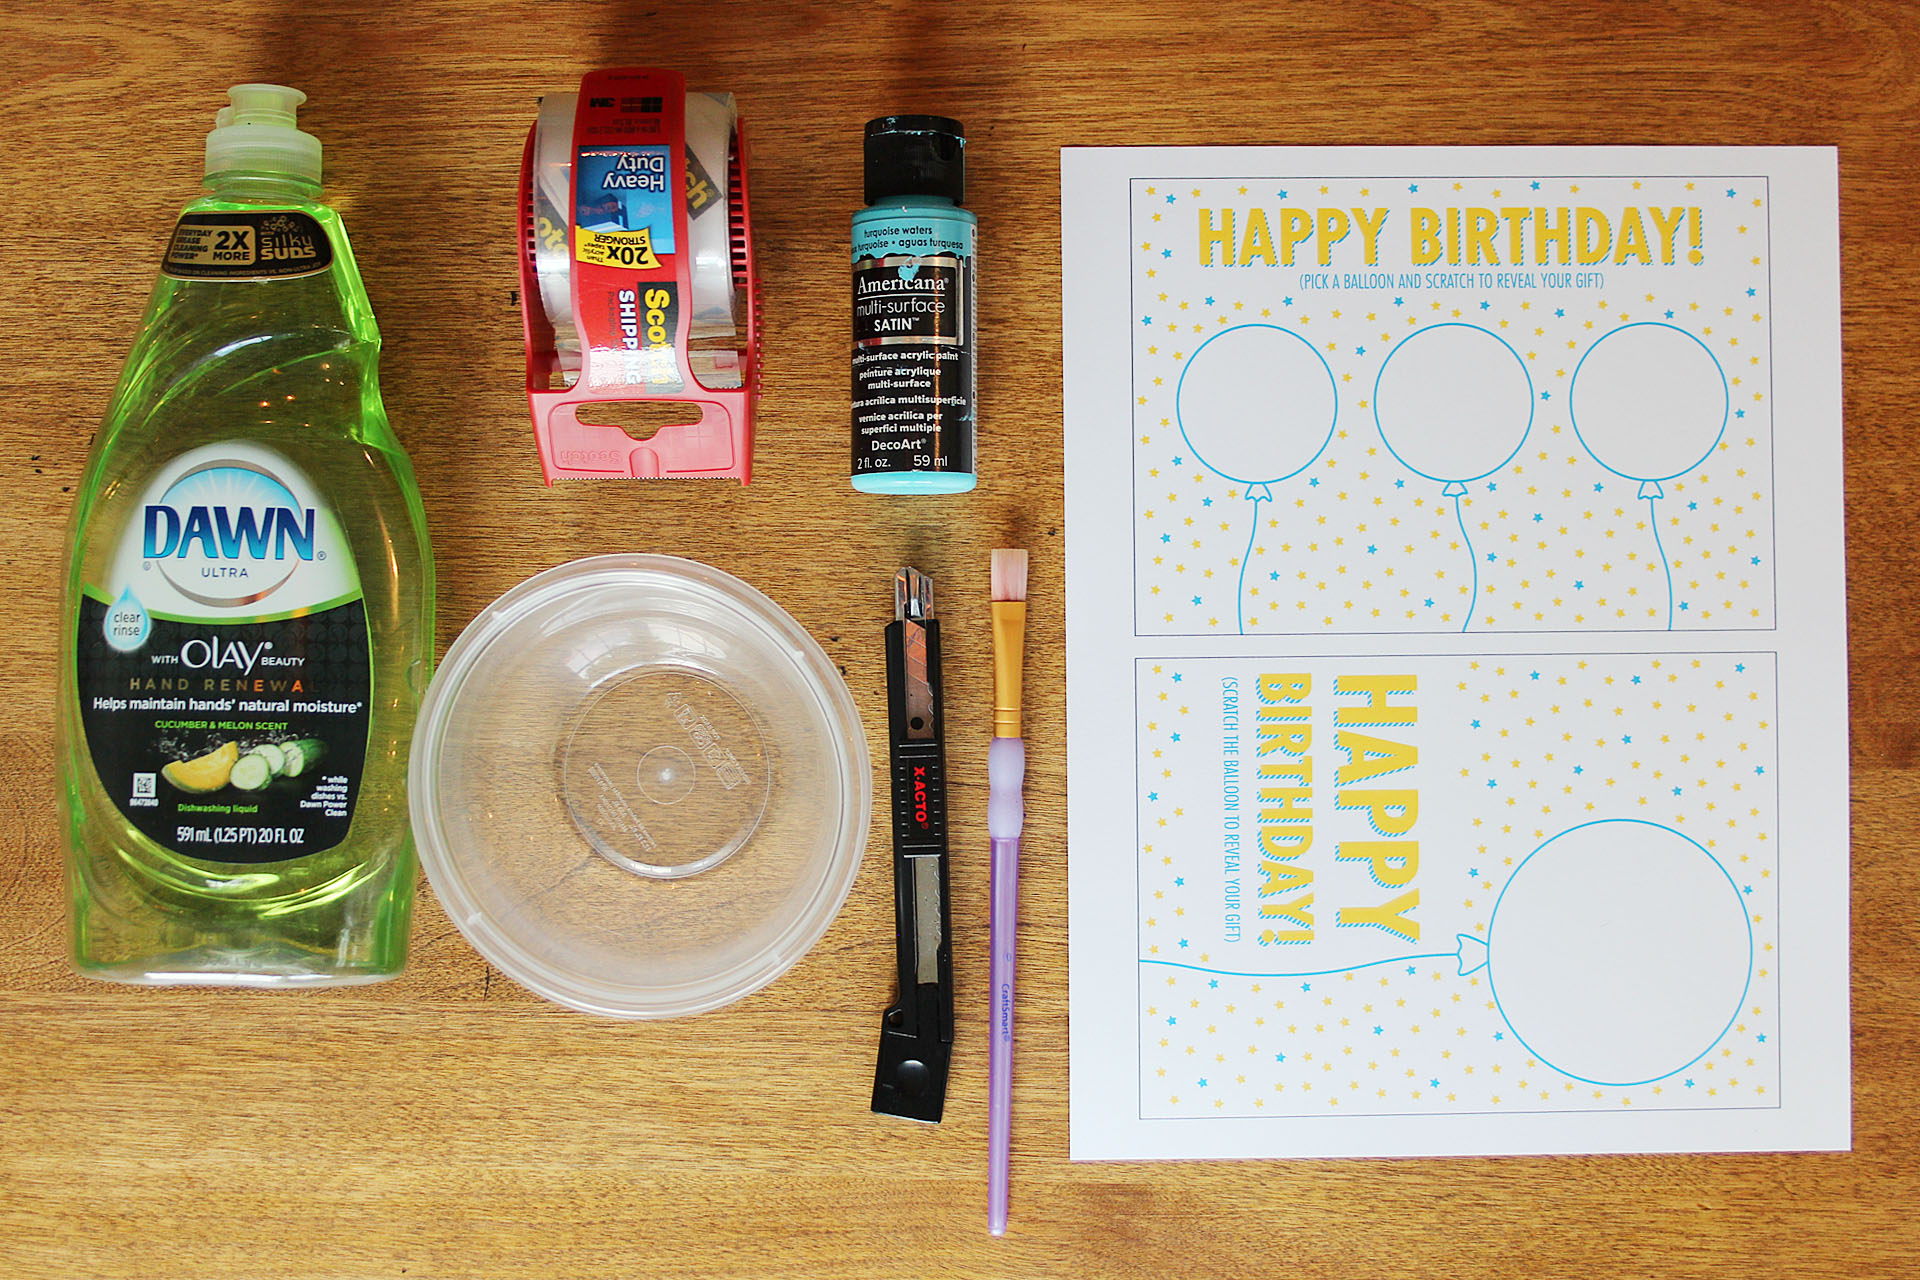 [/tatsu_text][tatsu_text max_width= "" wrap_alignment= "center" animation_type= "none"]You will need:
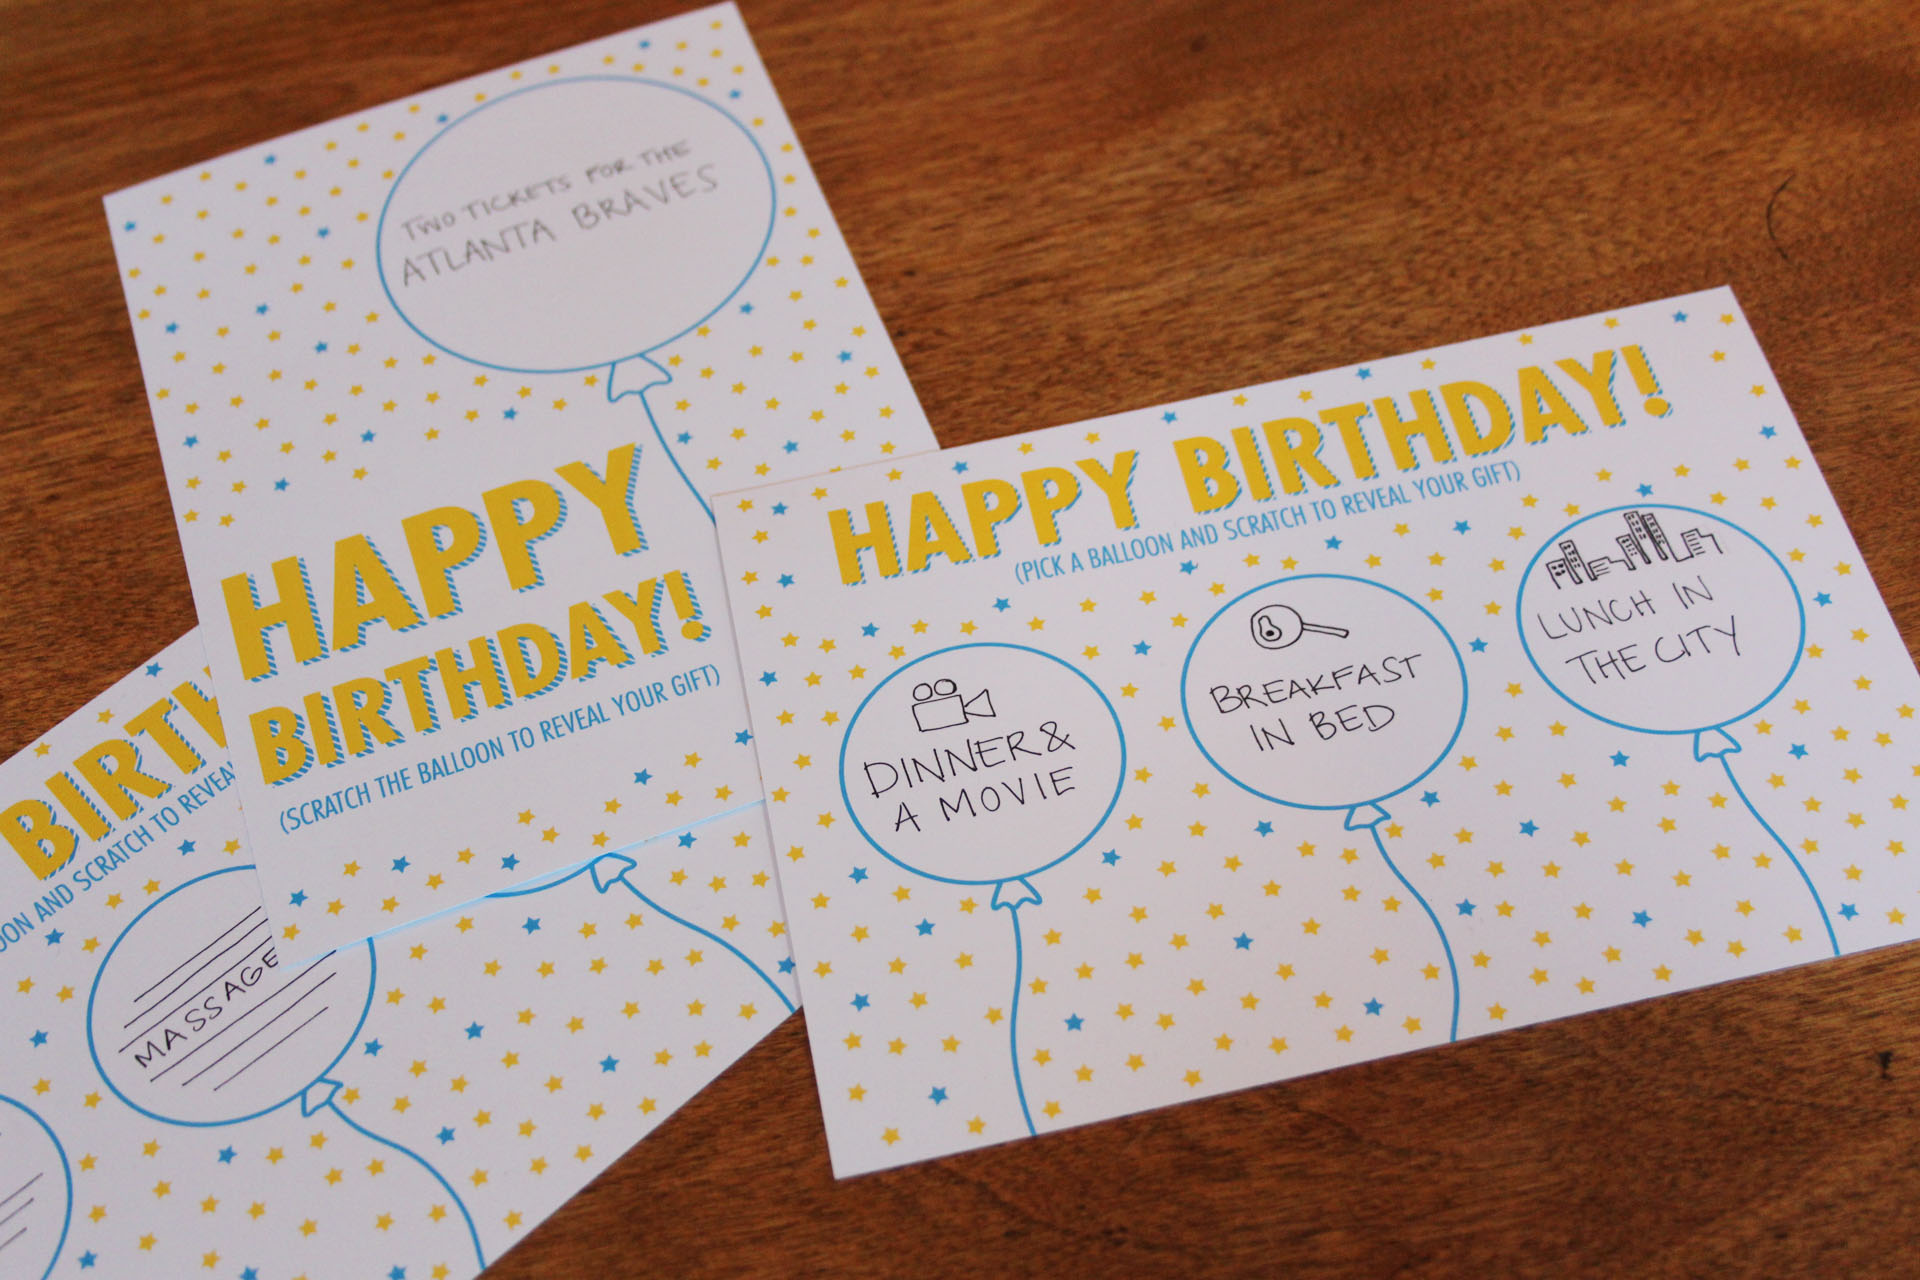 [/tatsu_text][tatsu_text max_width= "" wrap_alignment= "center" animation_type= "none"]
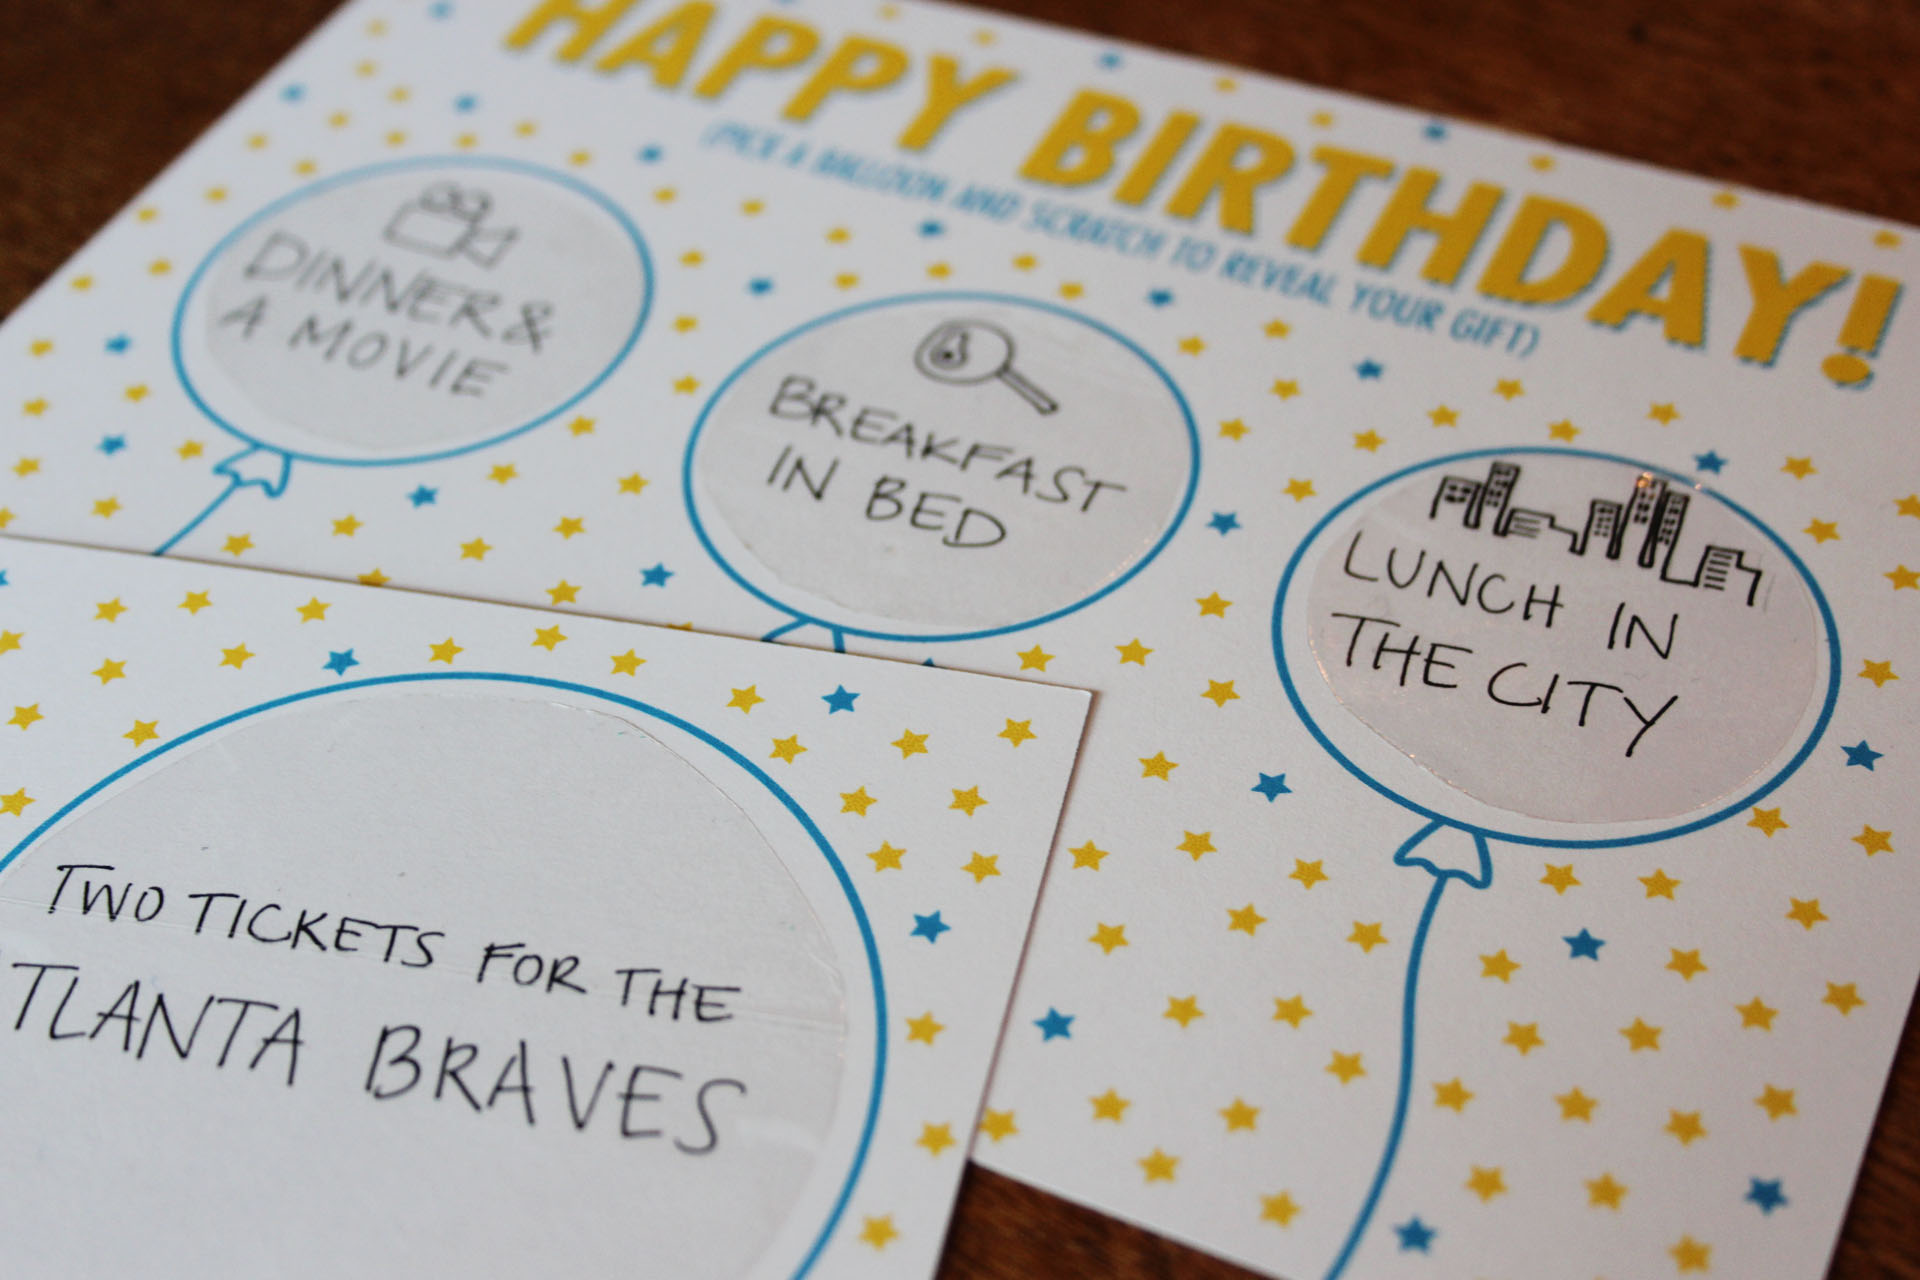 [/tatsu_text][tatsu_text max_width= "" wrap_alignment= "center" animation_type= "none"]Print and cut out the printables and write your gift in the space.
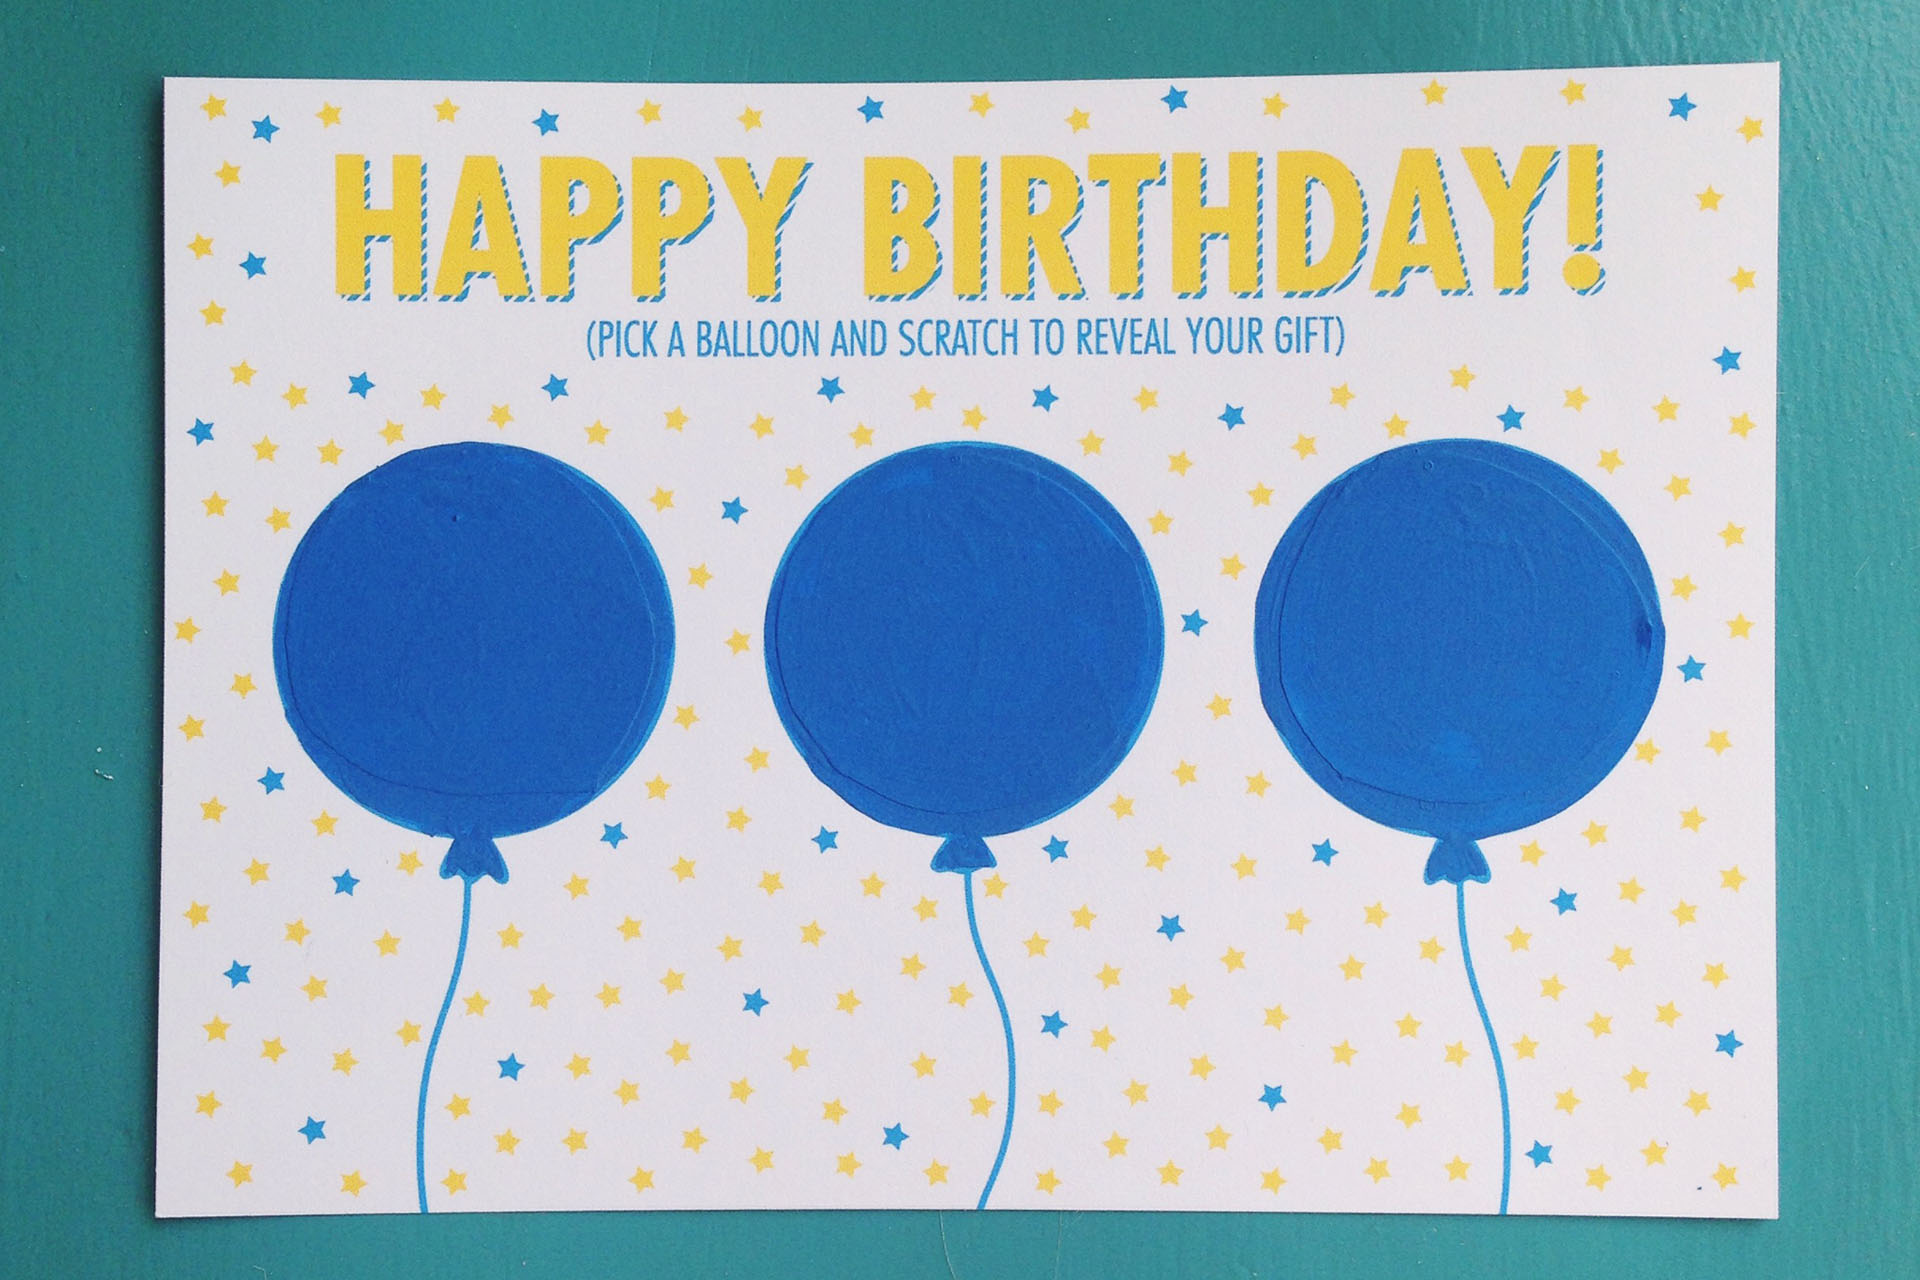
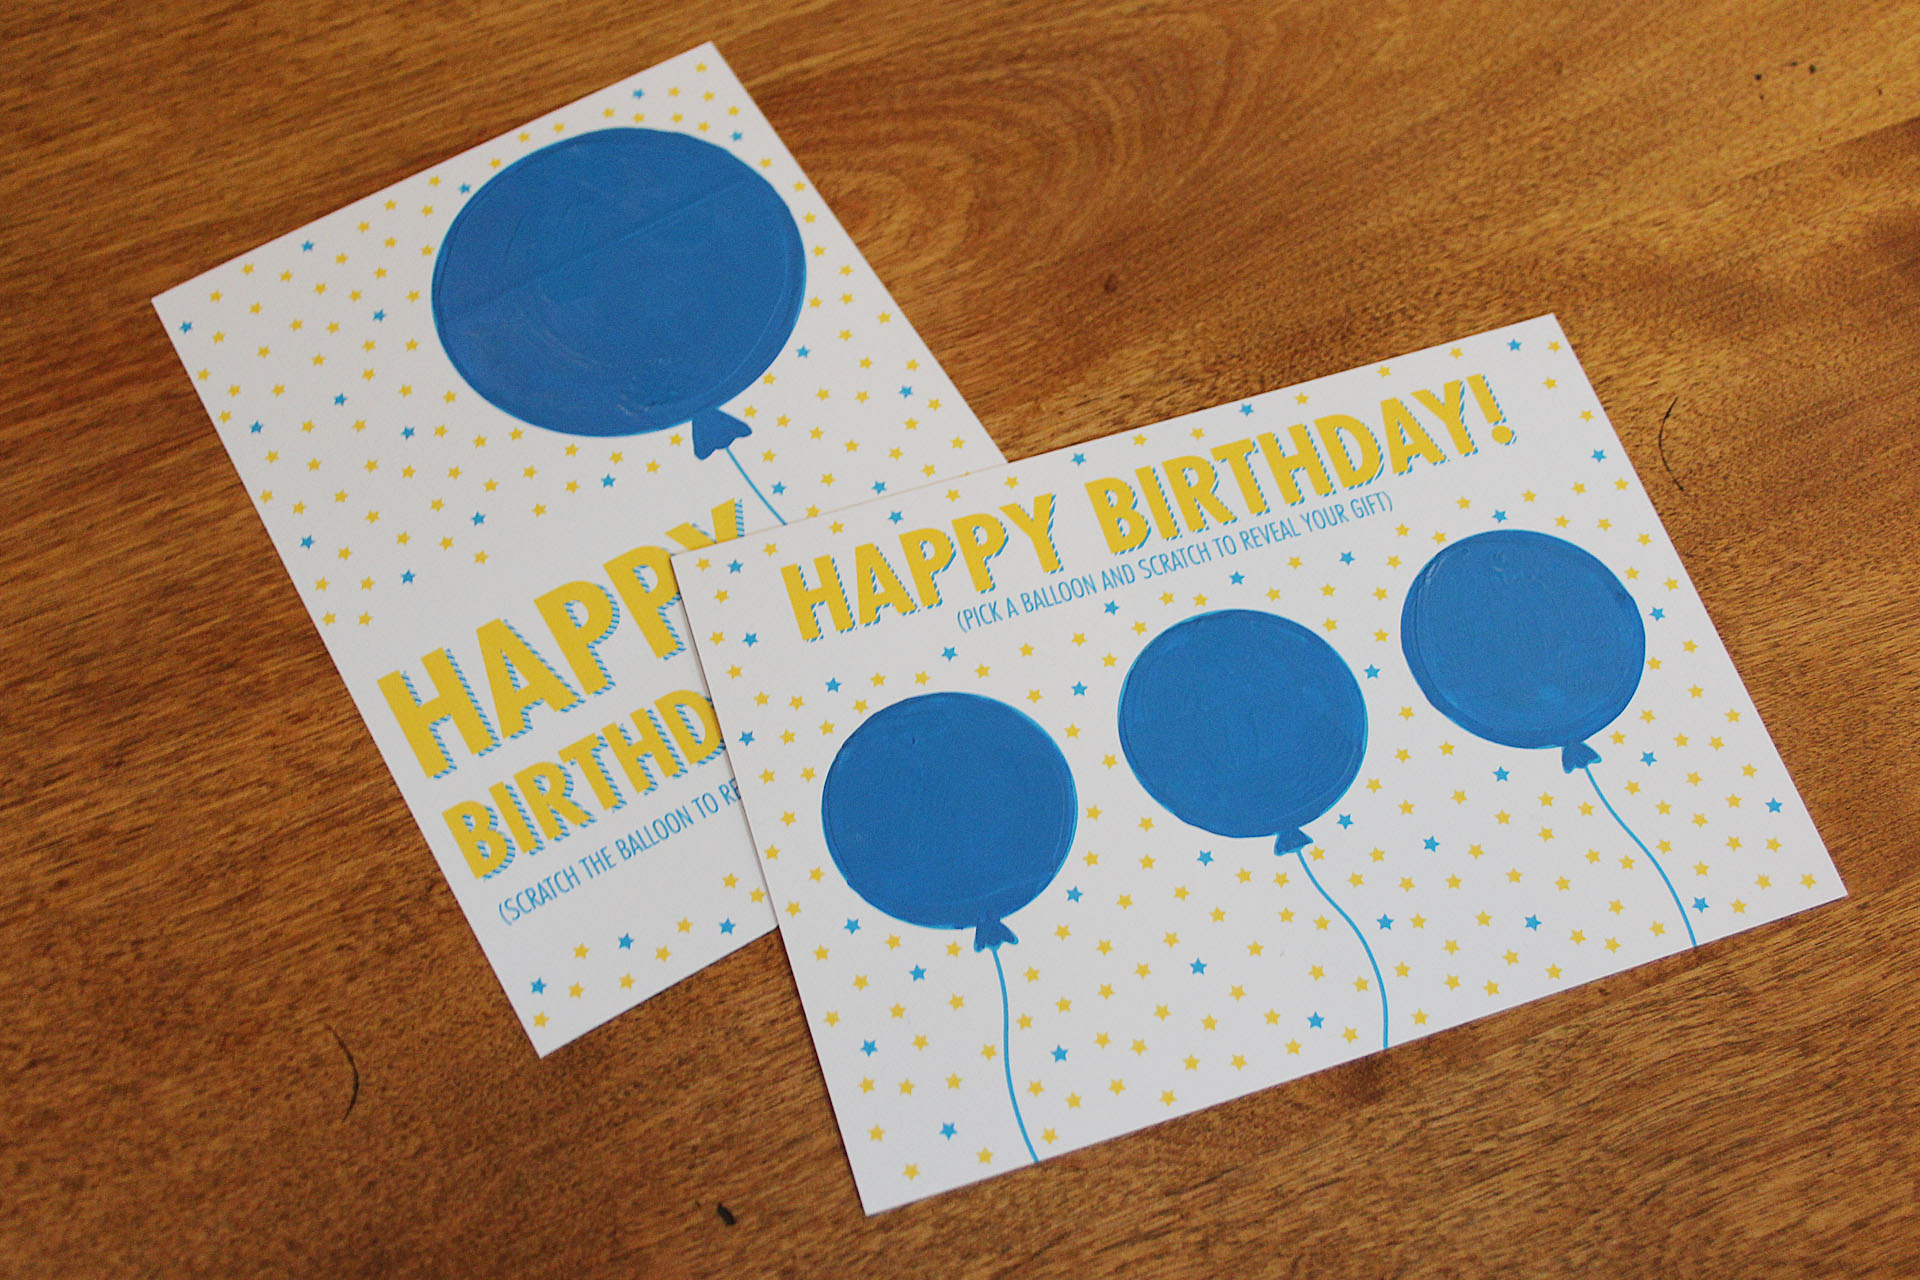 [/tatsu_text][tatsu_text max_width= "" wrap_alignment= "center" animation_type= "none"]Mix 2 parts acrylic paint to 1 part dish soap in a small container. Don't stir too forcefully or you'll get a ton of little bubbles and it can be hard to pop them all while painting.
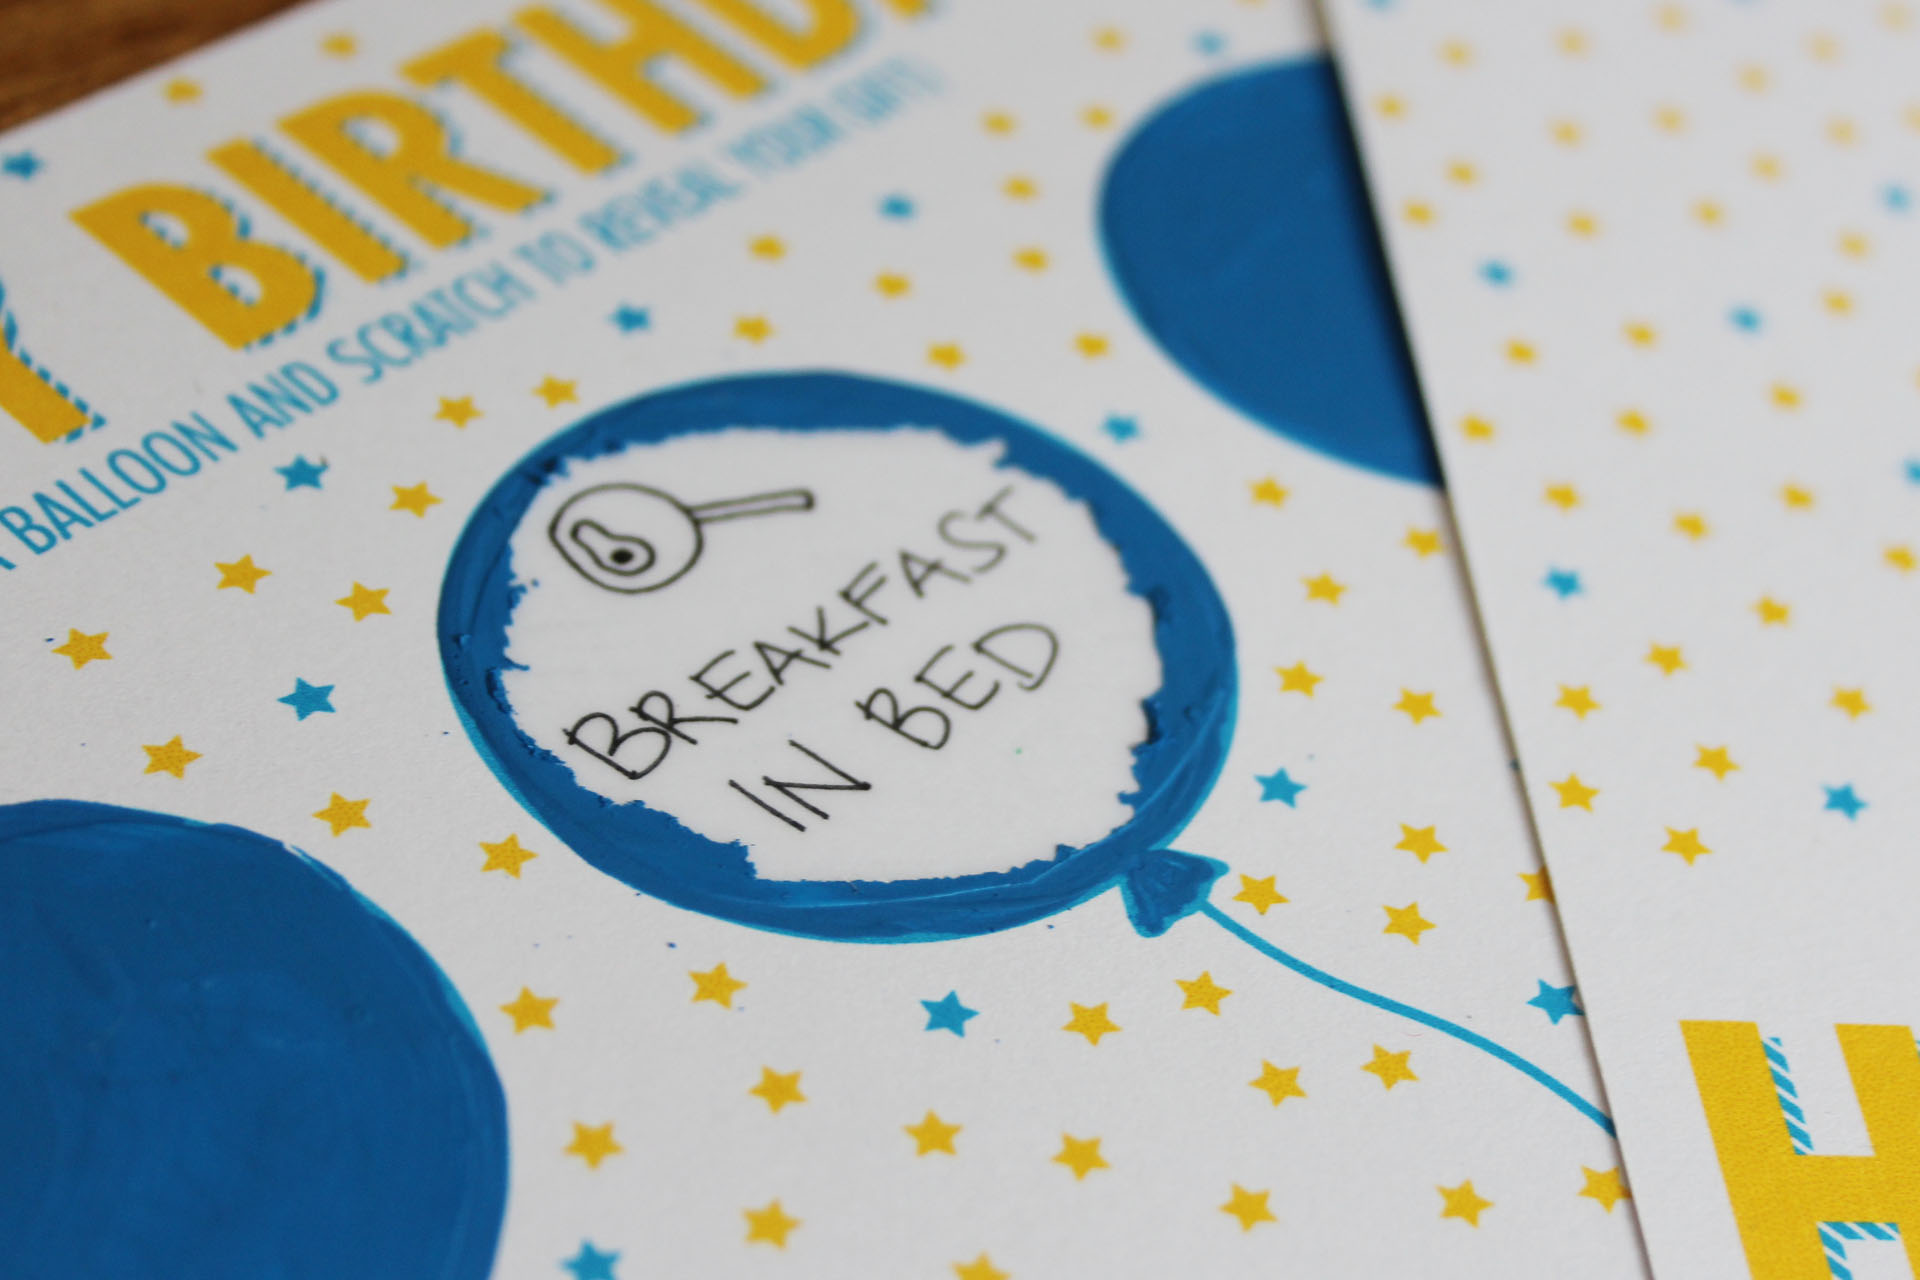 [/tatsu_text][tatsu_text max_width= "" wrap_alignment= "center" animation_type= "none"]Feel free to make an extra to try out–it's really fun; you'll want to scratch them all off yourself![/tatsu_text][tatsu_text max_width= "" wrap_alignment= "center" animation_type= "none"]
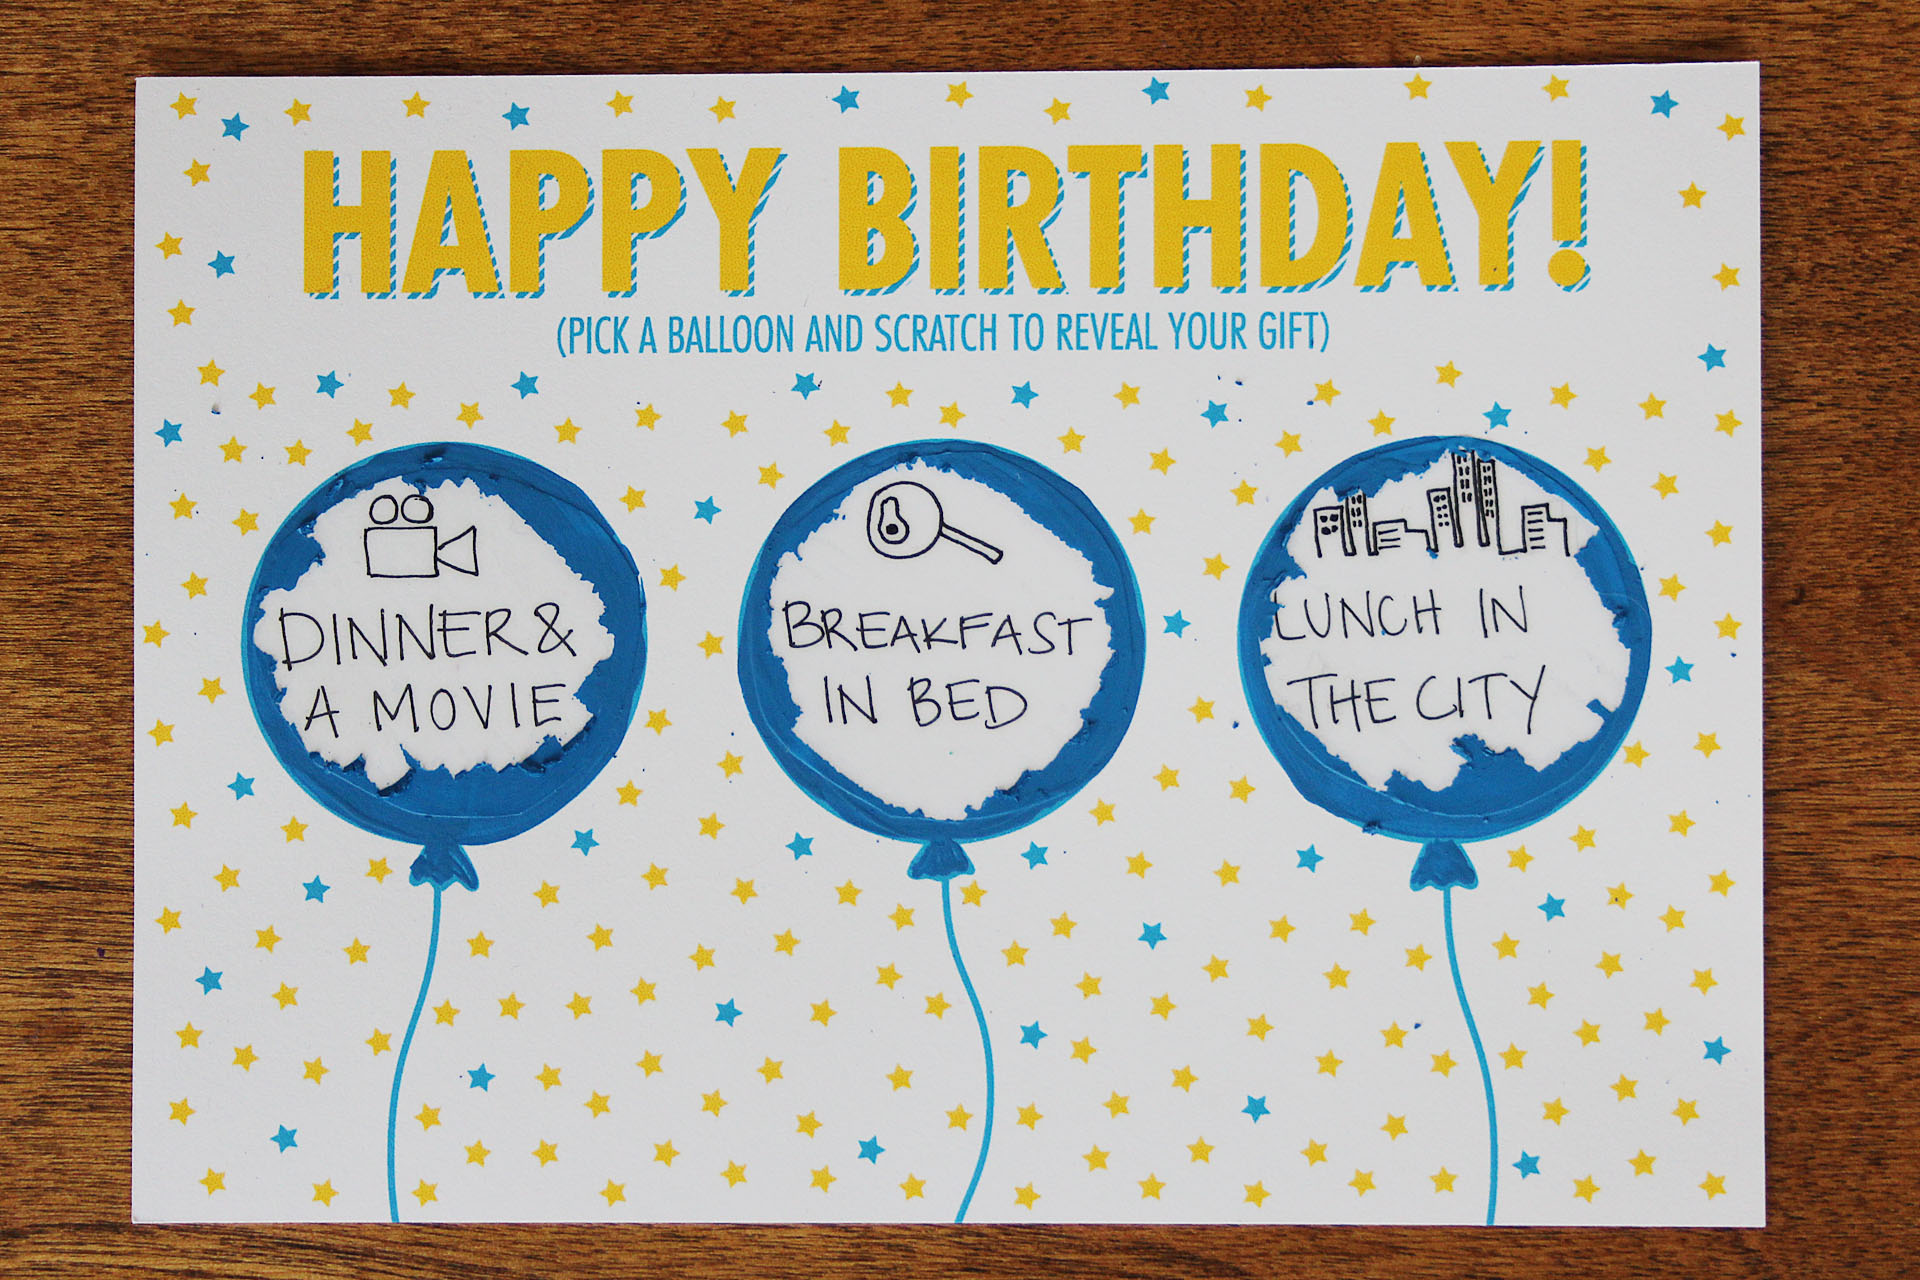 [/tatsu_text][/tatsu_column][/tatsu_row][/tatsu_section]
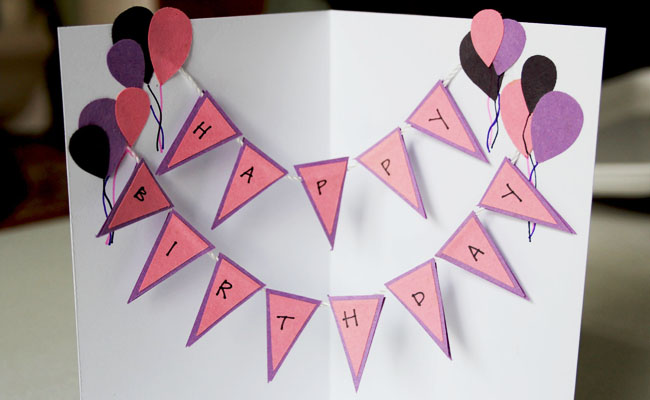
 [/tatsu_text][tatsu_text max_width= "" wrap_alignment= "center" animation_type= "none"]I've always loved making greeting cards for my friends and family (ask my mom—she's been the recipient of quite a few), because I love the personal touch a handmade card can have. But not all of us are impeccable handletterers or incredible illustrators, and sometimes making a card seems unnecessarily difficult. So this week, I'm going to show you three different greeting cards you can make yourself, without the need for any extravagant skills. I've left the cards relatively simple so you can add your own spin on things and give it even more of a personal touch.
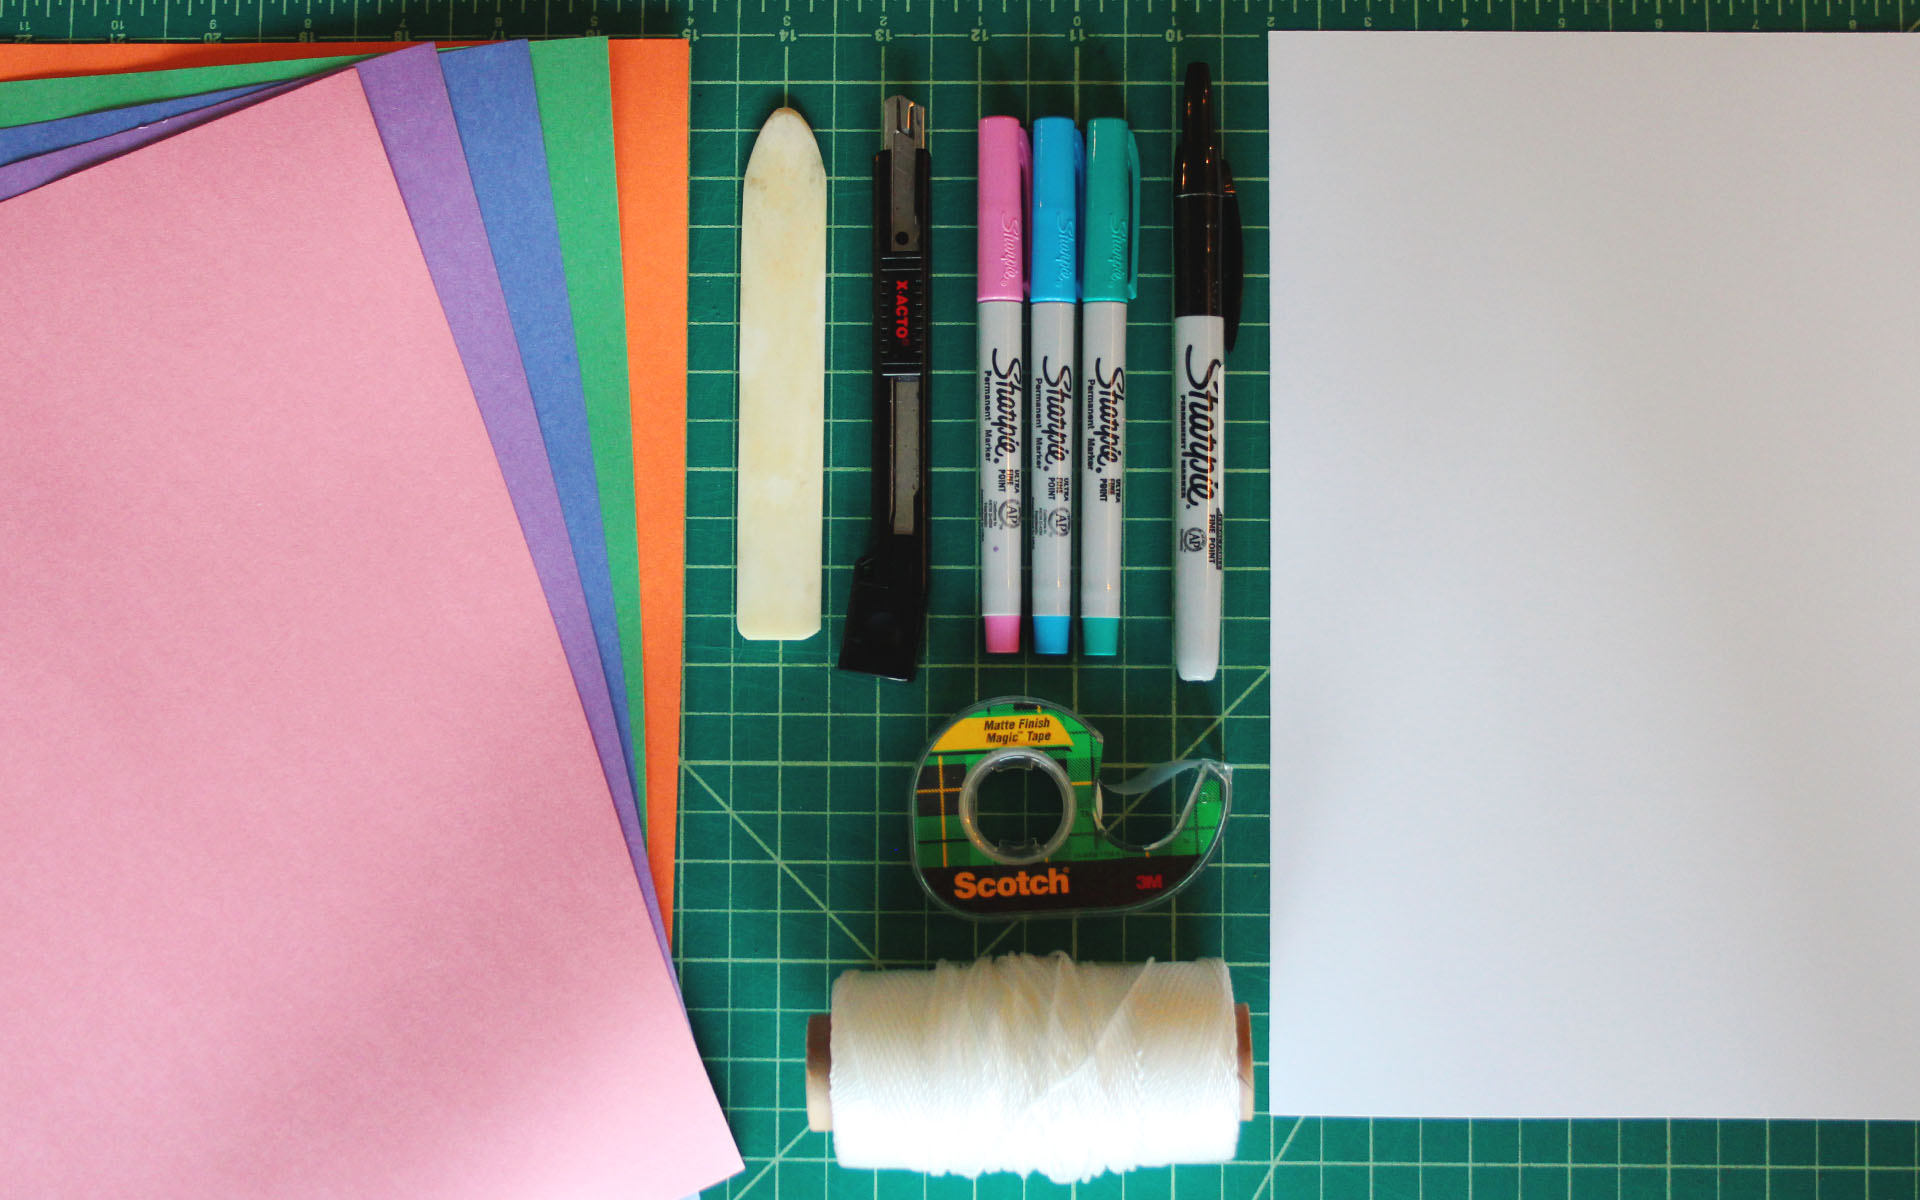 [/tatsu_text][tatsu_text max_width= "" wrap_alignment= "center" animation_type= "none"]You will need:
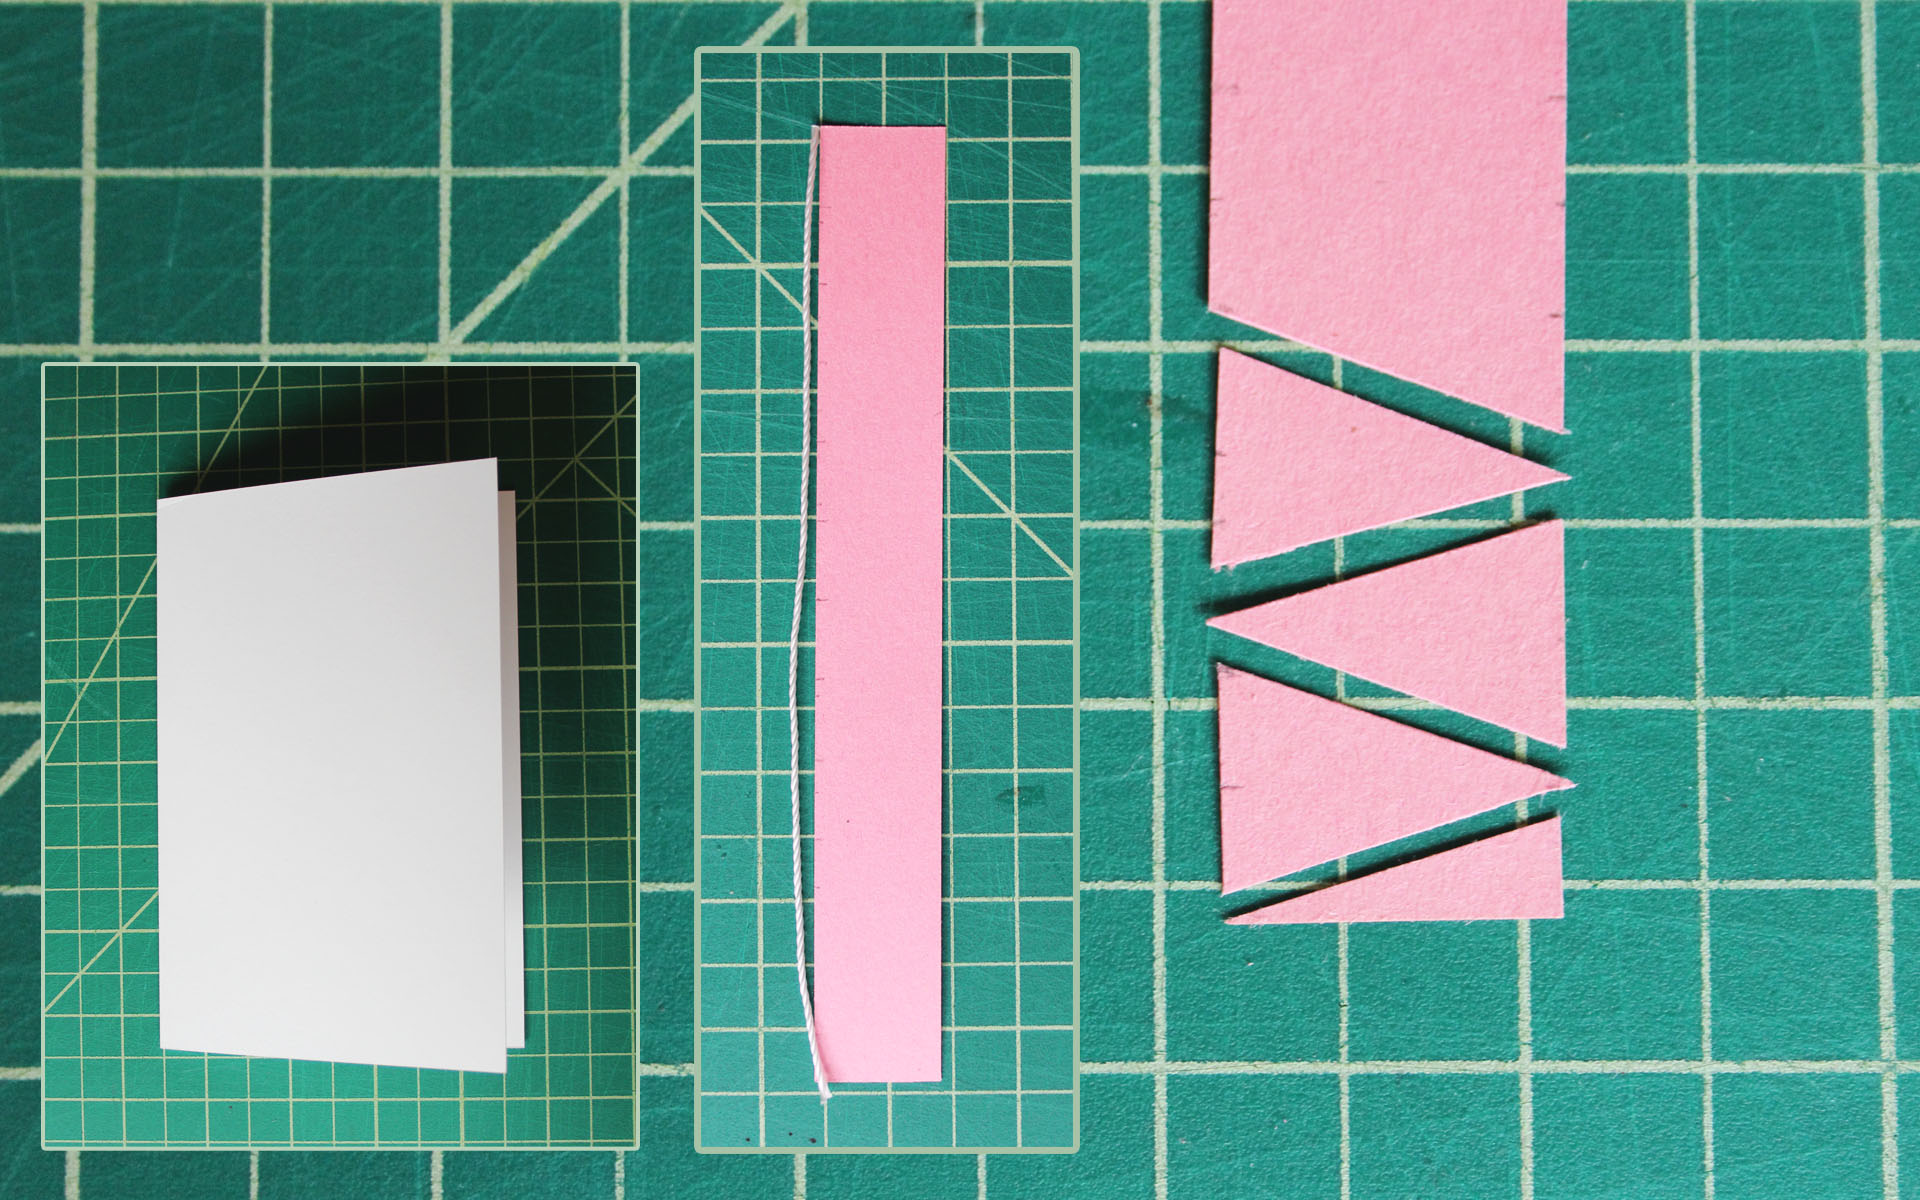 [/tatsu_text][tatsu_text max_width= "" wrap_alignment= "center" animation_type= "none"]The first thing you'll want to do is trim your cardstock to the size you want your card to be, and use the bone folder to make sure the crease is nice and crisp.
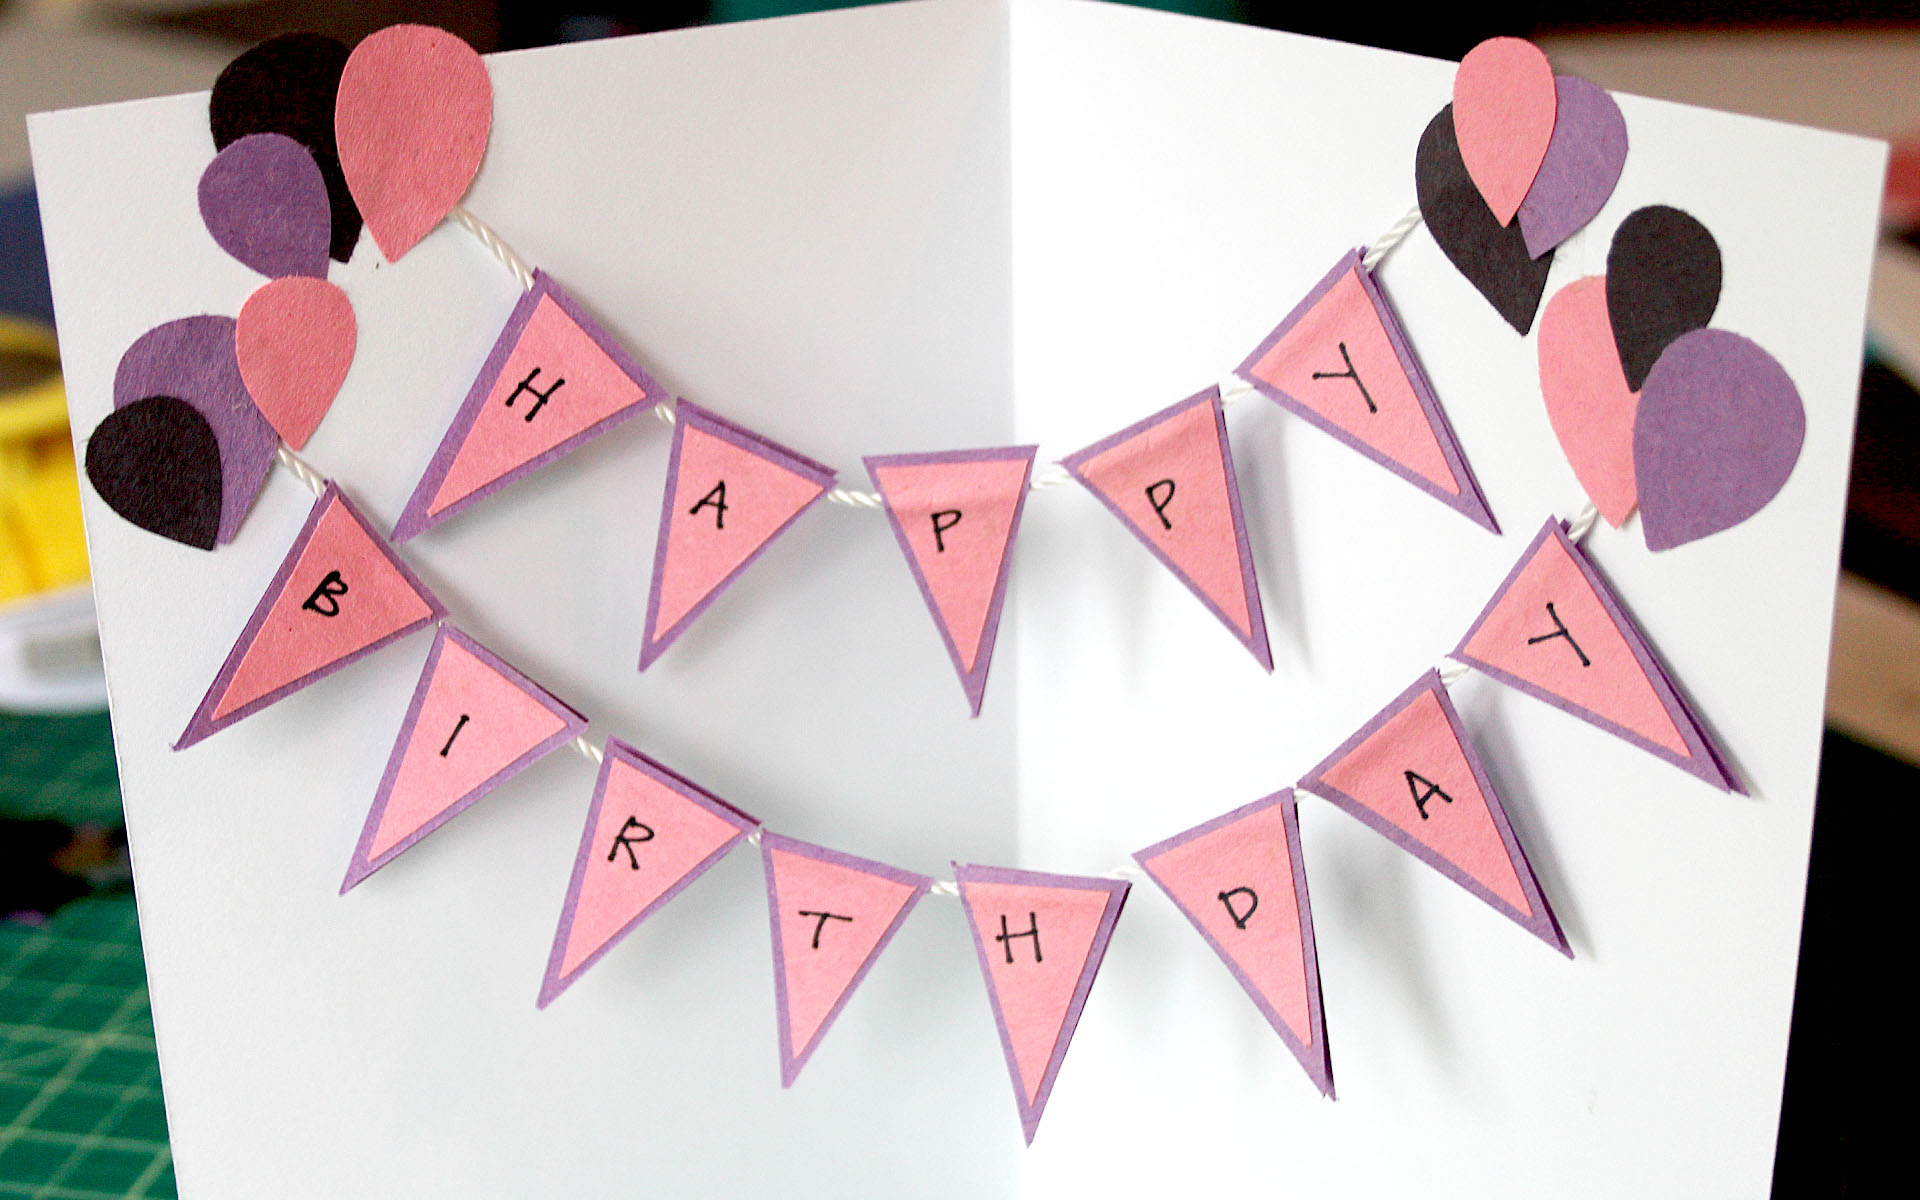
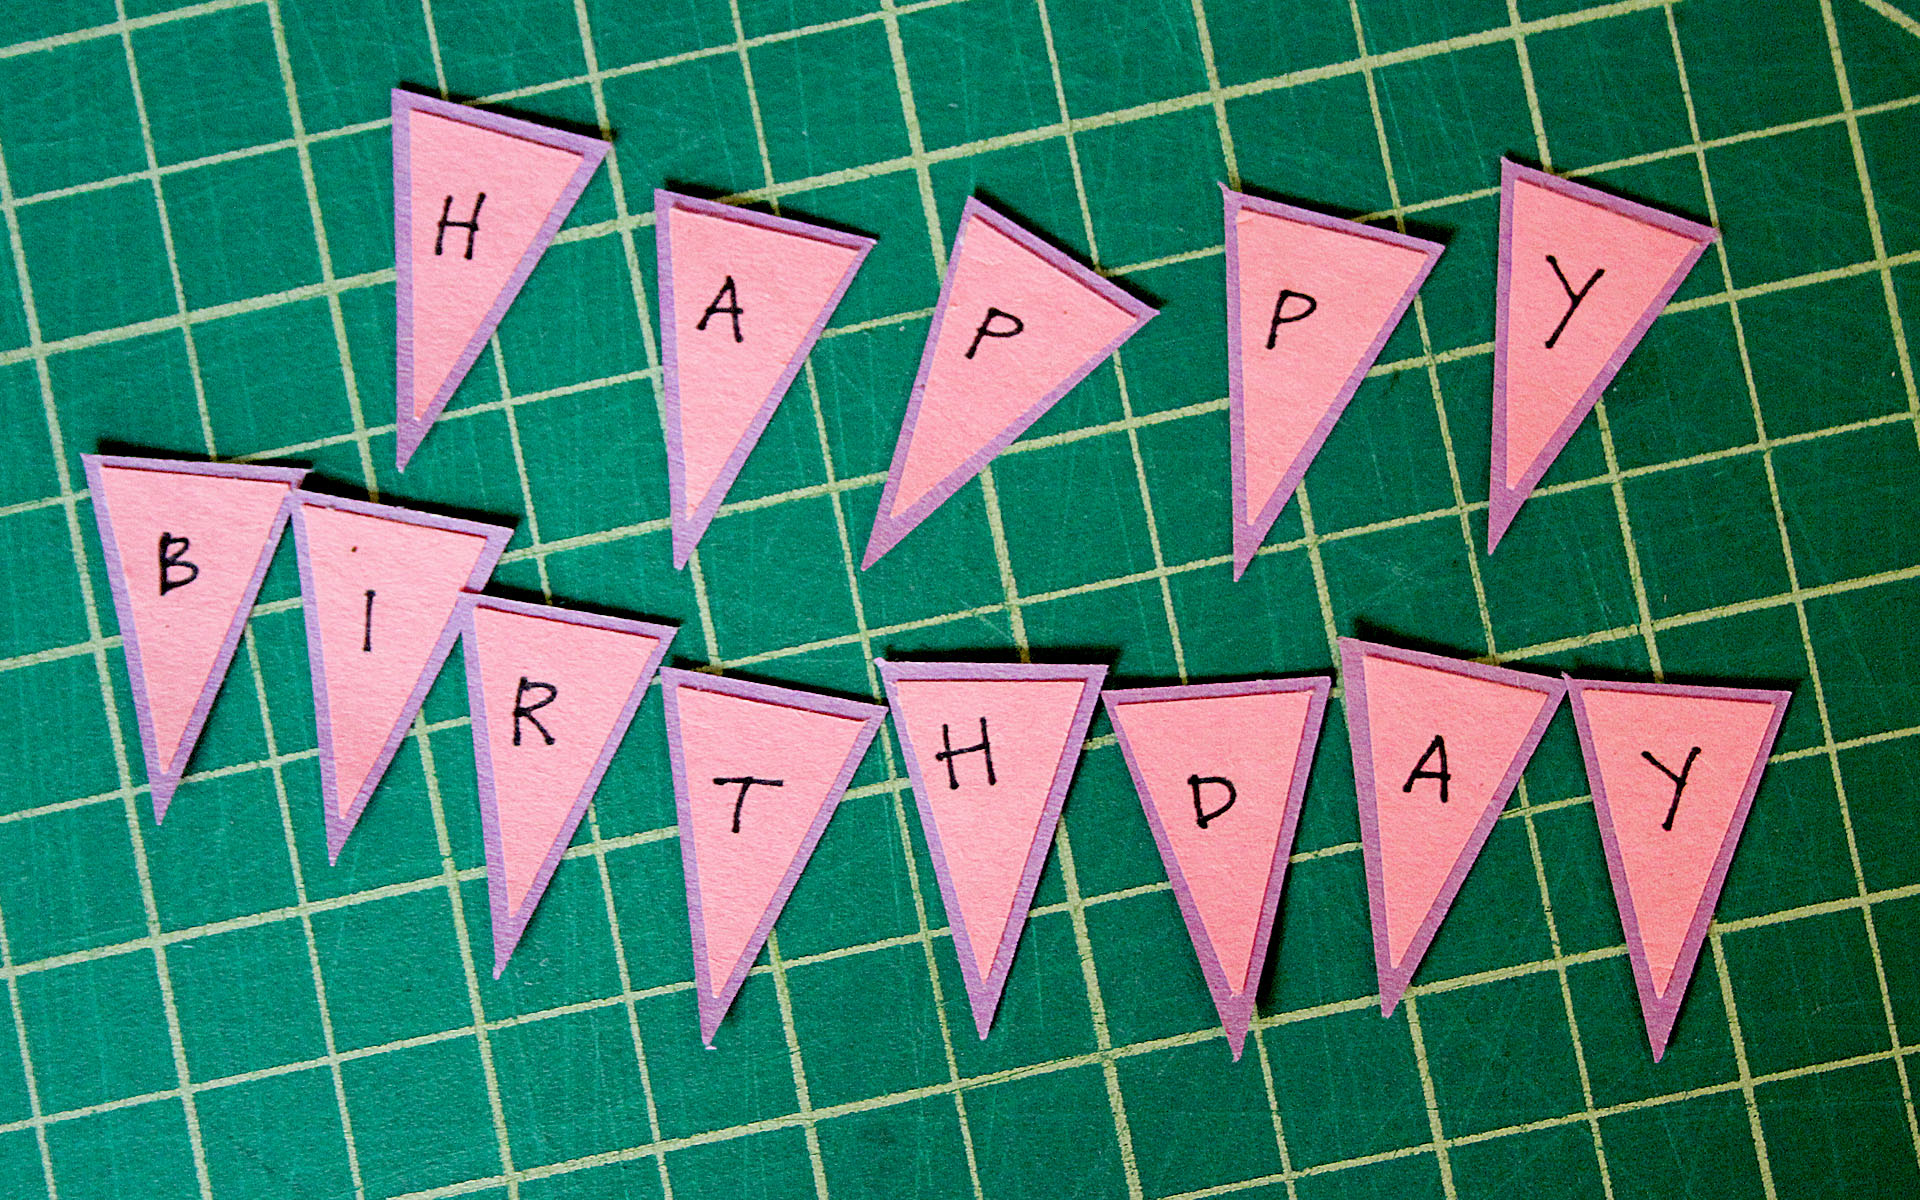 [/tatsu_text][tatsu_text max_width= "" wrap_alignment= "center" animation_type= "none"]Repeat the steps for cutting the pennants with a different color, making them slightly larger than the ones you just cut. Cut twice as many triangles as you need for the letters.
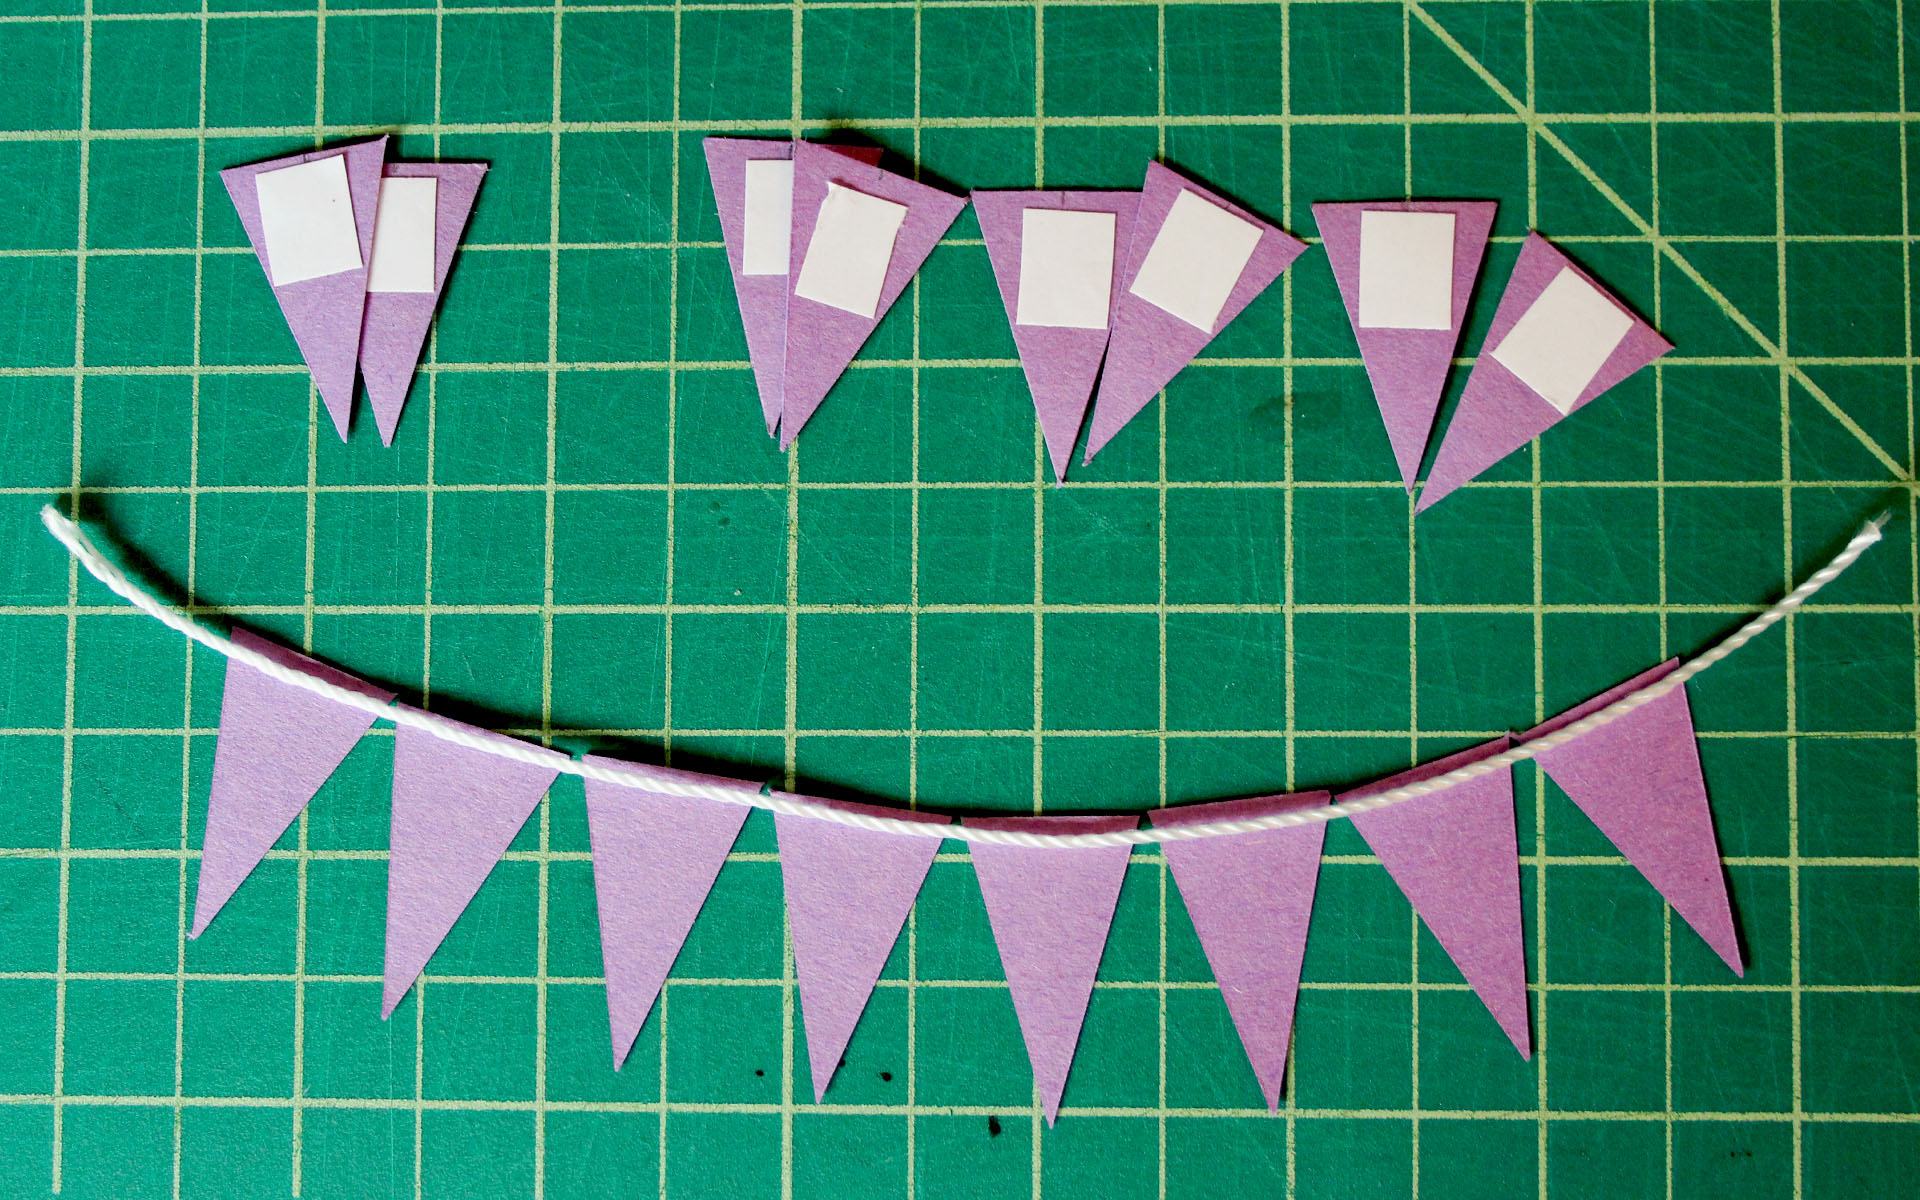 [/tatsu_text][tatsu_text max_width= "" wrap_alignment= "center" animation_type= "none"]Flip over the lettered pennants, and use a small piece of double sided tape on the back. Try and keep it as close to the top as you can.
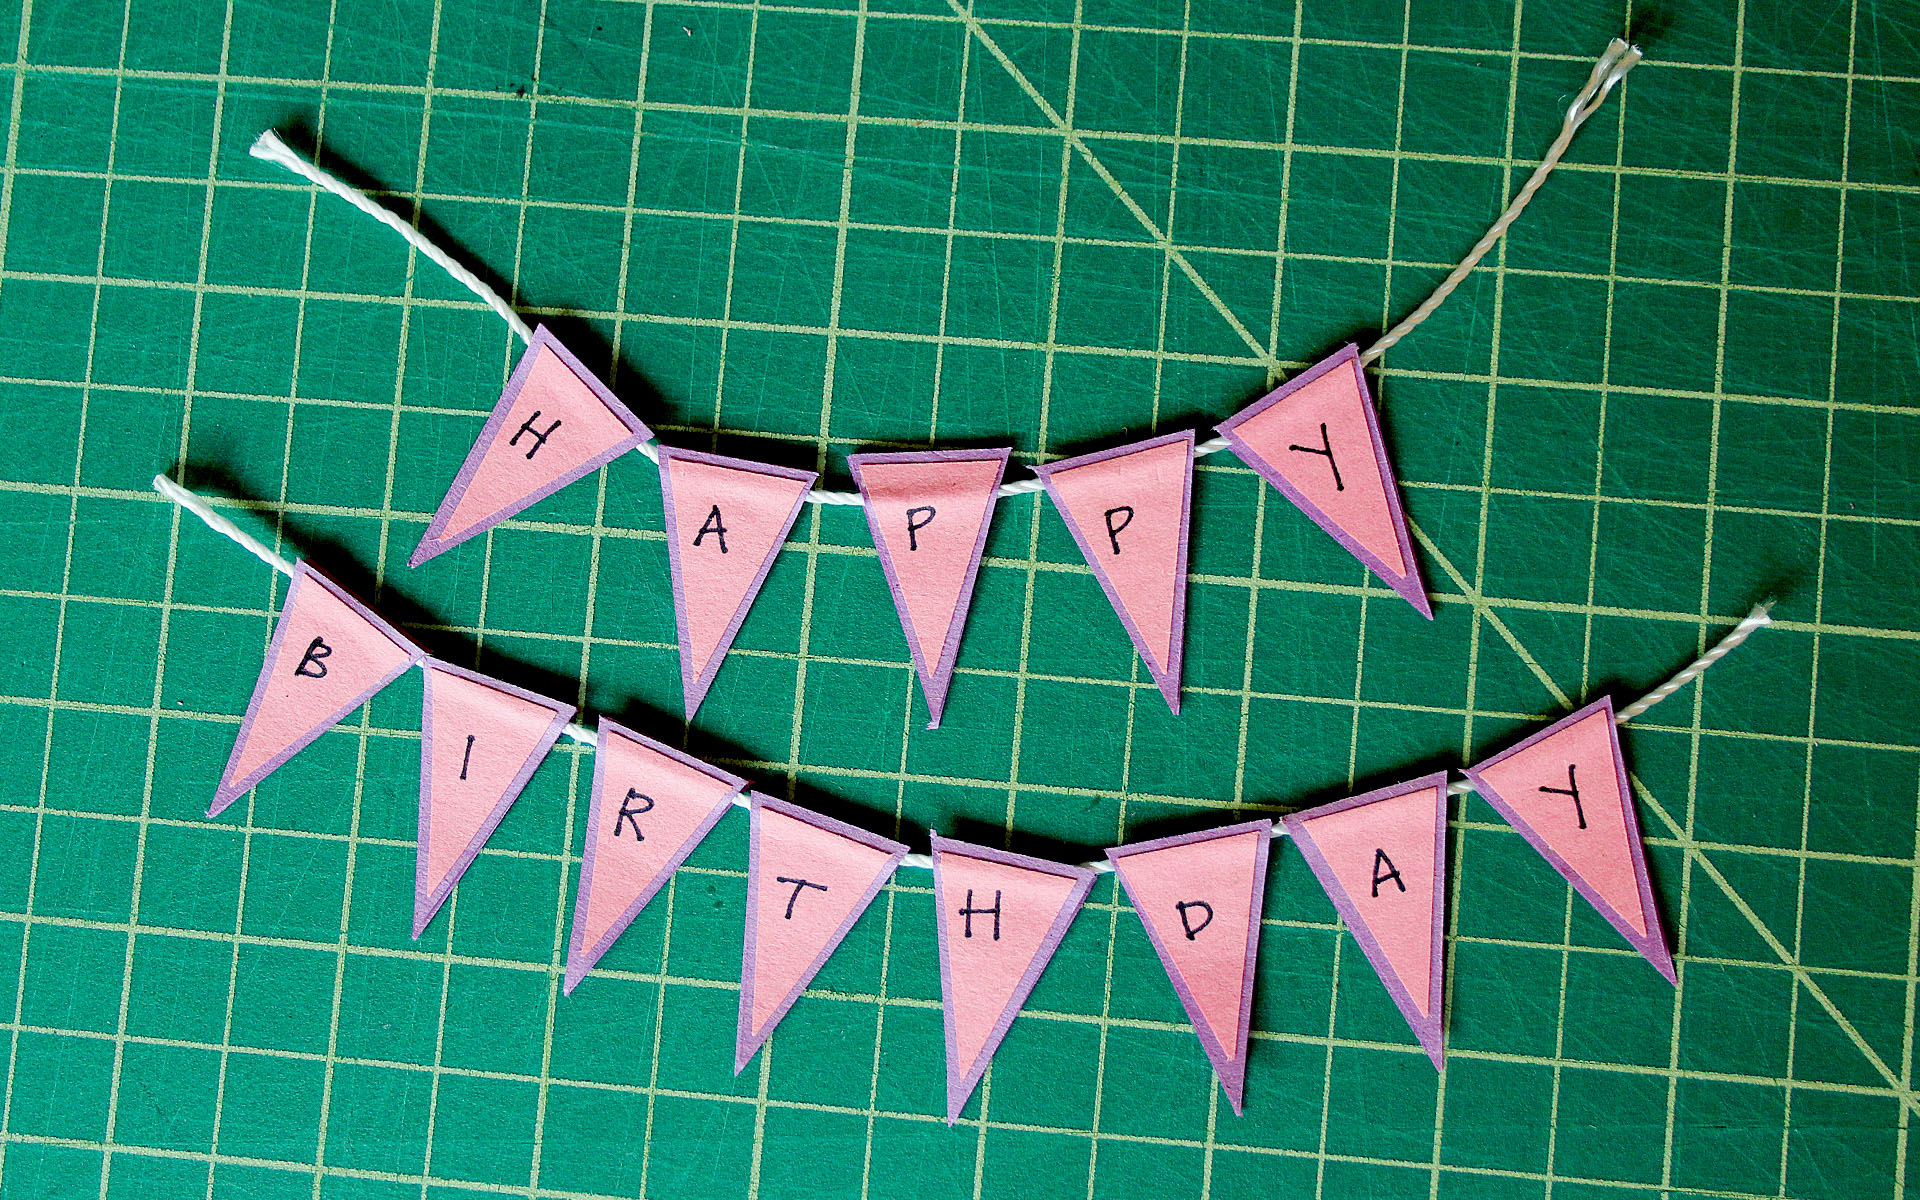 [/tatsu_text][tatsu_text max_width= "" wrap_alignment= "center" animation_type= "none"]Attach the letter pennants to their matching backs, using the double sided tape to trap the string in between the layers of construction paper. Adding a back layer makes the banner more sturdy and ensures the string won't fall.[/tatsu_text][tatsu_text max_width= "" wrap_alignment= "center" animation_type= "none"]
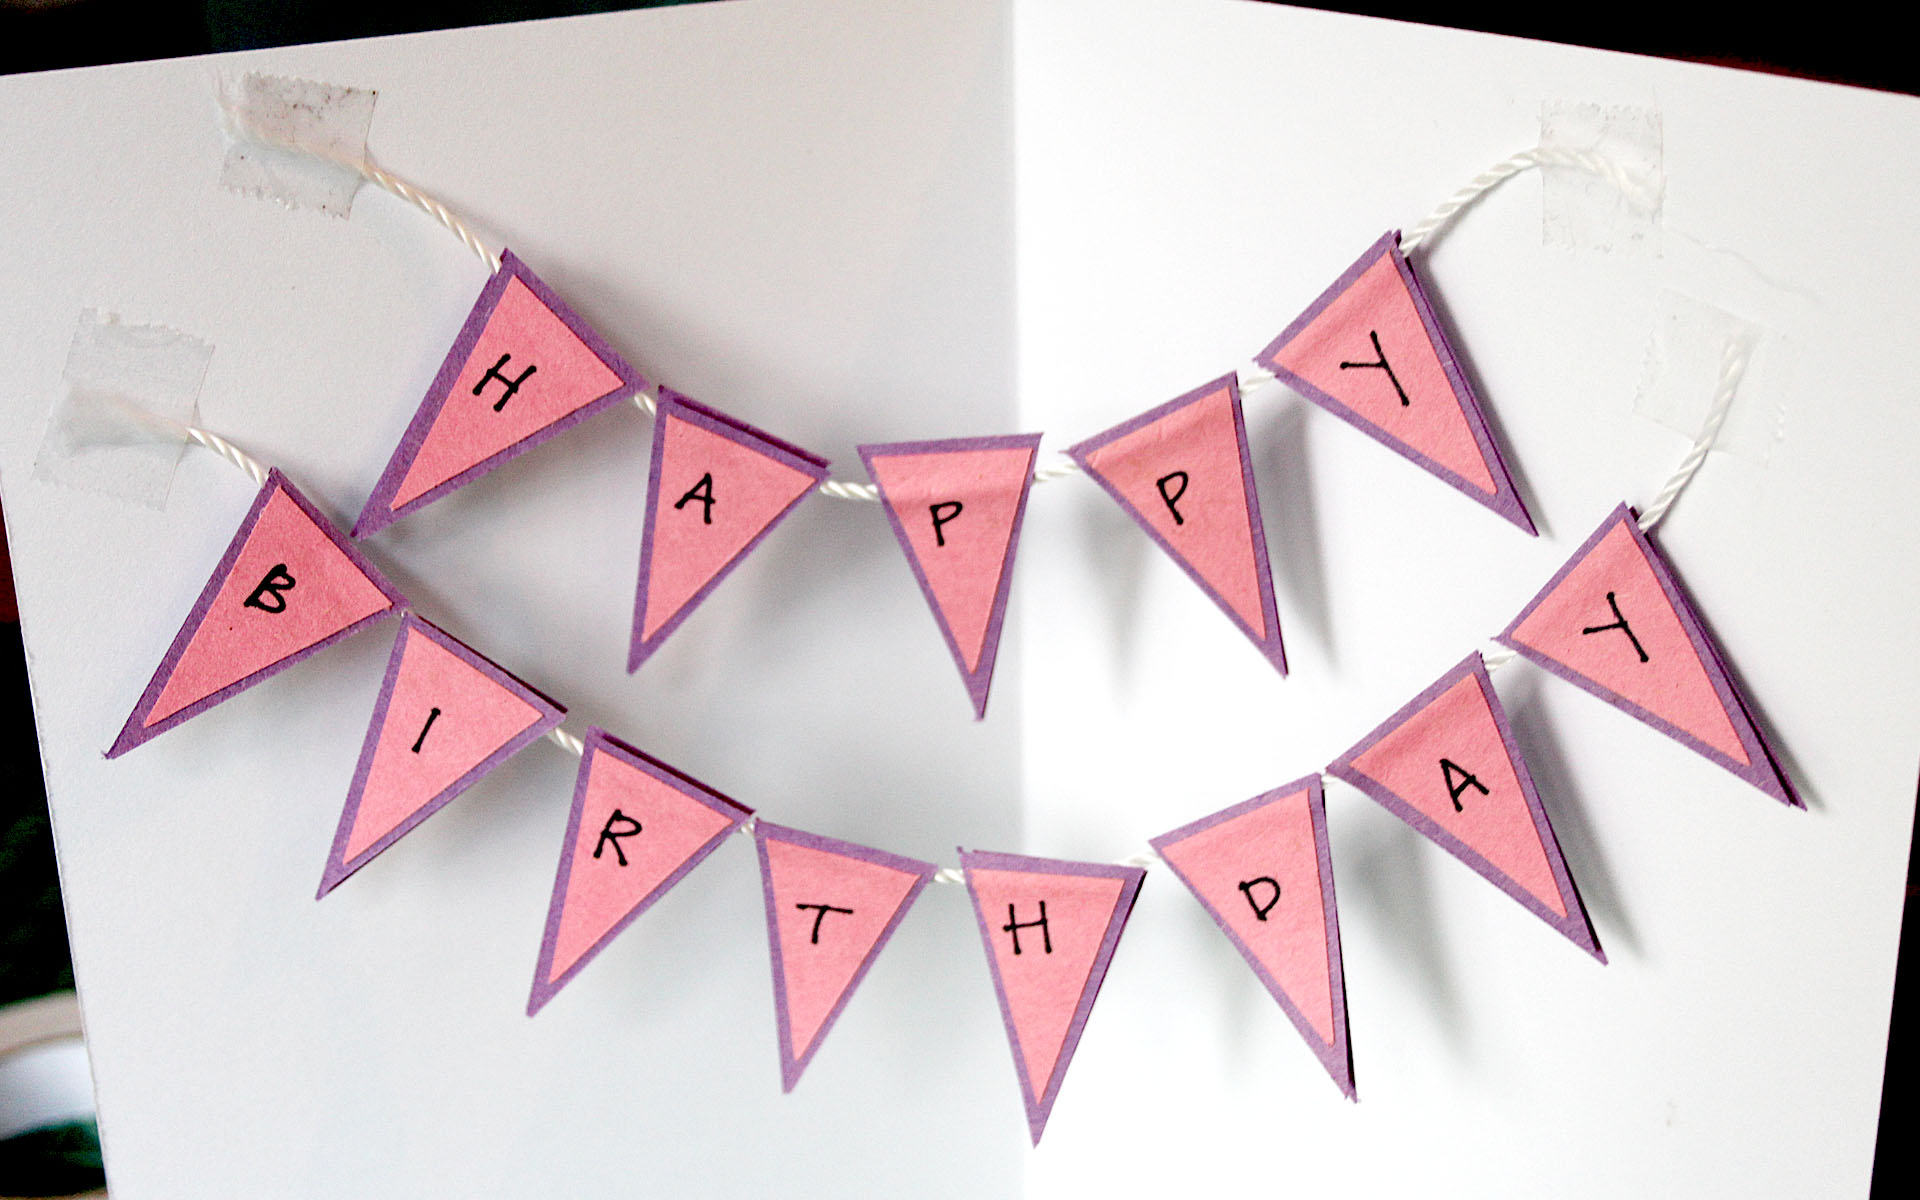 [/tatsu_text][tatsu_text max_width= "" wrap_alignment= "center" animation_type= "none"]Tape the strings to the inside of your card.[/tatsu_text][tatsu_text max_width= "" wrap_alignment= "center" animation_type= "none"]
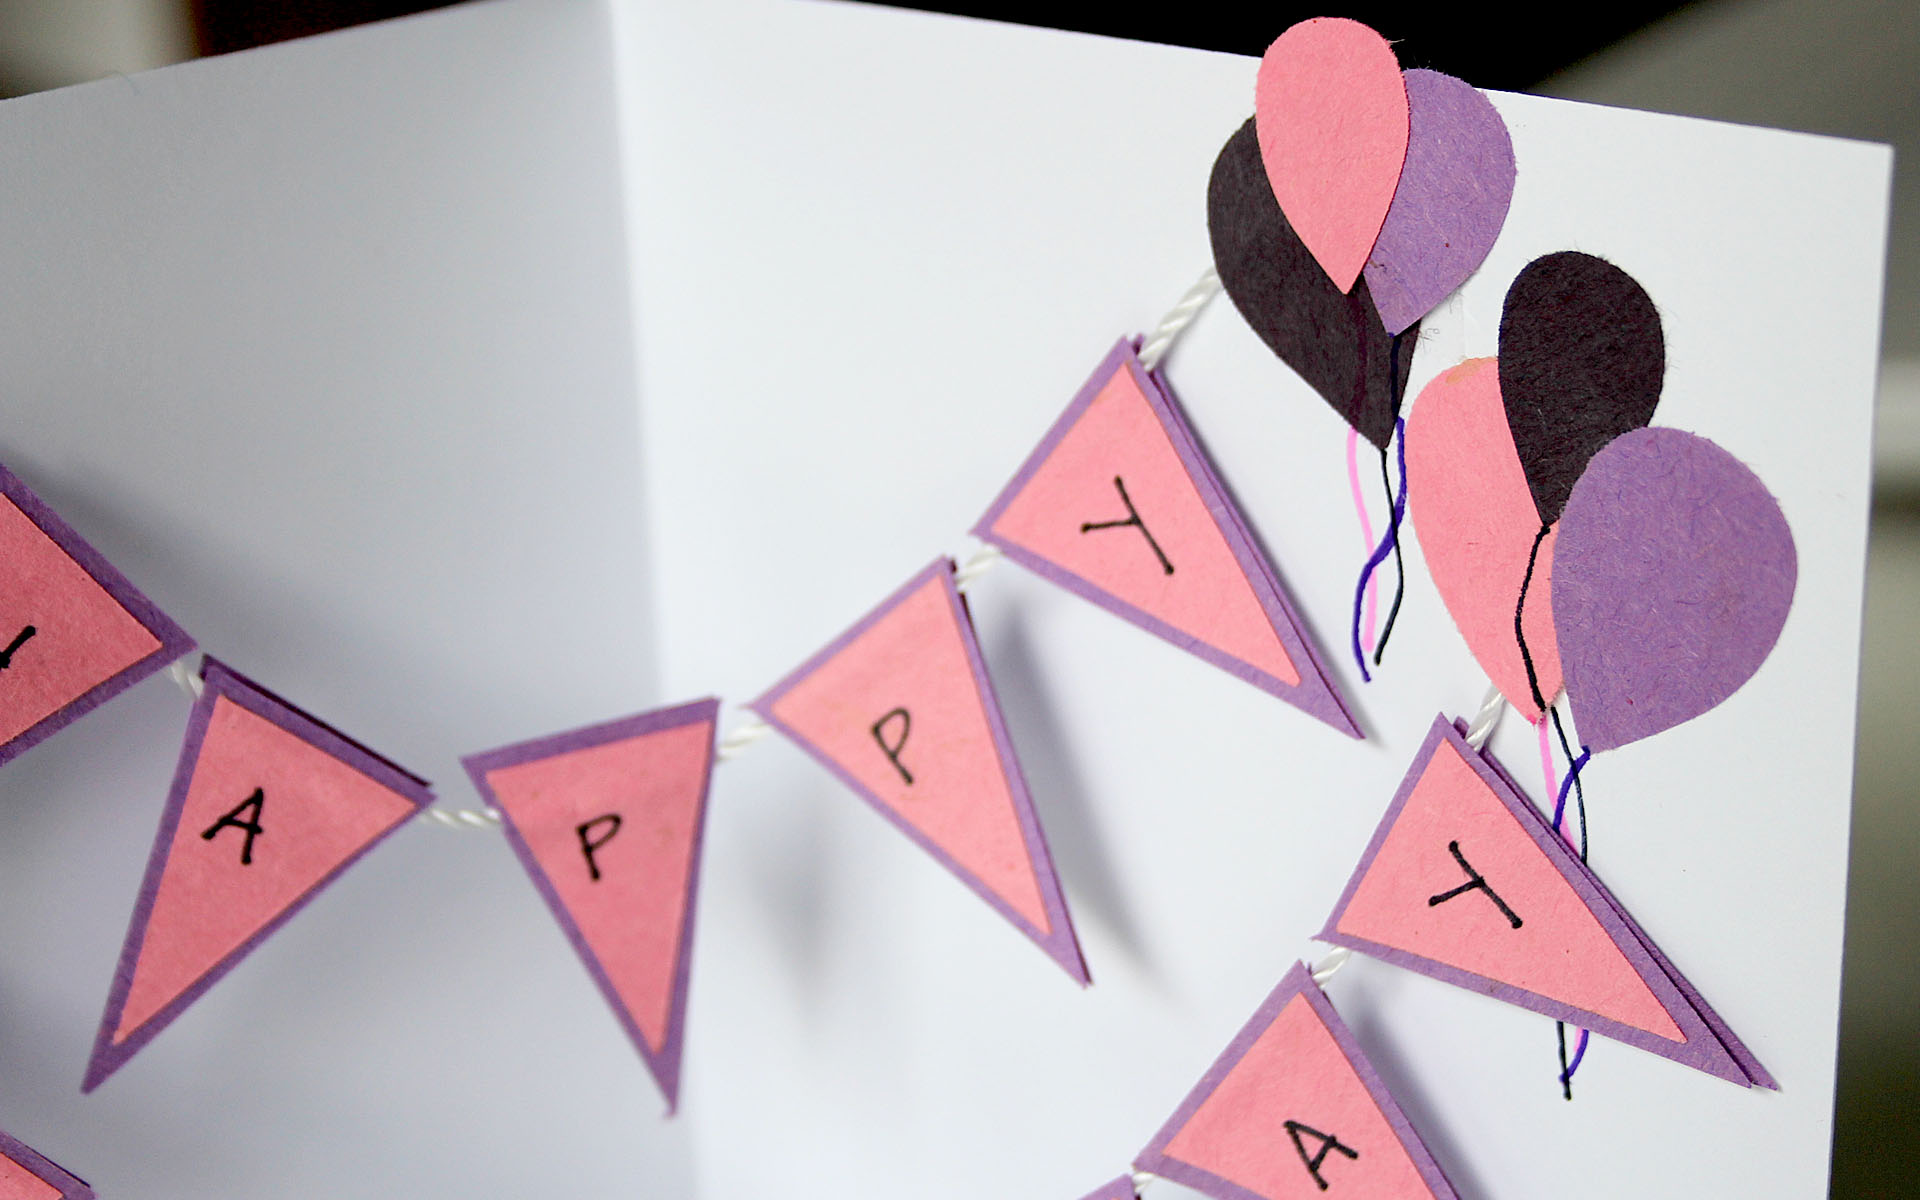 [/tatsu_text][tatsu_text max_width= "" wrap_alignment= "center" animation_type= "none"]Use your pens to add additional designs, like strings for the balloons.
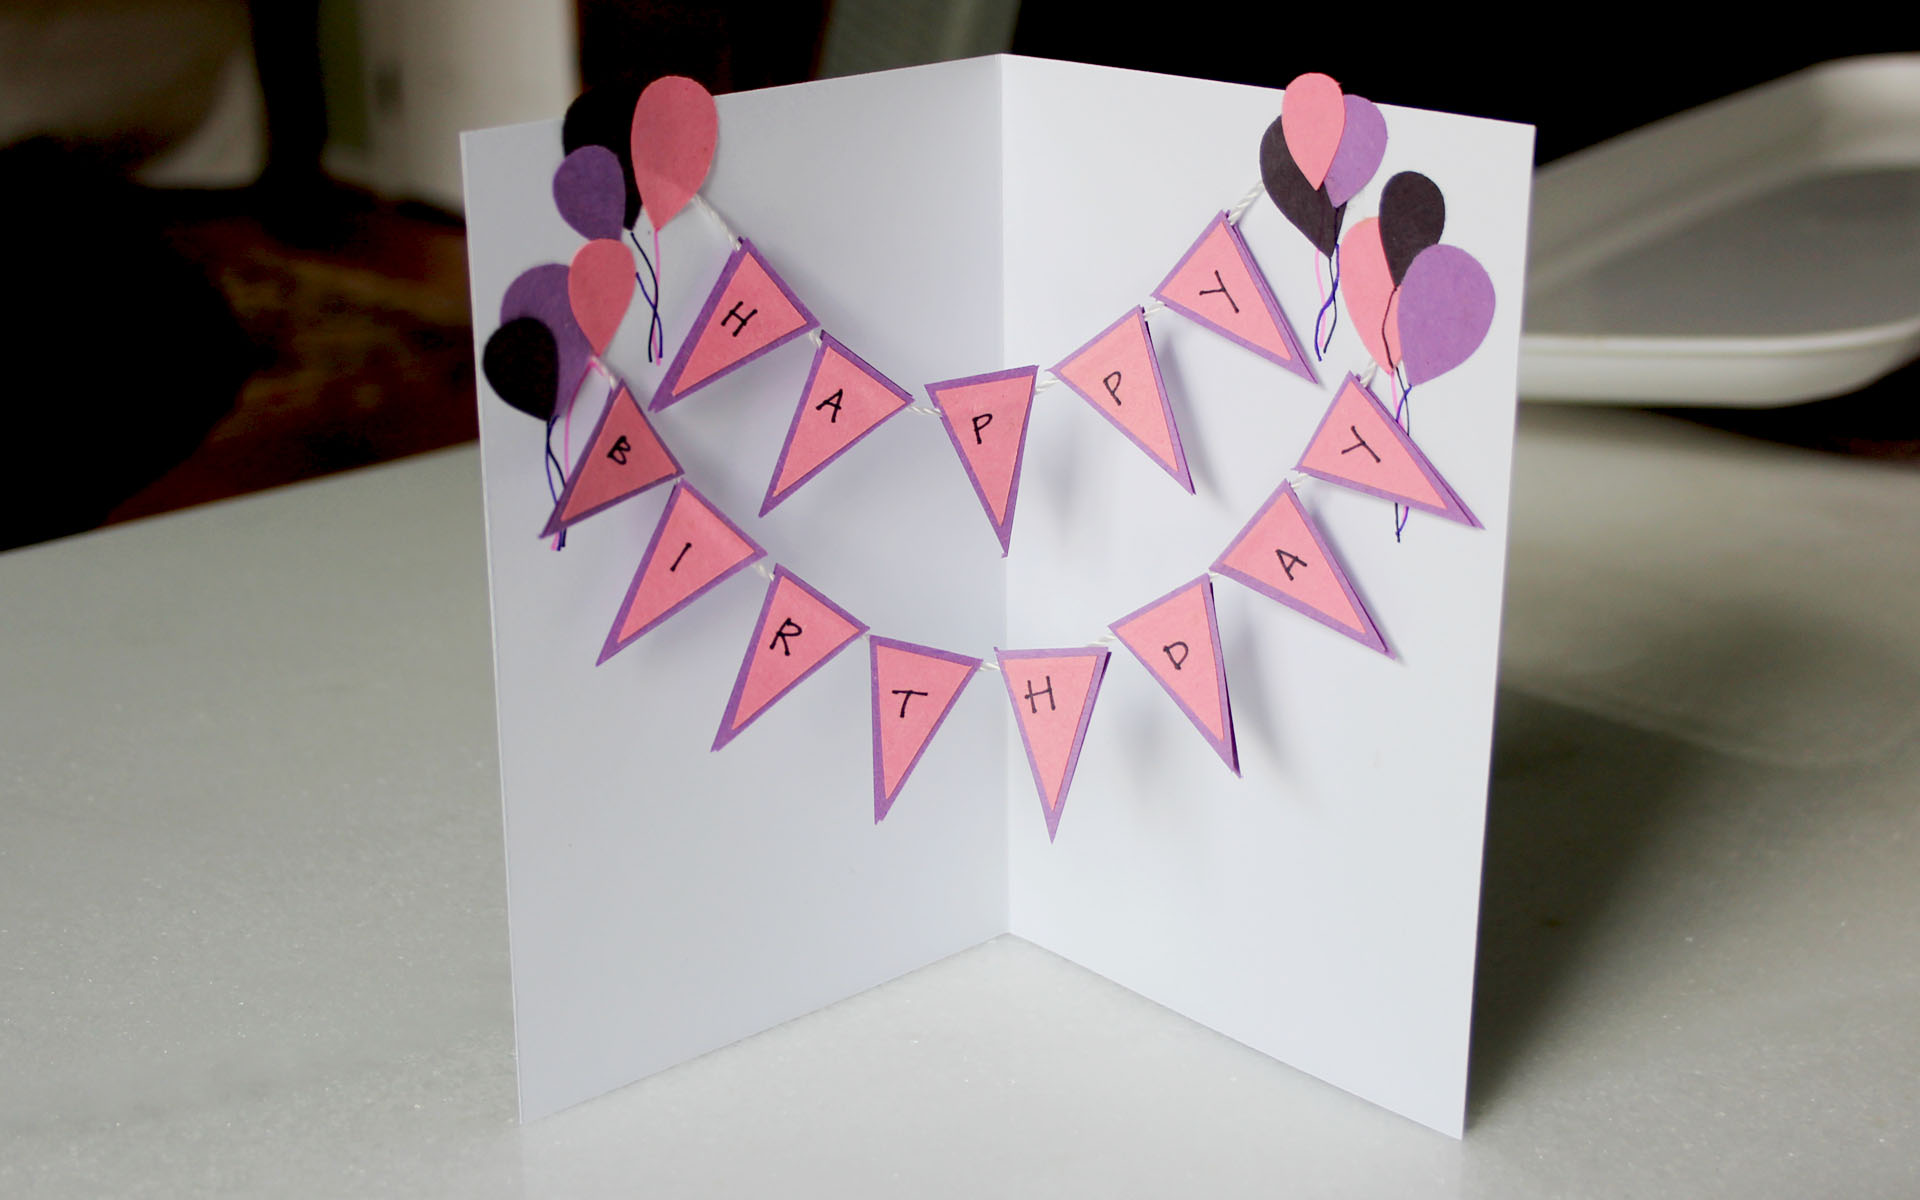 [/tatsu_text][/tatsu_column][/tatsu_row][/tatsu_section]
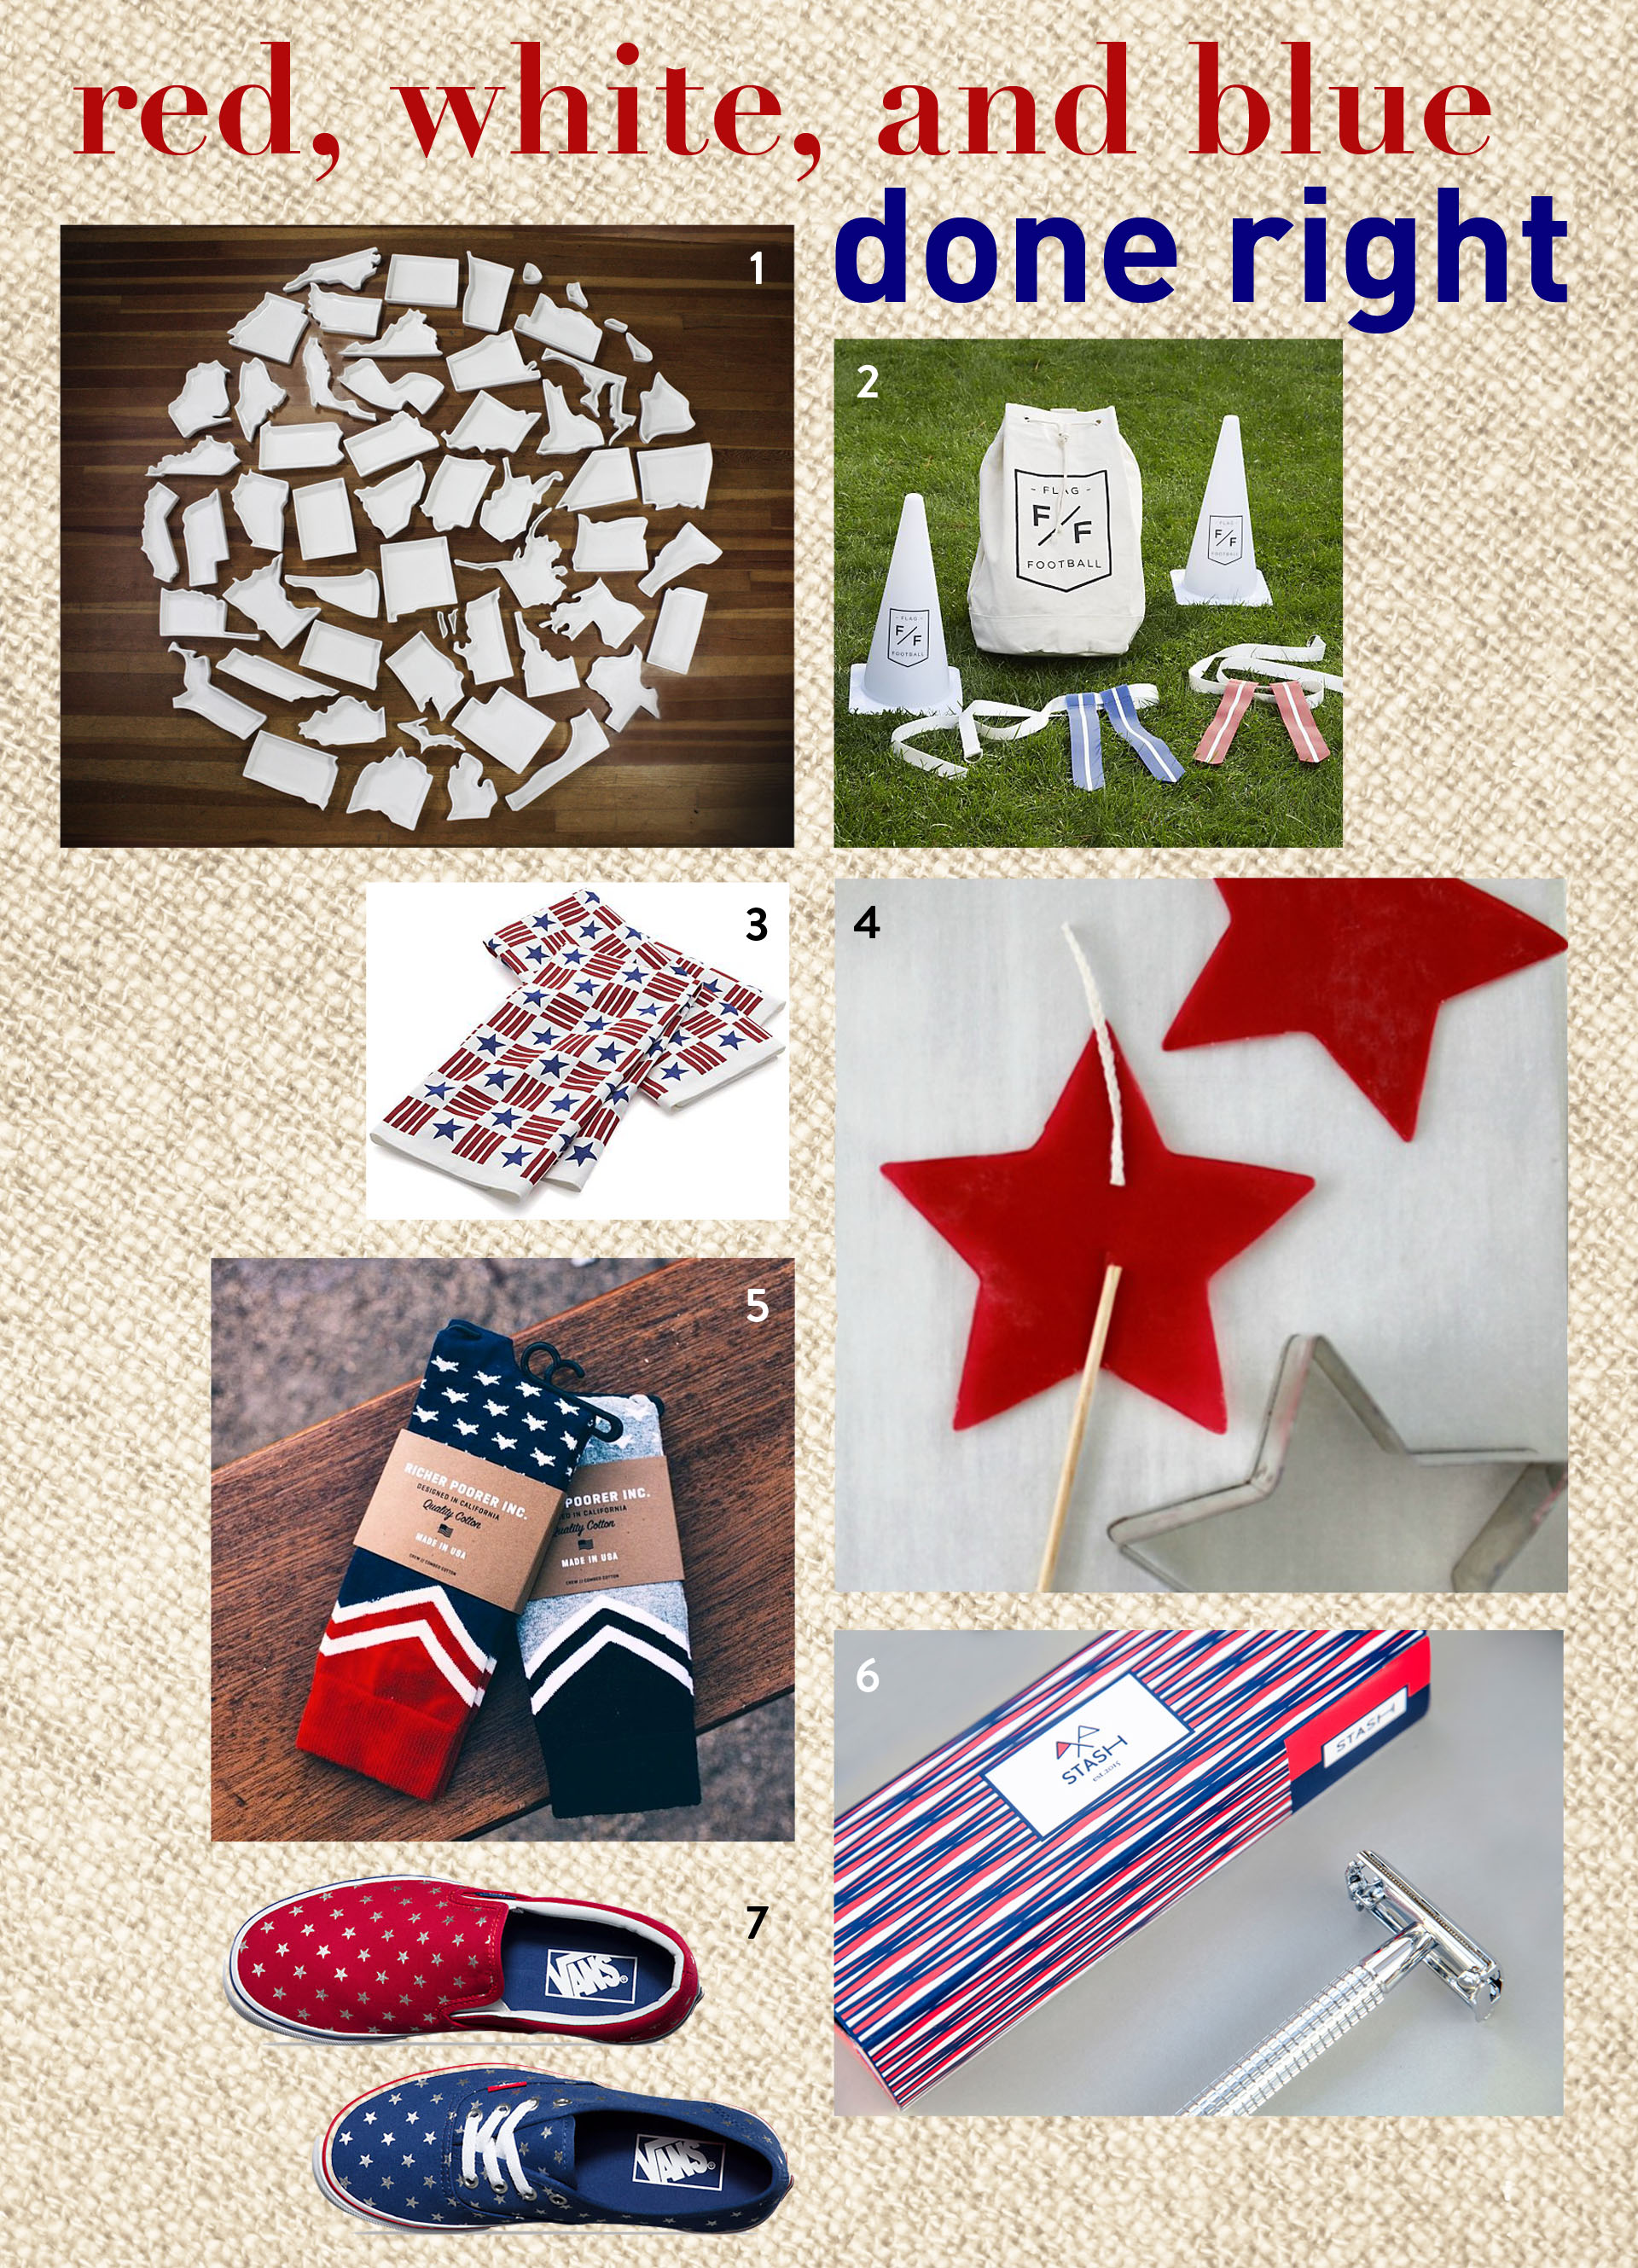 [/tatsu_text][tatsu_text max_width= "" wrap_alignment= "center" animation_type= "none"]It's the 4th of July, which means red white and blue are taking over every form of clothing and memorabilia you can think of. Unfortunately, most of what's out there isn't necessarily nice to look at. In an effort to combat the immense amount of bad design I've been seeing everywhere, I've put together a small list of well-designed American-themed items that you can use to celebrate our nation's birthday with a little more grace.