[tatsu_section padding= "90px 0% 90px 0%"][tatsu_row layout= "1/1"][tatsu_column layout= "1/1"][tatsu_text max_width= "" wrap_alignment= "center" animation_type= "none"]I found this rose gold spray paint at Michael's and obviously had to get it. I figured out a couple ways to use for it for our Thanksgiving table, and this is the first! I'm doing a sort of mixed-metallics look, based on things I already had for the table (gold chargers for the plates, silver flatware), so adding rose gold to the mix worked out great. I used rose gold for the branches and regular gold for the pinecones.
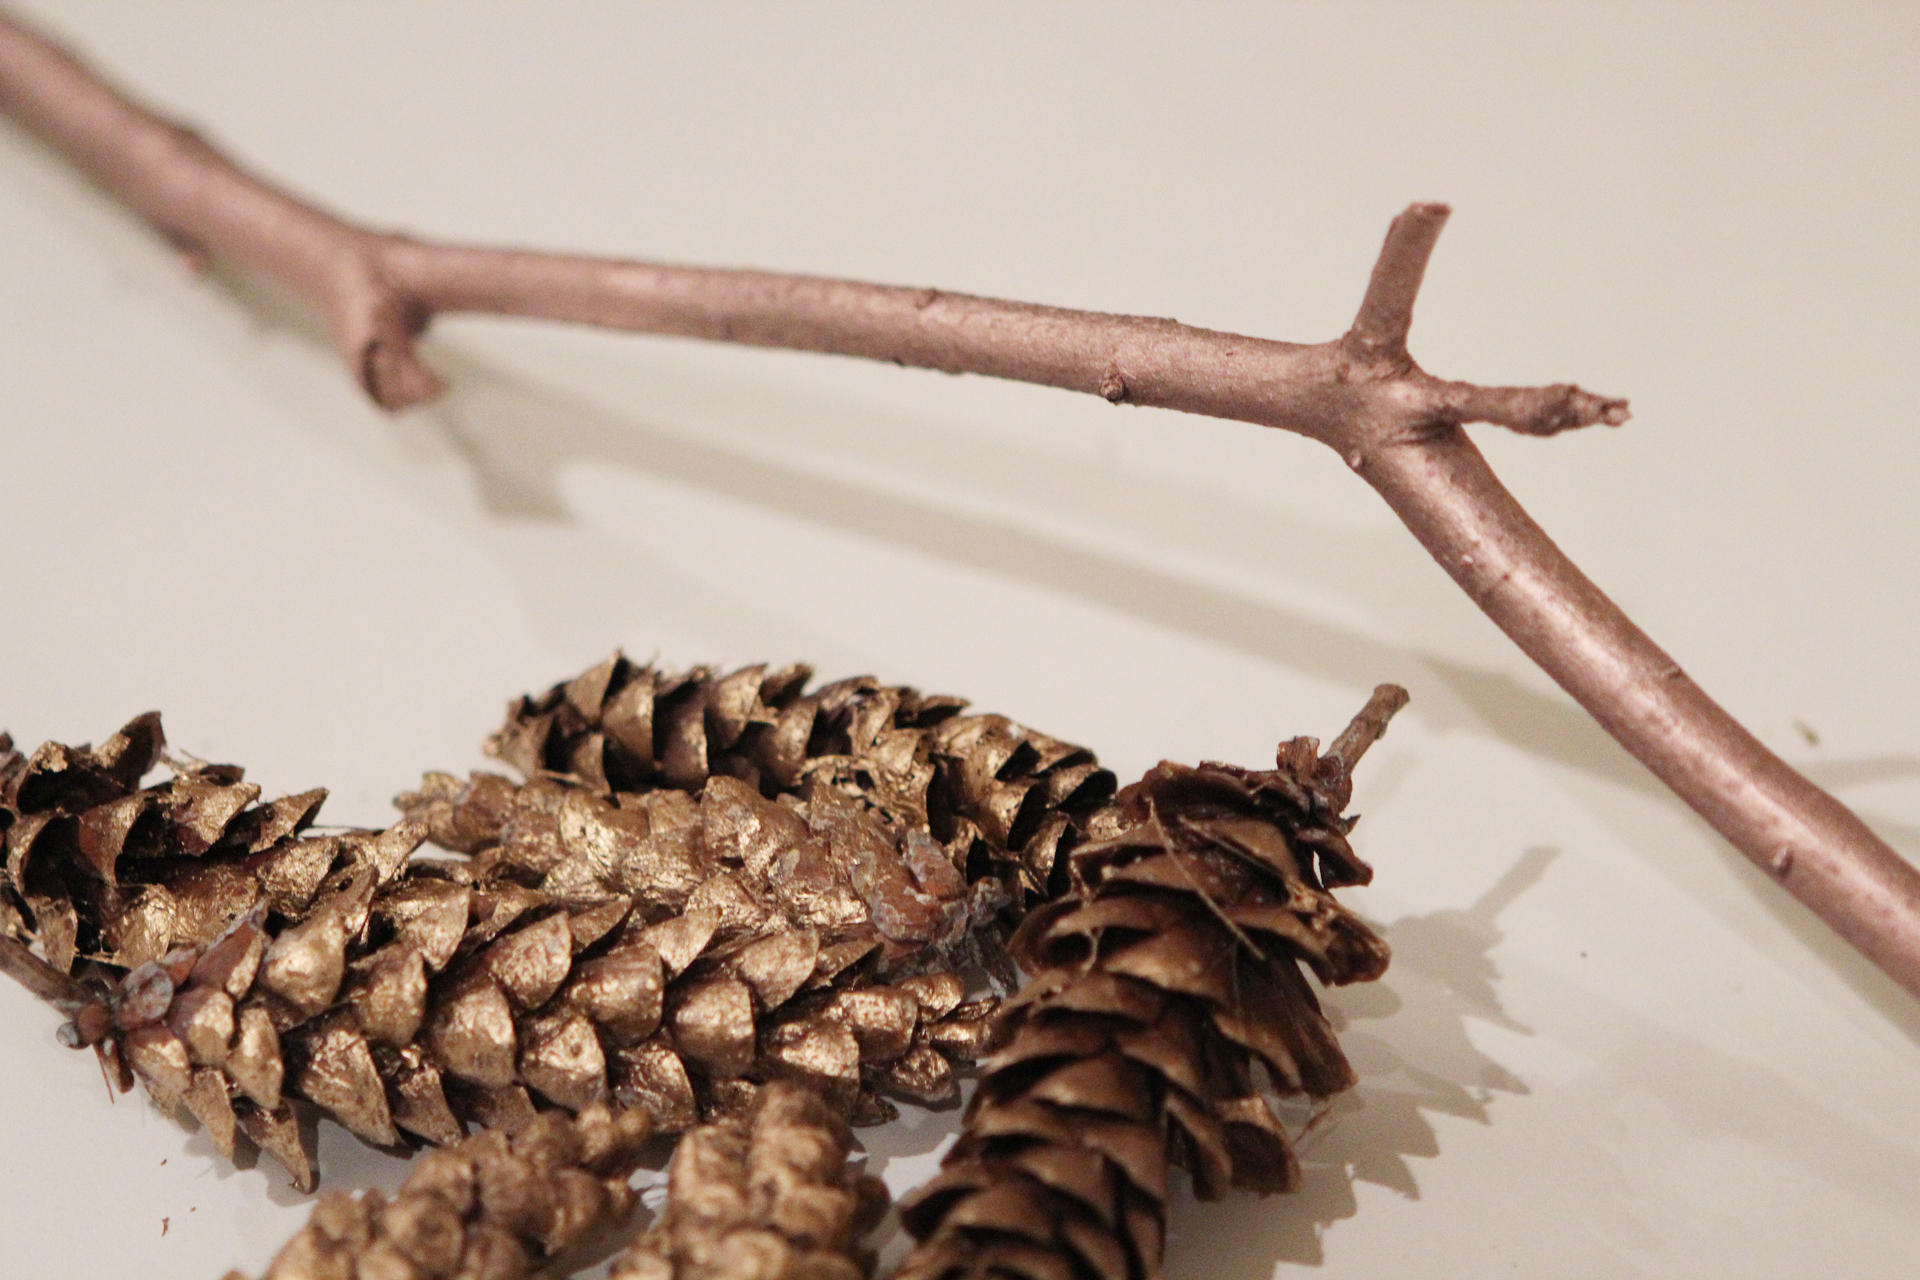
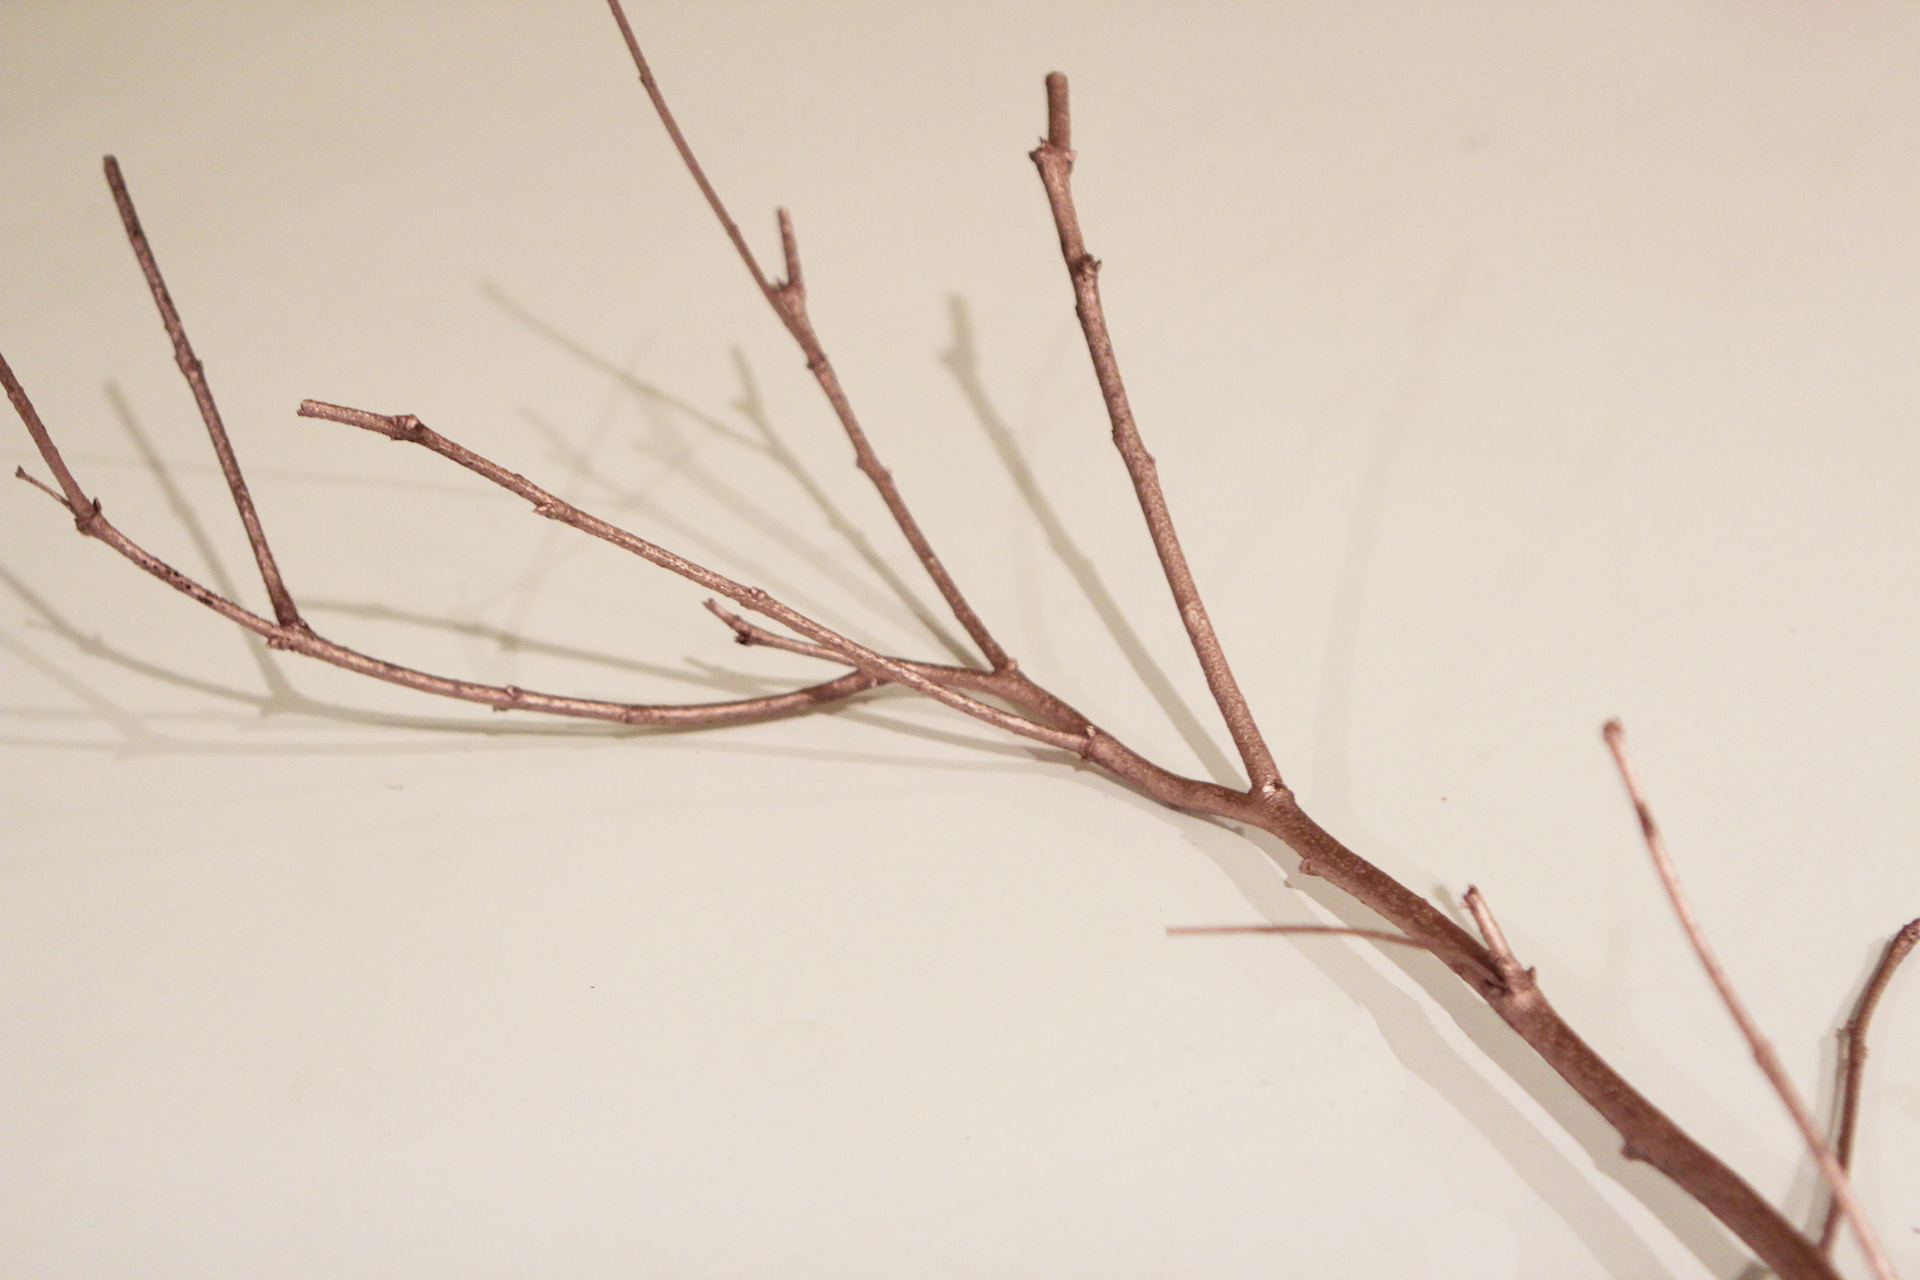
Okay, so this is probably the easiest post of the whole week. I almost feel bad even calling this a DIY, because I'm pretty sure you can figure it out from the pictures. As far as the branches go, just spray paint them and let them dry before putting them on your table. Obviously, make sure you're in a well ventilated area (like outside) and have some sort of drop cloth or newspaper underneath them.
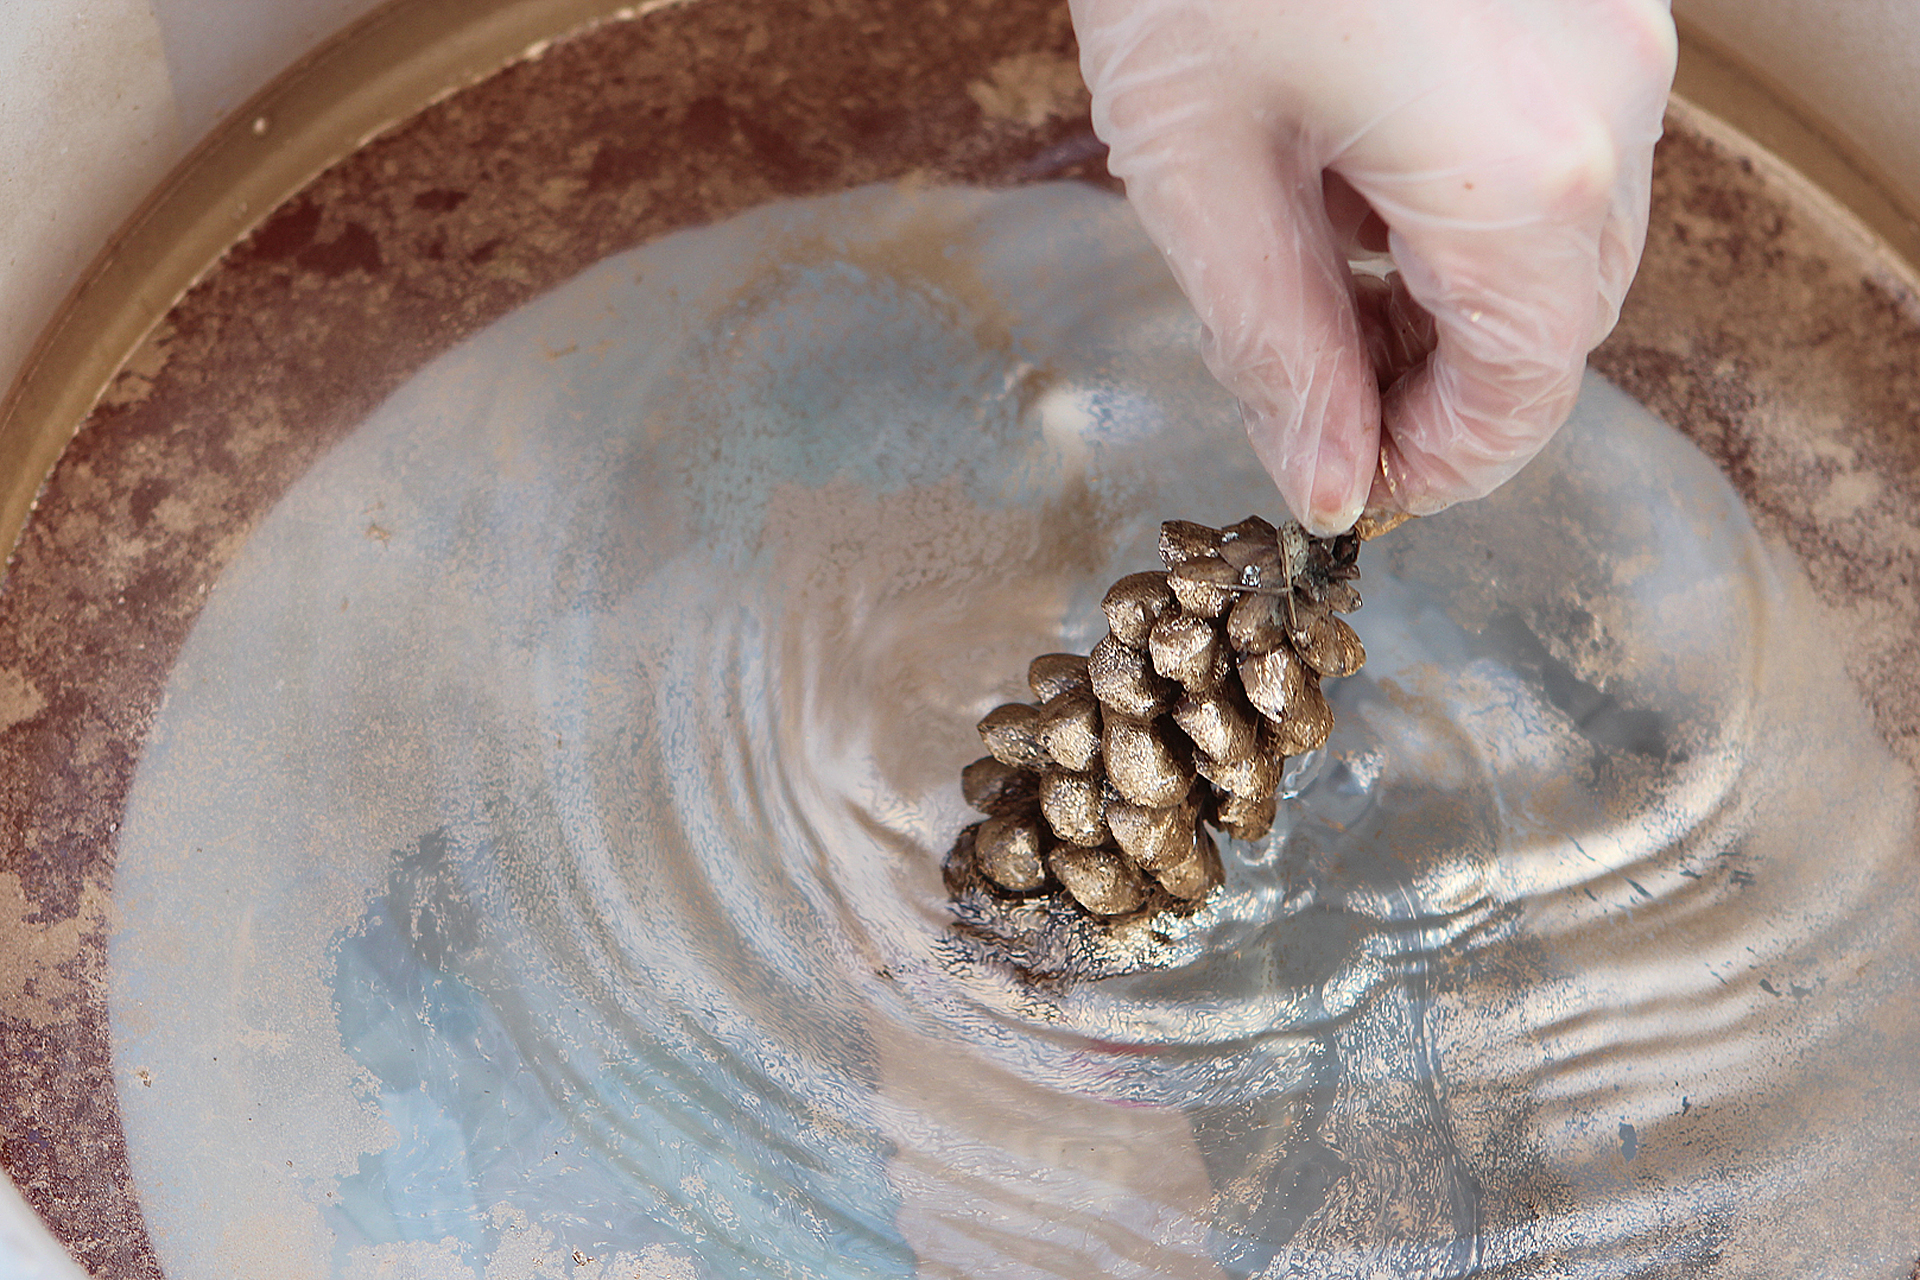
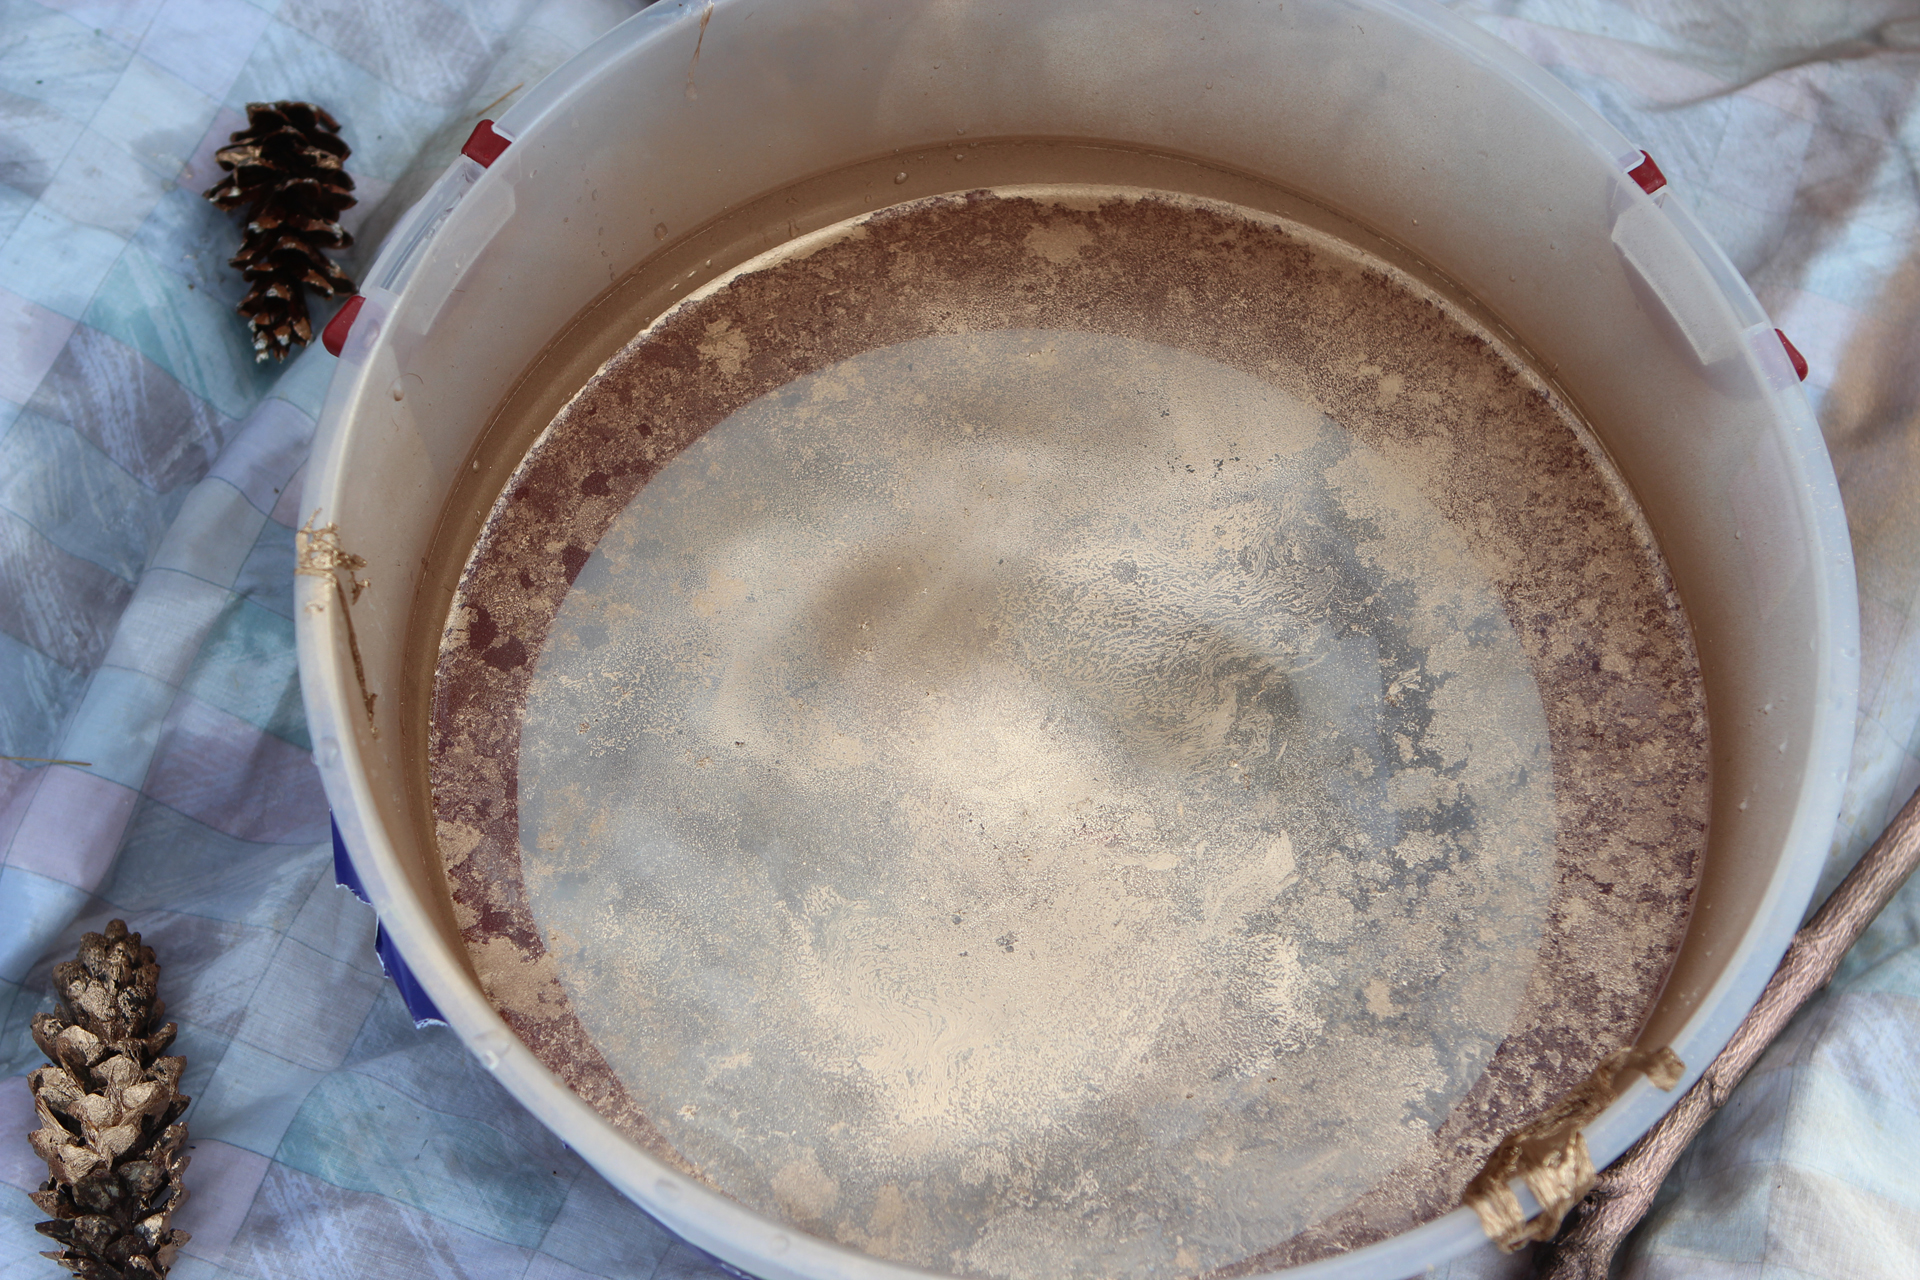
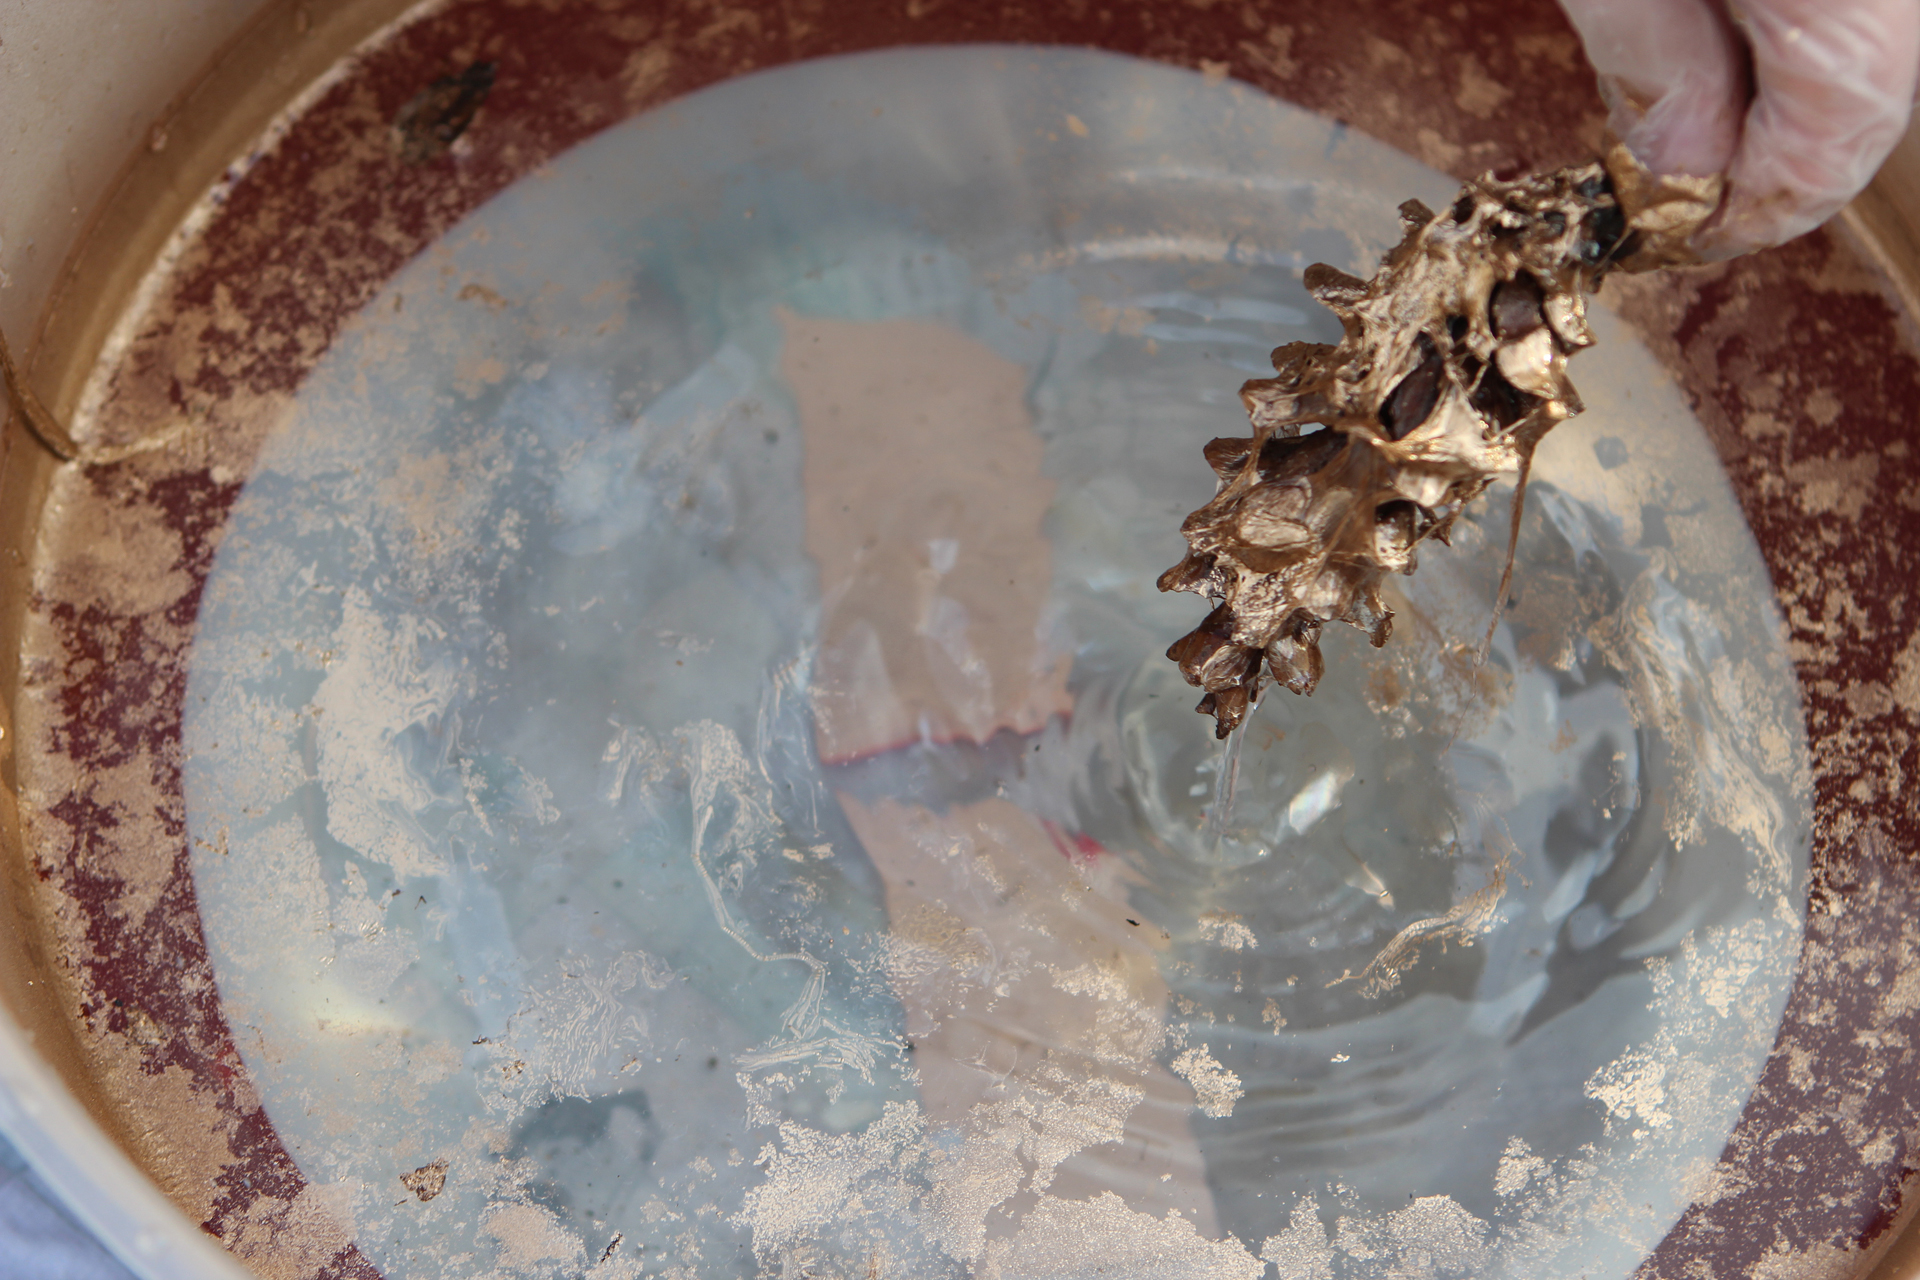
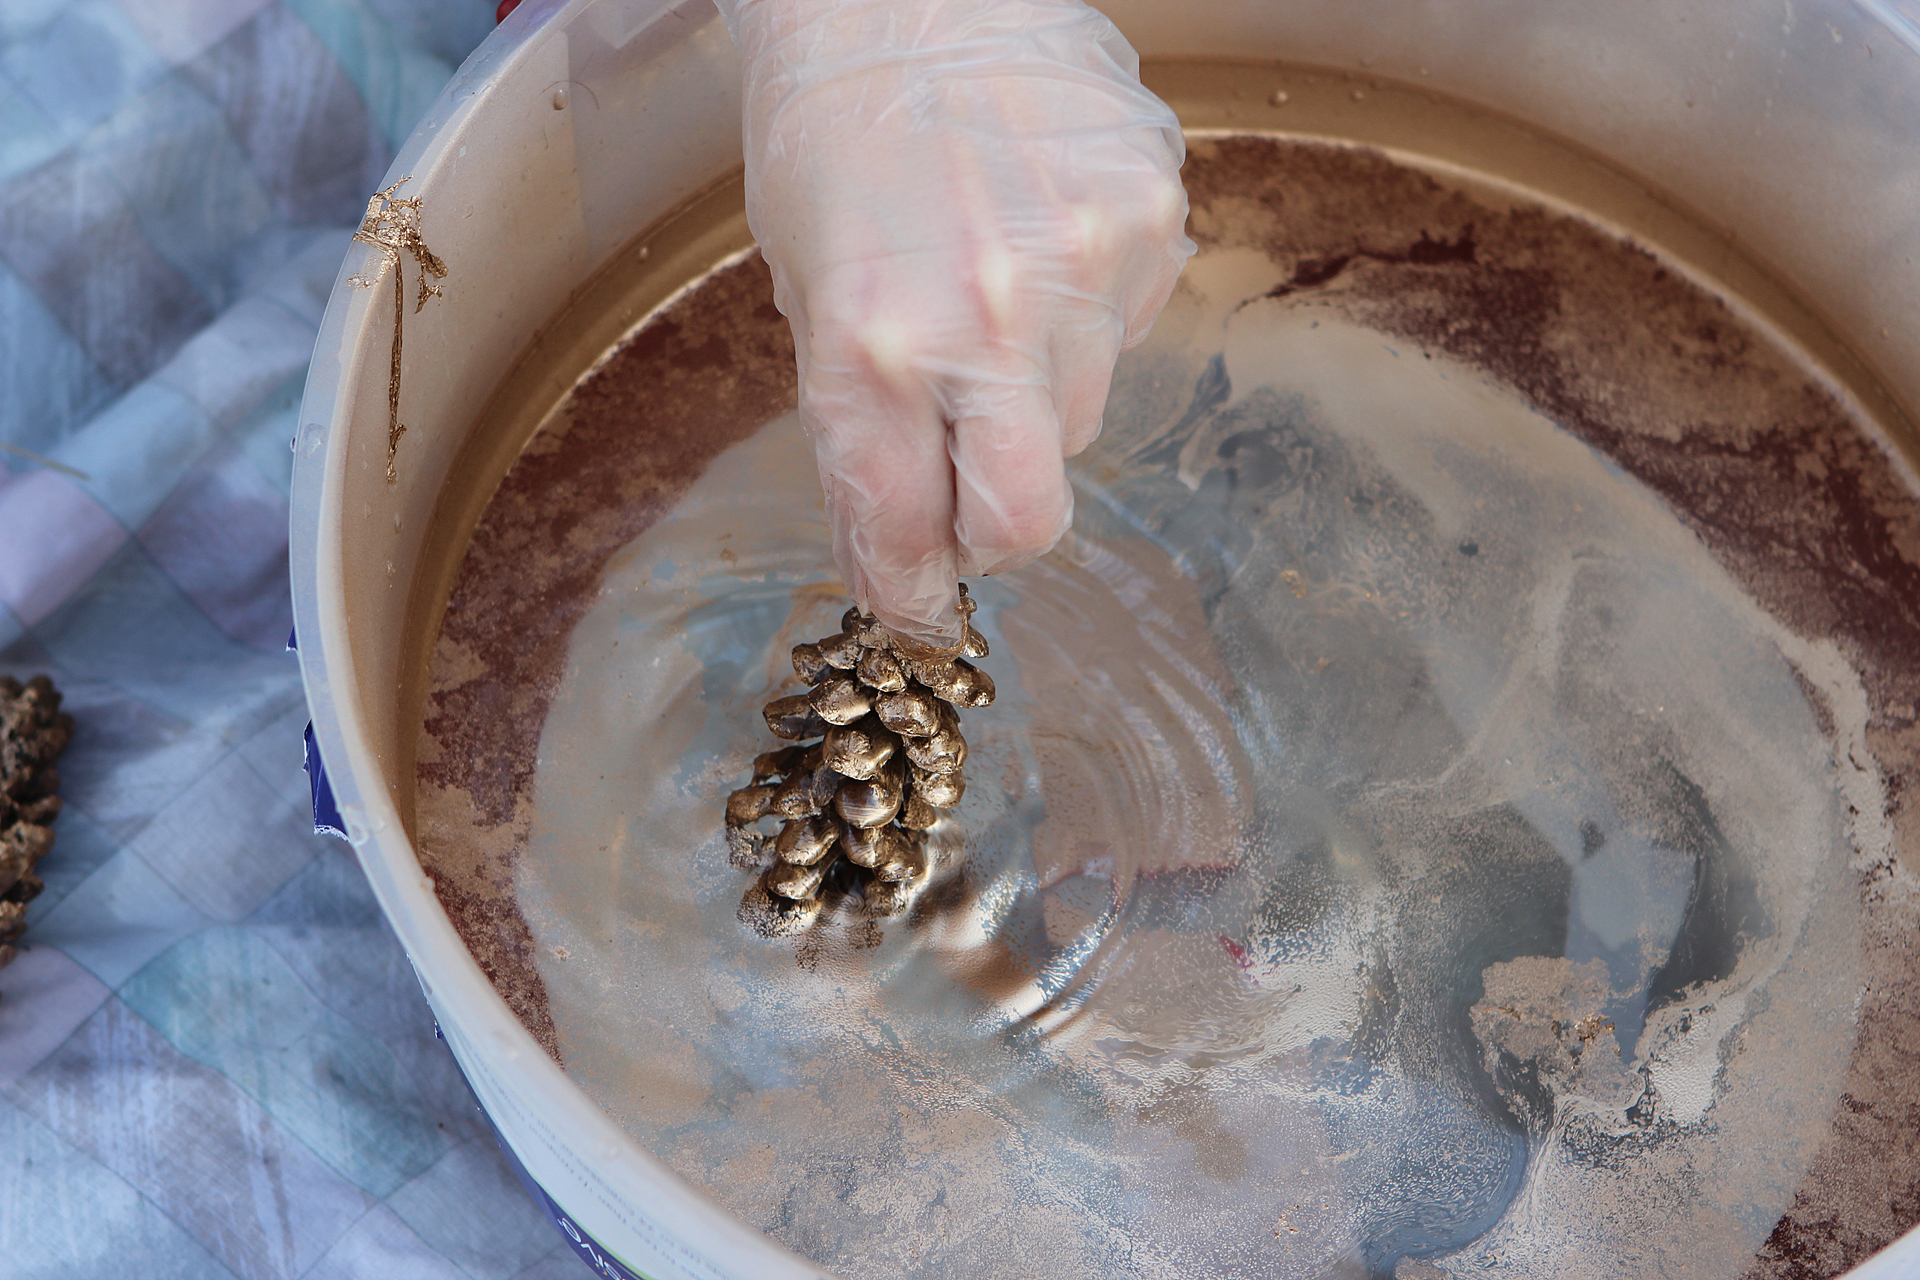
The pinecones are a little more complicated. You'll need a bucket or container that can hold water that you don't care about getting painted. Fill it with enough water to submerge your pinecones. Spray the surface of the water; the spray paint will float on the surface. Dip your pinecones into the water, and as you pull them out, the paint will drape itself over the parts of the pinecone that break the surface first. You can dip them multiple times if you want a more solid look. Keep respraying the surface of the water when the paint starts to get thin or goes away.
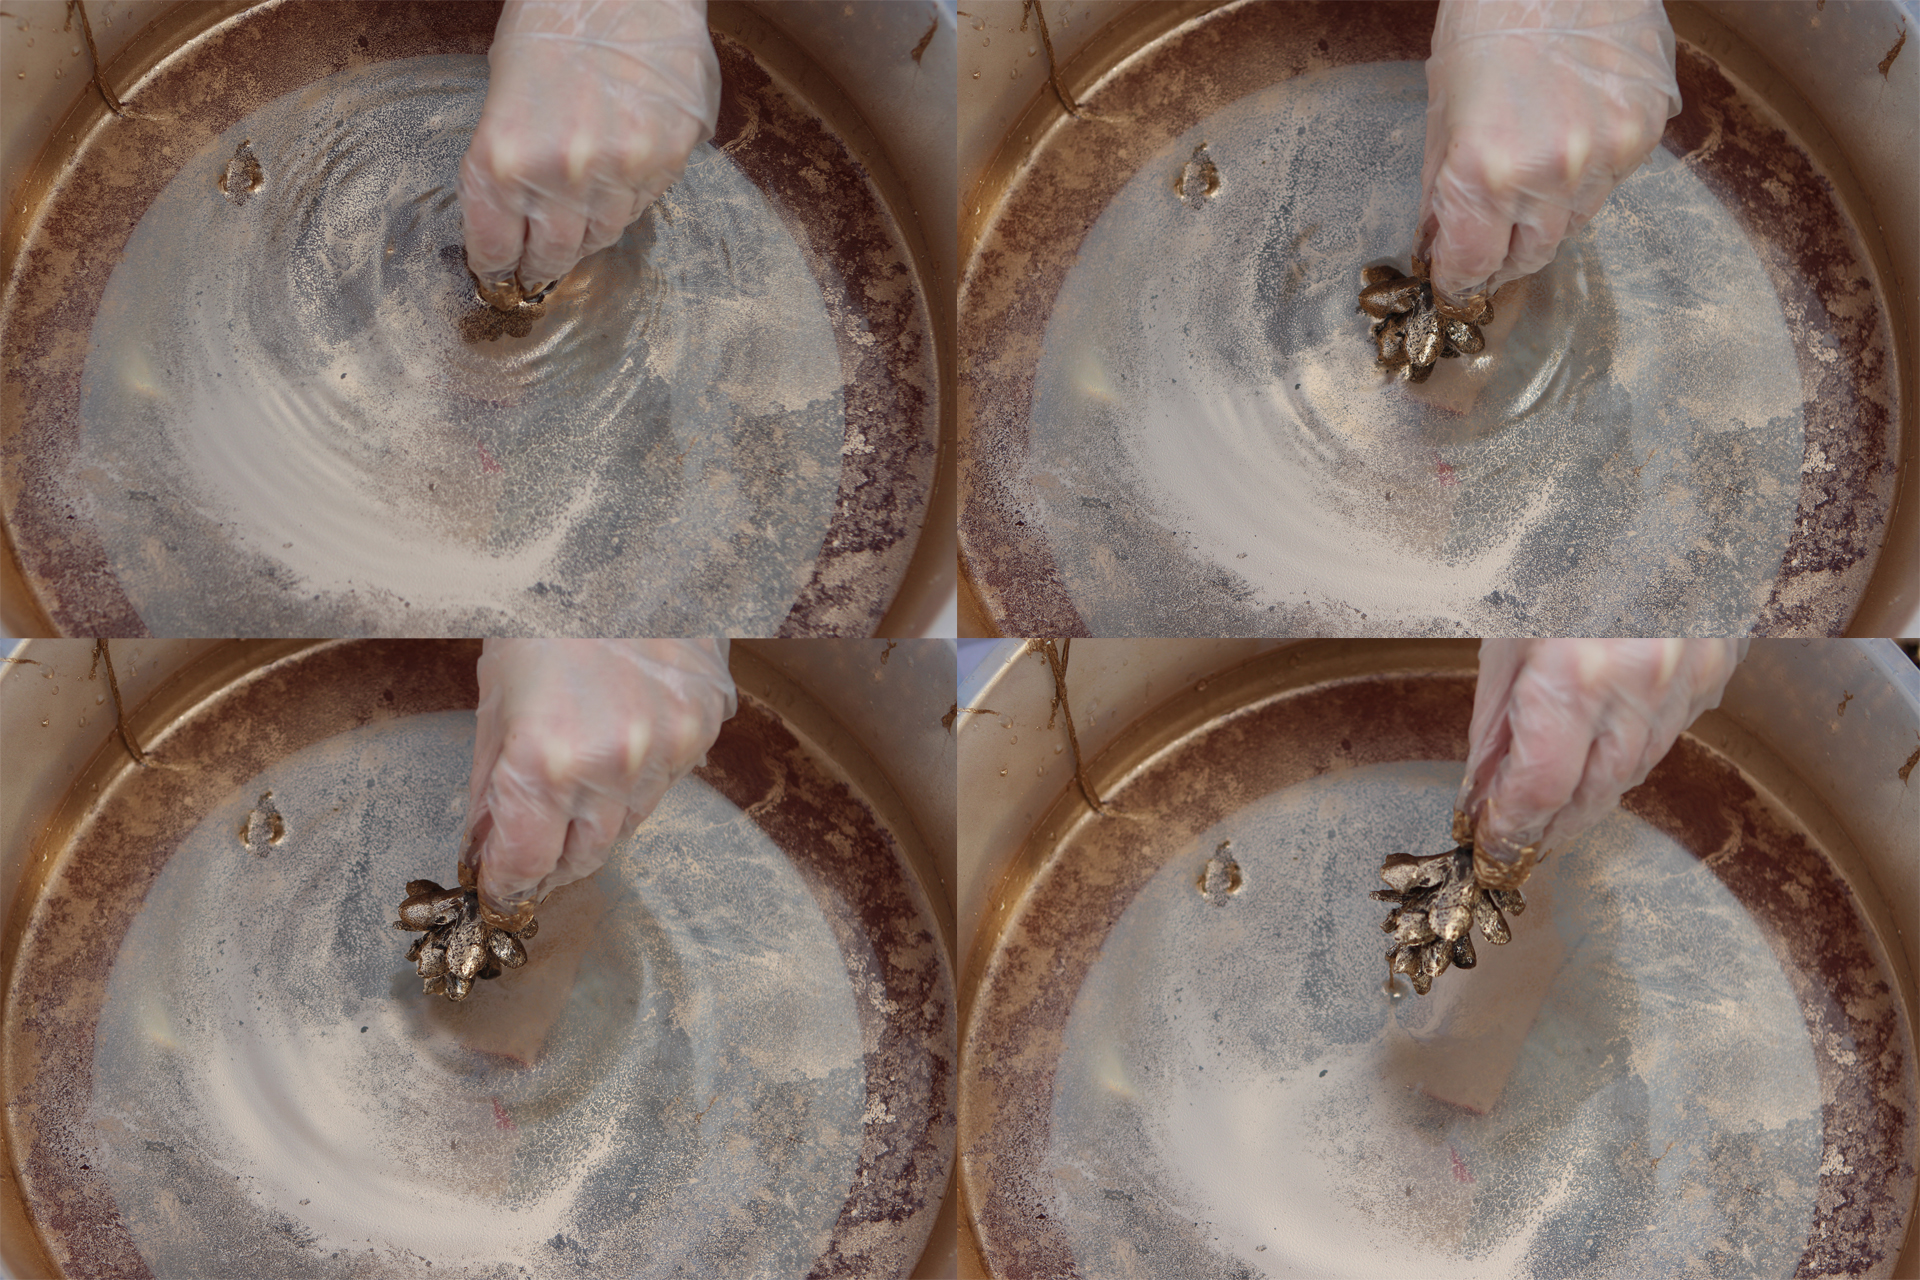
It works best if you dip the pinecones within the first 30 seconds or so of the paint being sprayed. Too long, and the paint starts to solidify a little bit and clumps together. You'll end up pulling it all out as one big sheet and it'll look all clumpy/webby on your pinecone.
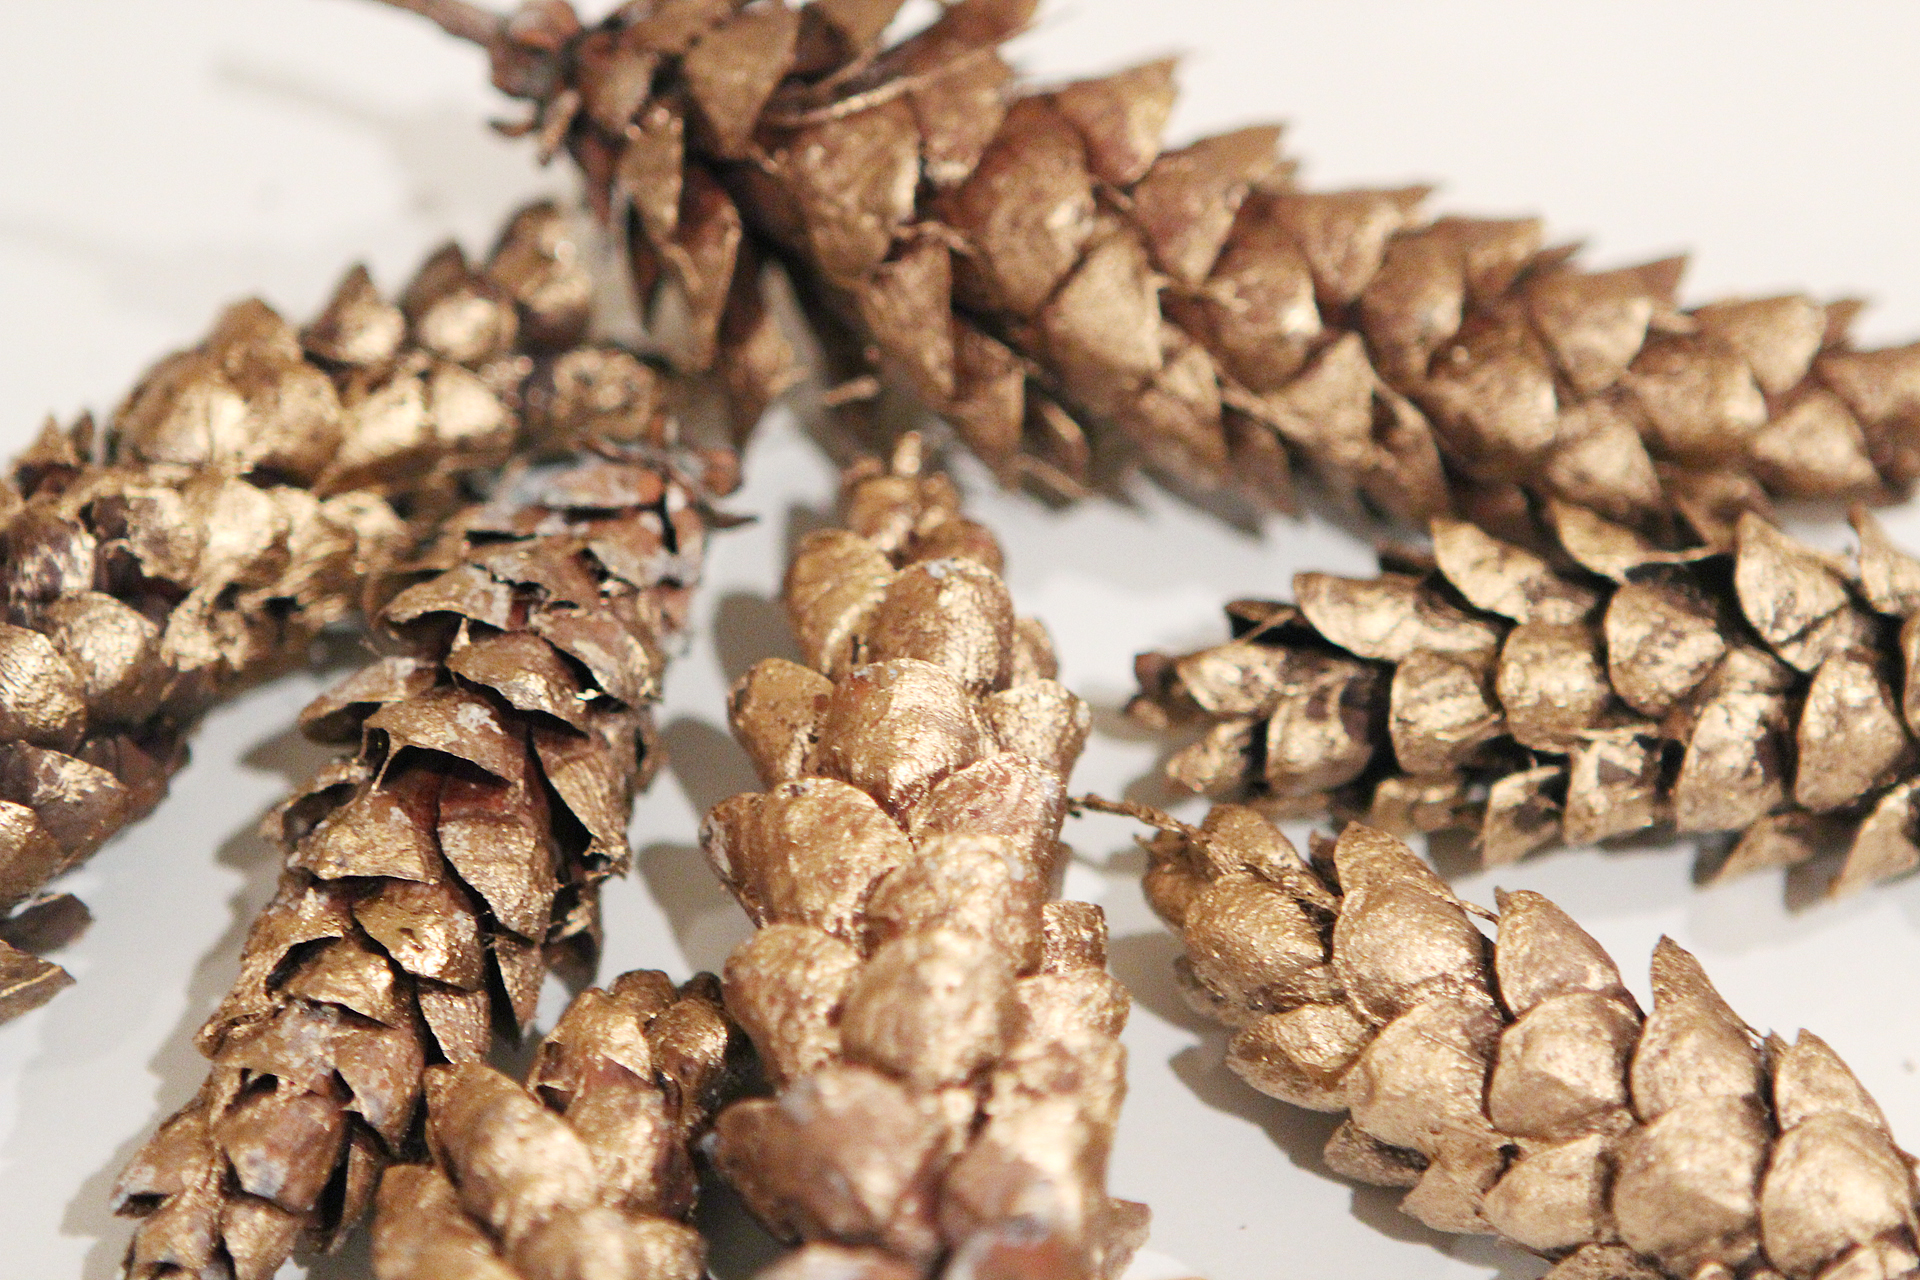
I wanted some of the pinecone's actual color to show, which is why I did it this way, but if you want your pinecones to be solid, obviously it's easy to just spray paint those solid too!
This is also a great way to incorporate elements of fall into your centerpiece without having to adhere to a strict fall color scheme. Paint the branches, pinecones, and even leaves a color that goes with the rest of your decorations, and you're golden. Or should I say rose golden?
 [/tatsu_text][/tatsu_column][/tatsu_row][/tatsu_section]


 [/tatsu_text][/tatsu_column][/tatsu_row][/tatsu_section]


 [/tatsu_text][tatsu_text max_width= "" wrap_alignment= "center" animation_type= "none"]
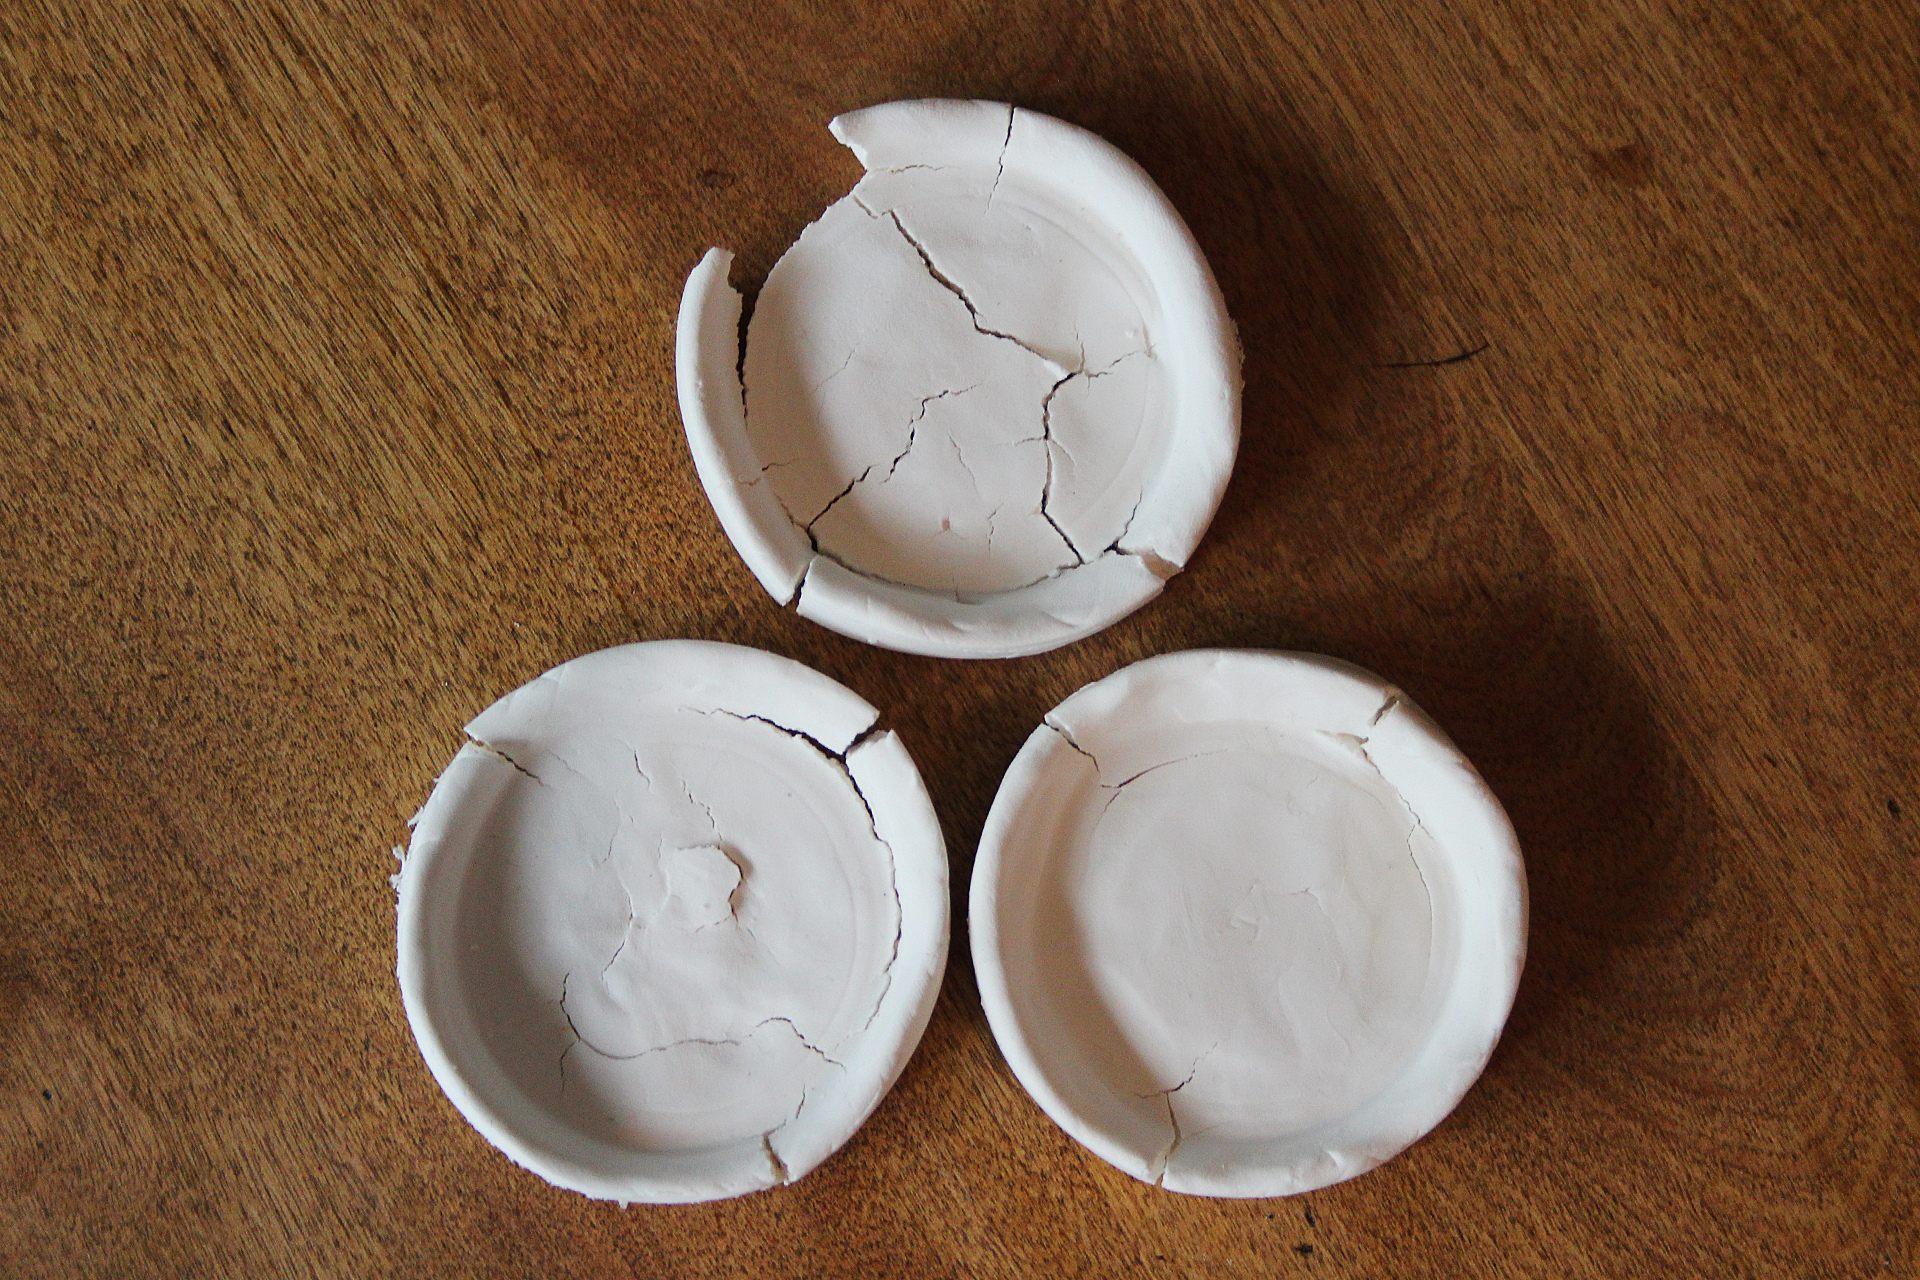
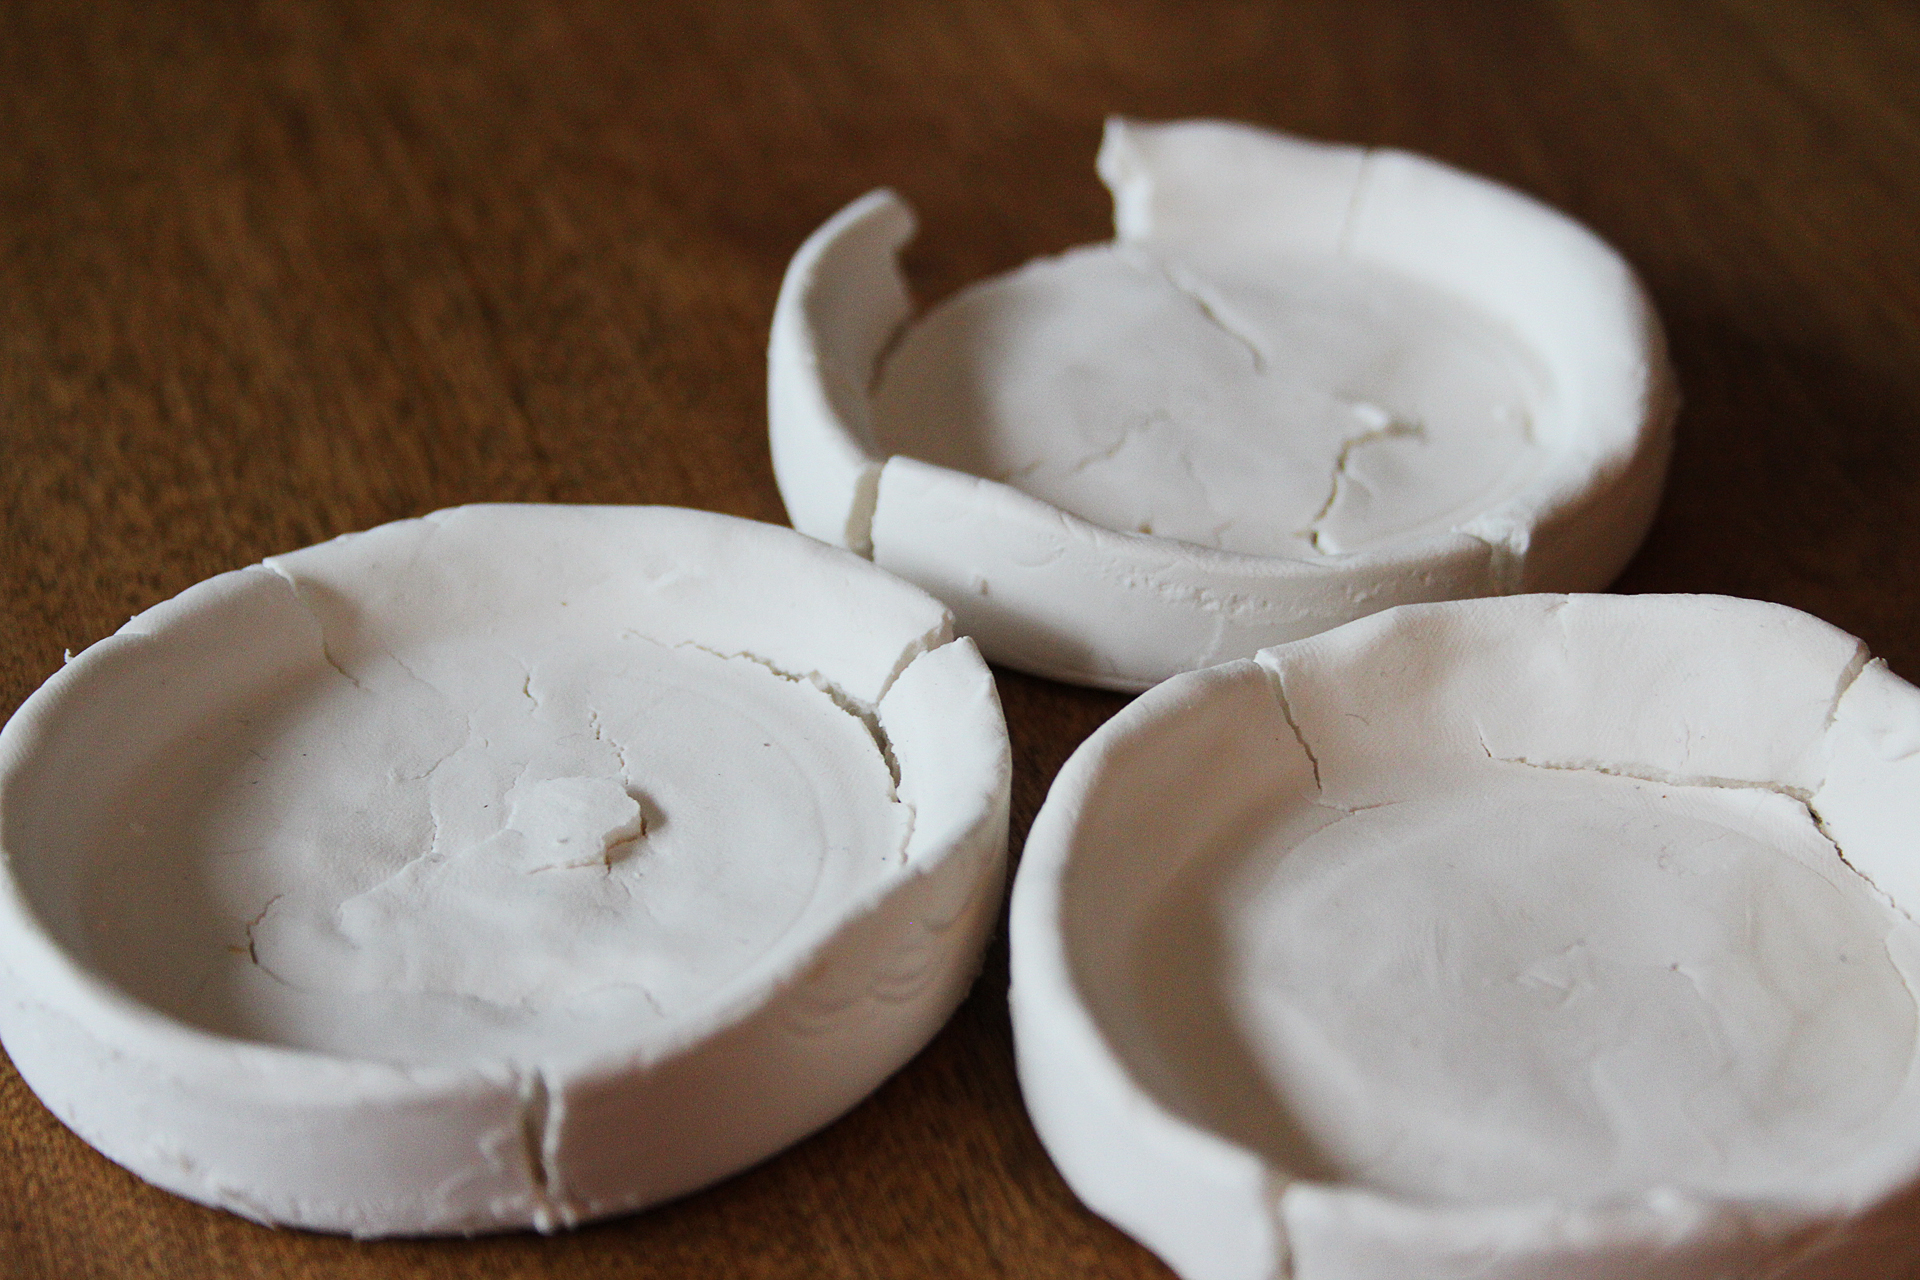 [/tatsu_text][tatsu_text max_width= "" wrap_alignment= "center" animation_type= "none"]First up, trinket/ring dishes! I have seen so many people making these, and they've all turned out so cute–so naturally, I wanted to make a few for my friends. Unfortunately, the ramekins I used to help form the shape of the dishes weren't porous enough, and so the dishes never fully dried all the way through (although they did crack quite a bit!). Definitely not usable.[/tatsu_text][tatsu_text max_width= "" wrap_alignment= "center" animation_type= "none"]
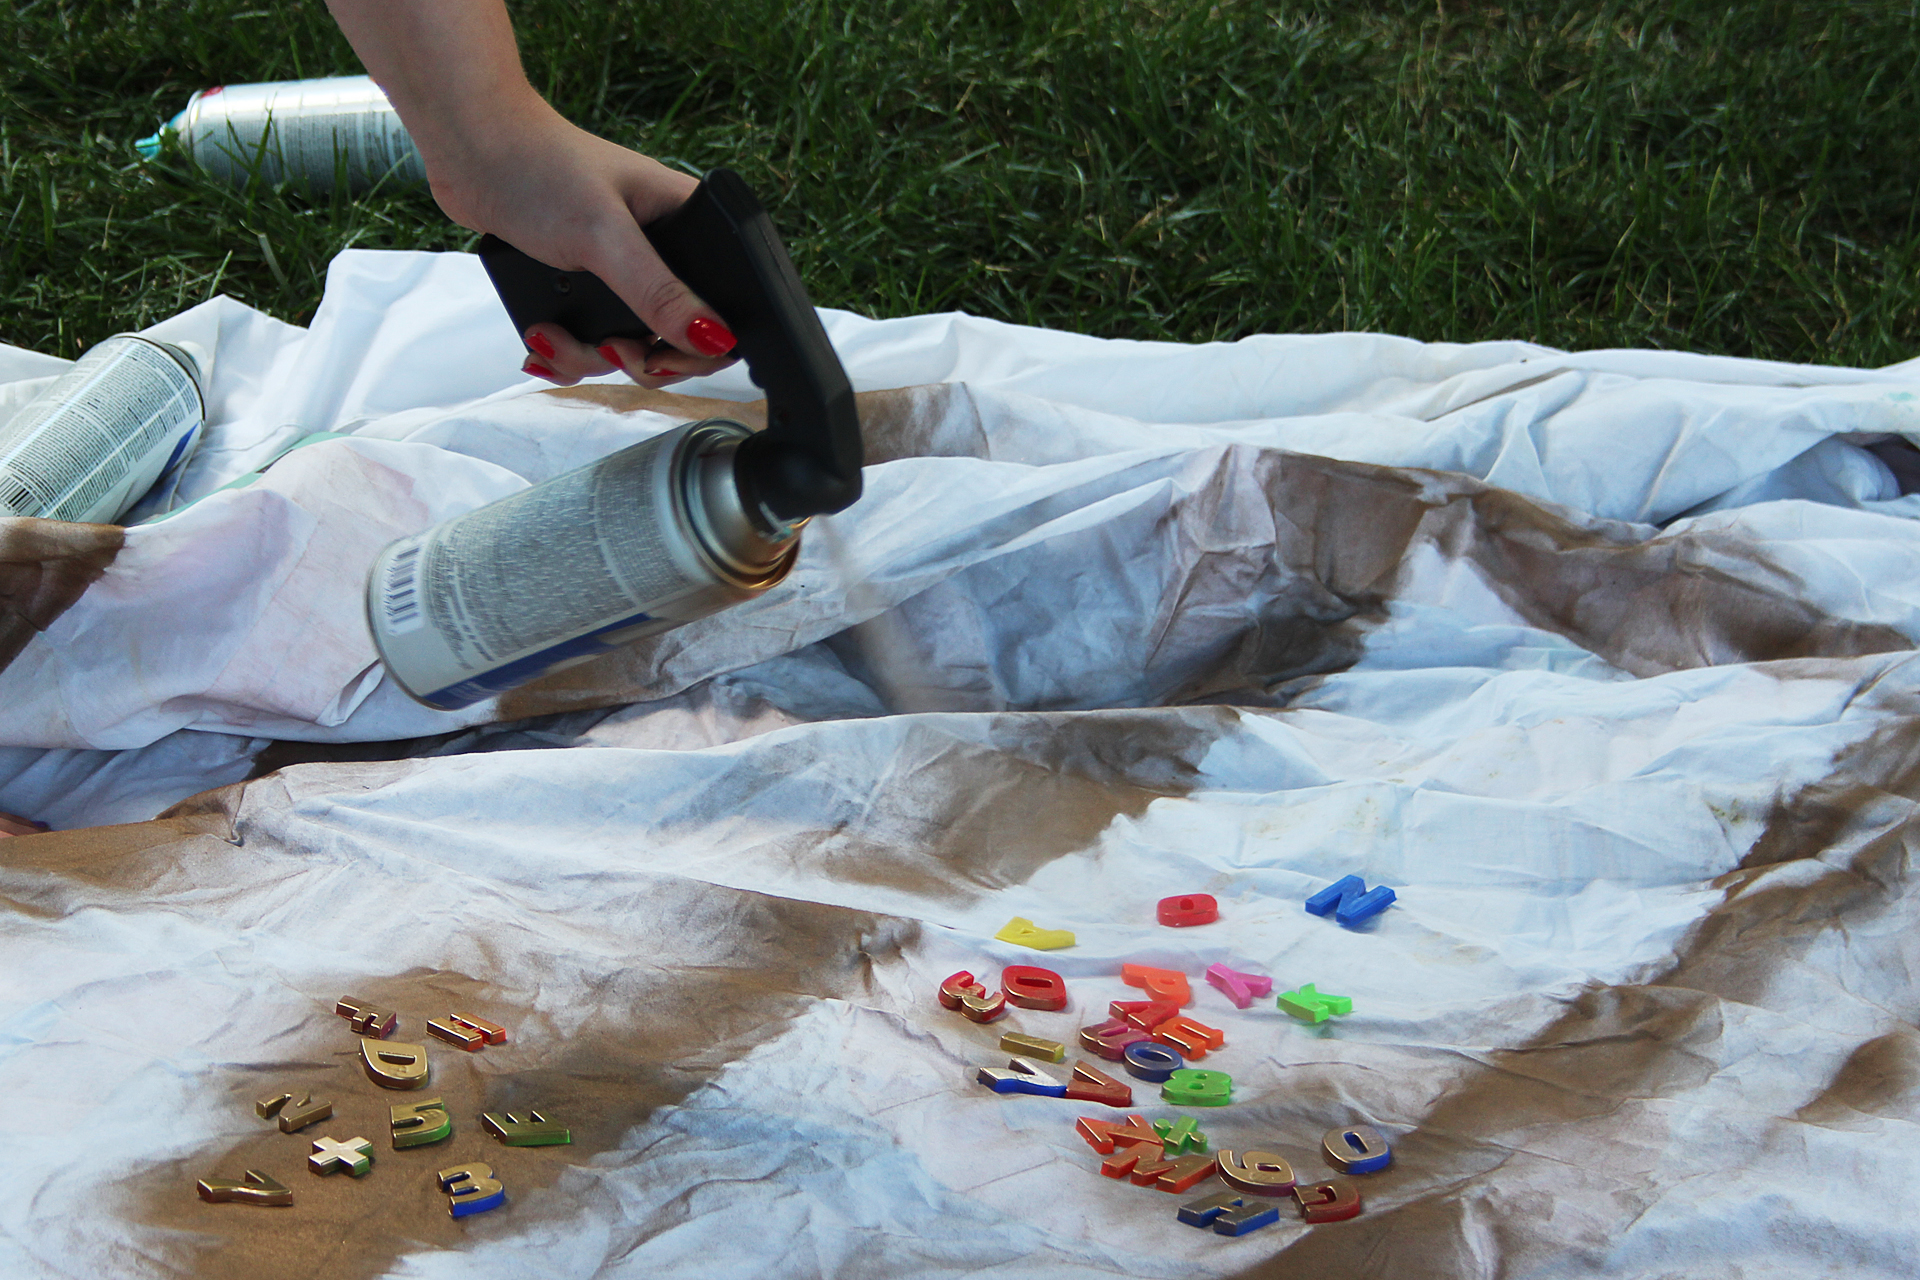 [/tatsu_text][tatsu_text max_width= "" wrap_alignment= "center" animation_type= "none"]
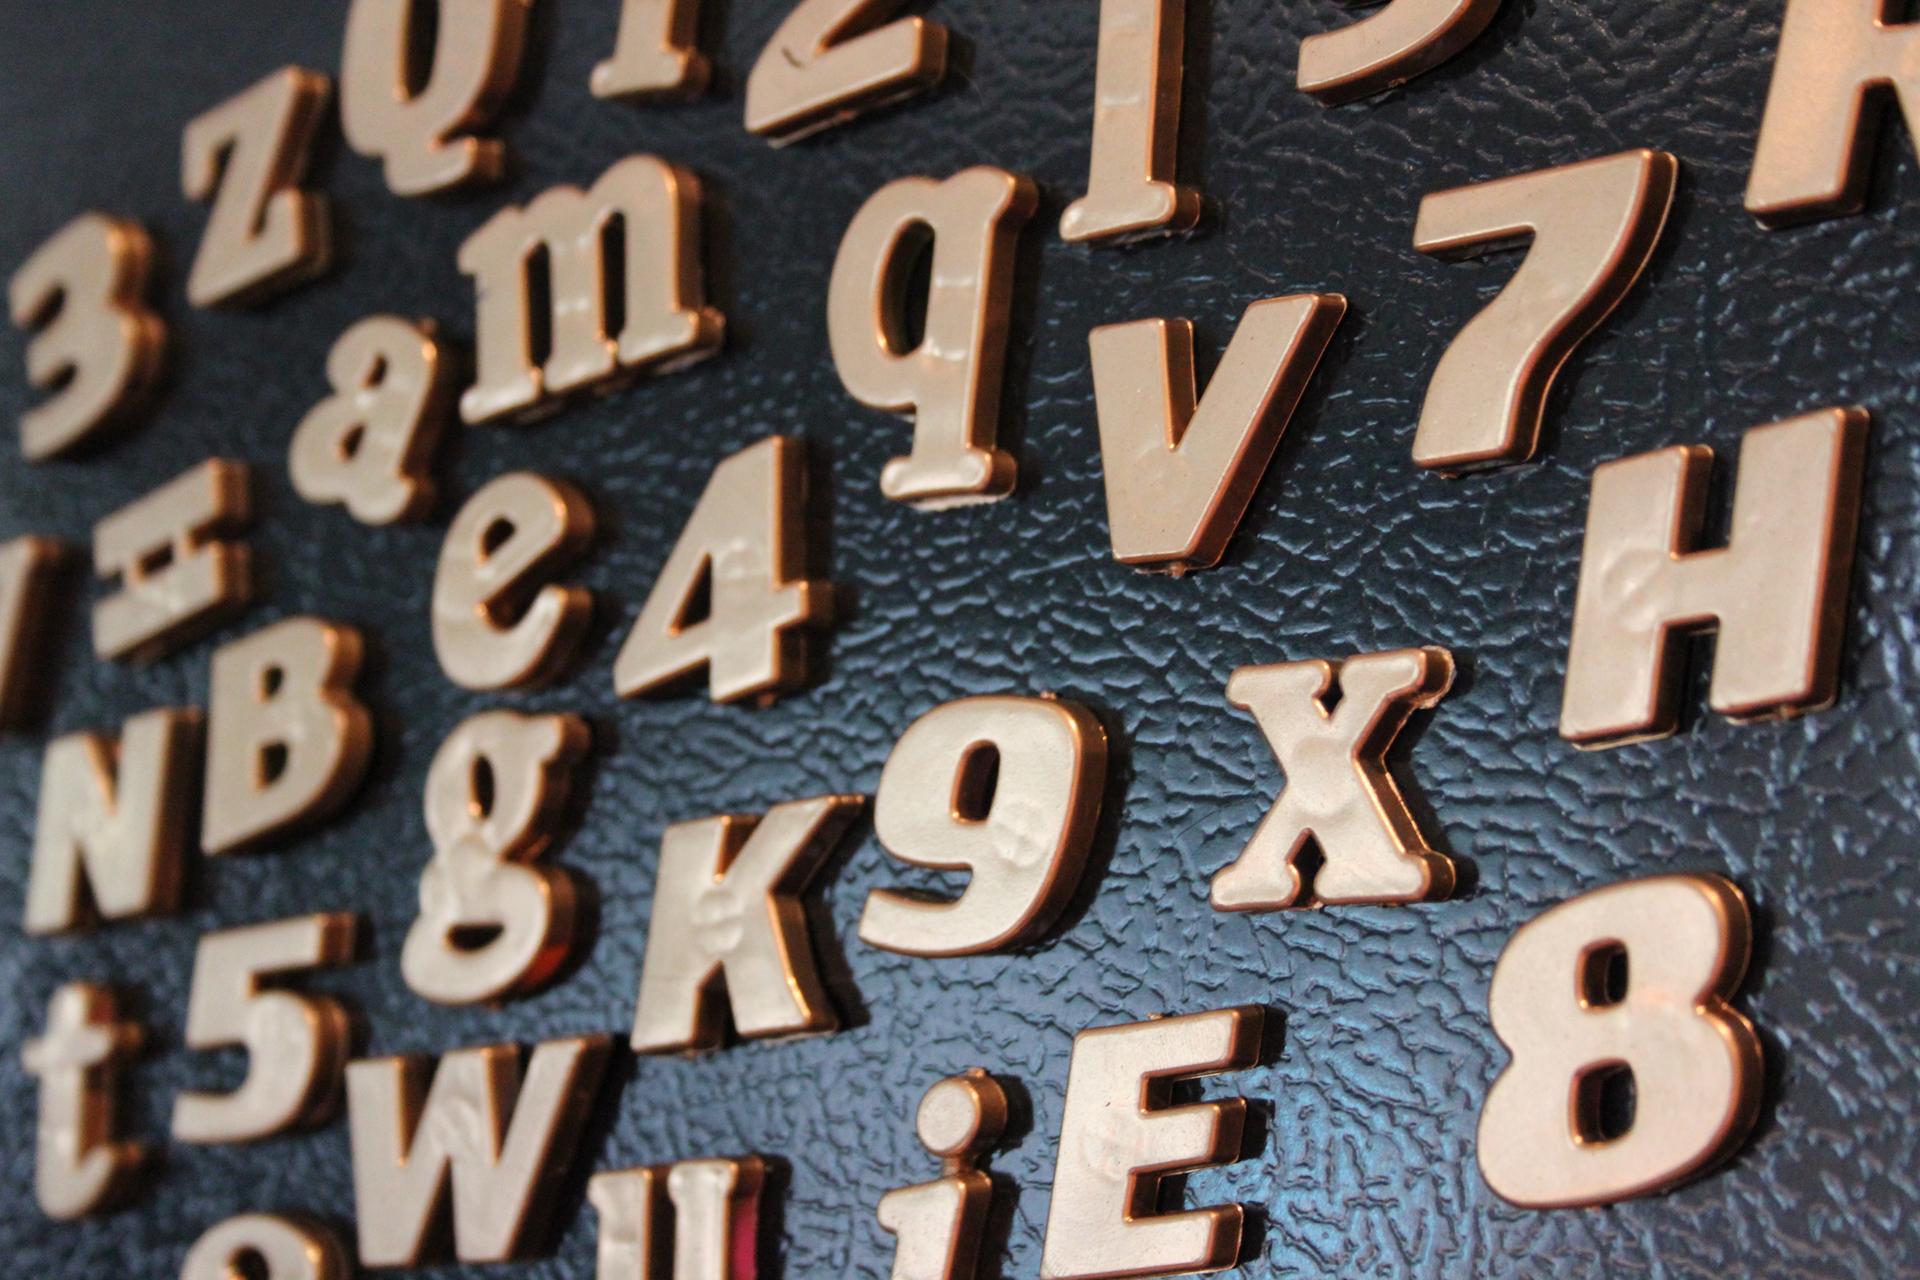 [/tatsu_text][tatsu_text max_width= "" wrap_alignment= "center" animation_type= "none"]Next, I've been on a gold kick recently and thought spray painting some letter magnets would add some class to our refrigerator. They turned out fine, but they felt pretty anticlimactic. I'm not sure what I was expecting from them, but it just felt like I couldn't validate an entire post for them.[/tatsu_text][tatsu_text max_width= "" wrap_alignment= "center" animation_type= "none"]
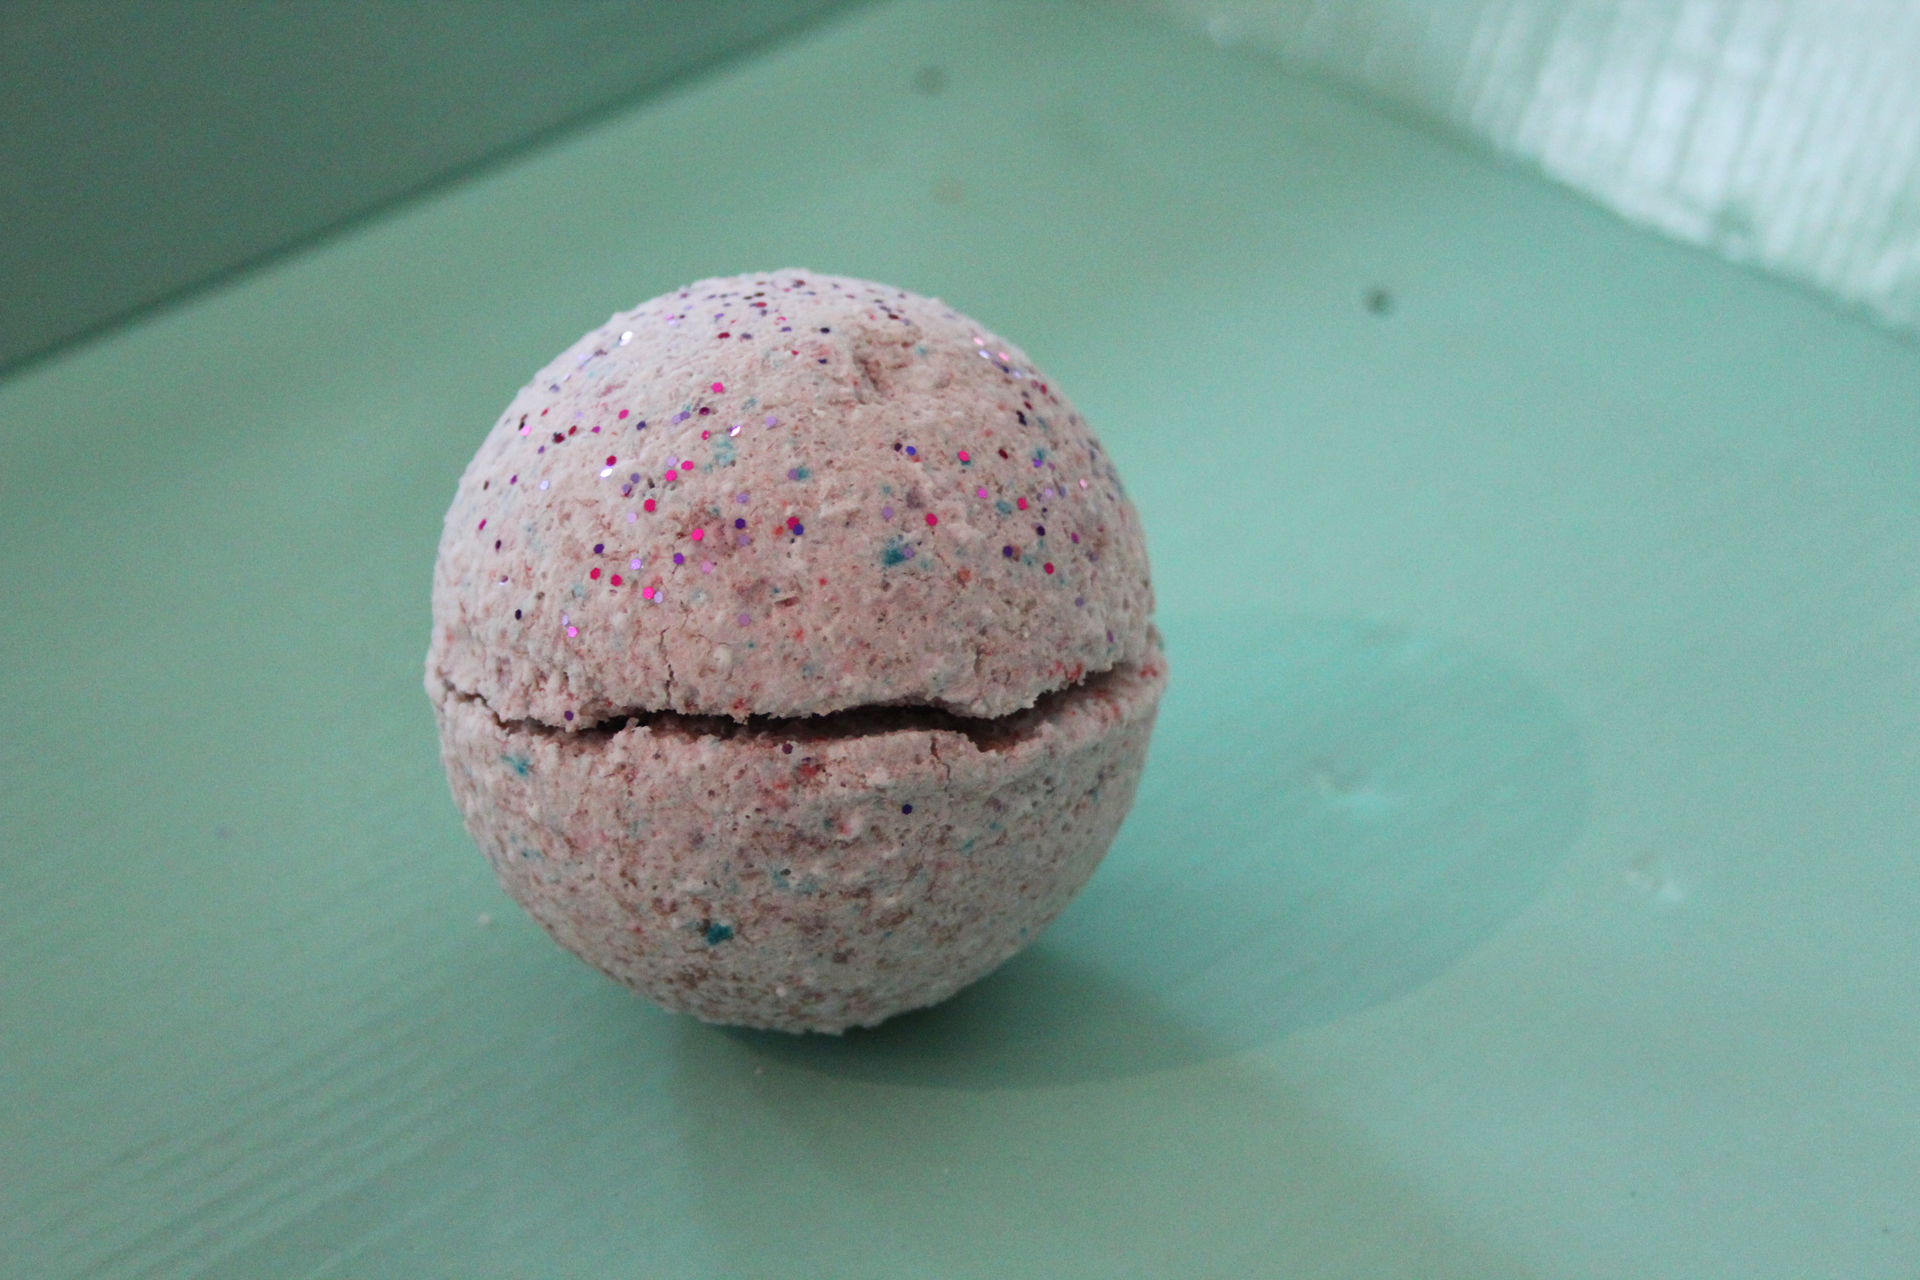 [/tatsu_text][tatsu_text max_width= "" wrap_alignment= "center" animation_type= "none"]
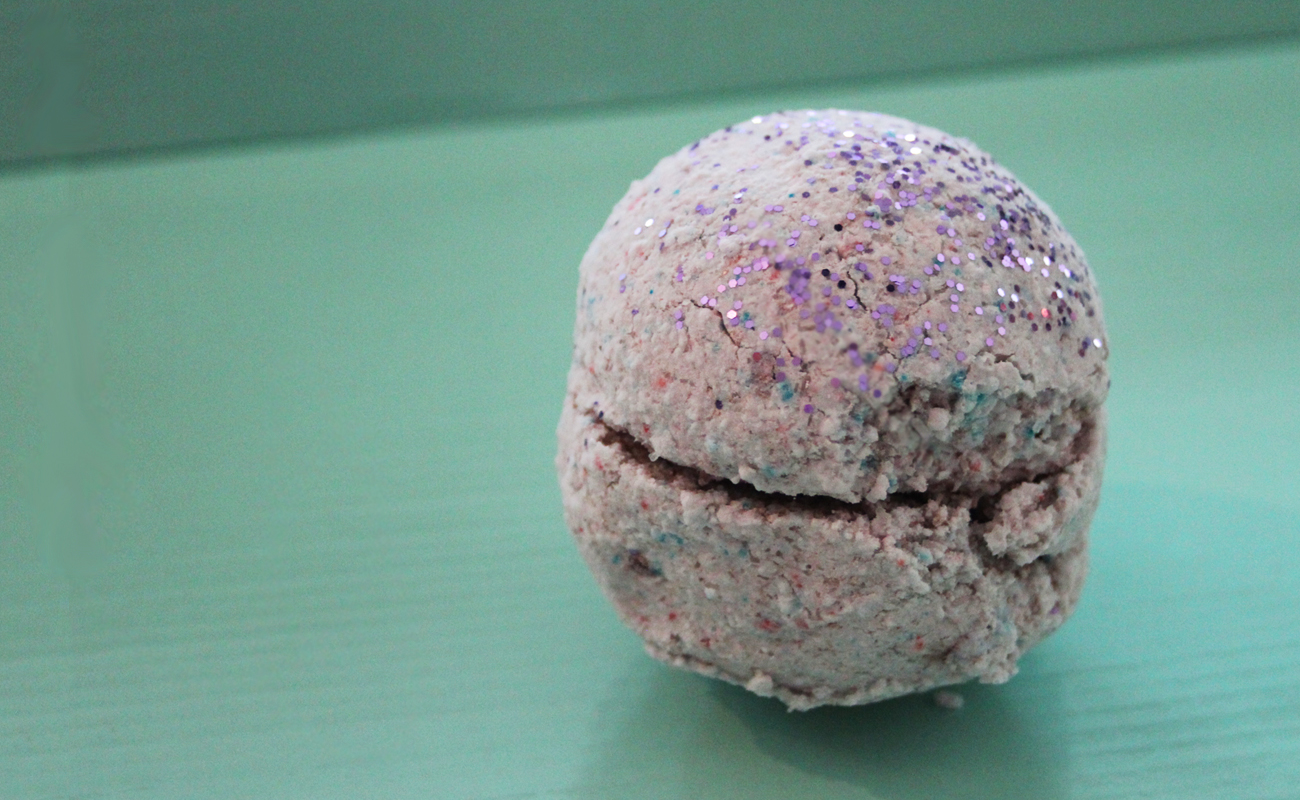
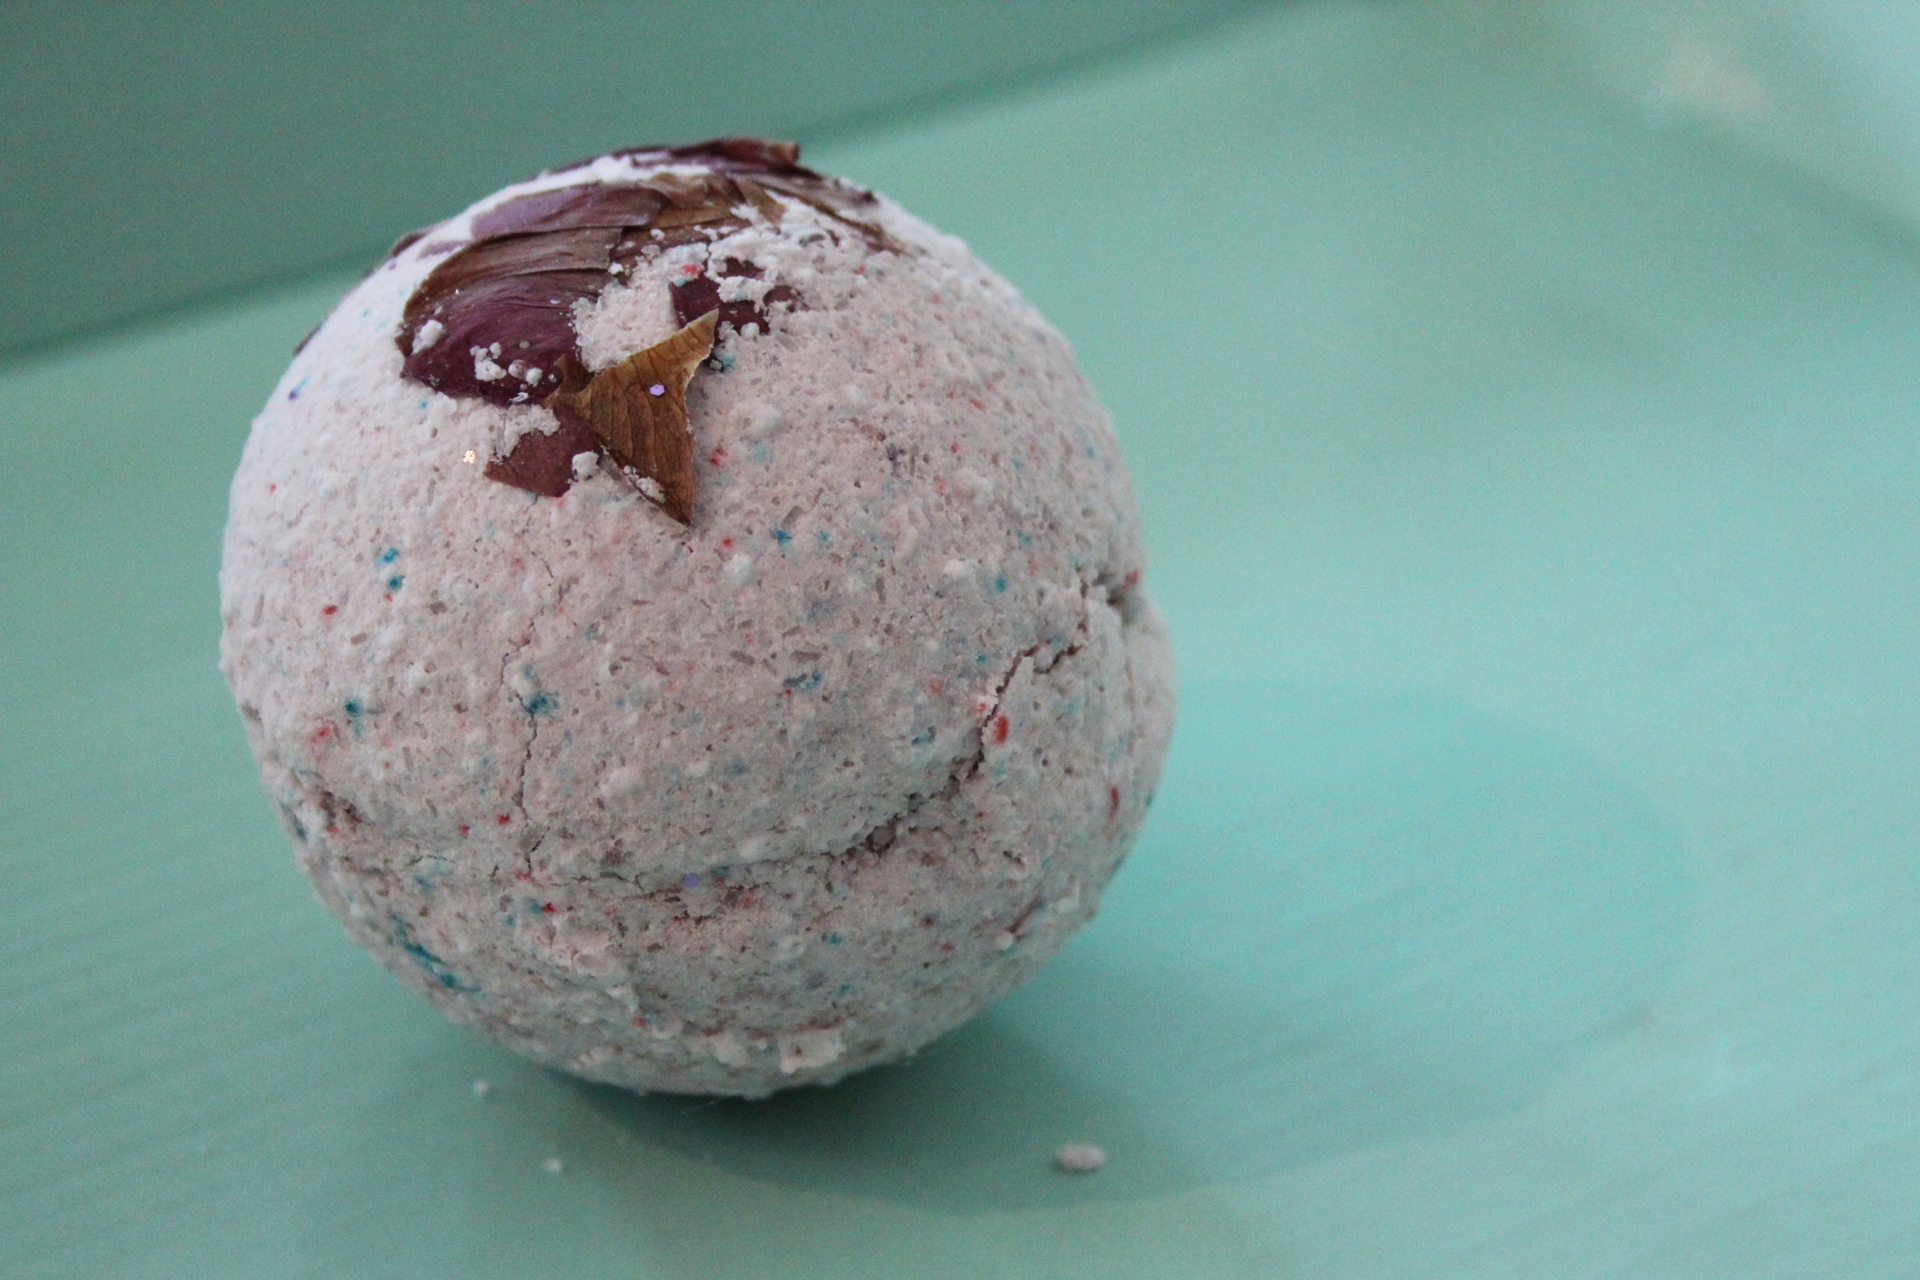 [/tatsu_text][tatsu_text max_width= "" wrap_alignment= "center" animation_type= "none"]And lastly, bath bombs. Okay, so I love these things.
 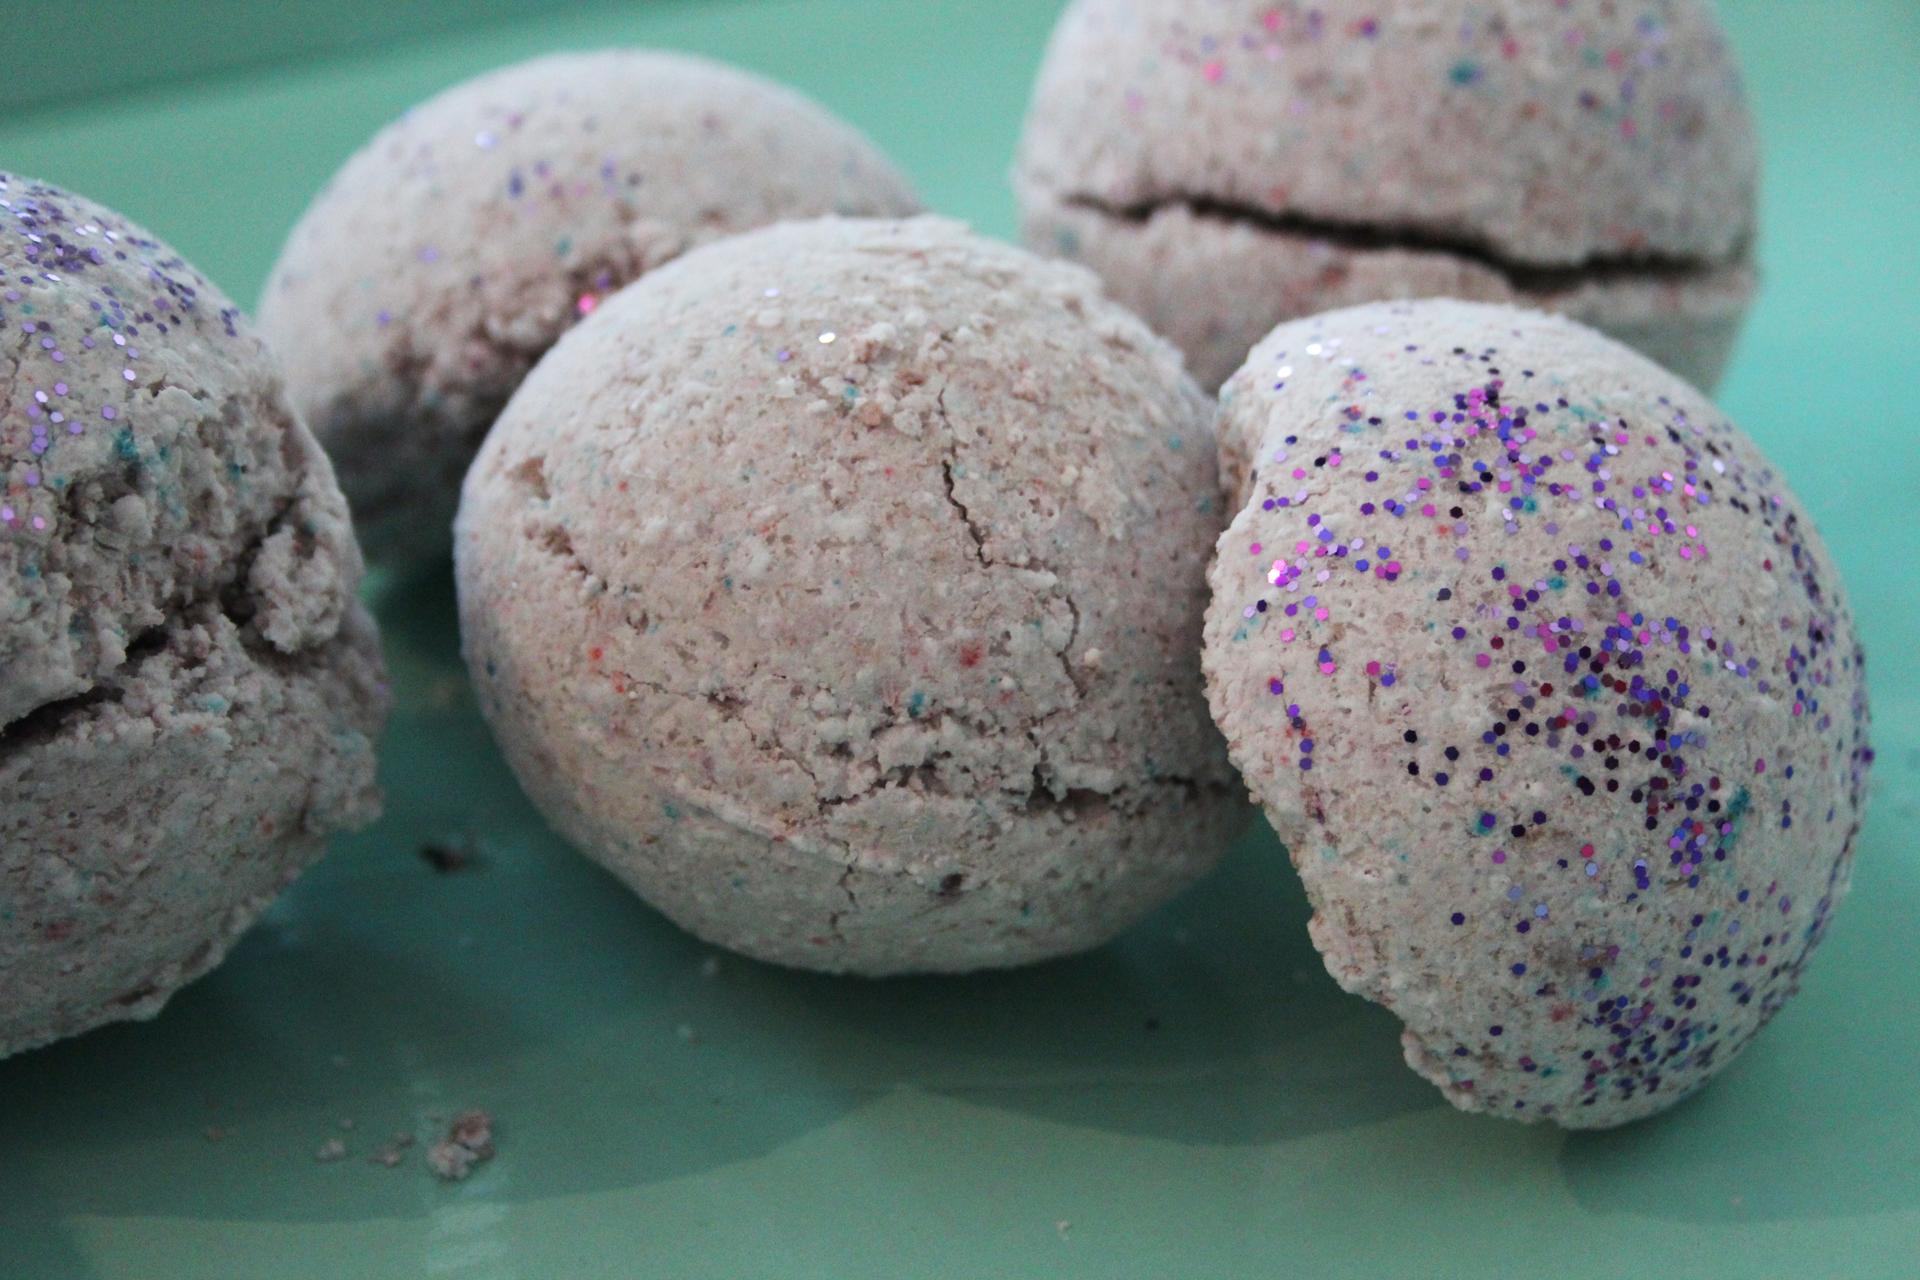 [/tatsu_text][tatsu_text max_width= "" wrap_alignment= "center" animation_type= "none"]This post is just an example of how even the best intentions can go sideways. I am by no means an "experienced" blogger, so I'm definitely still learning and trying to figure things out as I go along. Thanks for reading and following this journey with me![/tatsu_text][/tatsu_column][/tatsu_row][/tatsu_section]
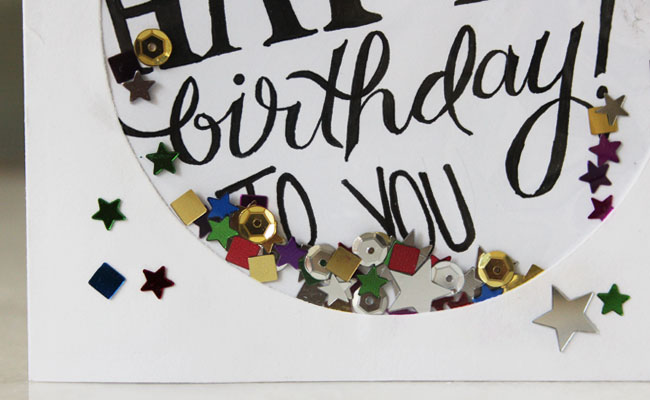
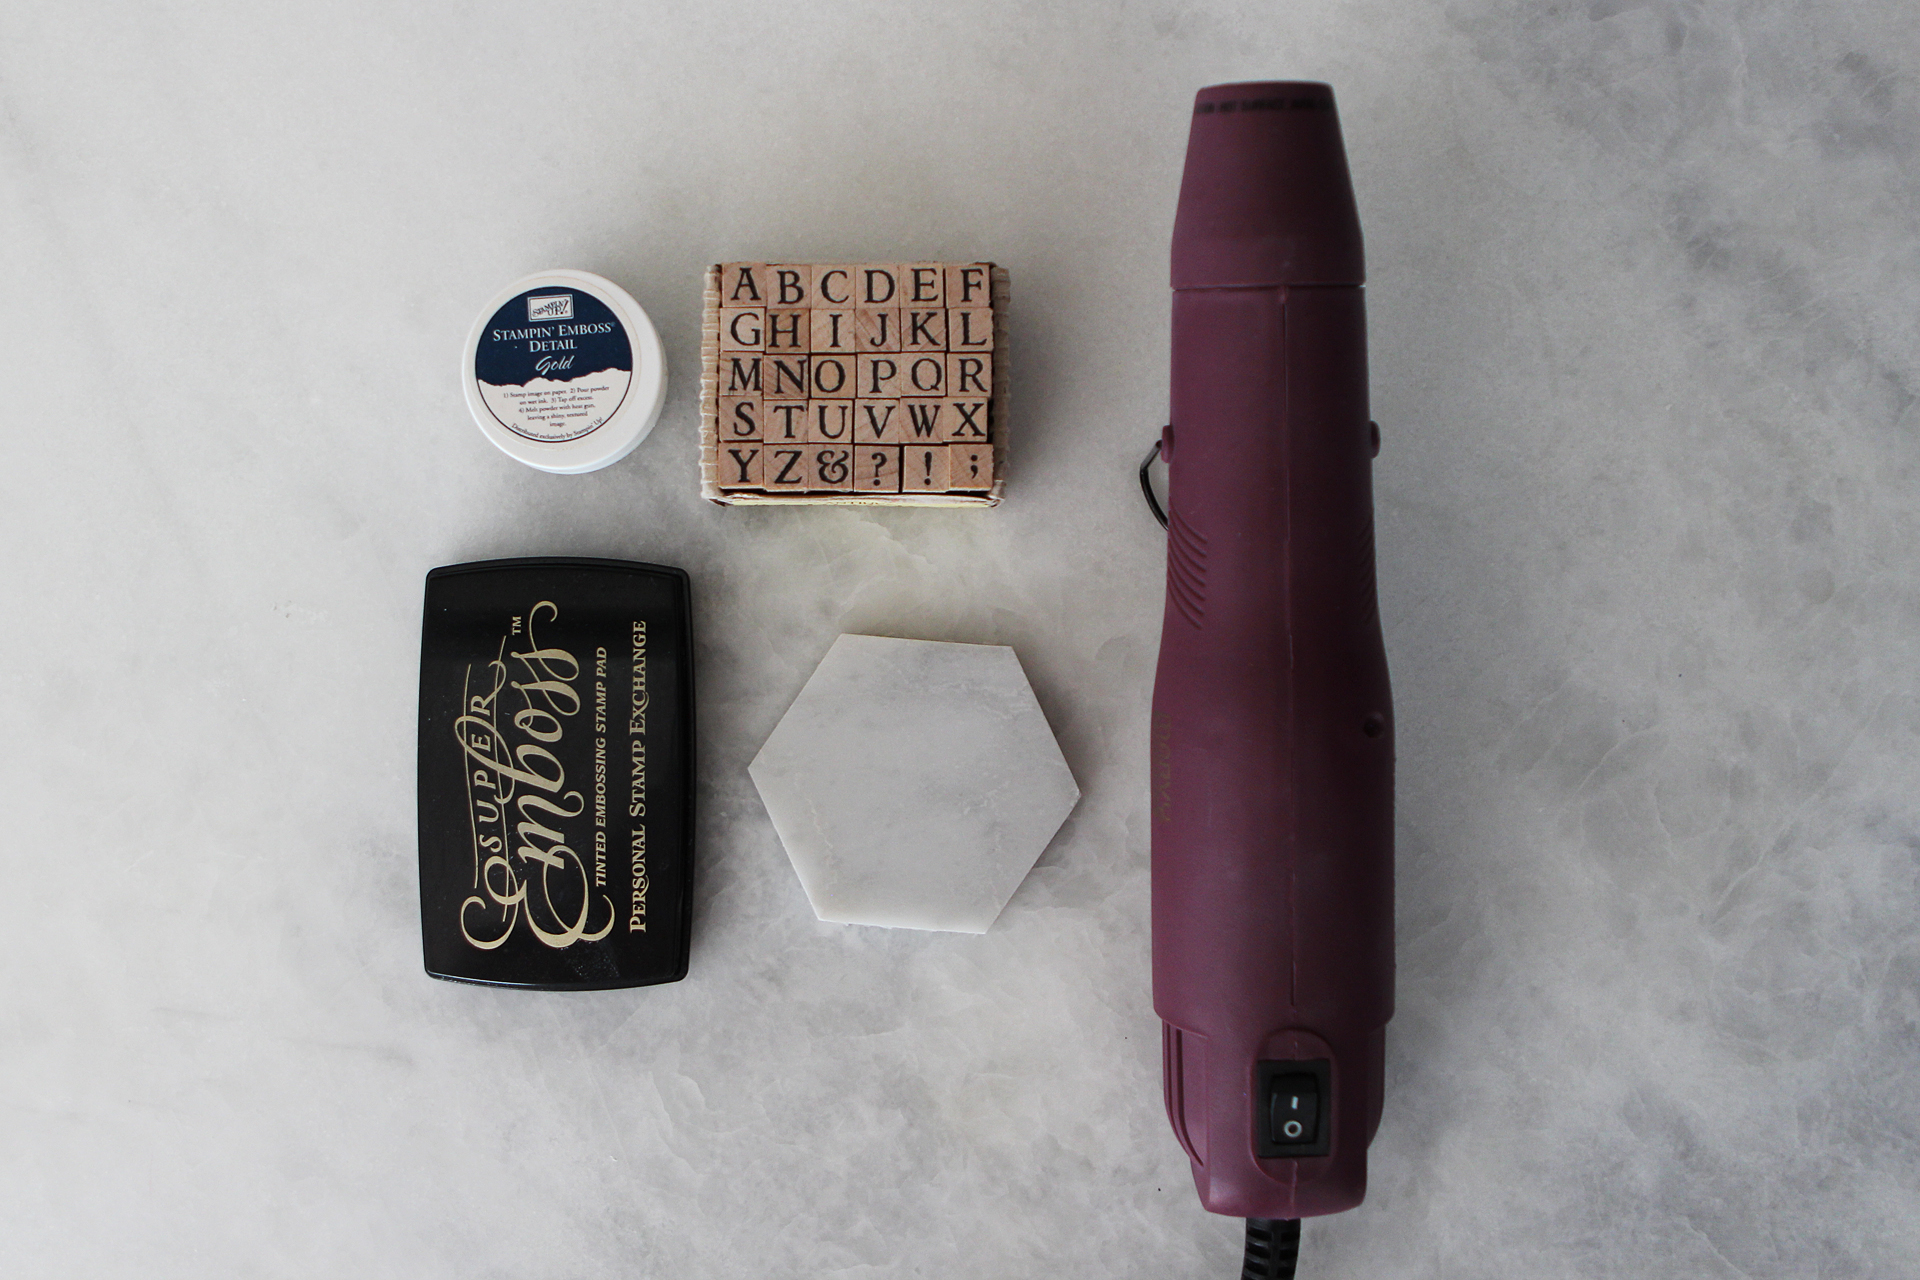
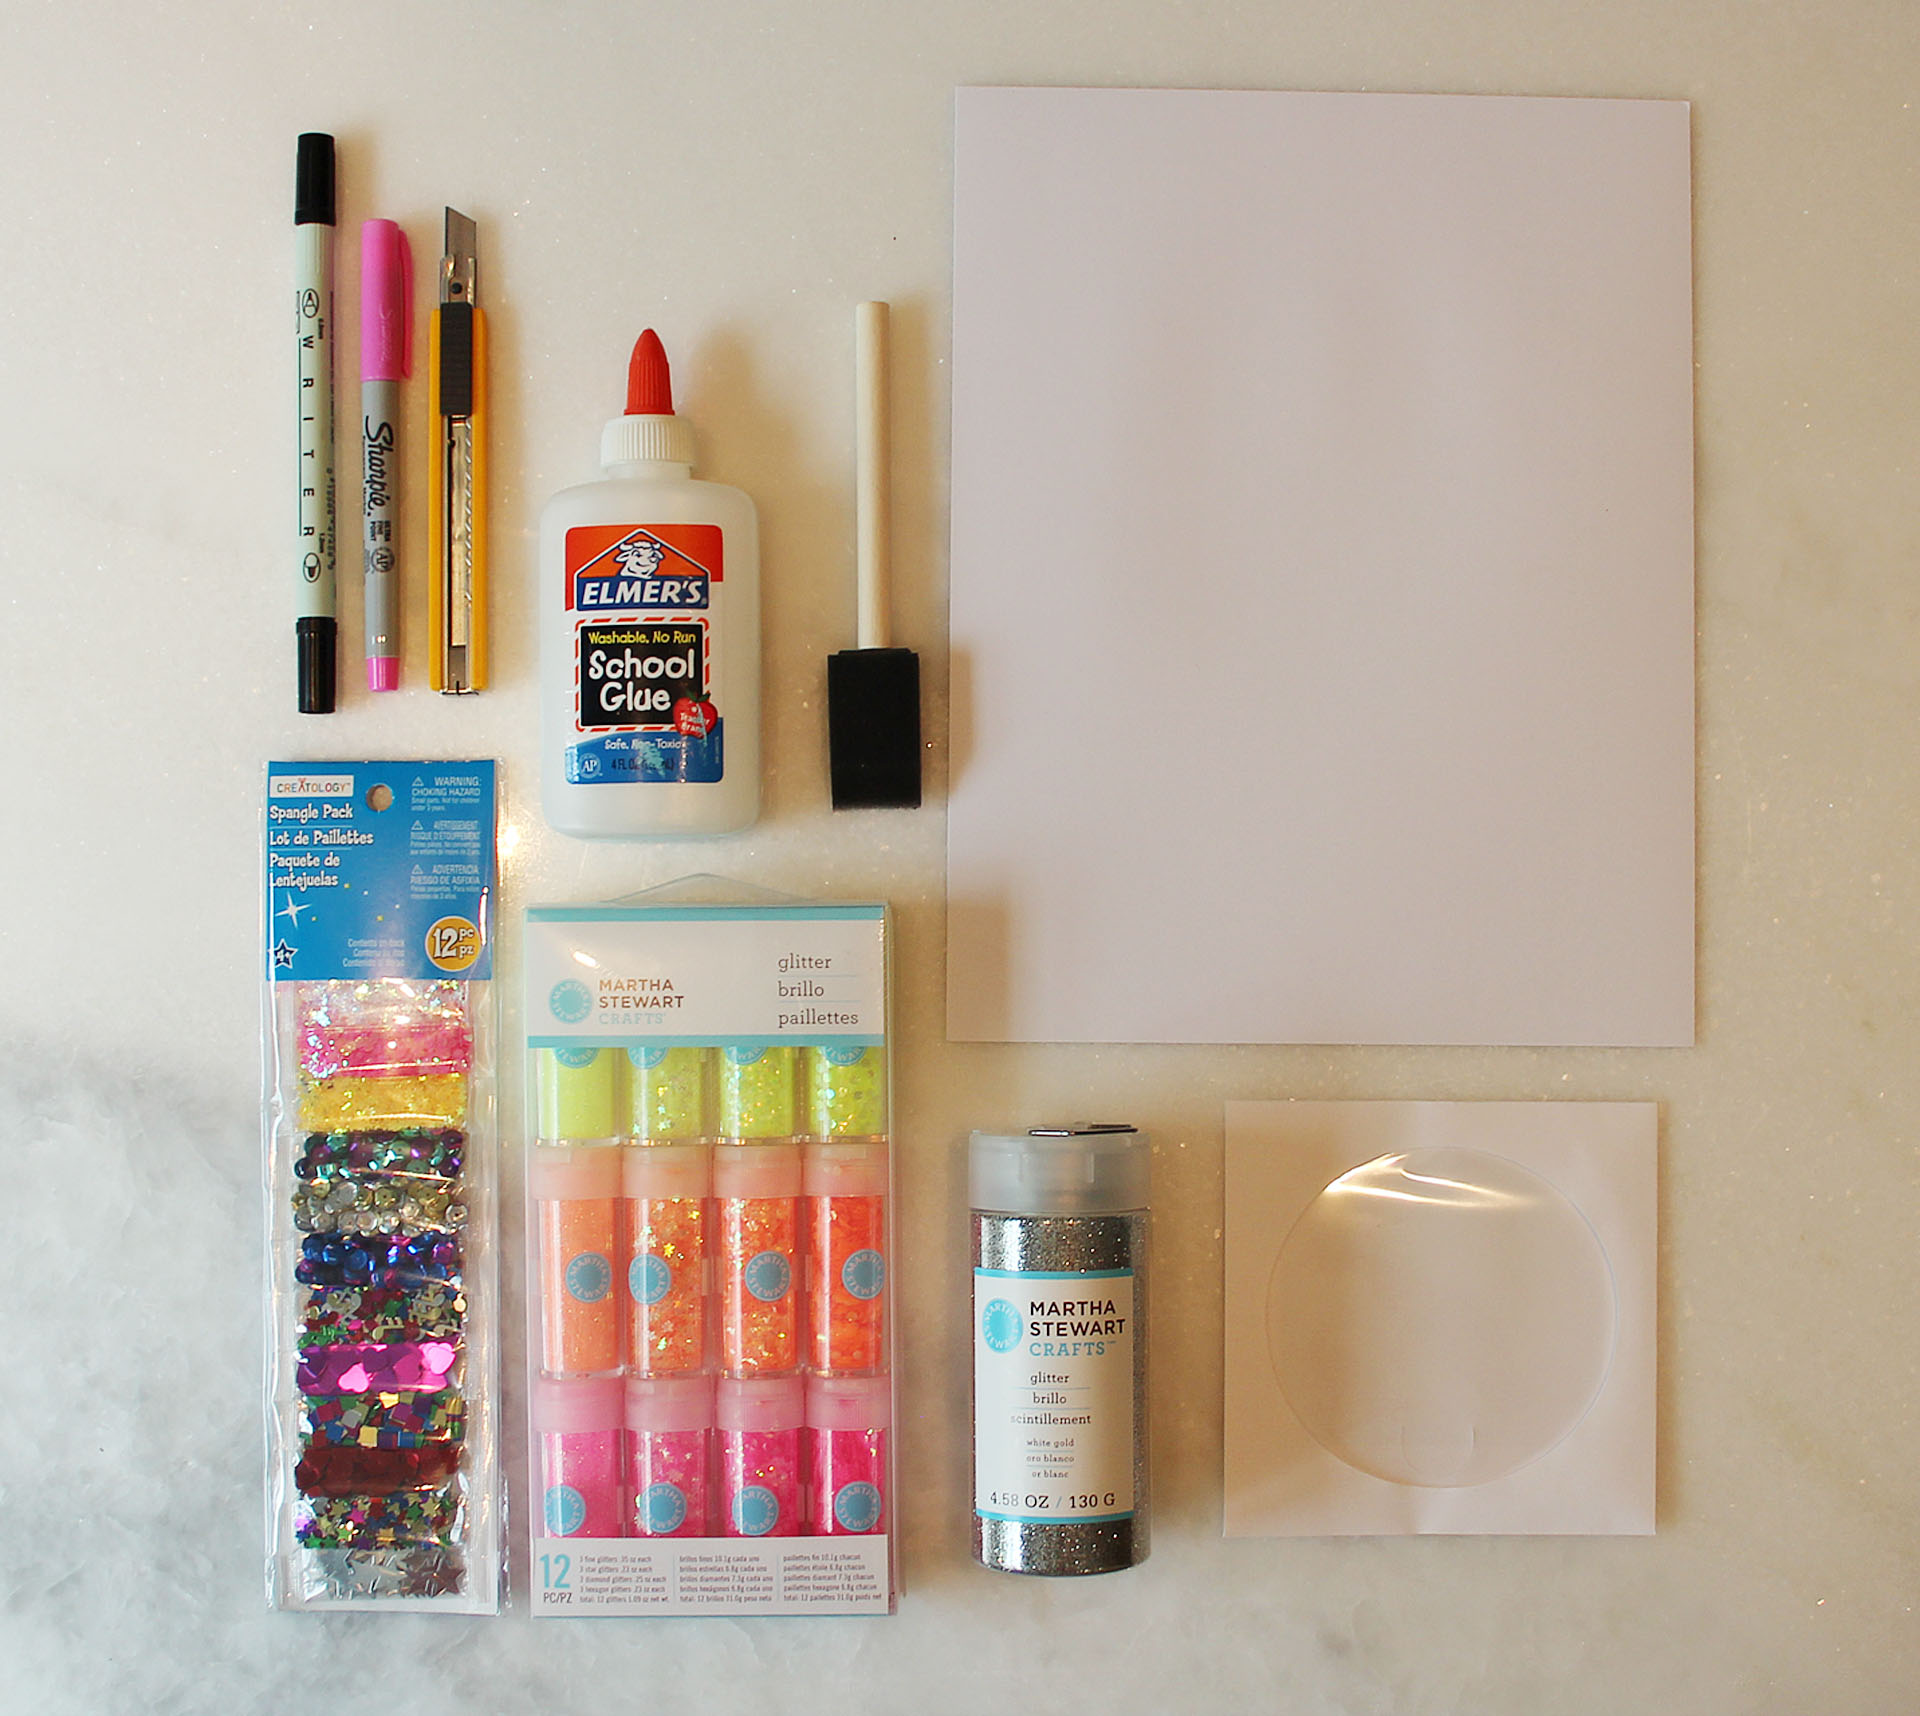 [/tatsu_text][tatsu_text max_width= "" wrap_alignment= "center" animation_type= "none"]You will need:
 [/tatsu_text][tatsu_text max_width= "" wrap_alignment= "center" animation_type= "none"]
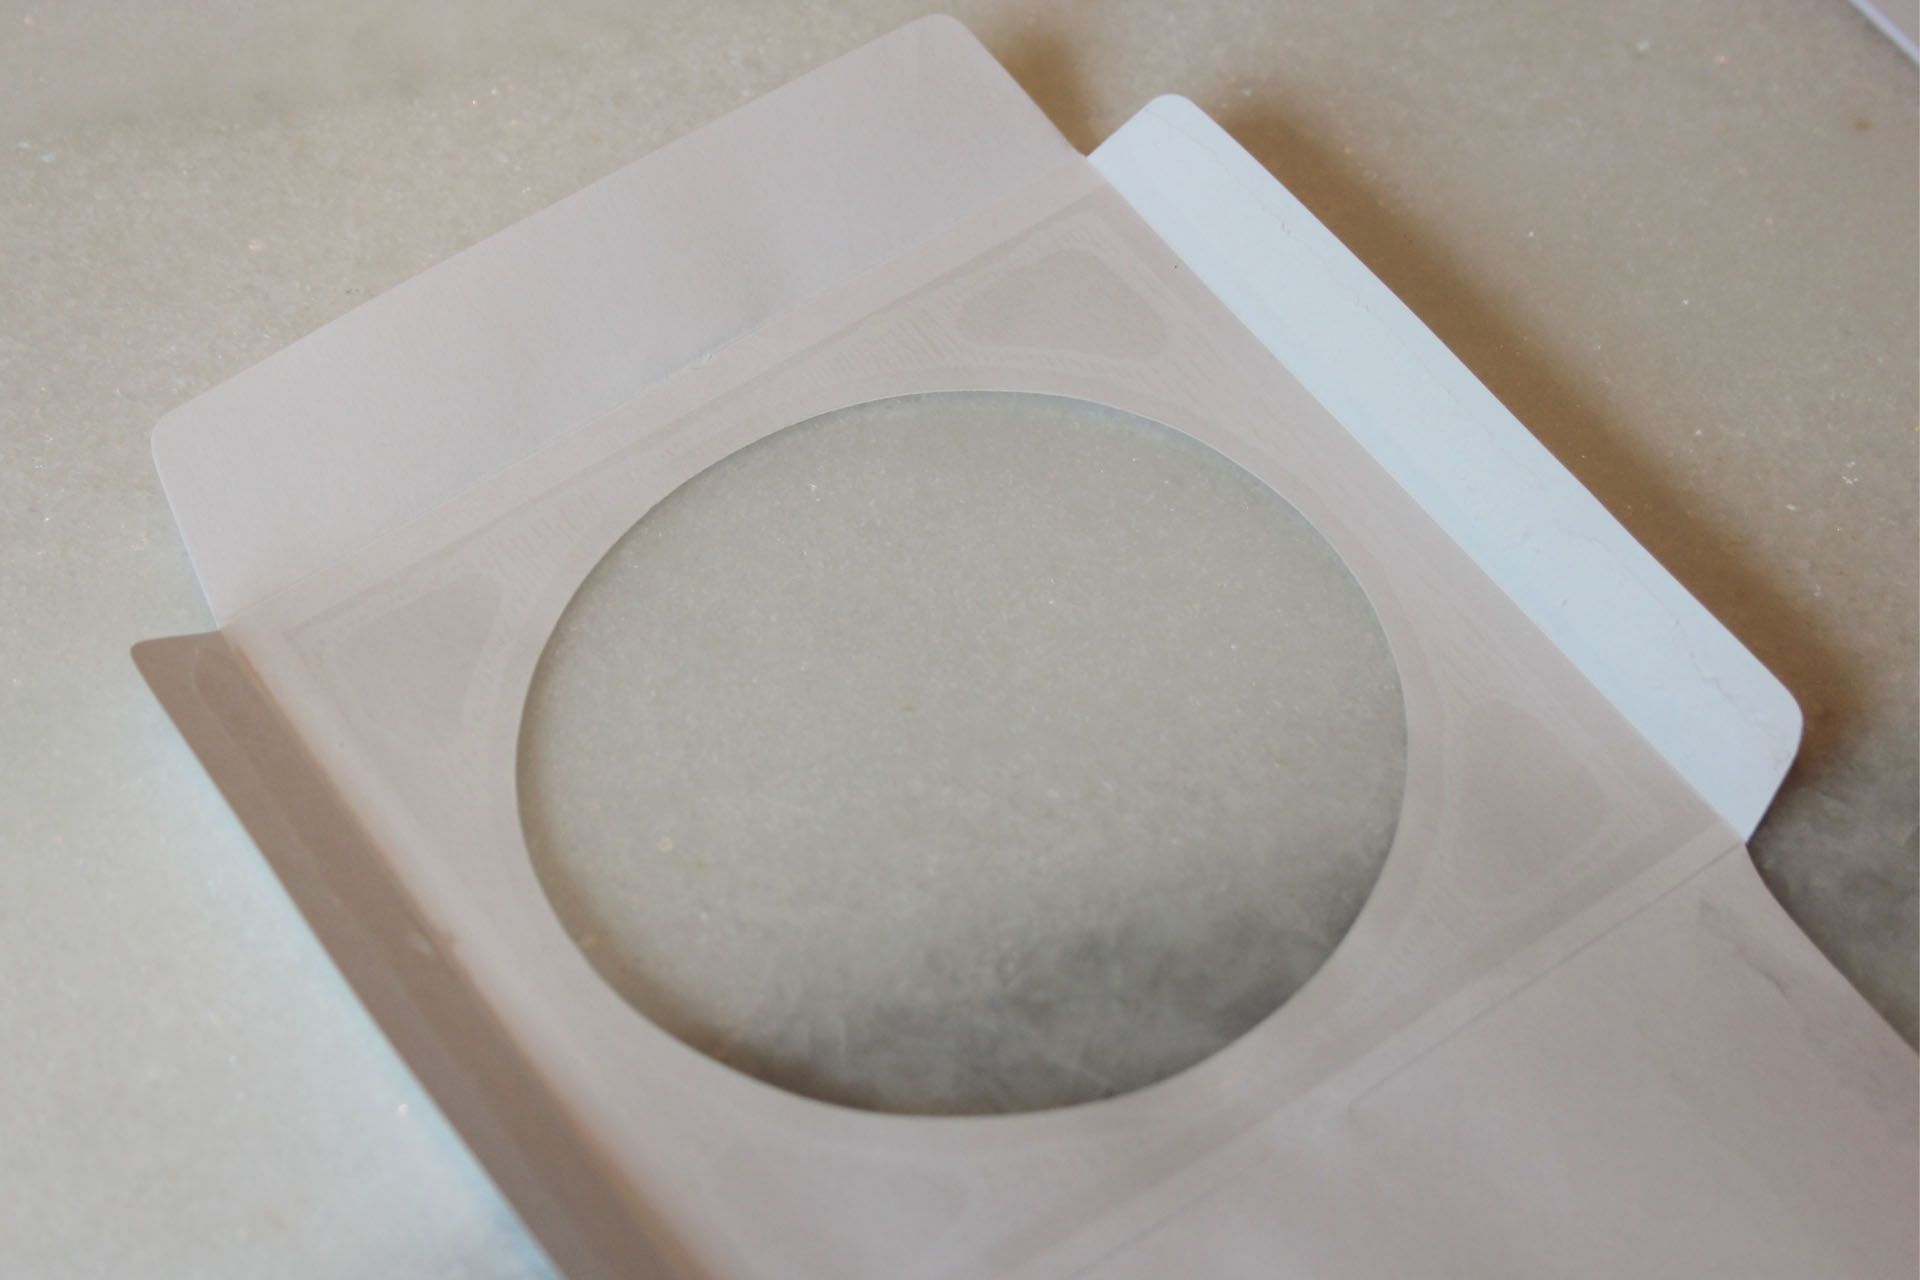 [/tatsu_text][tatsu_text max_width= "" wrap_alignment= "center" animation_type= "none"]First, trim your paper to the size of your CD envelopes, typically around 5".
 [/tatsu_text][tatsu_text max_width= "" wrap_alignment= "center" animation_type= "none"]Take another one of your CD envelopes (these usually come in packs of 100 or so, so you should be fine on extras) and lay it over your card, tracing the circle with a pencil or the unclicked edge of a pen, something that won't get ink on your paper, making a slight indentation.
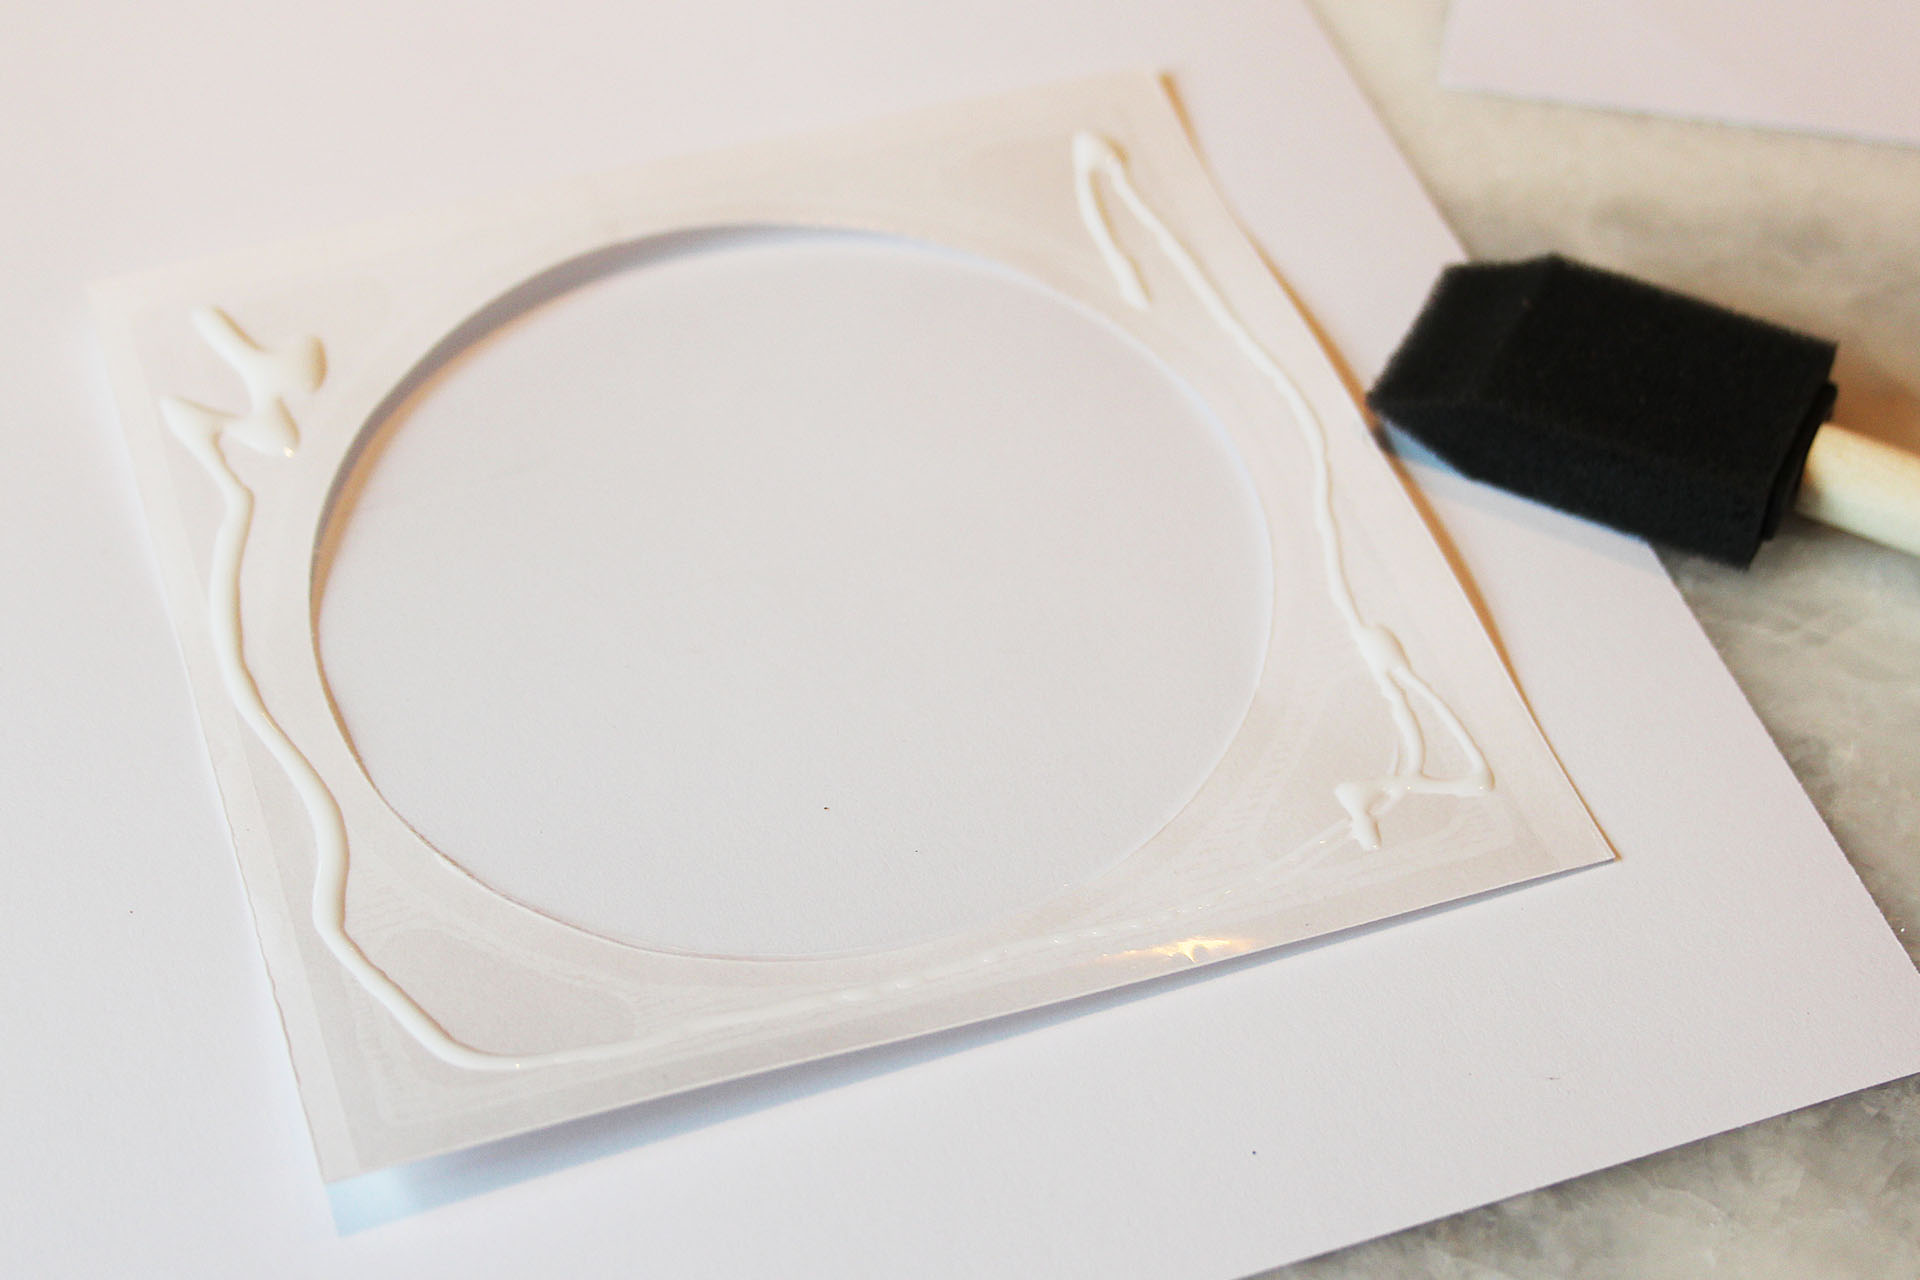 [/tatsu_text][tatsu_text max_width= "" wrap_alignment= "center" animation_type= "none"]
 [/tatsu_text][tatsu_text max_width= "" wrap_alignment= "center" animation_type= "none"]Put a small amount of glue on three of the sides and use your brush to spread it between the circle's edge and the edge of the square. Press it gently on the front of your card. Don't press too hard or you'll squish the glue out into the middle of the circle!
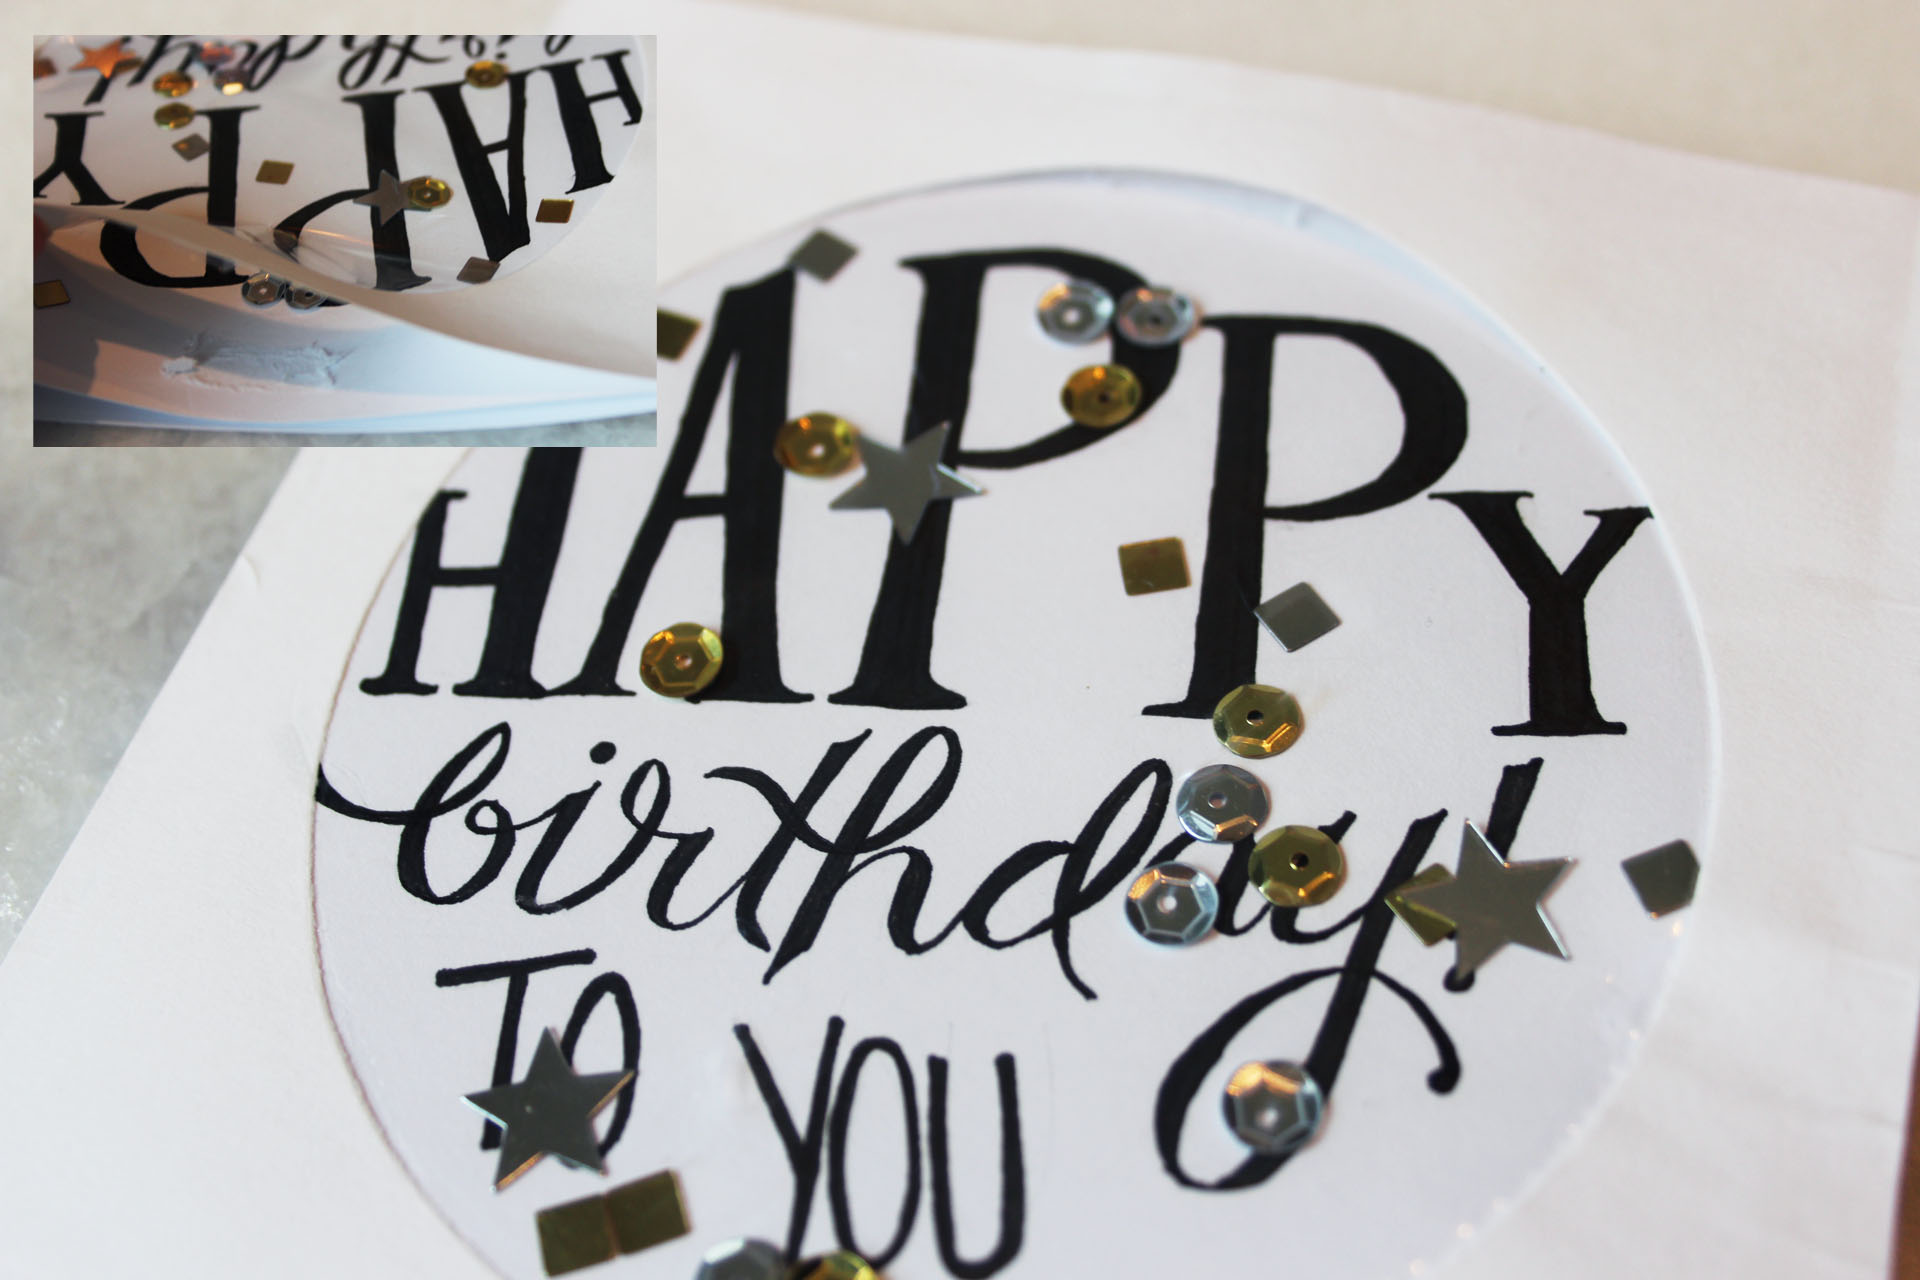 [/tatsu_text][tatsu_text max_width= "" wrap_alignment= "center" animation_type= "none"]Using the side left unglued, add in your confetti/sequins/glitter. I found that tissue paper confetti didn't work very well, because the static just made it stick to the cellophane. Sequins and other plastic confetti pieces work best, and glitter can add some nice dimension if you add it in.[/tatsu_text][tatsu_text max_width= "" wrap_alignment= "center" animation_type= "none"]
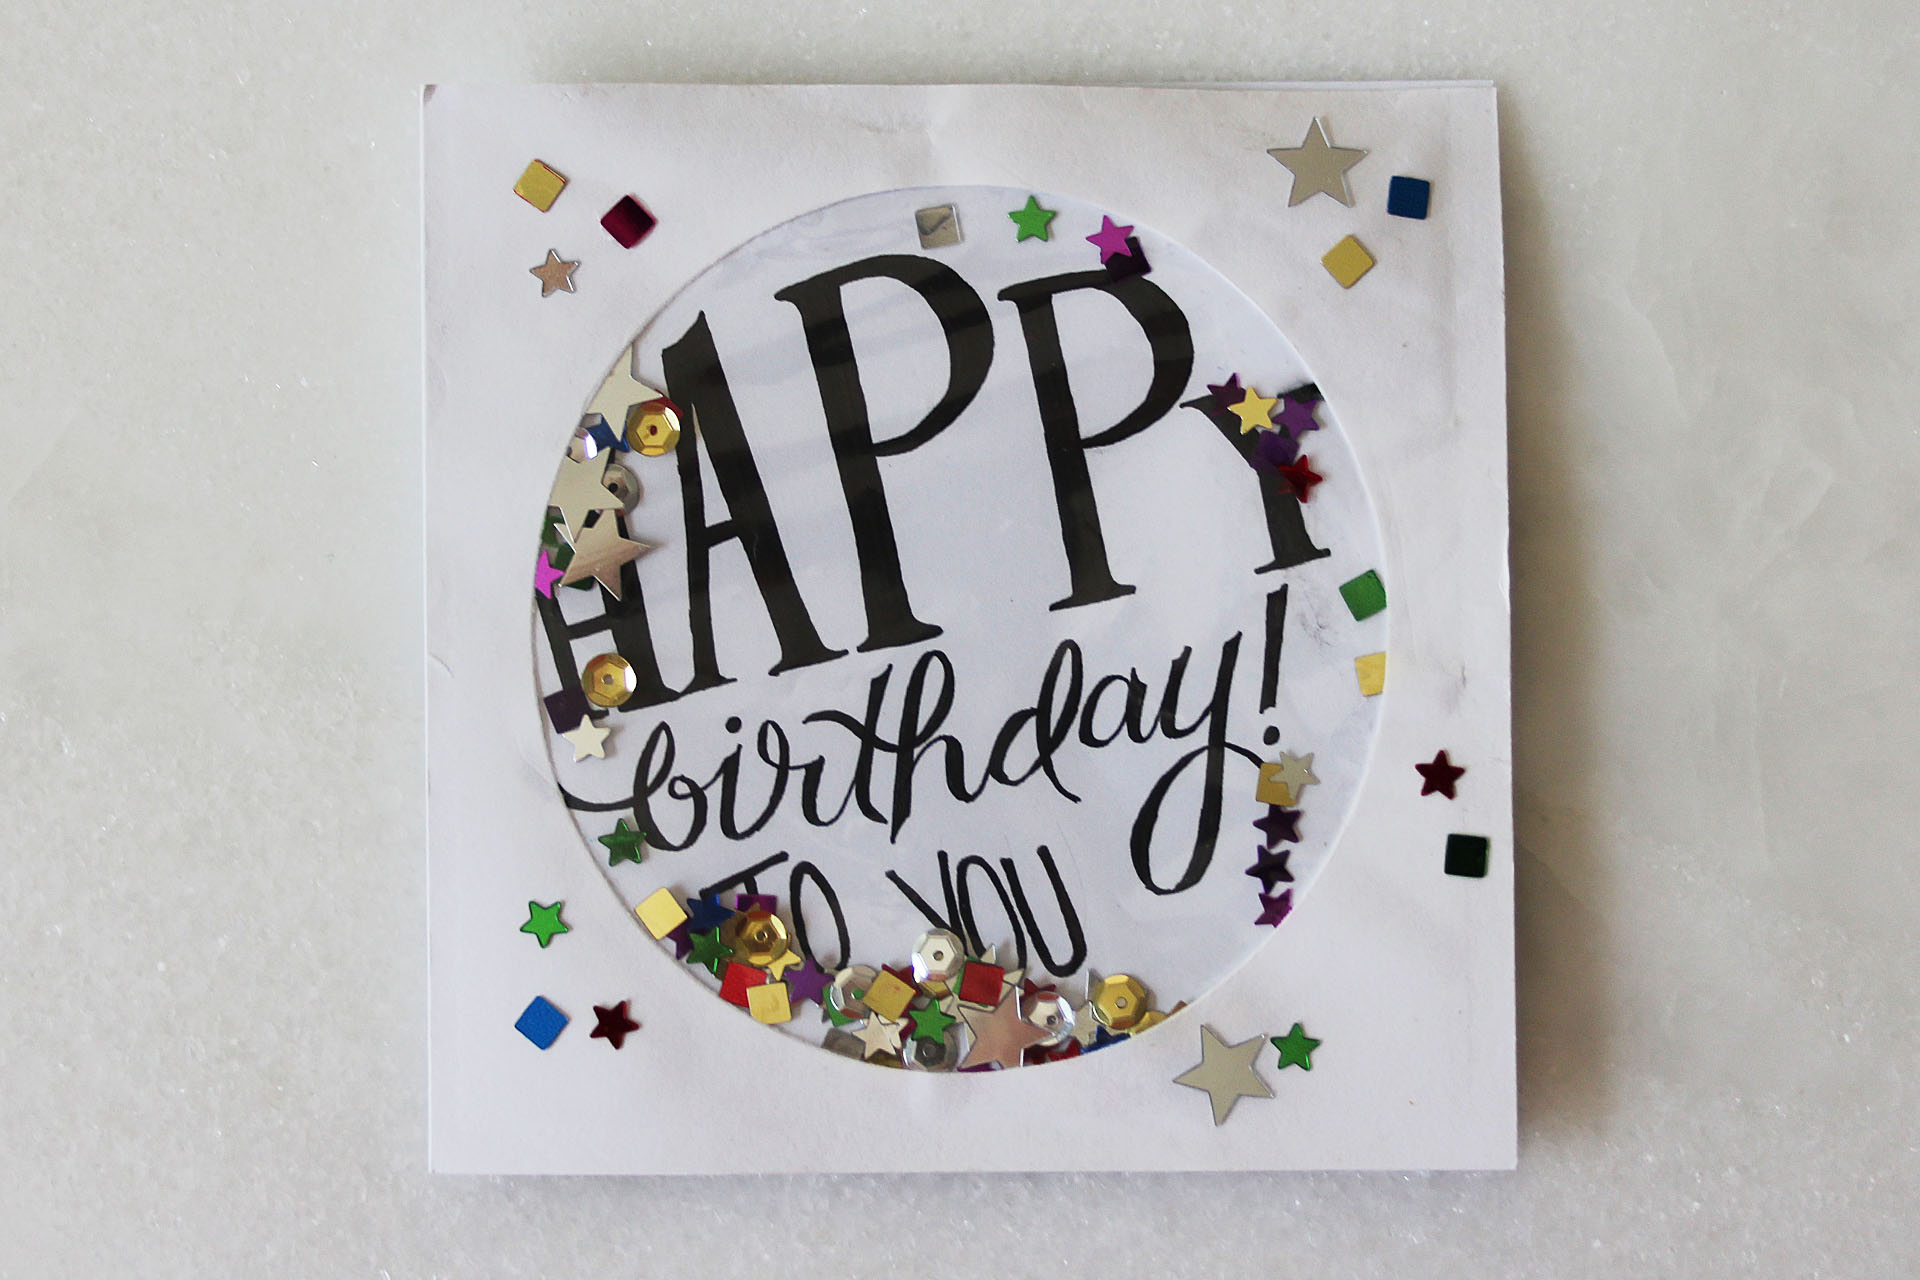 [/tatsu_text][tatsu_text max_width= "" wrap_alignment= "center" animation_type= "none"]Once you've added the pieces to the inside, squeeze in a little more glue along the top edge and seal it closed, again letting it dry. You can add some extra pieces of confetti to the outside edges, or decorate it further. Then have fun shaking the card to see all the confetti move![/tatsu_text][tatsu_text max_width= "" wrap_alignment= "center" animation_type= "none"]
 [/tatsu_text][/tatsu_column][/tatsu_row][/tatsu_section]