[tatsu_section padding= "90px 0% 90px 0%"][tatsu_row layout= "1/1"][tatsu_column layout= "1/1"][tatsu_text max_width= "" wrap_alignment= "center" animation_type= "none"]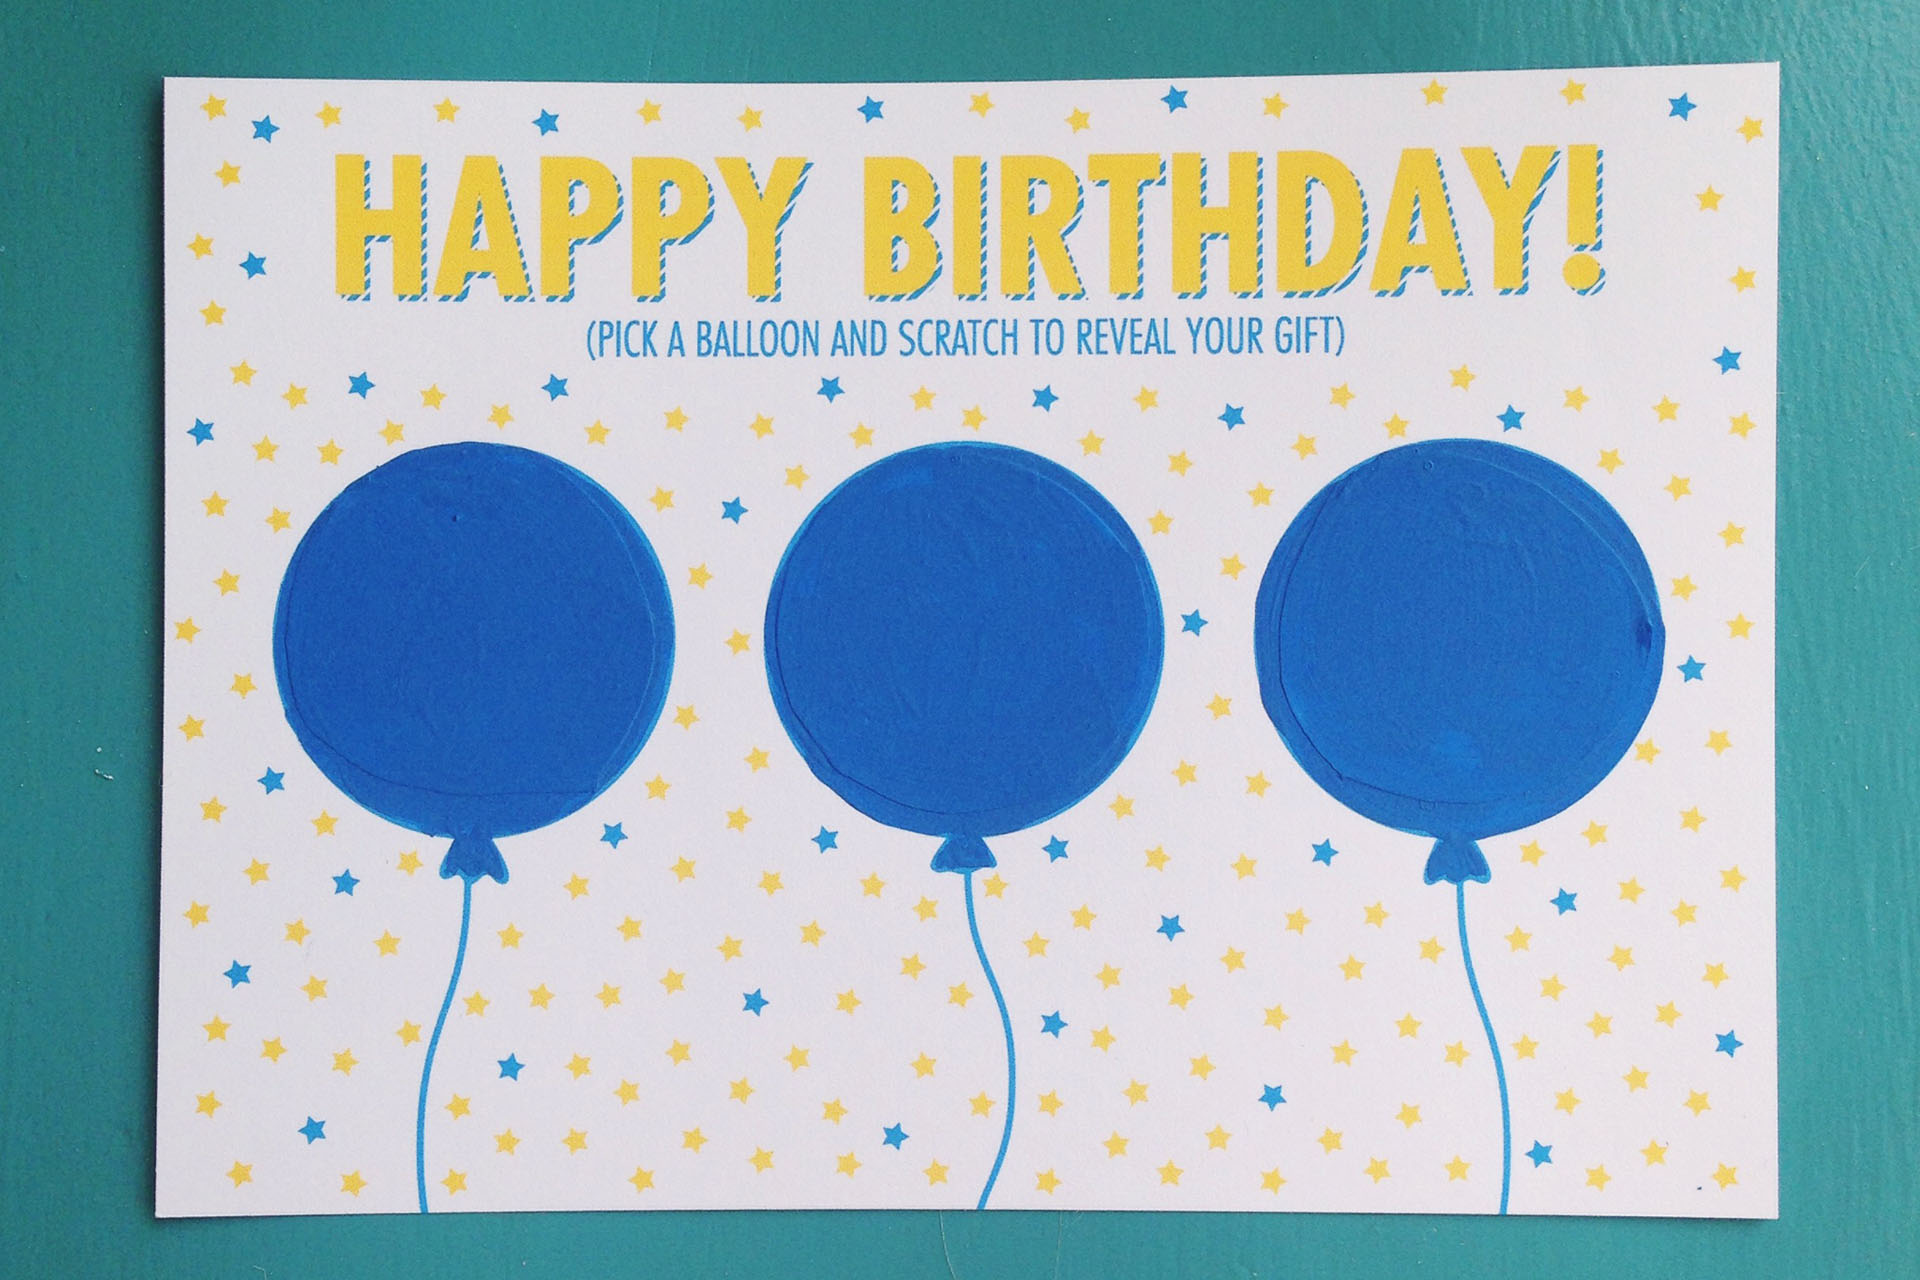 [/tatsu_text][tatsu_text max_width= "" wrap_alignment= "center" animation_type= "none"]For our second DIY card this week, we're making personalized scratch off cards. These are perfect for anyone who you might not know what to get as a gift, but still want to give something personal. You'll be surprised how easy it is and how often you'll find a way to use it. The scratch off technique is useful for projects outside of birthday cards as well—you can make coupons or promotional materials for your business, a scratch-off map to mark places you've visited, gender reveal postcards, a lottery game for showers or other parties, and the list goes on![/tatsu_text][tatsu_text max_width= "" wrap_alignment= "center" animation_type= "none"]
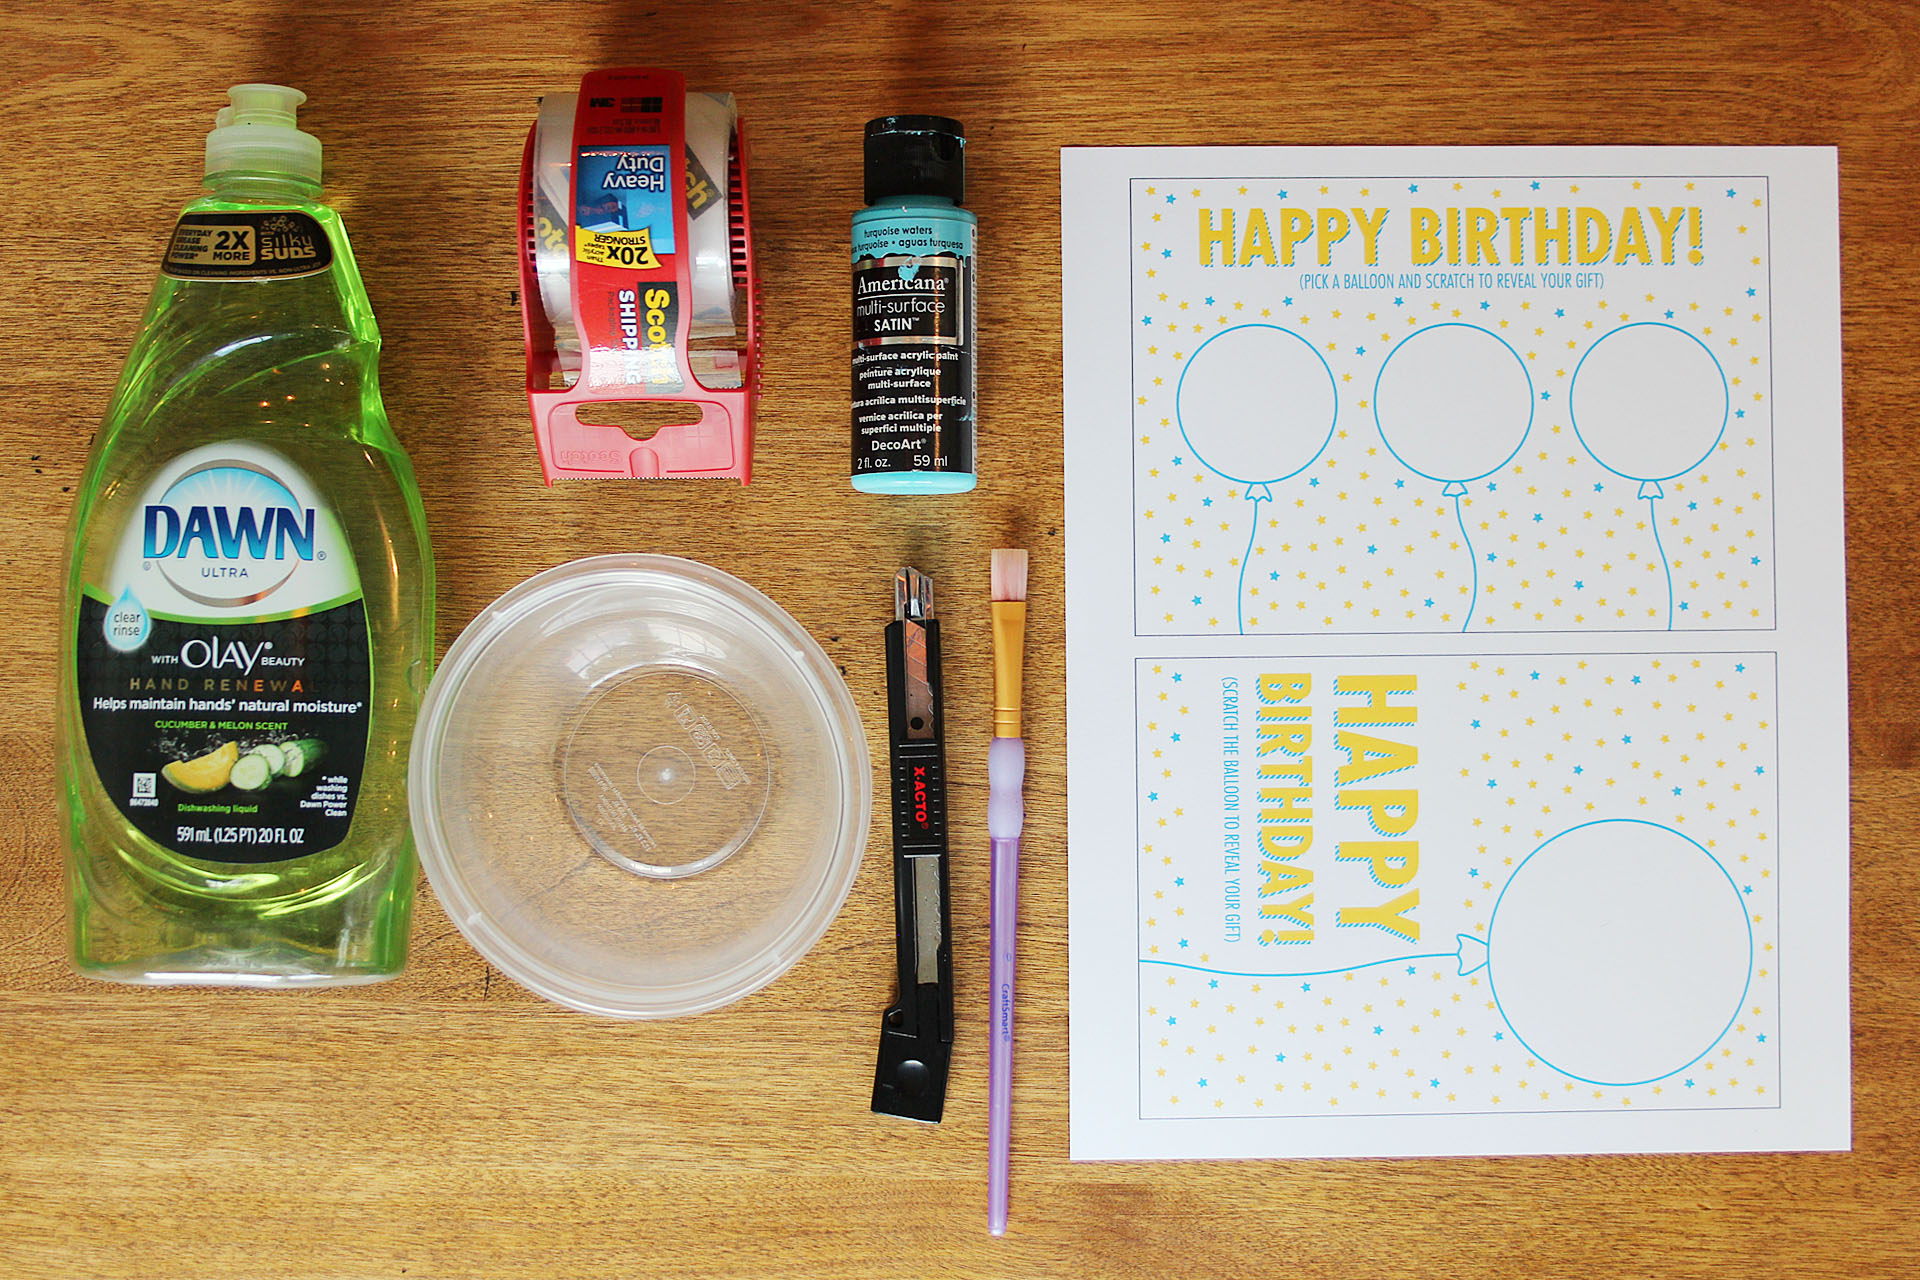 [/tatsu_text][tatsu_text max_width= "" wrap_alignment= "center" animation_type= "none"]You will need:
- Happy Birthday printable cards (click to download)
- Clear packing tape or contact paper
- Dish Soap
- Acrylic Paint (Any color will work, but use silver if you want it to look like a traditional scratch off)
- Mixing container
- Paintbrush
- Pen
- Scissors/X-acto knife
[/tatsu_text][tatsu_text max_width= "" wrap_alignment= "center" animation_type= "none"]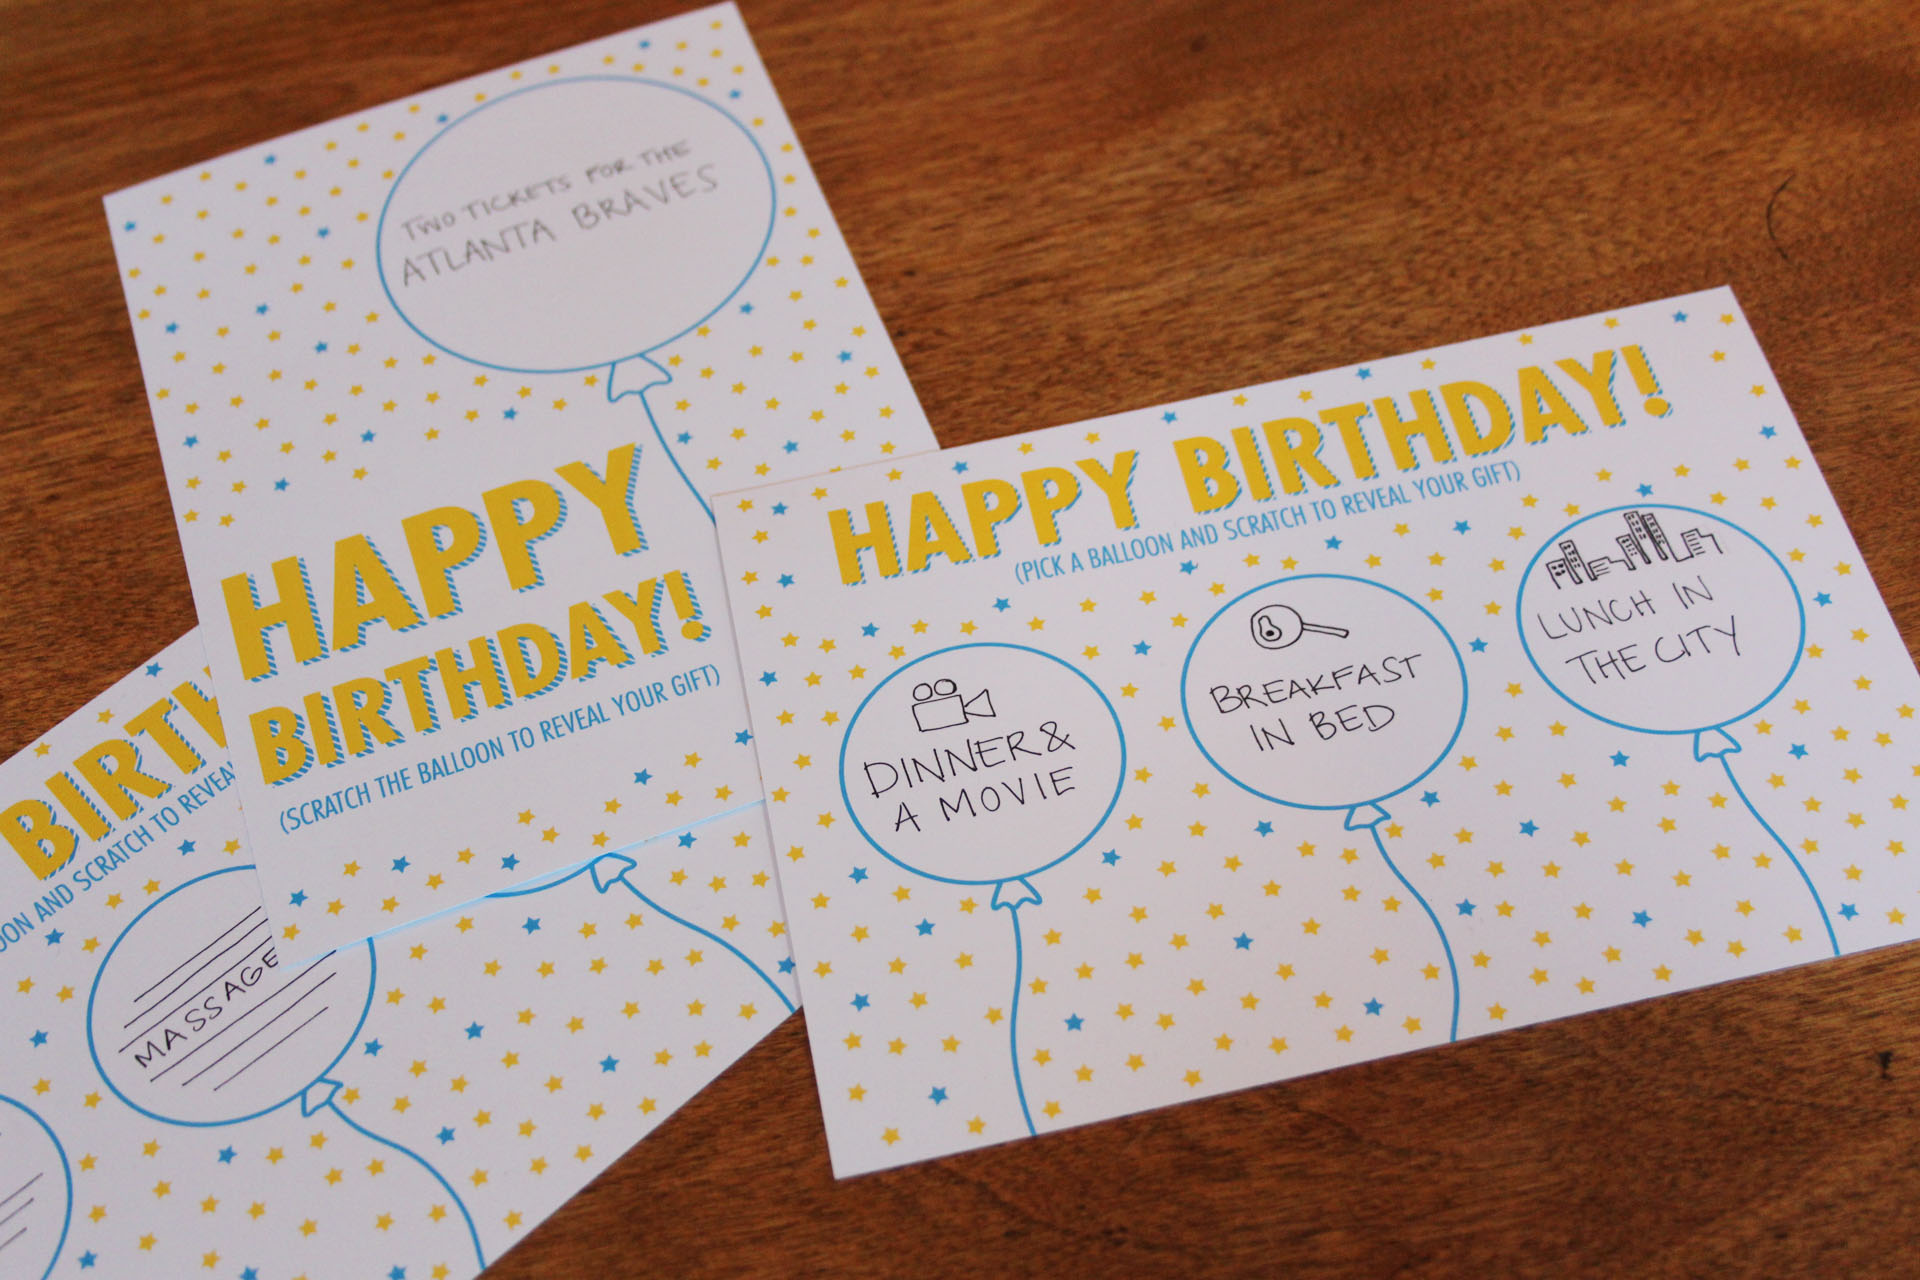 [/tatsu_text][tatsu_text max_width= "" wrap_alignment= "center" animation_type= "none"]
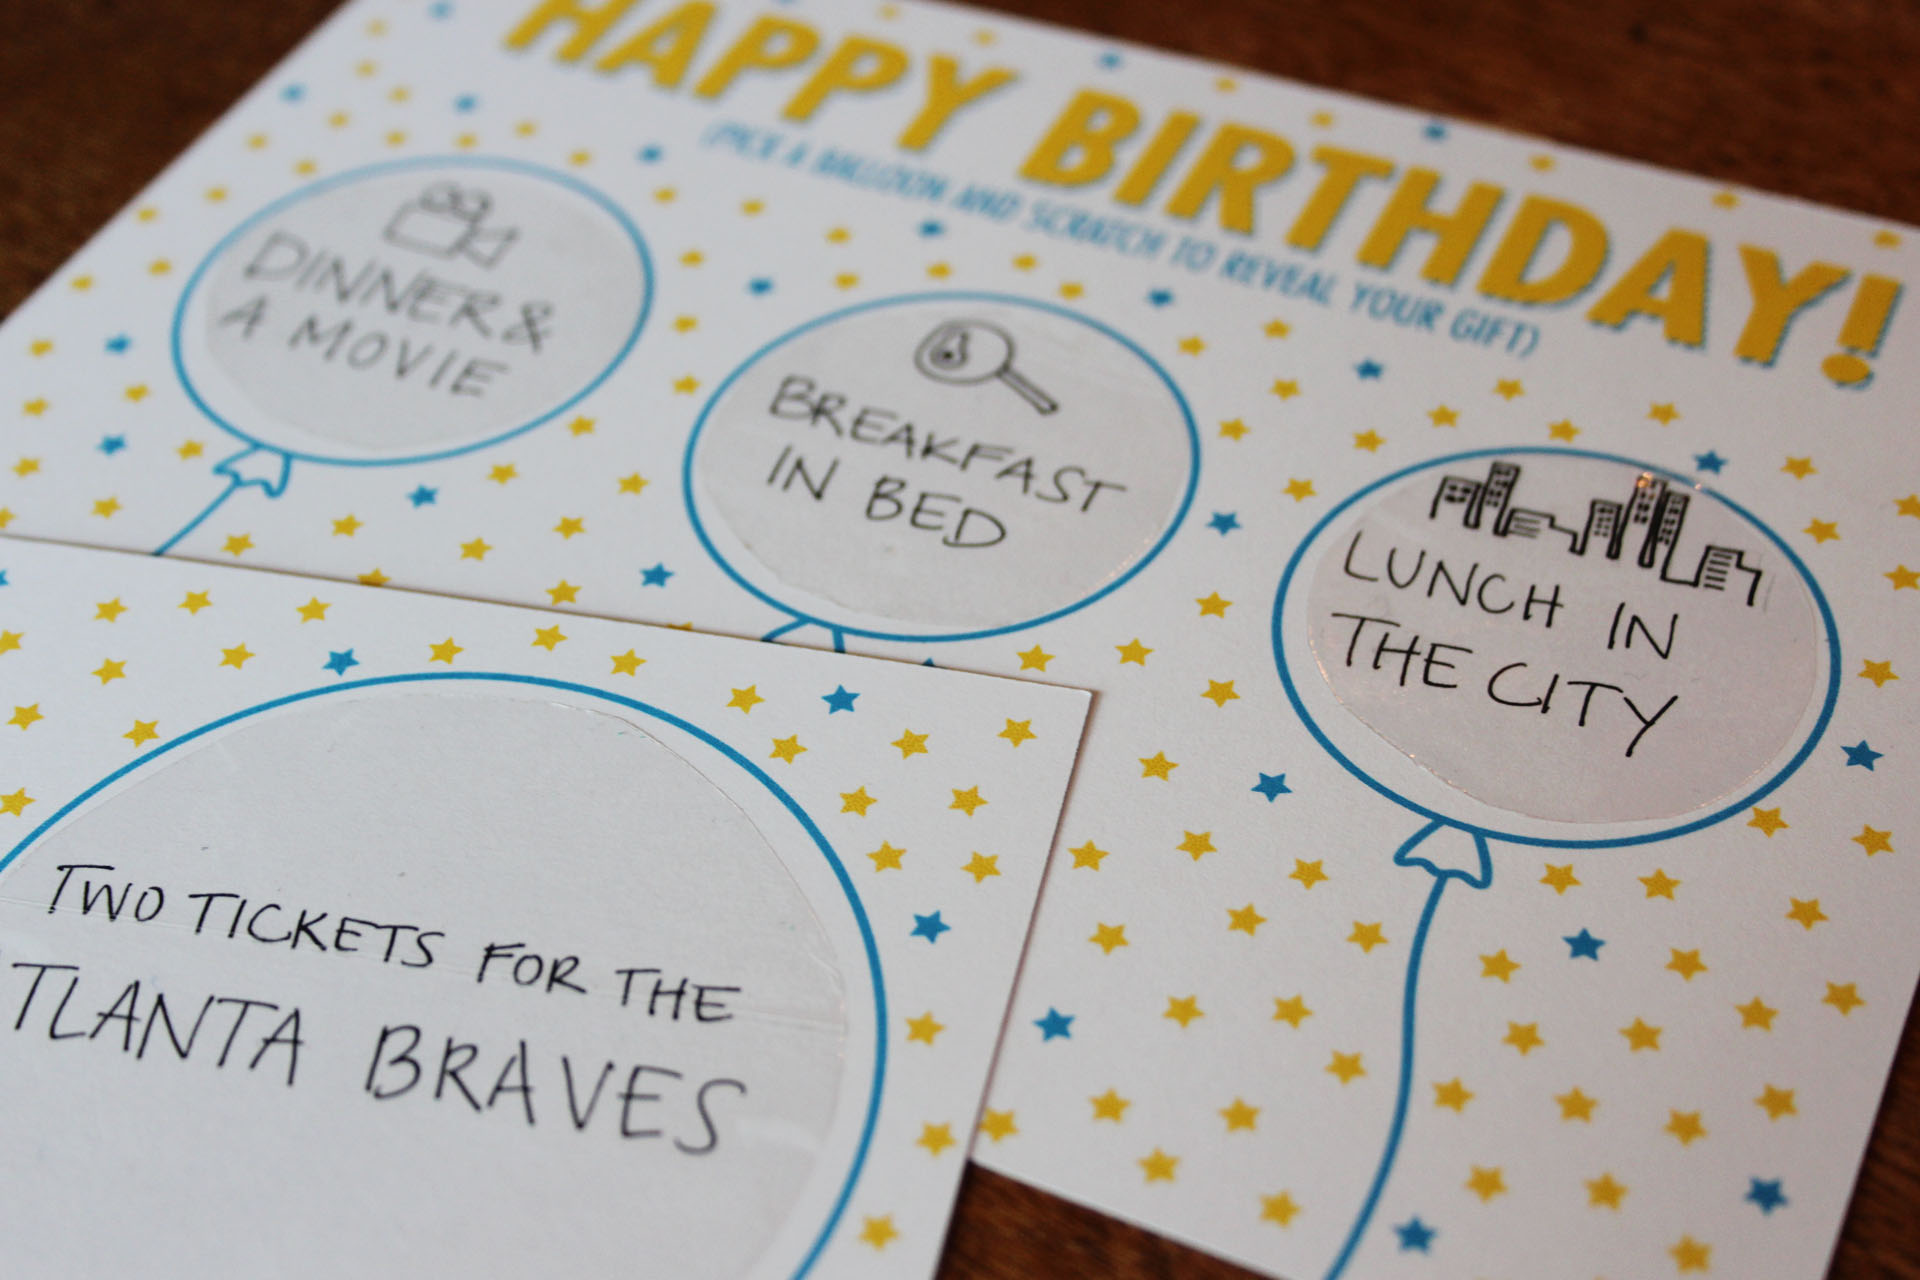 [/tatsu_text][tatsu_text max_width= "" wrap_alignment= "center" animation_type= "none"]Print and cut out the printables and write your gift in the space.
Cut the tape/contact paper to fit the space for the scratch off. Don't worry if it's not precise, as long as it covers the writing it'll work.[/tatsu_text][tatsu_text max_width= "" wrap_alignment= "center" animation_type= "none"]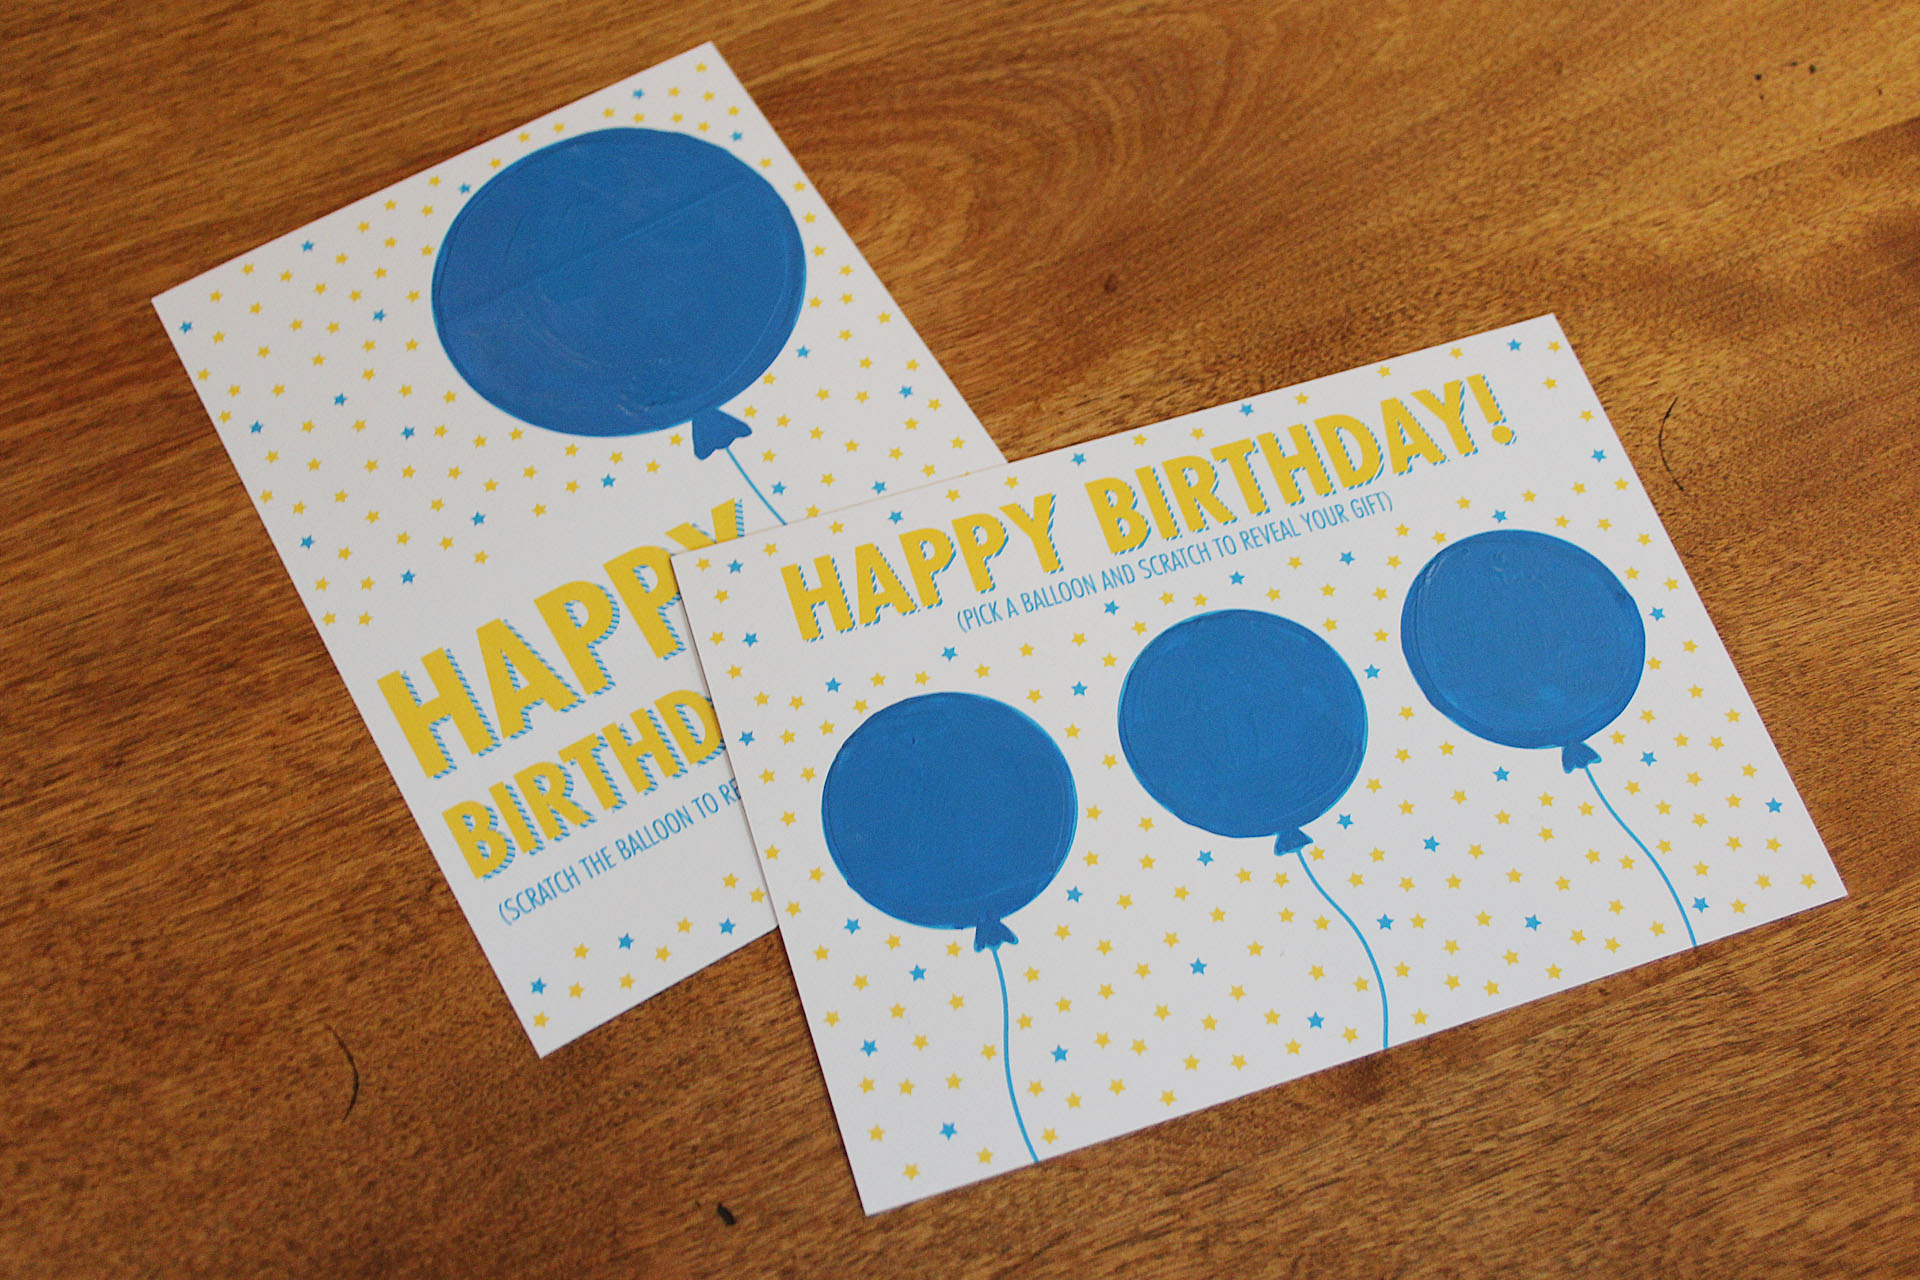 [/tatsu_text][tatsu_text max_width= "" wrap_alignment= "center" animation_type= "none"]Mix 2 parts acrylic paint to 1 part dish soap in a small container. Don't stir too forcefully or you'll get a ton of little bubbles and it can be hard to pop them all while painting.
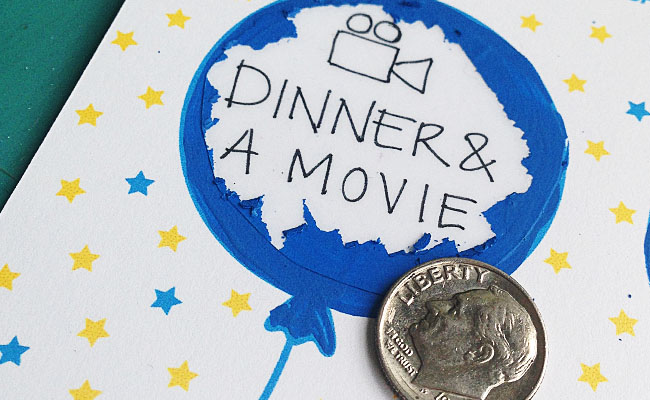
Paint the mixture over the writing and let dry. It can take up to 3-4 layers for the writing to be completely covered, so be patient.
And that's it; you have your very own scratch off card![/tatsu_text][tatsu_text max_width= "" wrap_alignment= "center" animation_type= "none"]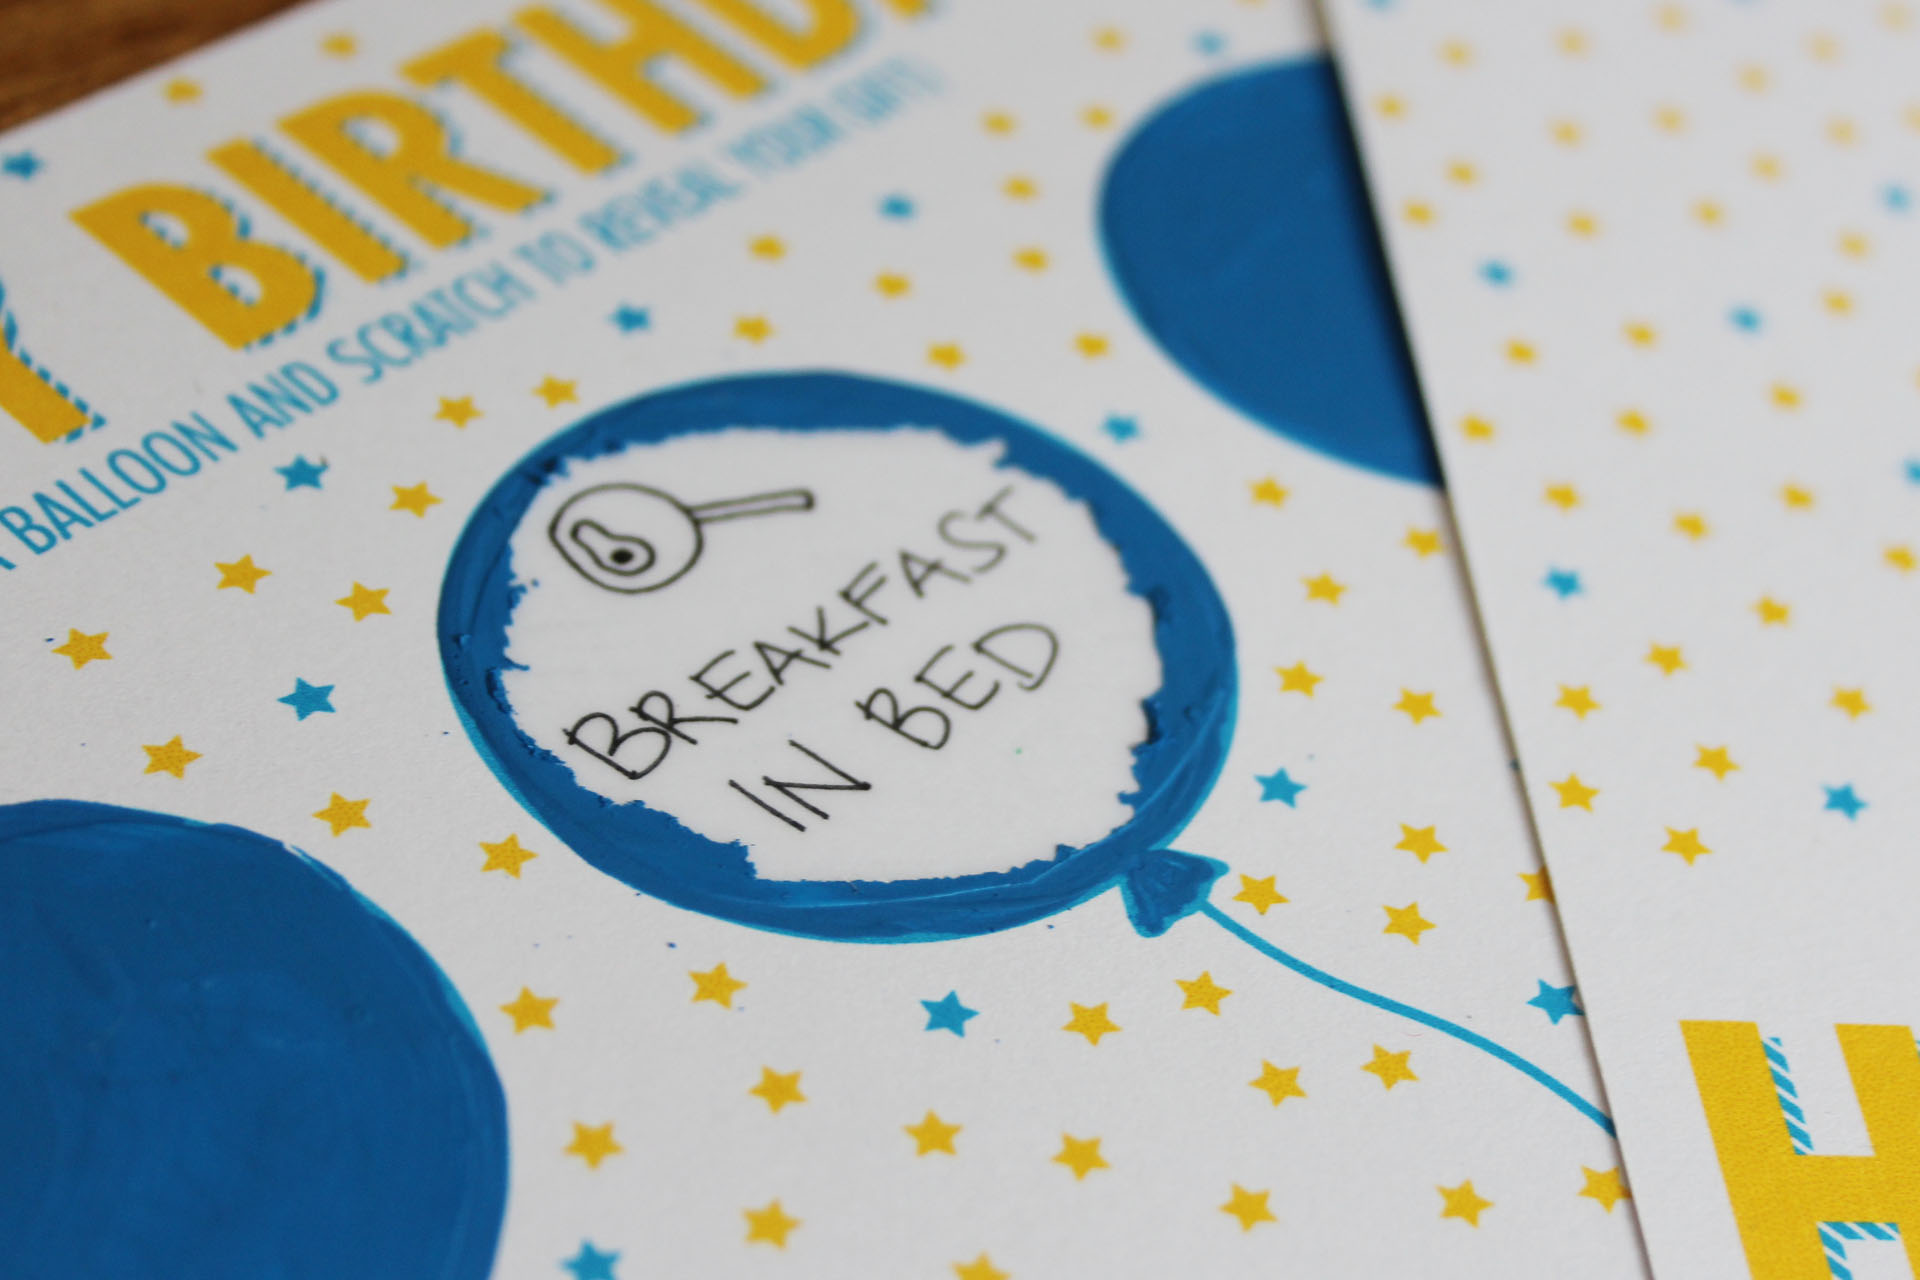 [/tatsu_text][tatsu_text max_width= "" wrap_alignment= "center" animation_type= "none"]Feel free to make an extra to try out–it's really fun; you'll want to scratch them all off yourself![/tatsu_text][tatsu_text max_width= "" wrap_alignment= "center" animation_type= "none"]
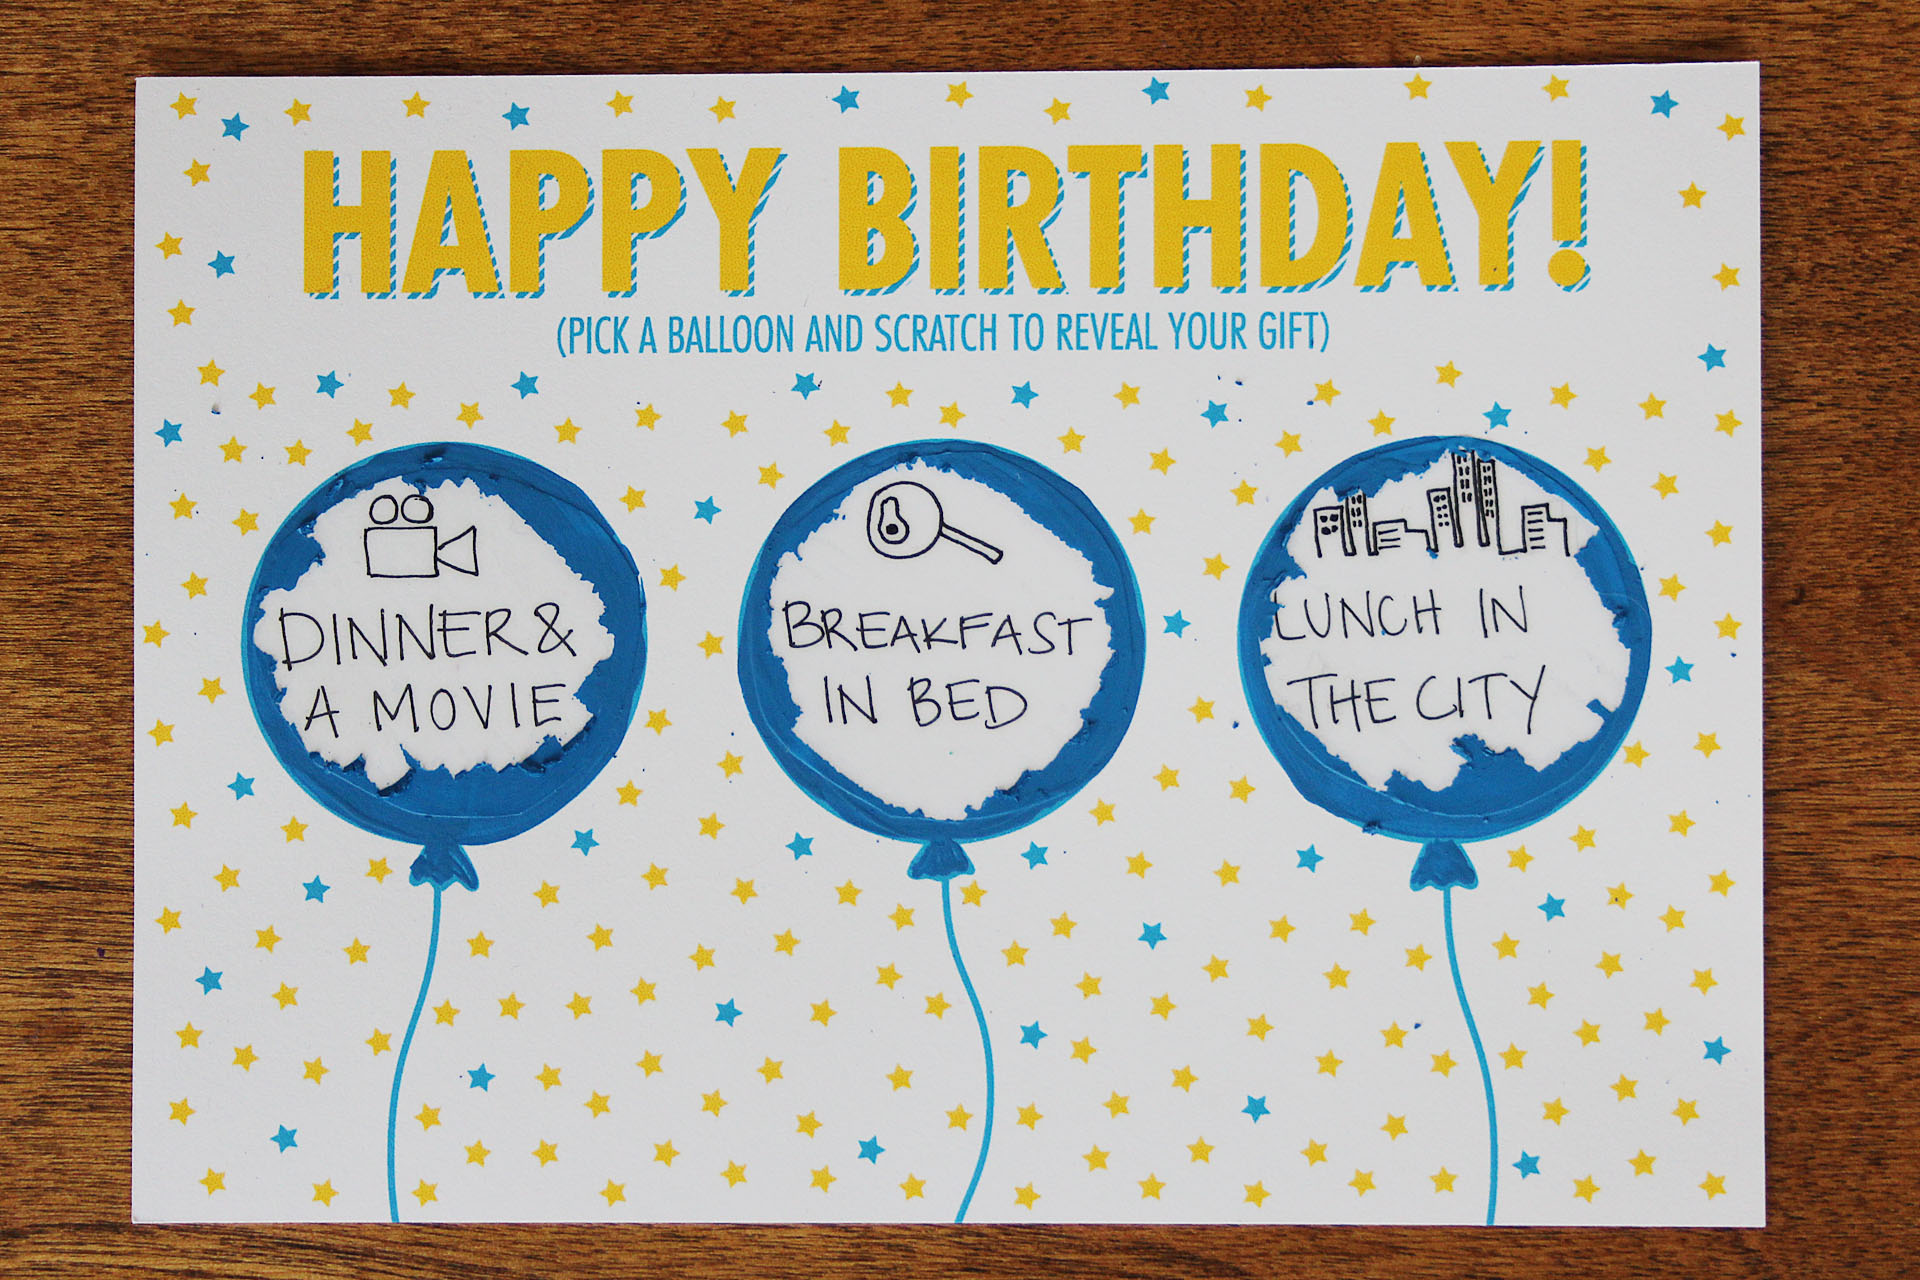 [/tatsu_text][/tatsu_column][/tatsu_row][/tatsu_section]
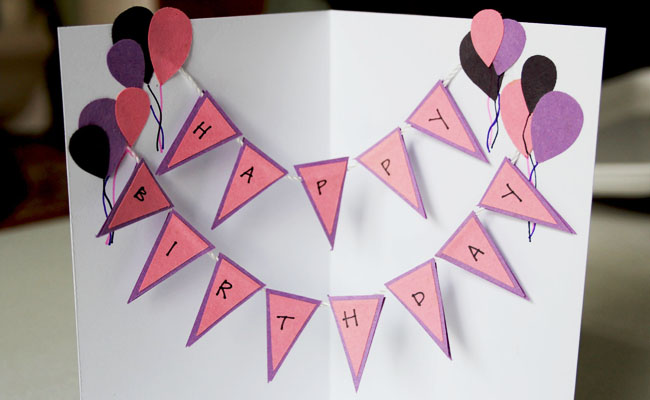
 [/tatsu_text][tatsu_text max_width= "" wrap_alignment= "center" animation_type= "none"]I've always loved making greeting cards for my friends and family (ask my mom—she's been the recipient of quite a few), because I love the personal touch a handmade card can have. But not all of us are impeccable handletterers or incredible illustrators, and sometimes making a card seems unnecessarily difficult. So this week, I'm going to show you three different greeting cards you can make yourself, without the need for any extravagant skills. I've left the cards relatively simple so you can add your own spin on things and give it even more of a personal touch.
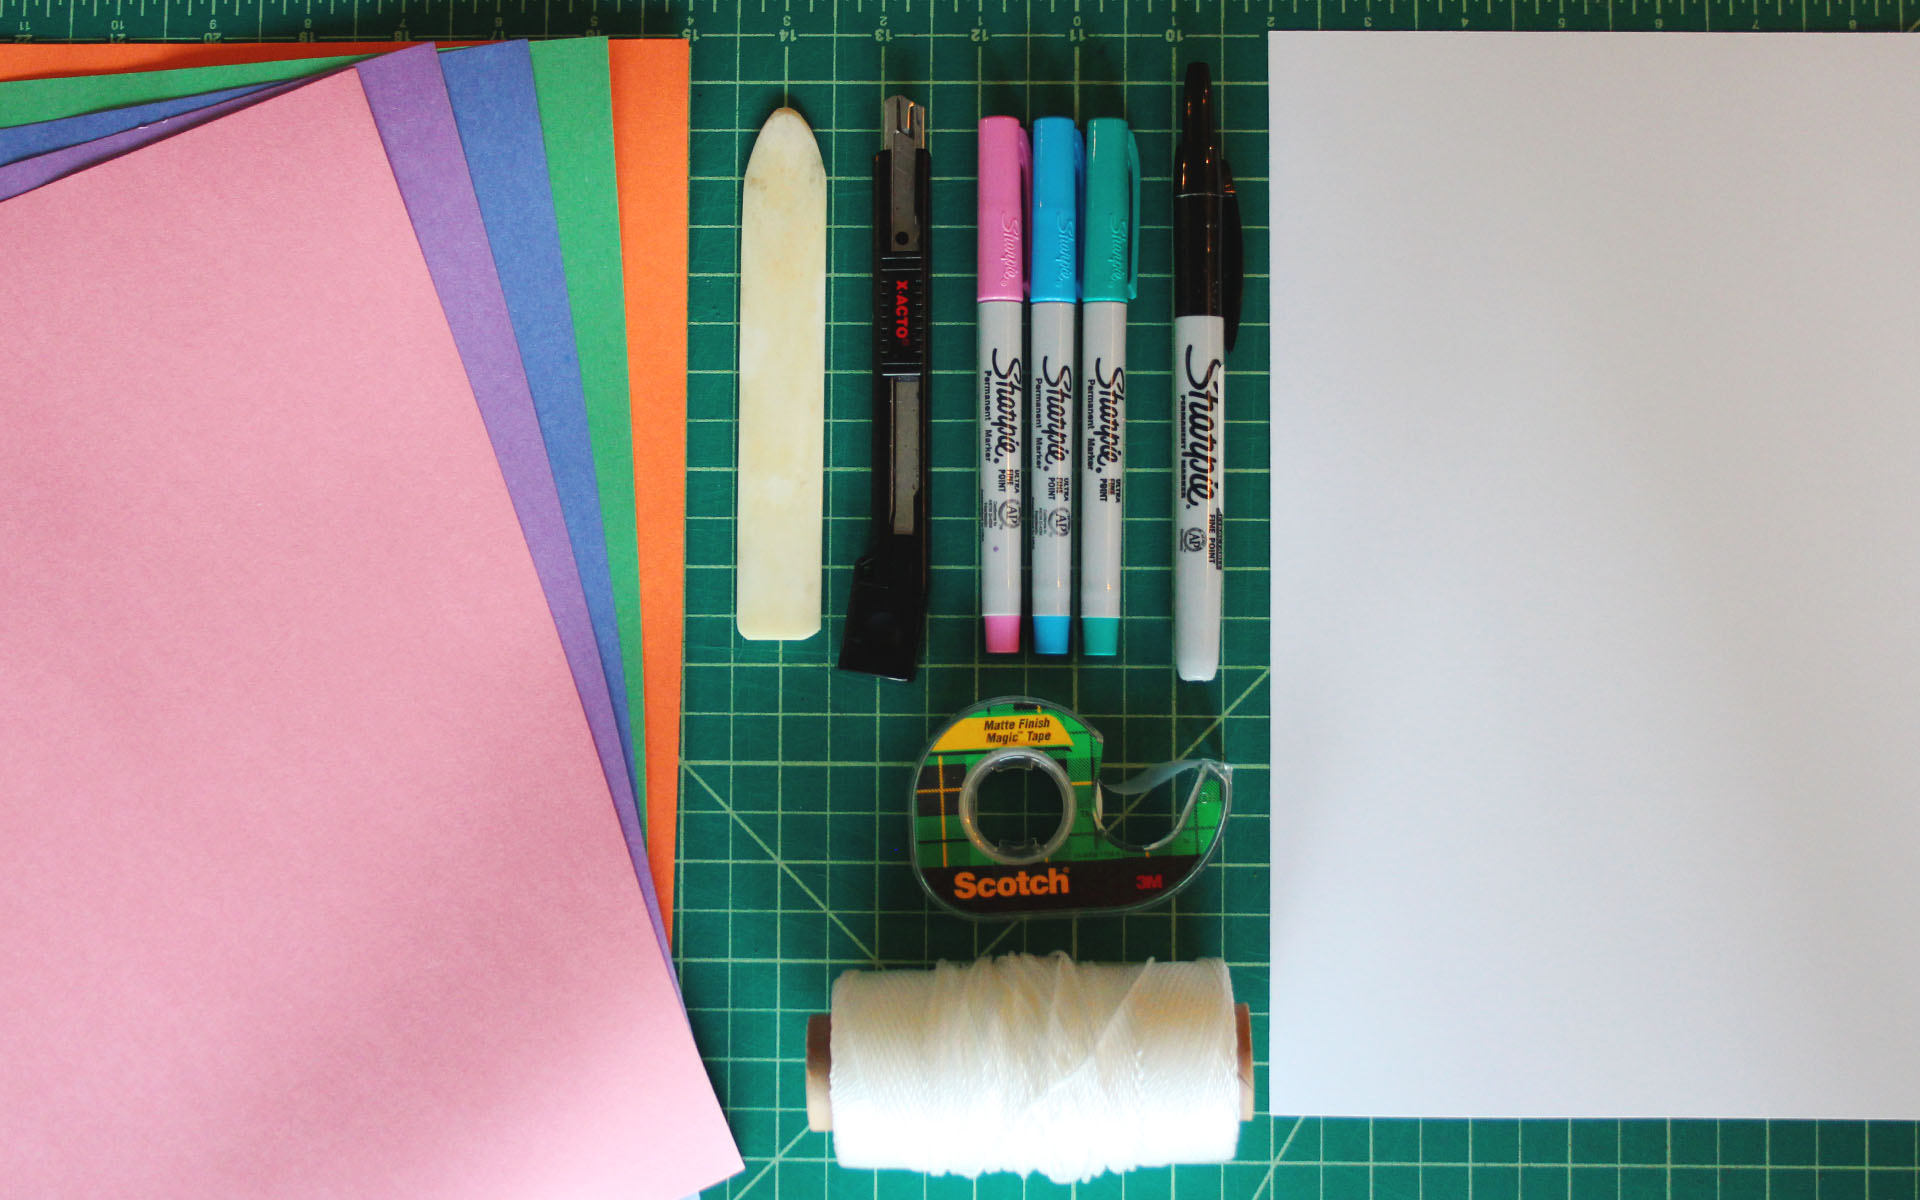 [/tatsu_text][tatsu_text max_width= "" wrap_alignment= "center" animation_type= "none"]You will need:
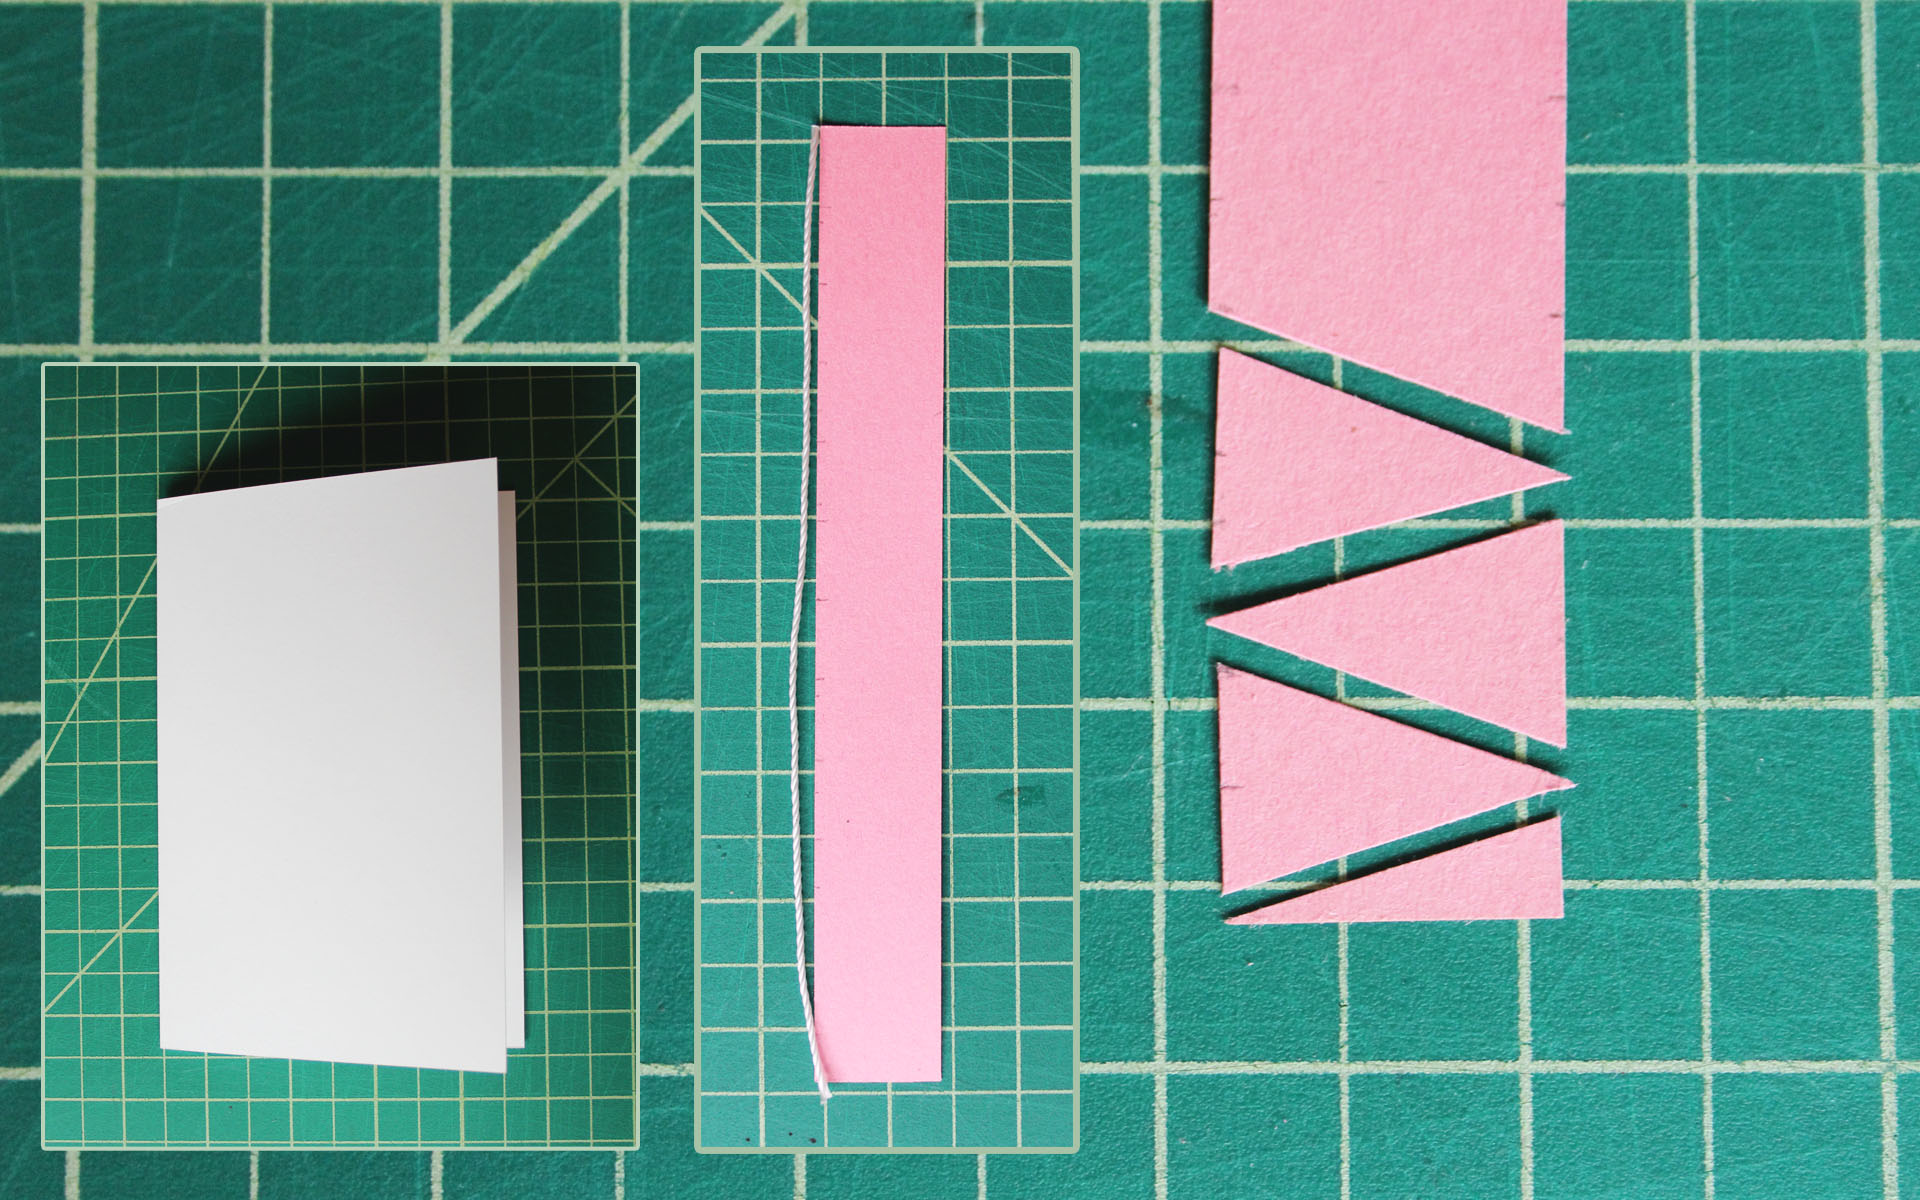 [/tatsu_text][tatsu_text max_width= "" wrap_alignment= "center" animation_type= "none"]The first thing you'll want to do is trim your cardstock to the size you want your card to be, and use the bone folder to make sure the crease is nice and crisp.
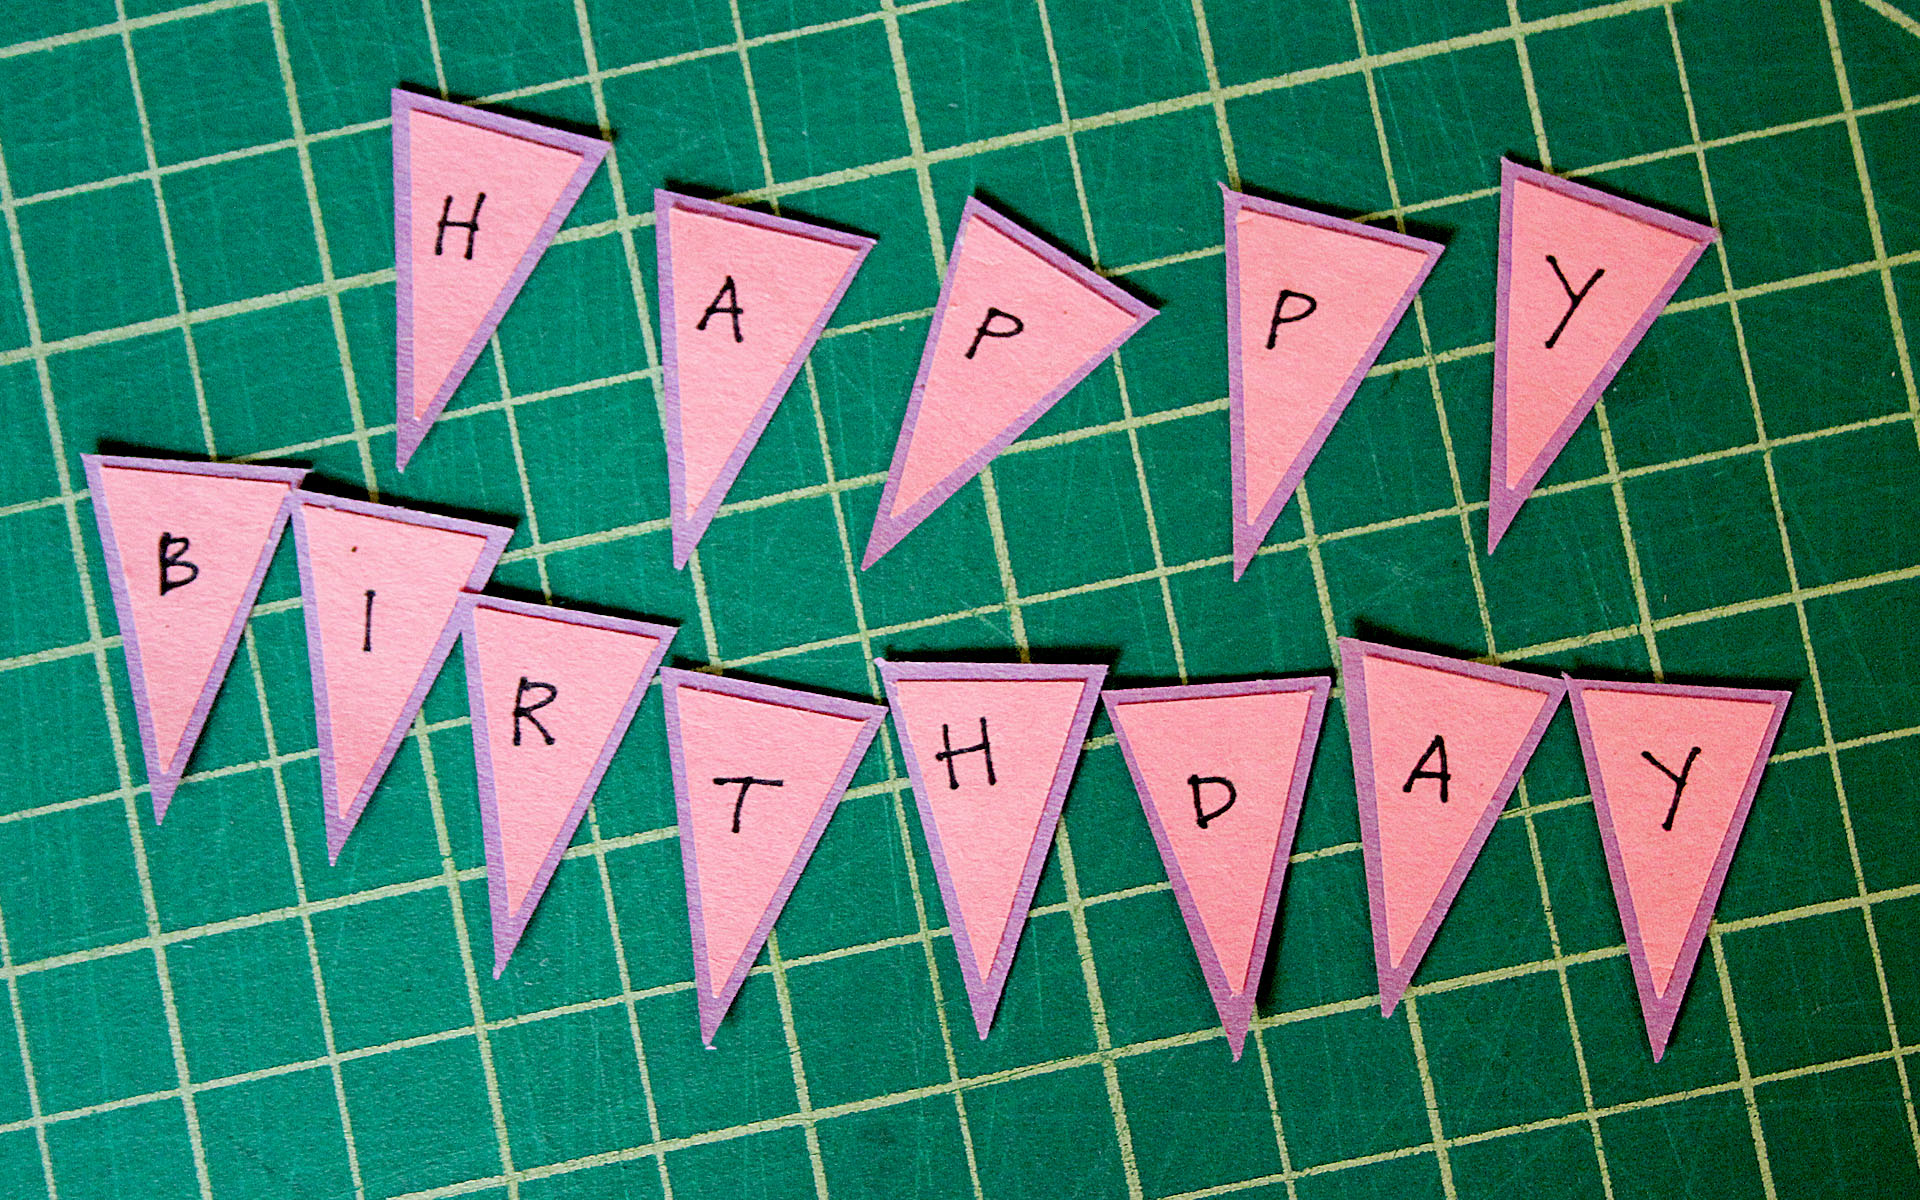 [/tatsu_text][tatsu_text max_width= "" wrap_alignment= "center" animation_type= "none"]Repeat the steps for cutting the pennants with a different color, making them slightly larger than the ones you just cut. Cut twice as many triangles as you need for the letters.
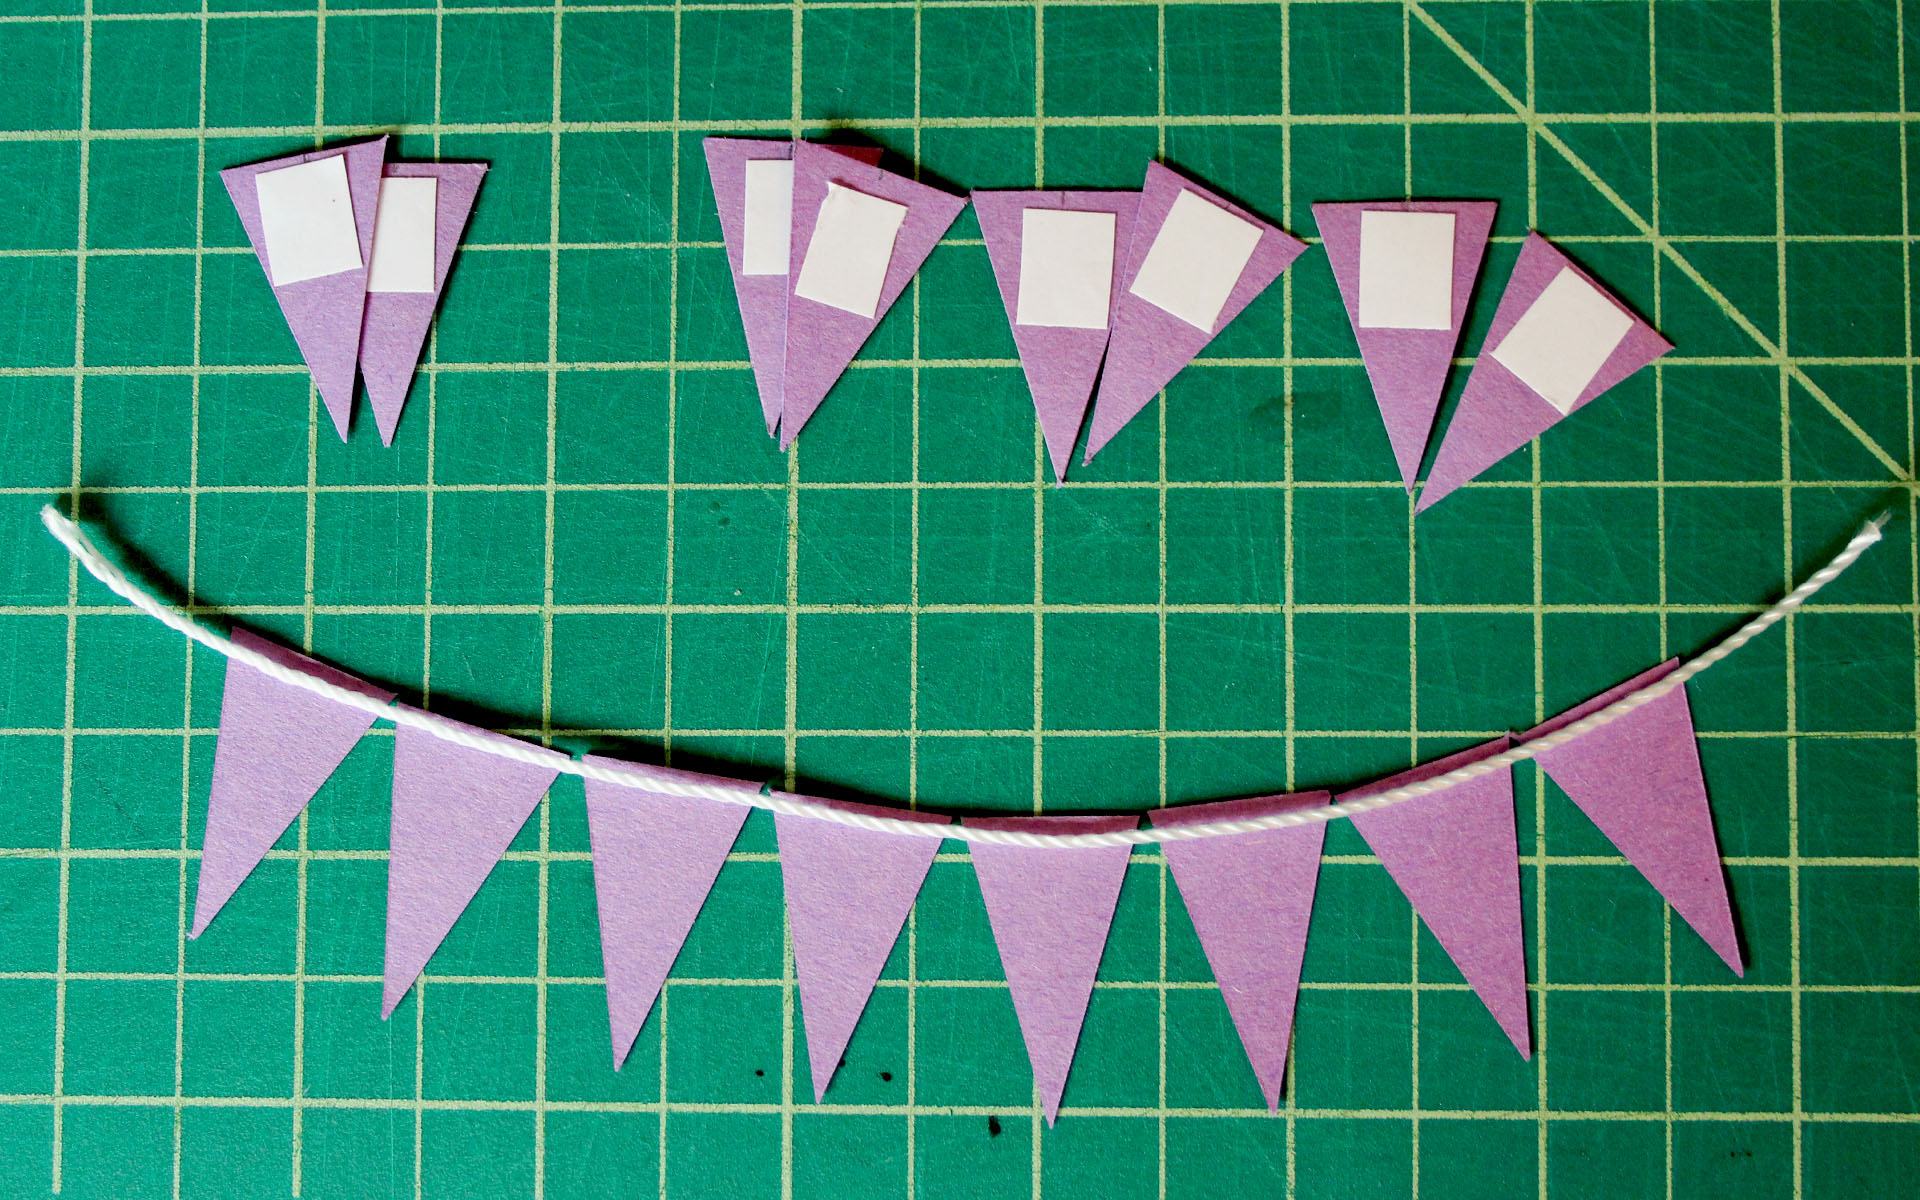 [/tatsu_text][tatsu_text max_width= "" wrap_alignment= "center" animation_type= "none"]Flip over the lettered pennants, and use a small piece of double sided tape on the back. Try and keep it as close to the top as you can.
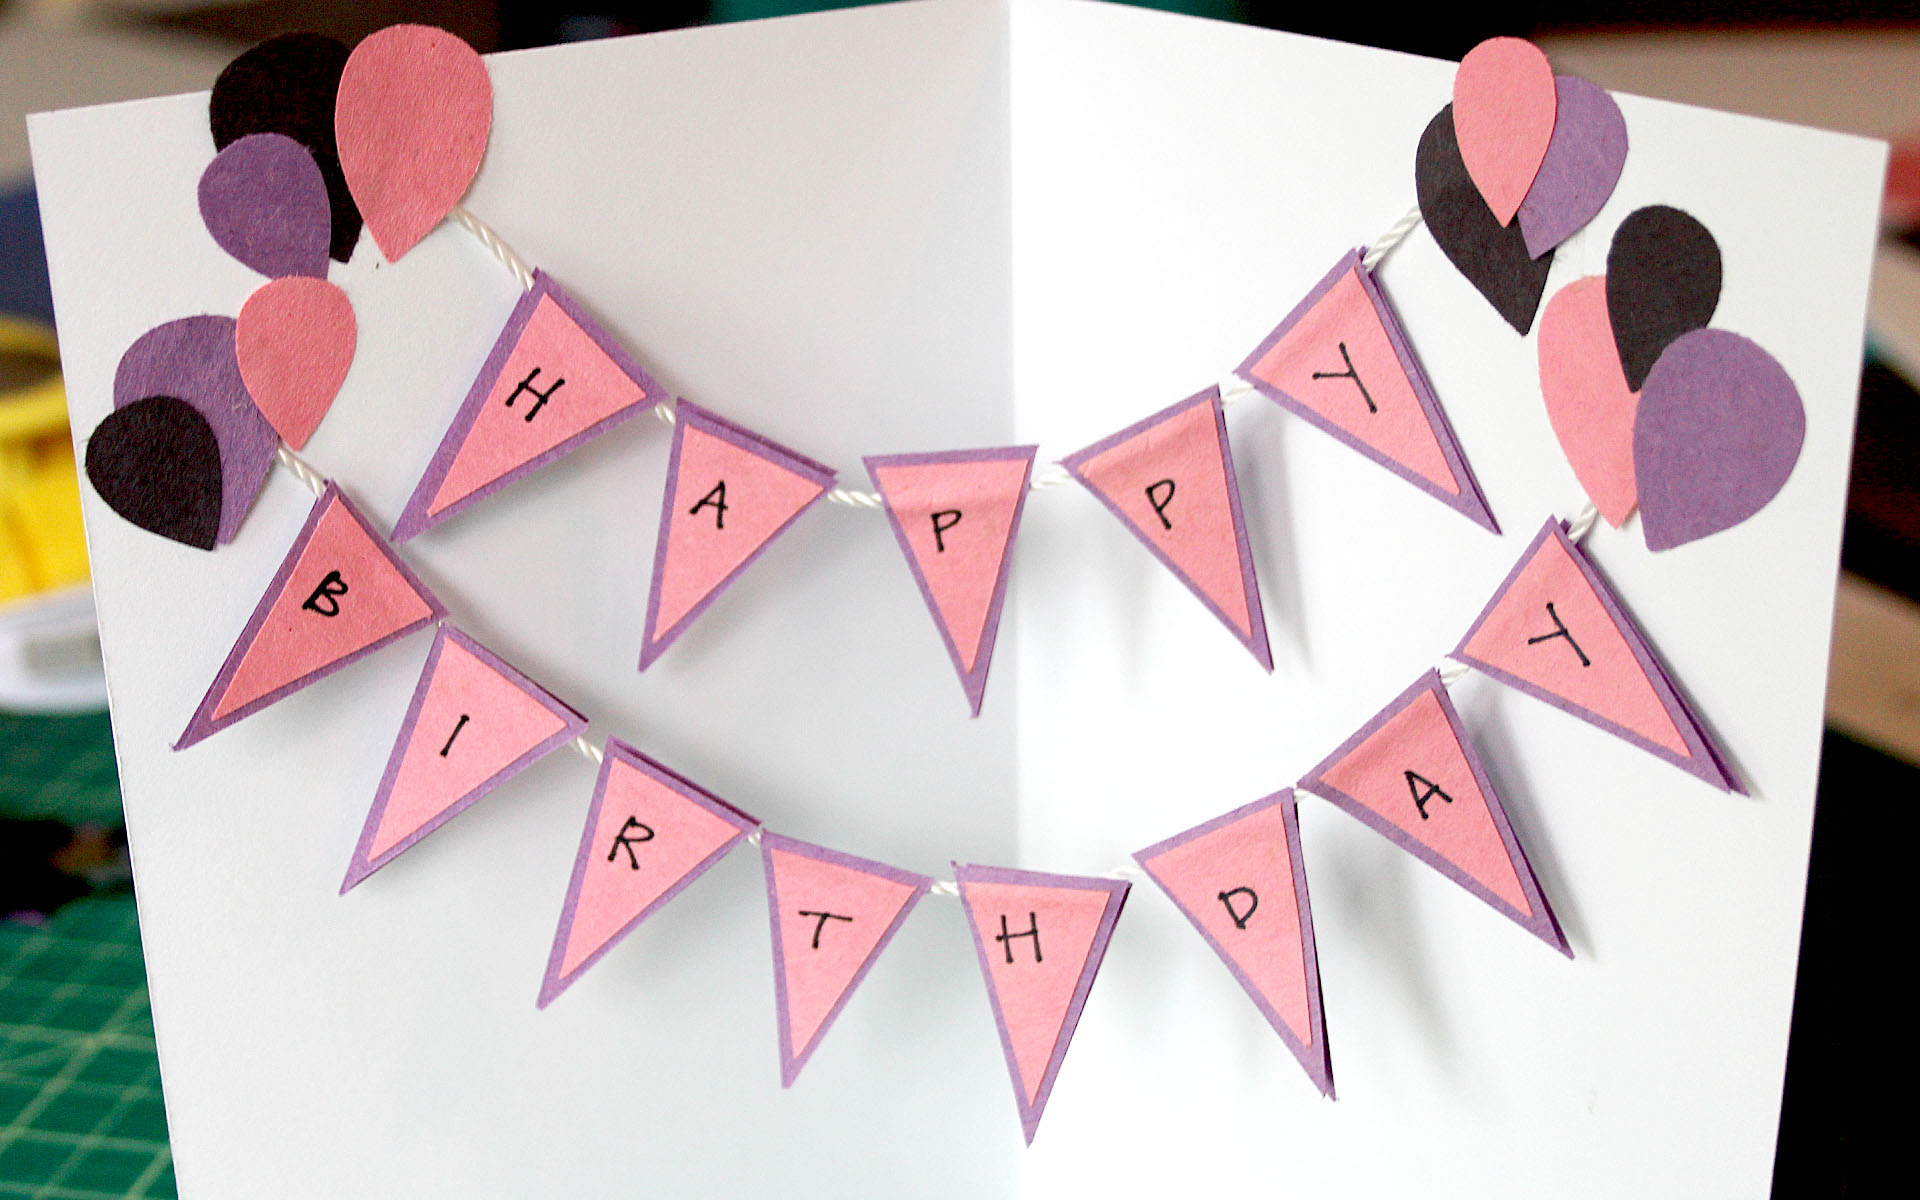
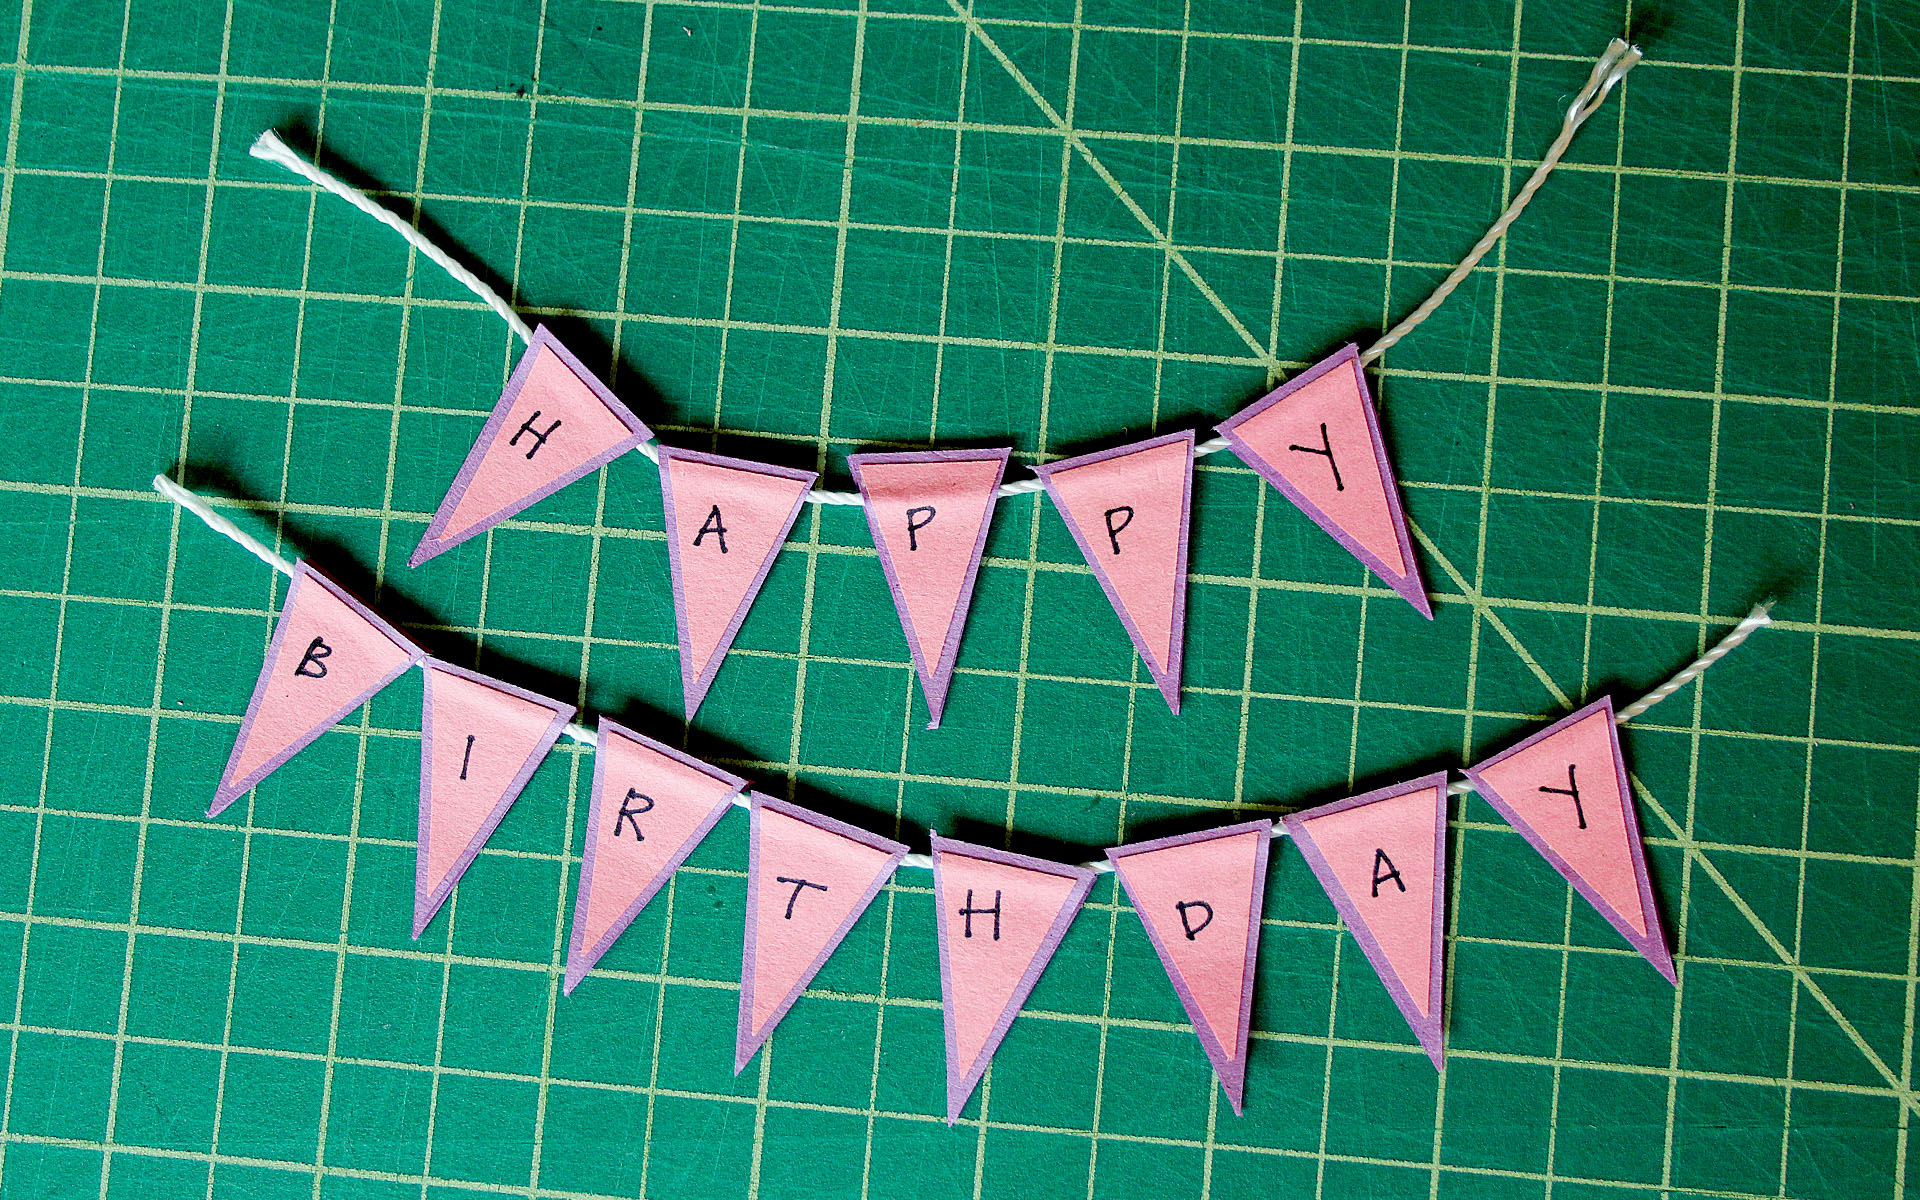 [/tatsu_text][tatsu_text max_width= "" wrap_alignment= "center" animation_type= "none"]Attach the letter pennants to their matching backs, using the double sided tape to trap the string in between the layers of construction paper. Adding a back layer makes the banner more sturdy and ensures the string won't fall.[/tatsu_text][tatsu_text max_width= "" wrap_alignment= "center" animation_type= "none"]
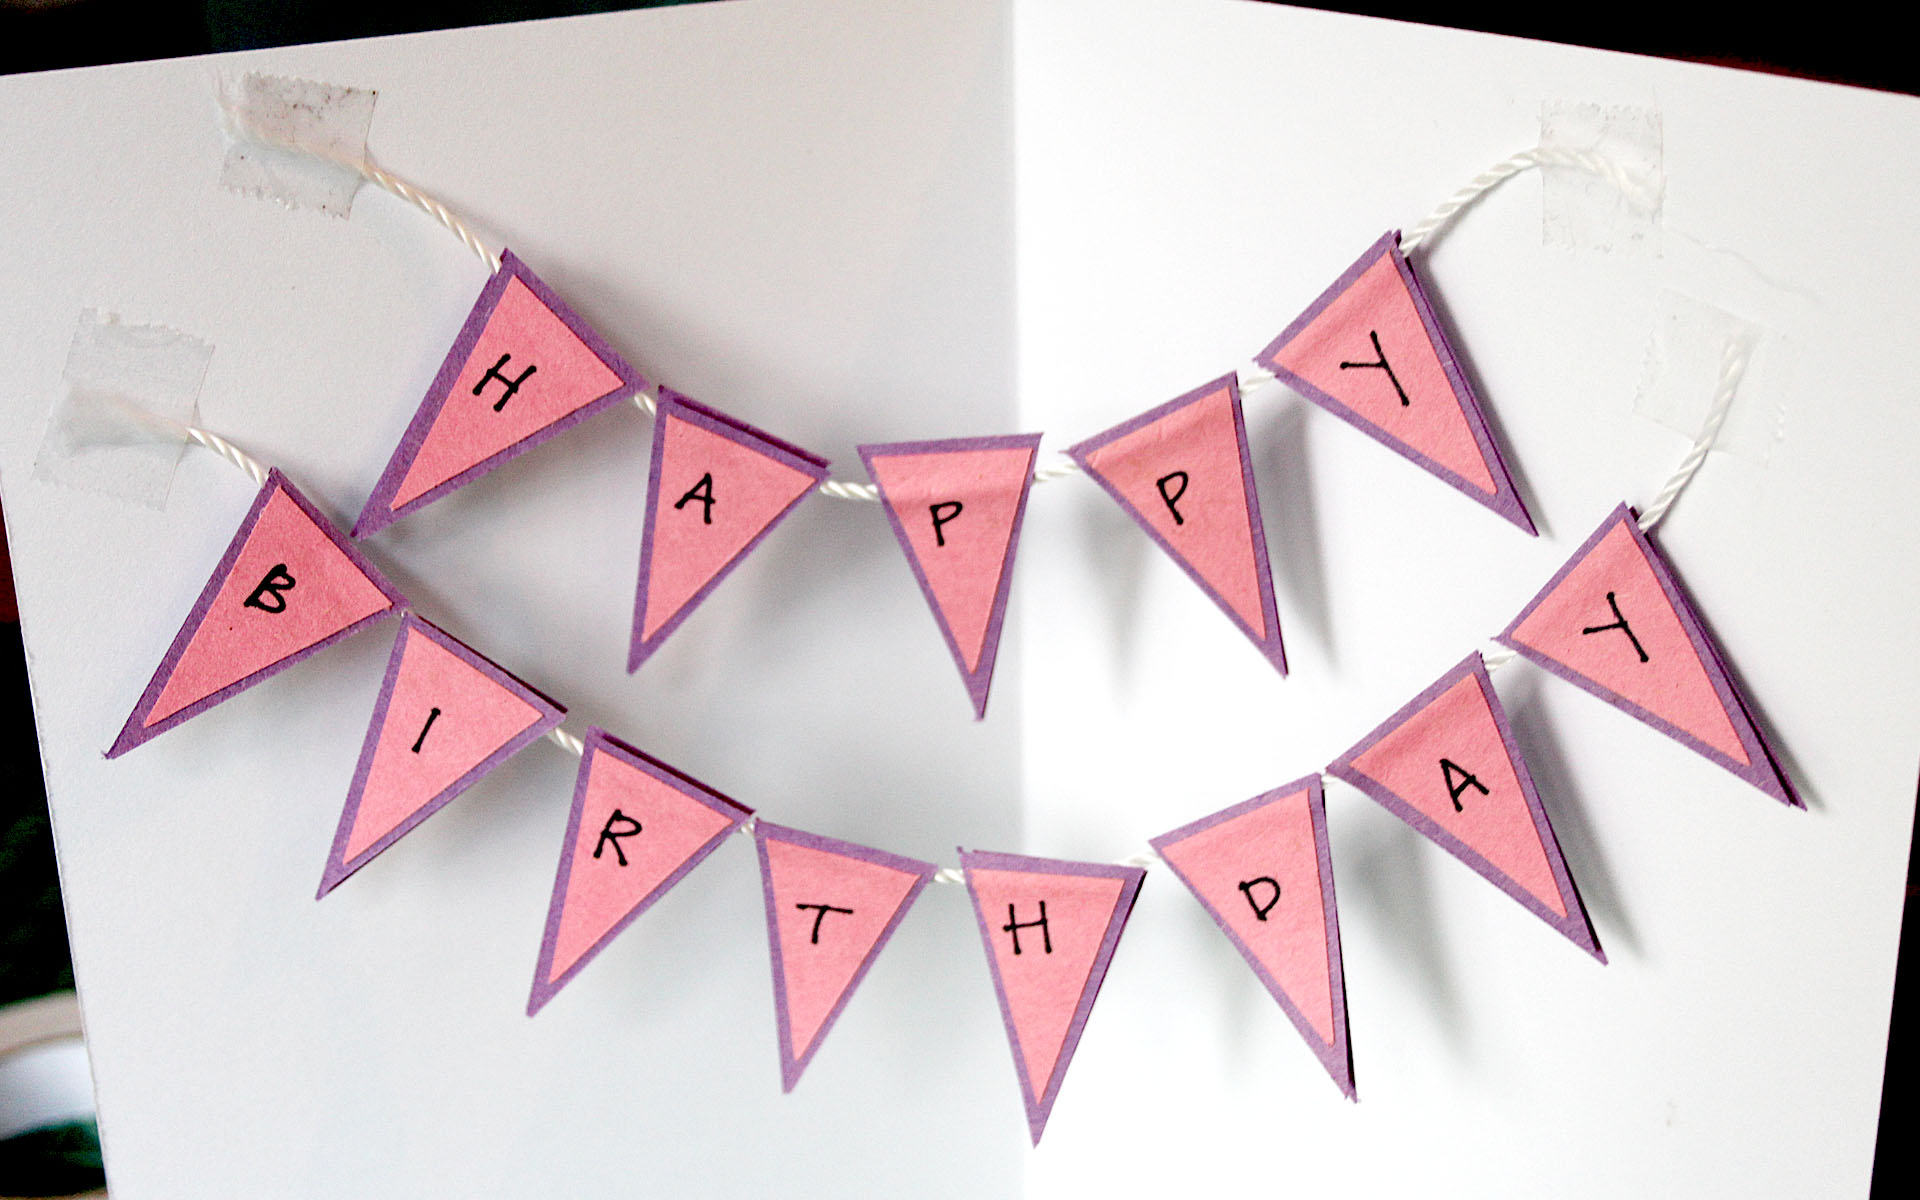 [/tatsu_text][tatsu_text max_width= "" wrap_alignment= "center" animation_type= "none"]Tape the strings to the inside of your card.[/tatsu_text][tatsu_text max_width= "" wrap_alignment= "center" animation_type= "none"]
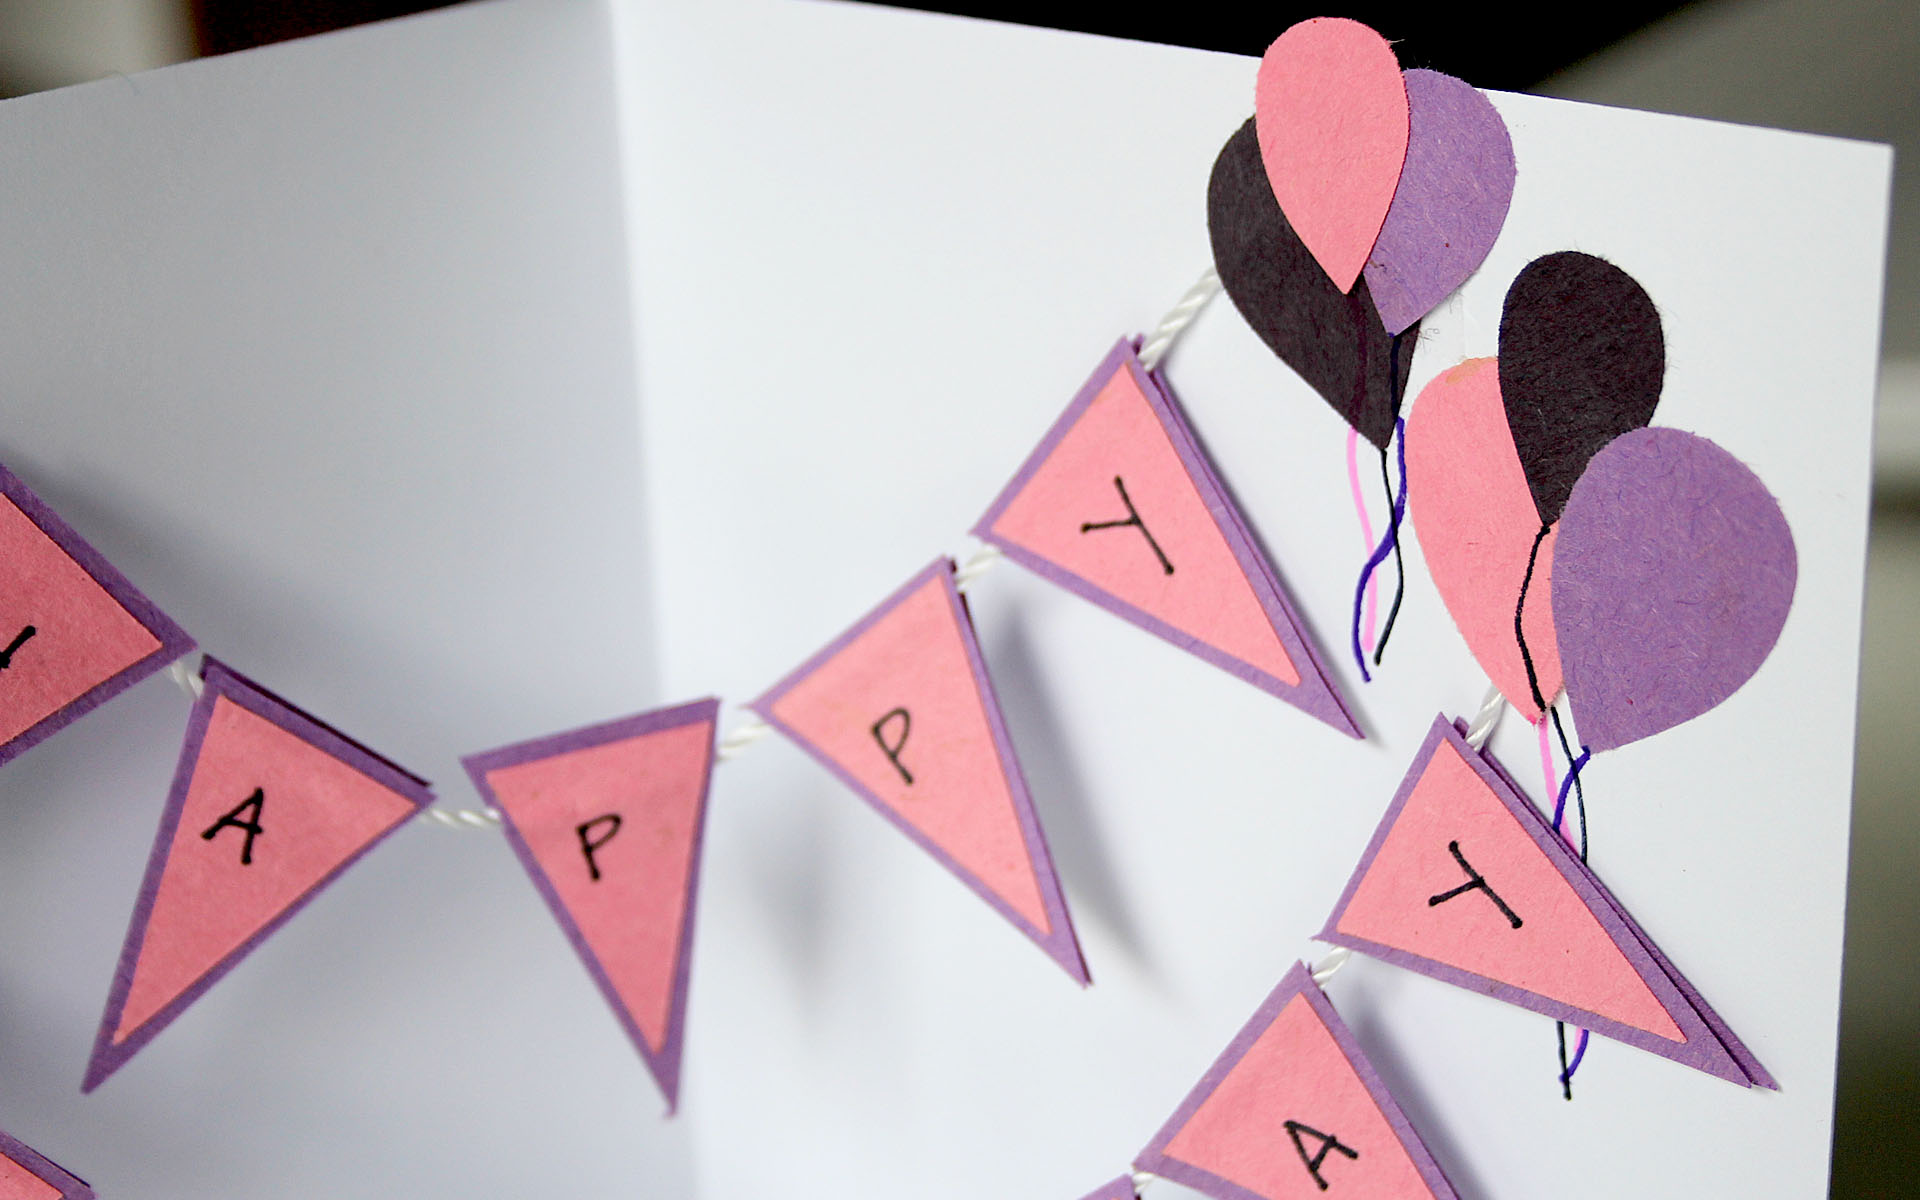 [/tatsu_text][tatsu_text max_width= "" wrap_alignment= "center" animation_type= "none"]Use your pens to add additional designs, like strings for the balloons.
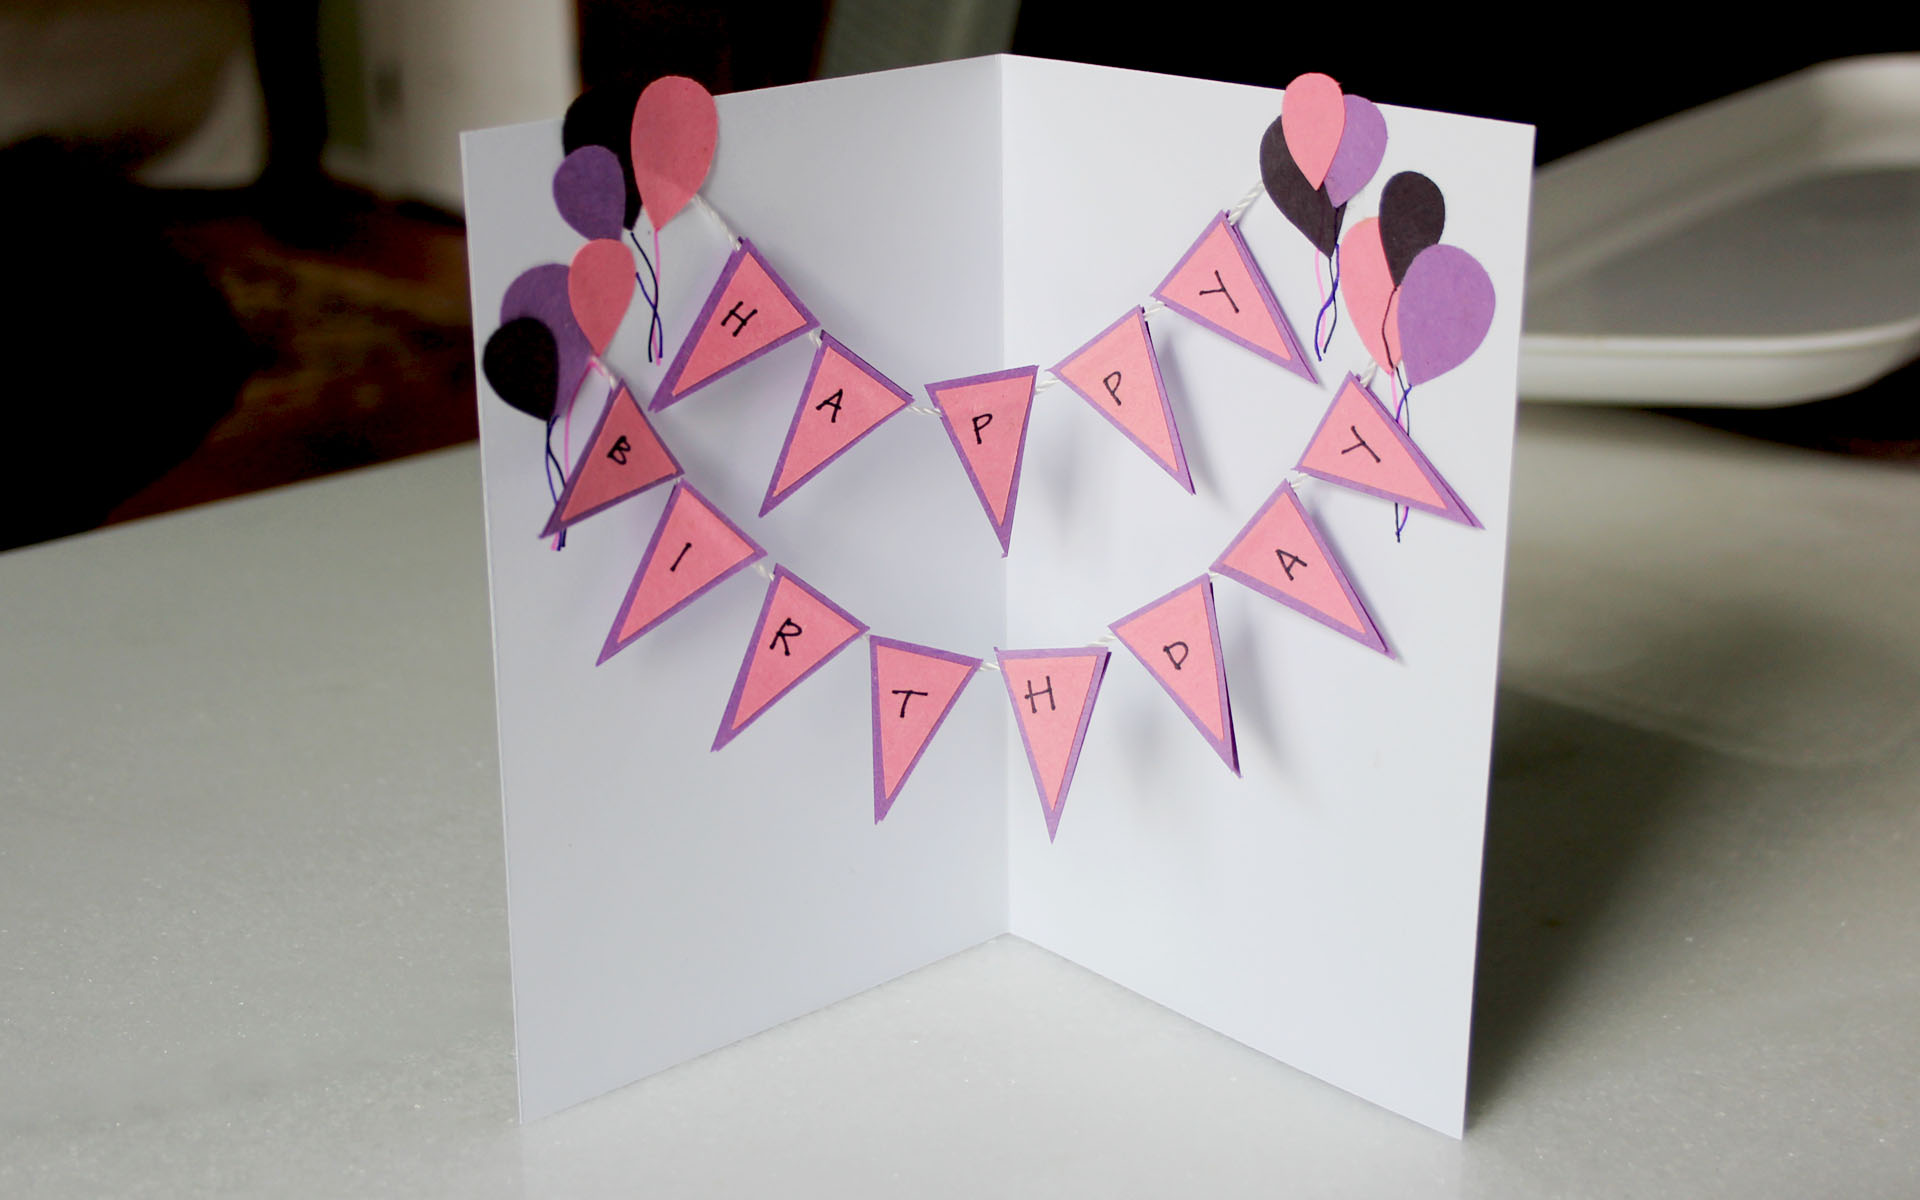 [/tatsu_text][/tatsu_column][/tatsu_row][/tatsu_section]